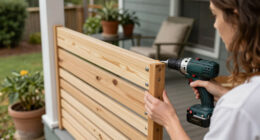
To turn your airless sprayer into a power roller, start by gathering the right tools, including a compatible pressure roller attachment and safety gear. Prepare your sprayer by cleaning and checking for damage, then securely connect the roller attachment, ensuring all fittings are tight. Adjust the pressure for an even spray, and test on a scrap surface to fine-tune your setup. Keep going to discover detailed steps for achieving professional results.
Key Takeaways
- Verify roller compatibility and select the appropriate size for your sprayer and project surface.
- Turn off and disconnect the sprayer, then clean the system to prevent clogs before attachment.
- Attach the pressure roller securely following manufacturer instructions, ensuring all fittings are tight and aligned.
- Test the spray pattern and adjust pressure settings for smooth, even coating before starting the project.
- Wear safety gear and perform regular maintenance to ensure optimal performance and professional finish.

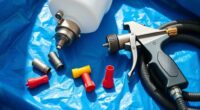
DUSICHIN Inner Feed Airless Paint Spray Roller Sprayer Gun Attachment Kit Accessories High Pressure Wand Power Roller 10 Inches Extension for Titan Graco Airless Paint Sprayer Aftermarket Parts DUS133
- Material Quality: High-quality aluminum alloy and stainless steel
- Extension Pole Length: 10-inch extension for easier painting
- Design Features: Removable roller and spray baffle for control
As an affiliate, we earn on qualifying purchases.
As an affiliate, we earn on qualifying purchases.
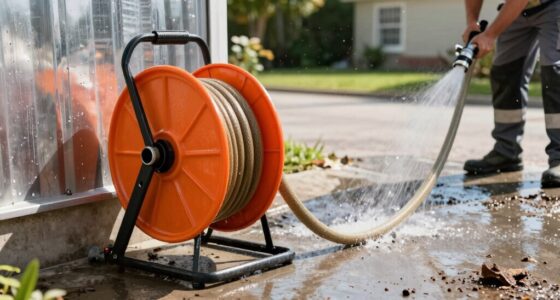
Gathering the Necessary Tools and Materials
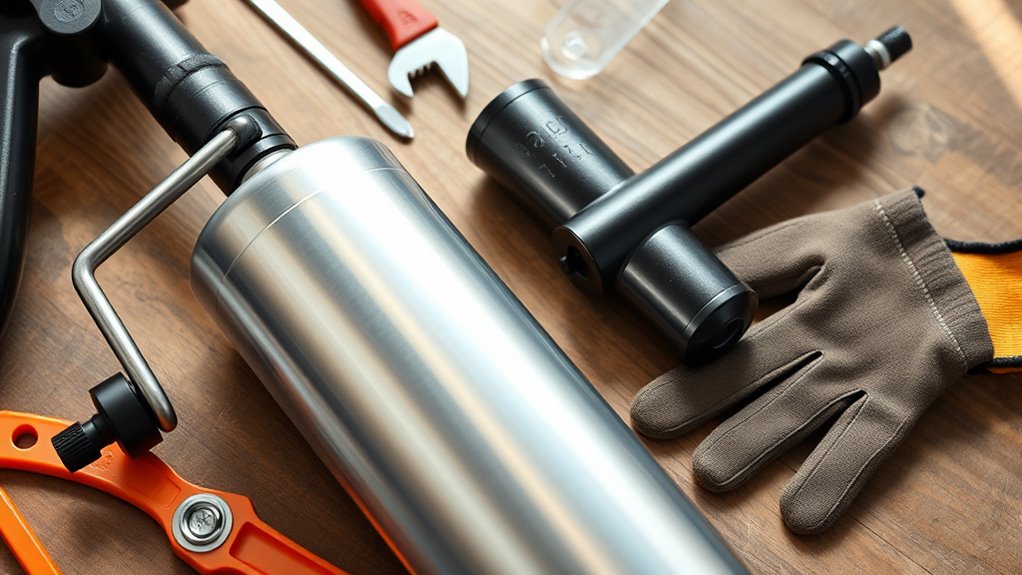
Before you begin attaching the pressure roller, it’s important to gather all the tools and materials you’ll need. Start with your airless sprayer, the pressure roller attachment, and compatible adapters. Make sure you have safety gear like gloves, goggles, and a mask to promote painting safety. Keep a clean cloth or rag nearby for quick cleanup, and have maintenance tips in mind to keep your equipment in top shape. Double-check that your roller is compatible with your sprayer model. Having everything prepared prevents interruptions and keeps the process smooth. Proper preparation helps you avoid mistakes, reduces mess, and guarantees safe, efficient operation. Gathering the right tools and materials is a vital first step to successful attachment and peak performance. Remember to review proper equipment maintenance to ensure your sprayer remains in optimal working condition.
Preparing Your Airless Sprayer for Conversion
To guarantee a smooth conversion, you need to prepare your airless sprayer thoroughly. Begin by turning off the sprayer and disconnecting it from the power source. Clear out any remaining paint, and clean the system to prevent clogs. When selecting your paint color, ensure it’s compatible with the roller attachment to avoid mishaps. Always follow safety precautions, such as wearing gloves, goggles, and a mask, to protect yourself from paint fumes and splatters. Check the spray tip and hose for damage, replacing any worn parts. Confirm the pressure settings are appropriate for the roller attachment, avoiding excessive force. Proper preparation minimizes messes, ensures safety, and guarantees a seamless conversion process. Additionally, understanding the HVAC systems can help you maintain your equipment efficiently and ensure optimal performance.
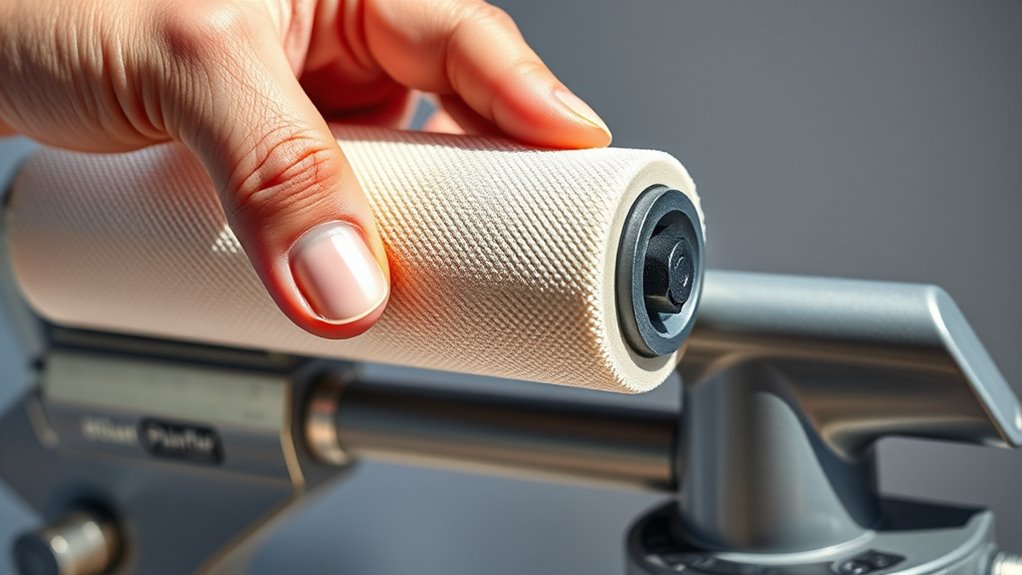
Selecting the Right Pressure Roller Attachment
Choosing the right pressure roller attachment depends on the type of project and the surface you’re working on. Consider the roller size to ensure you cover large areas efficiently without sacrificing detail. For smooth surfaces like drywall or ceilings, a smaller roller provides better control, while rougher surfaces need larger rollers for quicker coverage. Brush compatibility is also key; some rollers work better with specific paint types or textures. Use the table below to help select the best combination for your needs: Surface Preparation Techniques
| Surface Type | Roller Size | Brush Compatibility |
|---|---|---|
| Smooth (drywall) | 9-12 inches | Latex or acrylic paints |
| Textured surfaces | 14-18 inches | Heavy-duty, textured paints |
| Fine detail work | 4-6 inches | High-viscosity or specialty paints |
| Large areas | 18+ inches | Standard or heavy-duty rollers |
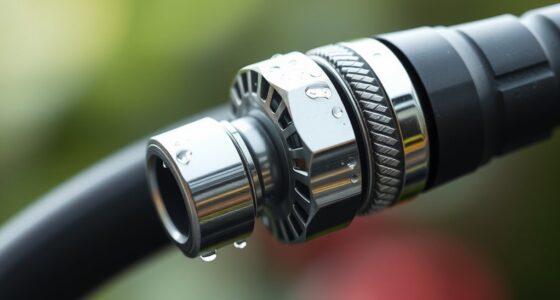
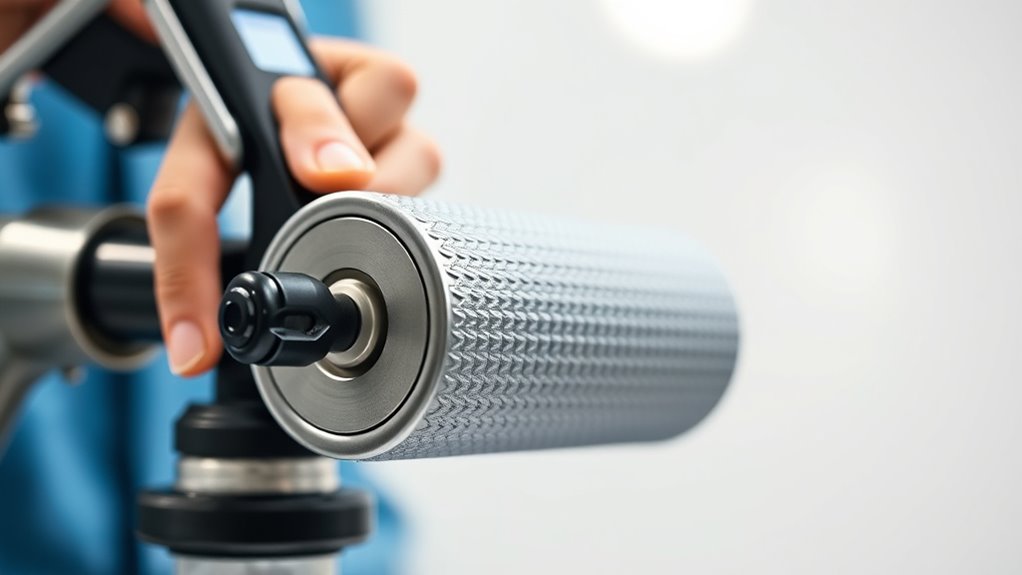
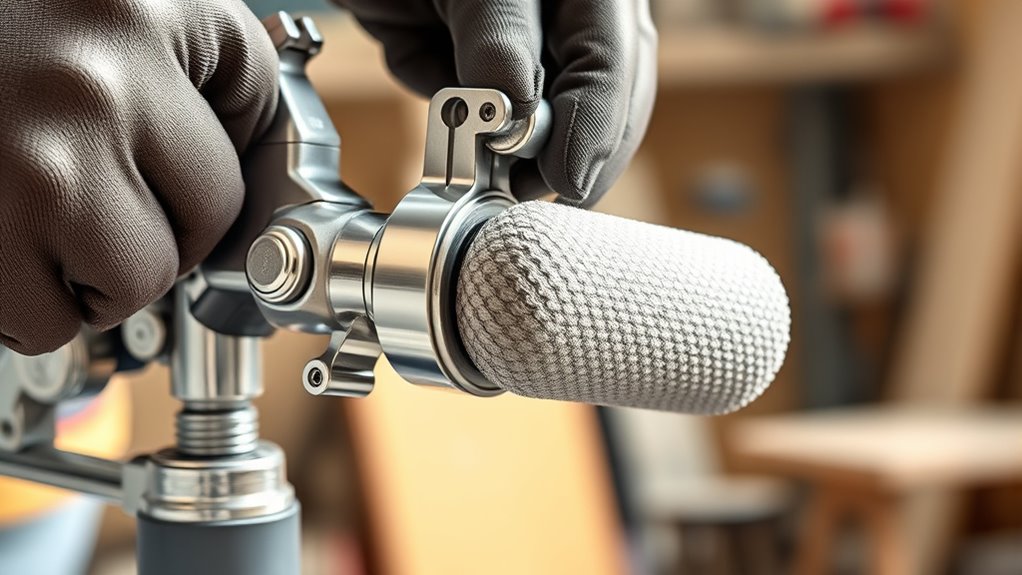
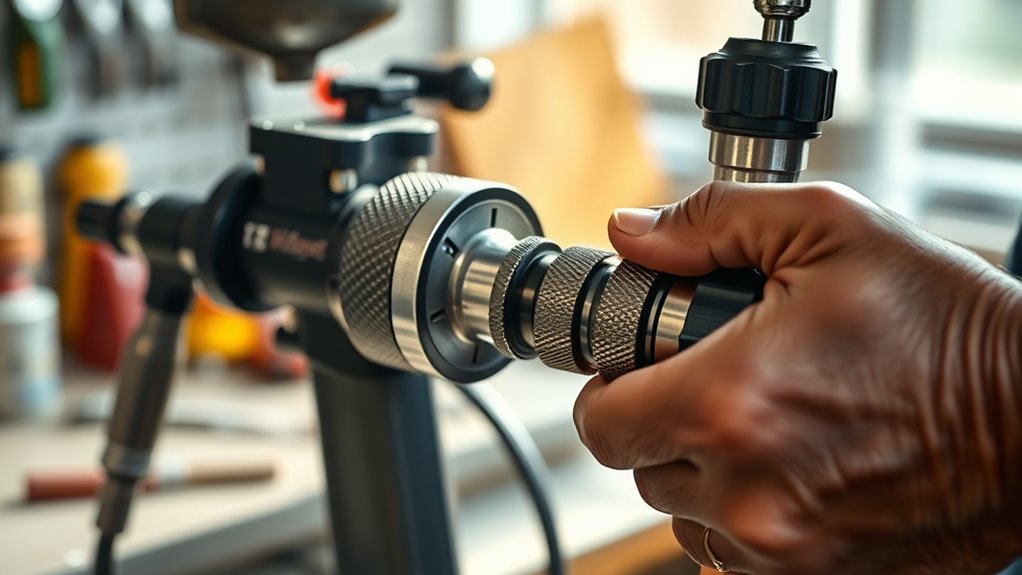
Connecting the Pressure Roller to Your Sprayer
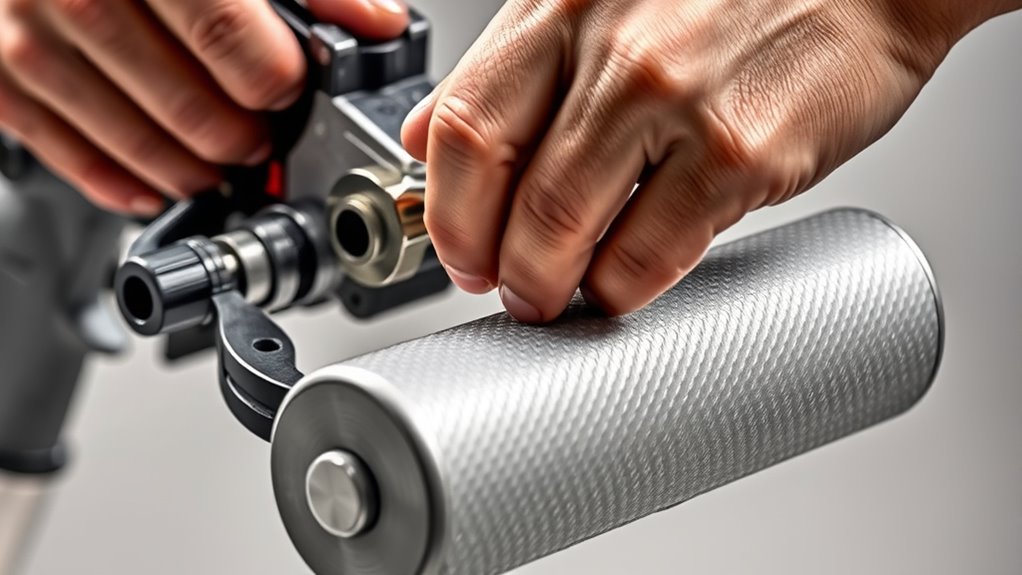
When connecting the pressure roller to your sprayer, make sure you follow the proper attachment techniques to guarantee everything fits securely. Double-check that all connections are tight and aligned correctly before use. A secure connection helps prevent leaks and ensures consistent spraying performance. To achieve a seamless setup, consider incorporating elements of functional storage to keep your equipment organized and easily accessible.
Proper Attachment Techniques
Connecting the pressure roller to your sprayer requires careful alignment and secure attachment to guarantee peak performance. Before starting, wear safety precautions like gloves and eye protection to prevent injuries. Confirm the roller is properly aligned with the sprayer’s outlet, then firmly secure all connections to avoid leaks or detachment during operation. Follow the manufacturer’s instructions carefully, paying attention to locking mechanisms or clasps. Regular maintenance tips include checking for wear or damage before attachment and tightening fittings securely. Always double-check connections after attaching the roller. Proper attachment techniques not only improve efficiency but also guarantee safety. Taking these precautions helps prevent accidents and keeps your equipment in optimal condition for consistent, high-quality results. Additionally, inspecting the filter and pump protection components ensures smooth paint flow and reduces the risk of clogs during use.
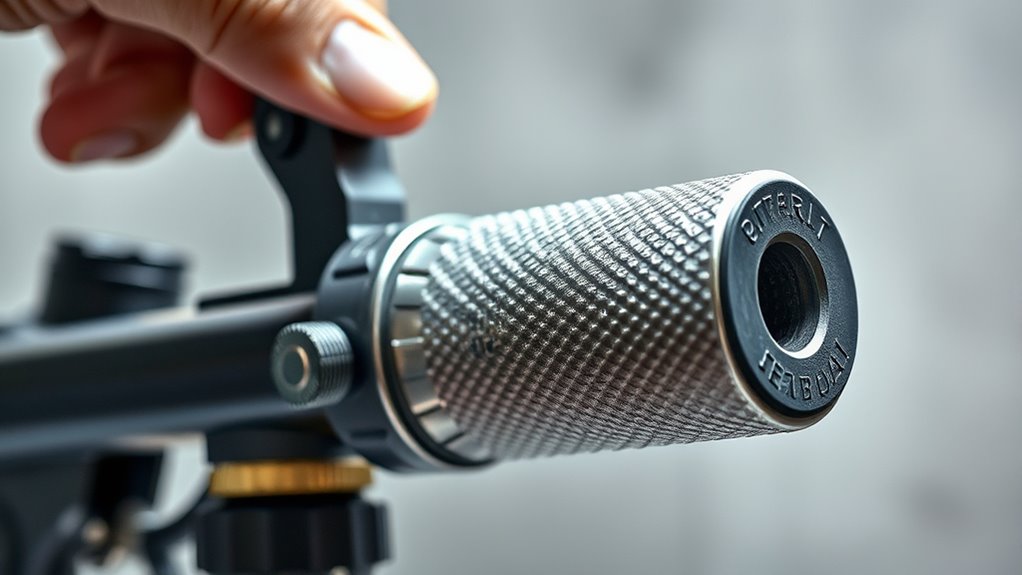
Ensuring Secure Connection
To guarantee a secure connection between the pressure roller and your sprayer, it’s essential to double-check all fittings and locking mechanisms after assembly. Ensure the pressure fitting is tightly secured and properly aligned to prevent leaks or disconnections during use. Verify that the pressure fitting is fully inserted into the sprayer’s outlet and that any locking rings or clips are firmly in place. Additionally, confirm the secure clamp holding the roller is tight and evenly positioned, preventing slippage. Loose fittings or clamps can cause operational issues or damage. Take a moment to gently tug on the connection points to test their stability. A secure connection not only improves safety but also ensures consistent spray performance and durability of your pressure roller setup. Proper installation and regular inspection help maintain water efficiency and optimal functioning of your equipment.
Testing and Fine-Tuning the Setup
Now that your pressure roller is attached, it’s time to test and fine-tune the setup. You’ll want to adjust the pressure to get the right spray pattern and guarantee consistent coverage. Take your time to test, make small adjustments, and verify the results for ideal performance. Remember to check the proper tip size to avoid defects like drips or runs during application.
Pressure Adjustment Techniques
Before finalizing the pressure setup, it’s essential to test the roller’s performance and make precise adjustments. Start by checking your paint thickness and adjusting the pressure accordingly. Use the right nozzle selection to control flow and avoid overspray. To fine-tune your setup, monitor how the paint applies and adjust the pressure in small increments for ideal results. Remember, too much pressure can cause runs, while too little may lead to uneven coverage. Use this table as a quick guide:
| Pressure Level | Effect on Paint Application |
|---|---|
| Low | Thin spray, less coverage |
| Optimal | Smooth, even application |
| High | Runs, overspray, excessive paint flow |
Testing these adjustments ensures you achieve a professional finish with your power roller. Incorporating proper pressure techniques can also help optimize your results and improve overall efficiency.
Spray Pattern Optimization
Once you’ve adjusted the pressure for ideal paint flow, it’s time to focus on refining the spray pattern. Achieving a uniform, even coat depends on your spray pattern’s consistency. Start by testing different nozzle selections to see which produces the best coverage without drips or gaps. Move the sprayer steadily across the surface, maintaining a consistent distance and speed, to ensure even paint distribution. Keep an eye on the paint consistency; it should be smooth and free of clumps or runs. Adjust your nozzle or pressure if needed to improve the pattern. Fine-tuning these settings helps you avoid overspray or uneven coverage, resulting in a professional-looking finish. Regular testing and small adjustments are key to optimizing your spray pattern for the best results. Additionally, proper maintenance of the sprayer components can prevent issues like clogs or inconsistent spray patterns, ensuring optimal performance.
Consistency and Testing
How can you guarantee your spray setup remains consistent and produces reliable results? The key is regular testing and fine-tuning. Start by checking your paint consistency; it should flow smoothly without clogging or splattering. Conduct testing procedures on scrap surfaces to observe spray pattern uniformity and coverage. Adjust pressure settings and roller speed as needed to achieve even application. Keep an eye on paint flow to prevent drips or uneven coats. Document your adjustments so you can replicate successful setups. This ongoing process ensures your paint consistency remains steady, saving you time and frustration. Additionally, understanding airless sprayer operation principles can help troubleshoot issues more effectively. By consistently testing and fine-tuning, you’ll maintain ideal spray performance and achieve professional results every time.
Tips for Achieving Optimal Painting Results
Achieving professional-looking paint results requires attention to detail and proper technique. First, prioritize painting safety by wearing protective gear and ensuring adequate ventilation. This minimizes health risks and creates a safer workspace. Next, maintain your equipment regularly; clean your sprayer and pressure roller thoroughly after each use to prevent clogs and ensure consistent performance. When applying paint, keep a steady hand and maintain a consistent distance from the surface to avoid uneven coverage. Test your spray pattern on a scrap surface before starting on your project to ensure even application. Also, avoid overloading the roller with paint, which can cause drips or streaks. Incorporating proper maintenance into your routine can extend the life of your tools and improve your results. Following these tips will help you achieve smooth, professional results while keeping safety and equipment longevity in check.
Frequently Asked Questions
Can I Use Any Pressure Roller With My Airless Sprayer?
You might wonder if any pressure roller works with your airless sprayer. The answer depends on roller compatibility and your attachment guide. Not all rollers fit every sprayer, so check the size and type recommended by the manufacturer. Using the right roller guarantees a smooth finish and prevents damage. Always follow the attachment guide to select a compatible roller, making your painting project more efficient and professional-looking.
What Safety Precautions Should I Take During Attachment?
Remember, safety first! When attaching a pressure roller to your airless sprayer, always wear proper safety gear like gloves and goggles. Make certain the attachment is secure and check for leaks or loose fittings. Turn off the sprayer and depressurize it before handling. Following these precautions helps prevent accidents and ensures a smooth process, because a stitch in time saves nine. Your safety depends on careful preparation!
How Do I Clean the Roller Attachment After Use?
To clean the roller attachment after use, start by removing it from your sprayer. Use warm, soapy water for roller cleaning, scrubbing gently to remove paint residue. Rinse thoroughly and let it dry completely before storage. Regular attachment maintenance guarantees peak performance and longevity. Avoid harsh chemicals that could damage the roller, and inspect for wear and tear during cleaning to keep your power roller in top shape.
Is There a Specific Pressure Setting Recommended?
Did you know that using the right pressure settings can increase your painting efficiency by up to 30%? When setting your airless sprayer, follow the recommended pressure for your specific roller attachment. Typically, this ranges between 1500-2000 PSI. Adjust to the recommended pressure to guarantee smooth, even coverage without over-spraying or wasting paint. Always refer to your roller’s manual for precise pressure settings, and test before starting your project.
How Long Does It Typically Take to Convert?
The conversion time for turning your airless sprayer into a power roller varies, but it usually takes about 15 to 30 minutes. You’ll need to follow some simple preparation steps, like gathering the right accessories and adjusting the spray pressure. Once you’ve completed these, attaching the pressure roller is quick and straightforward, allowing you to start painting efficiently without much downtime.
Conclusion
With your sprayer now transformed into a power roller, you’re ready to paint with the precision and ease of a master artist wielding a brush. Imagine yourself as a skilled painter, wielding a tool that glides smoothly across surfaces like a brushstroke on canvas. Embrace the confidence that comes with this upgraded setup, turning every wall into a masterpiece. Now, go ahead—bring your vision to life with effortless, professional-looking results.