To adjust your sprayer for different paints and finishes, start by understanding its components like the nozzle, air cap, and fluid control. Use thinner paints like lacquers with lower pressure and smaller nozzles for fine finishes, while thicker paints need higher pressure and larger nozzles for even coverage. Adjust flow rate accordingly to prevent drips or overspray. Fine-tuning these settings guarantees a professional finish, and you’ll discover more tips if you keep exploring the details.
Key Takeaways
- Match nozzle size and spray pattern to paint viscosity and desired finish for optimal coverage.
- Adjust air pressure to control atomization, preventing overspray with thin paints and ensuring thick paints apply smoothly.
- Modify flow rate based on paint thickness and surface detail to achieve even coats without drips or runs.
- Fine-tune spray speed, distance, and pattern to enhance gloss and minimize imperfections for a flawless finish.
- Regularly clean, calibrate, and maintain equipment to ensure consistent performance across different paint types.
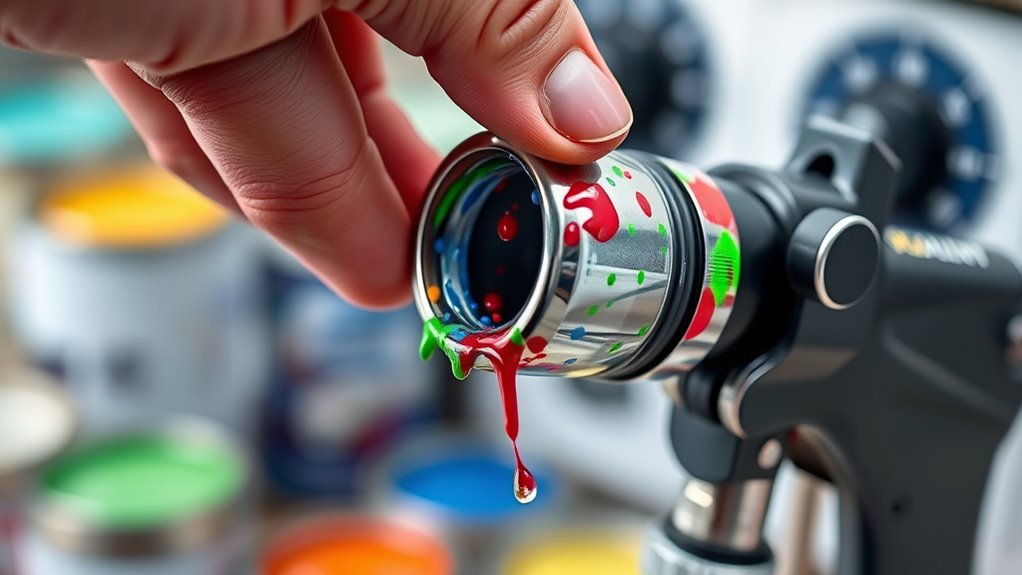
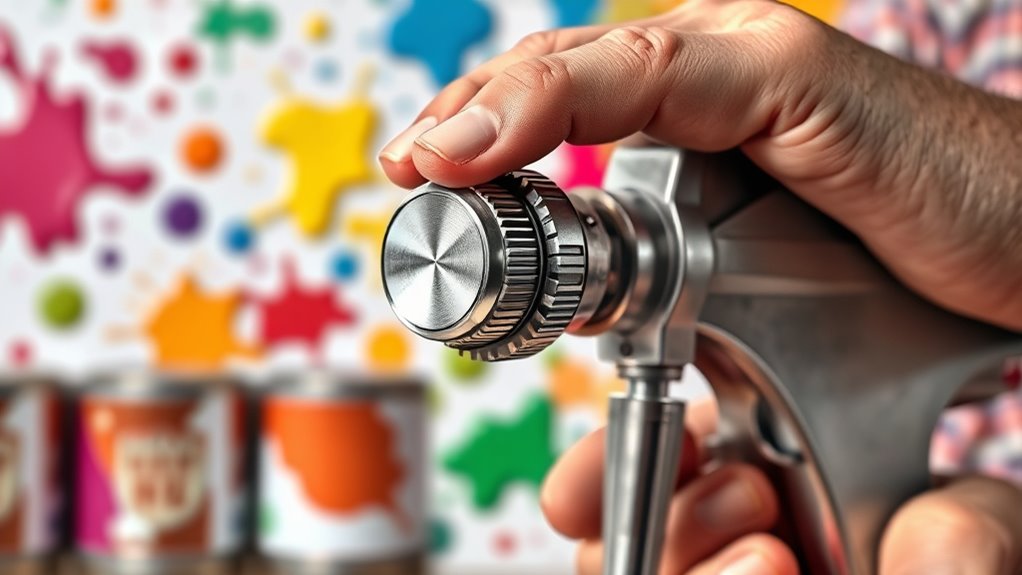
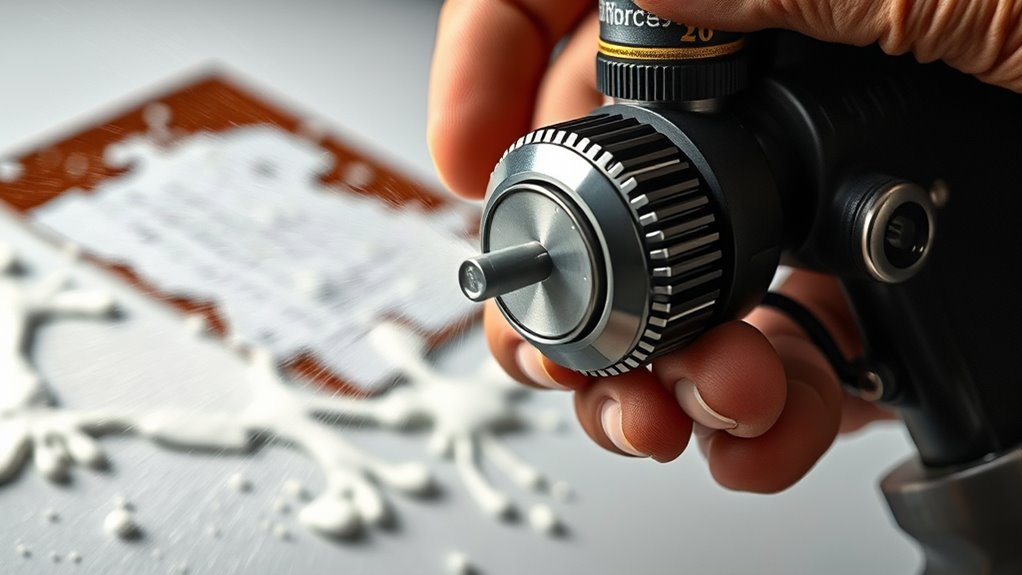
Understanding Your Sprayer’s Components and Settings
Understanding your sprayer’s components and settings is essential for achieving the best results. Familiarize yourself with the main sprayer components, such as the nozzle, air cap, and fluid control. These parts determine how the paint is atomized and delivered. Adjusting the spray pattern is also vital; most sprayers let you change from a narrow to a wide spray, depending on your project needs. Knowing how to control these settings allows you to achieve even coverage and reduce paint waste. Always read your sprayer’s manual to understand how each component influences performance. Mastering sound healing science can also inspire new techniques for optimizing spray patterns and reducing overspray. By mastering these basics, you’ll be better equipped to tailor your spray technique for different paints and finishes, ensuring a professional-looking result every time.
Recognizing Different Types of Paint and Their Characteristics
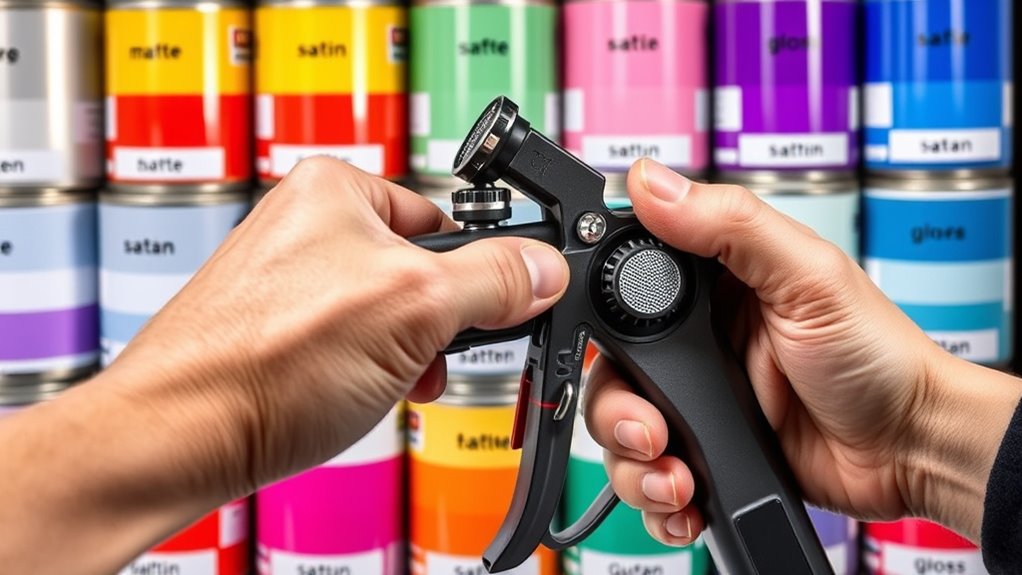
Different types of paint have unique properties that affect how they should be applied and finished. Paint viscosity, or thickness, varies depending on the formulation, influencing how smoothly it sprays and how well it adheres. Thinner paints, like lacquers, flow easily and produce a high finish sheen, such as gloss or semi-gloss. Thicker paints, like latex or primer, require adjustments in your sprayer to prevent clogging and achieve a smooth coat. Understanding these characteristics helps you select the right sprayer settings and nozzle size. Recognizing the finish sheen associated with different paints also guides your application technique, ensuring you get a consistent, professional look. Properly identifying paint type and properties leads to better results and a more efficient spraying process. Additionally, being aware of paint formulation can help you select the appropriate thinning or additive requirements for optimal spray performance.
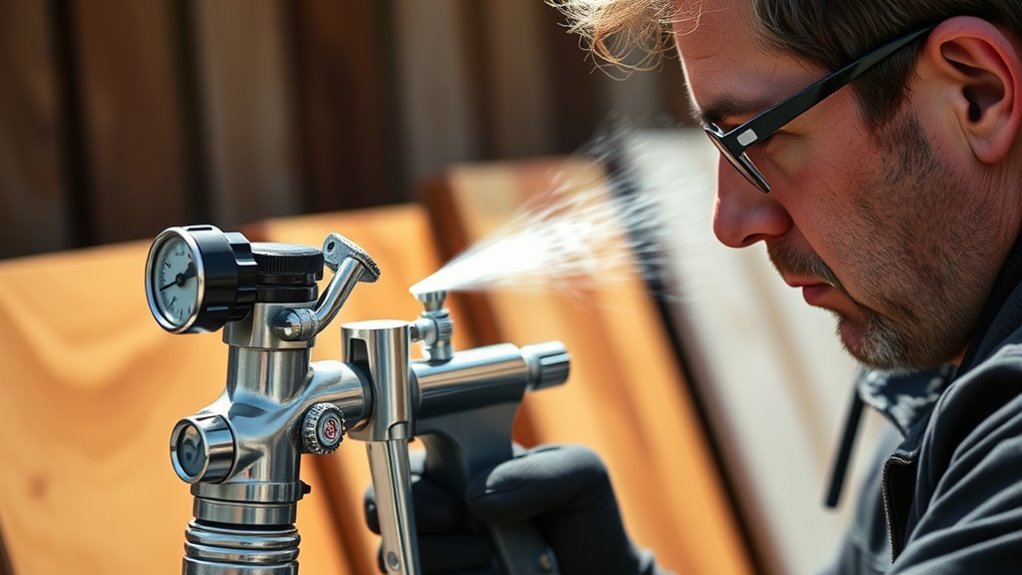
Adjusting Pressure for Thin and Thick Coatings
Have you ever struggled with paint splattering or uneven coverage? Adjusting pressure is key to managing different paint viscosities. When working with thin coatings, lower sprayer pressure helps prevent overspray and drips, ensuring a smooth finish. For thick paints, increase the pressure to achieve proper atomization and consistent coverage. Proper sprayer calibration is essential; if your pressure isn’t set correctly, paint viscosity issues can cause uneven application. Always test spray patterns on a scrap surface before starting your project. Fine-tuning pressure settings based on your paint’s thickness helps you avoid issues like runs or patchiness, giving you a professional-looking result. Remember, adjusting pressure isn’t a one-size-fits-all; it varies with paint viscosity and the finish you want to achieve. Adjusting your sprayer settings appropriately can significantly improve your results and efficiency.
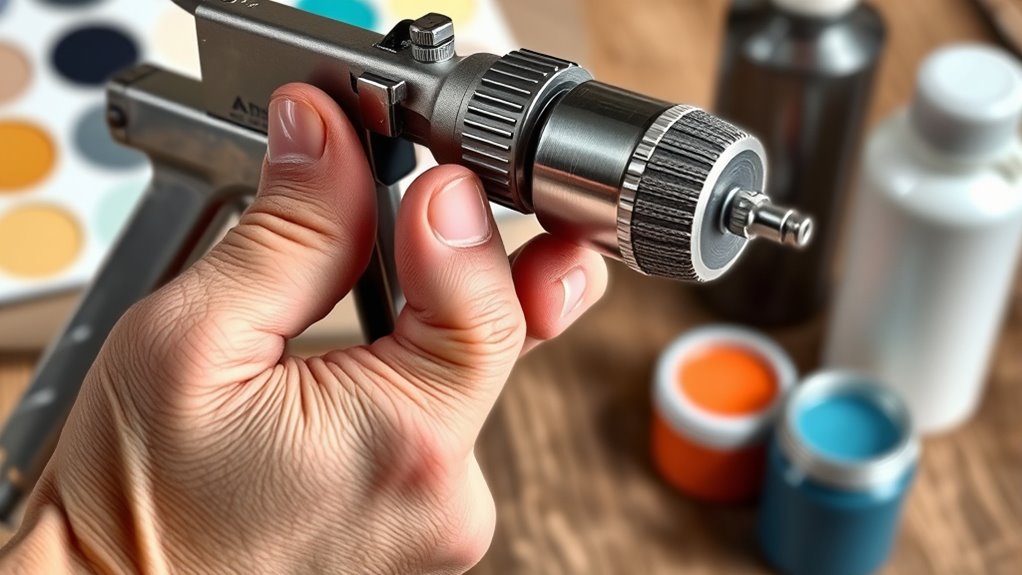
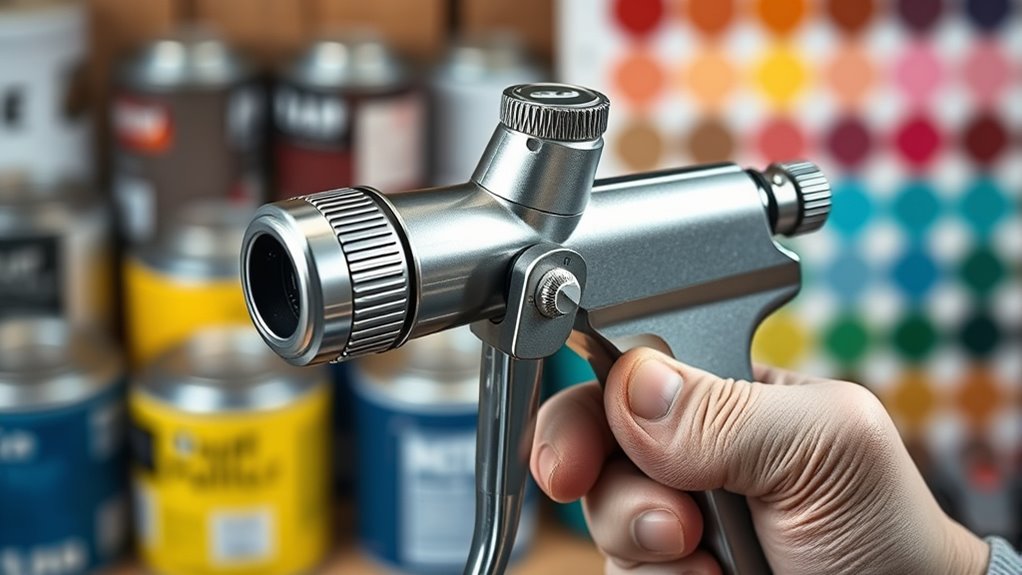
Selecting the Appropriate Nozzle Size for Various Finishes
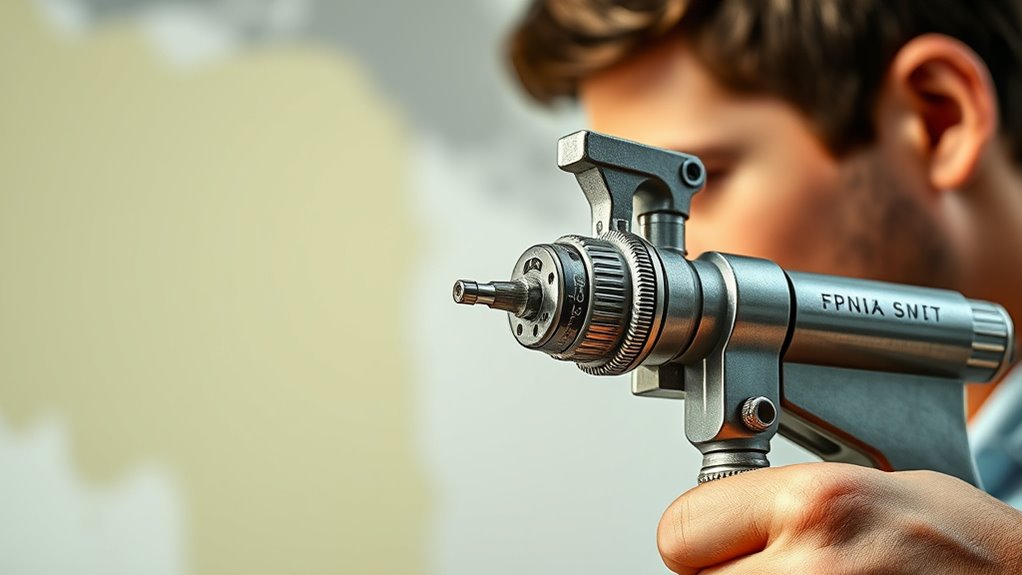
Choosing the right nozzle size is essential for achieving the desired finish, as it directly influences the spray pattern and paint coverage. Proper nozzle selection ensures you get finish precision, whether you’re aiming for a smooth, even coat or a textured look. Smaller nozzles (around 1.2 to 1.4 mm) are ideal for fine details, touch-ups, and thin finishes like varnishes or stains. Larger nozzles (around 1.8 to 2.0 mm) work better for thicker paints and heavy coatings, providing broader coverage and reducing overspray. Matching your nozzle size to the paint type and desired finish helps prevent runs, drips, and uneven textures. Always test different sizes on scrap material to verify your nozzle choice before starting your project for ideal finish precision. Optimizing spray gun performance can further enhance the quality of your application.
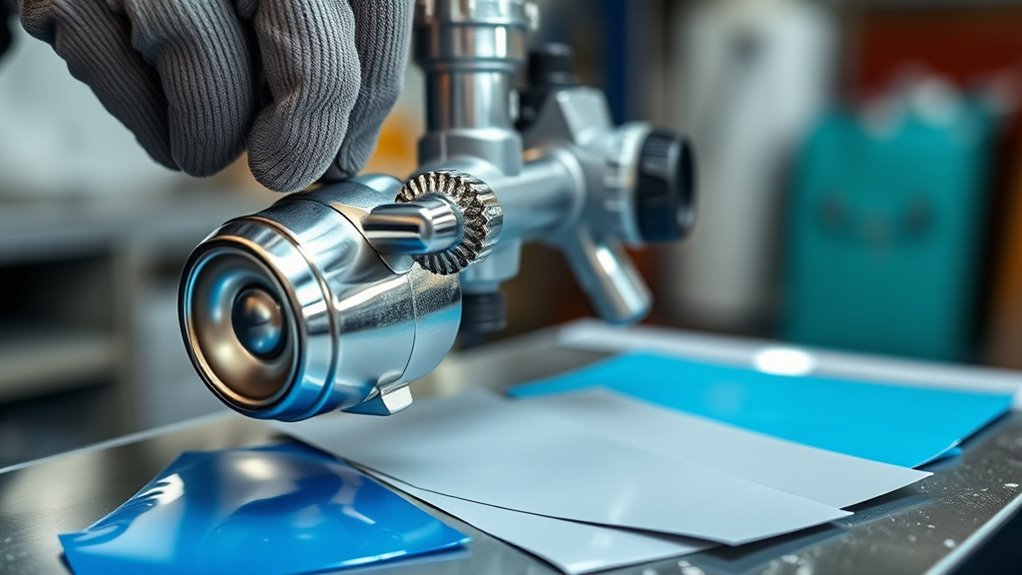
Modifying Flow Rate for Optimal Coverage and Finish
How can you guarantee your sprayer delivers the right coverage and finish? By mastering flow rate adjustments, you can control the amount of paint applied, ensuring even coverage and a smooth finish. Adjusting the flow rate helps match the paint’s viscosity and the desired layer thickness, improving finish consistency. Incorporating proper technique in your spraying process further enhances the quality of your results. To fine-tune your spray:
Mastering flow rate adjustments ensures smooth, even coverage and a professional finish every time.
- Increase flow rate for thicker paints or faster coverage.
- Decrease flow rate for delicate surfaces or detailed work.
- Regularly test and adjust to maintain uniform coverage across different areas.
These adjustments prevent drips, overspray, and uneven coats. Proper flow rate control is key to achieving a professional-looking finish, especially when working with various paints and finishes. Consistent flow adjustments lead to flawless results every time.
Techniques for Spraying Stains and Transparent Finishes
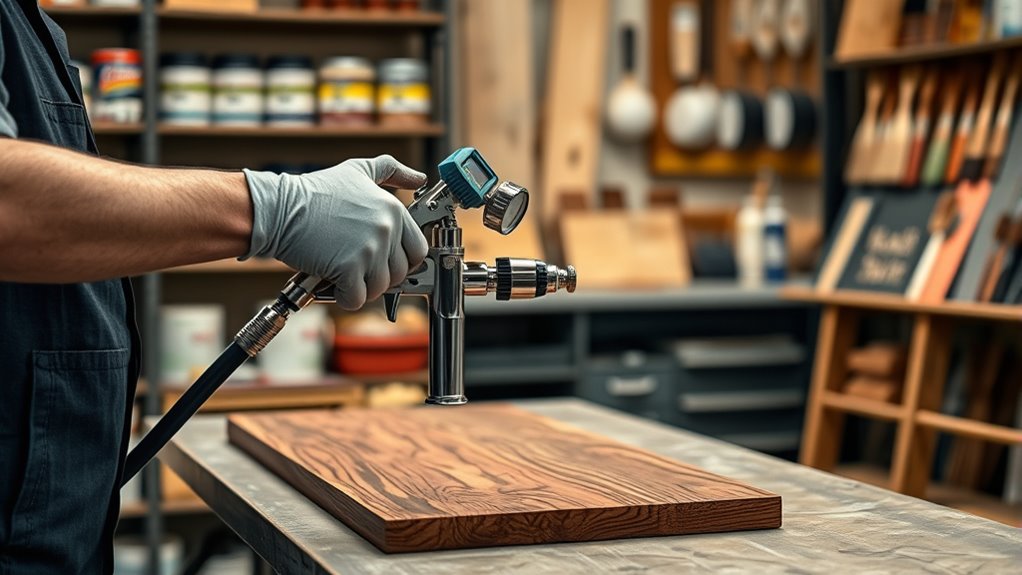
To achieve smooth, even application of stains and transparent finishes, you need to focus on proper spraying techniques that preserve the wood’s natural beauty. Start with thorough surface preparation, sanding the wood smooth and removing dust. Use gentle, overlapping brush techniques to guide your spray pattern, ensuring consistent coverage without streaks or runs. Maintain a steady hand and consistent distance from the surface—usually 6 to 12 inches—to prevent drips and uneven coats. Thin the stain or finish if needed to improve flow and reduce clogging. Always test spray on scrap wood first to dial in your settings. Proper surface prep combined with controlled, overlapping passes will help you achieve a professional, transparent finish that highlights the wood’s natural grain. Incorporating an understanding of self watering plant pots can also inform your approach to maintaining consistent application and avoiding over-application.
Tips for Applying Opaque Paints and Heavy Coatings
Applying opaque paints and heavy coatings requires careful technique to prevent drips and achieve a smooth, even finish. To do this, adjust your sprayer for thicker paints, using lower pressure and wider spray patterns. Keep environmental considerations in mind—work in a well-ventilated area and avoid windy conditions that can cause uneven application. For consistent color matching, maintain a steady distance from the surface and avoid over-spraying. Regularly check your spray pattern to ensure even coverage. Additionally, proper tuning of your equipment can help optimize spray consistency and finish quality.
- Use multiple light coats instead of one thick layer
- Maintain a consistent distance for uniform application
- Keep surfaces clean and free of dust or debris to improve finish
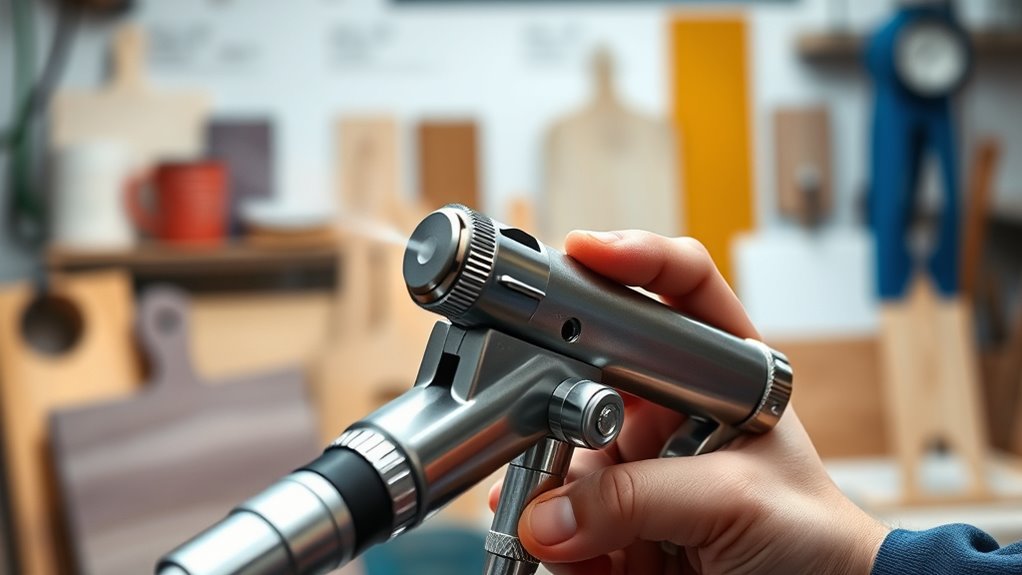
Fine-Tuning Settings for Lacquers and Clear Finishes
Fine-tuning your sprayer settings for lacquers and clear finishes is essential to achieve a smooth, glossy surface without runs or overspray. To enhance the lacquer sheen, start with a lower pressure setting and thin the lacquer or clear coat slightly, ensuring a consistent spray. Adjust the nozzle size to produce a fine, even mist that minimizes drips. Keep your distance steady, about 6-8 inches from the surface, to prevent over-application. Test on scrap wood first to gauge spray pattern and flow. Fine-tuning these settings ensures an even, professional finish, highlighting the clarity of the clear coat and the depth of the lacquer sheen. Proper adjustments help you avoid uneven textures and achieve a flawless, high-gloss appearance. Additionally, understanding the different tuning techniques for various paints ensures optimal results across different finishes.
Troubleshooting Common Spray Pattern Issues
When your spray pattern appears uneven, inconsistent, or streaky, it’s a clear sign that something’s off with your spray setup. First, check your sprayer calibration to guarantee proper pressure and flow. Next, examine the nozzle for wear or clogs, as nozzle wear can cause irregular spray patterns. Also, inspect the spray tip for damage or buildup that might affect atomization. Ensuring your equipment reflects narcissistic traits, such as a need for perfection and control, can help maintain consistent results. Addressing these issues quickly helps achieve a smooth, uniform finish. Regularly inspecting your equipment guarantees your spray pattern remains ideal, saving time and reducing material waste.
Maintaining and Cleaning Your Sprayer for Consistent Results
To guarantee your sprayer delivers consistent results, you need to keep it clean and well-maintained. Following a regular cleaning routine prevents clogs and extends its lifespan. Proper storage practices also protect your sprayer from damage and corrosion over time.
Regular Cleaning Routine
Regular cleaning is essential to keep your sprayer functioning properly and guarantee consistent results. A clean sprayer ensures accurate sprayer calibration and smooth operation, preventing clogs and uneven finishes. After each use, thoroughly flush the system with water or solvent, depending on your paint type. Regular nozzle maintenance helps maintain proper spray patterns and prevents buildup.
To stay on top of your routine, remember to:
- Check and clean the nozzle regularly to avoid blockages
- Inspect and adjust sprayer calibration for precise application
- Clean filters and hoses to prevent clogs that can affect spray quality
Proper Storage Practices
Proper storage practices help guarantee your sprayer stays in top condition and delivers consistent results each time you use it. To ensure longevity, follow storage tips like cleaning all parts thoroughly and draining leftover paint or solvent. Store your sprayer in a clean, dry area away from direct sunlight and extreme temperatures to prevent damage. Always follow safety precautions by disconnecting the power source and venting residual fumes before storing. Use protective caps or covers to keep dirt and dust out of the nozzle and other components. Regularly inspect and maintain seals and hoses to avoid leaks. Proper storage not only maintains your sprayer’s performance but also extends its lifespan, saving you time and money on repairs or replacements.
Frequently Asked Questions
How Do I Adjust Spray Settings for Textured or Uneven Surfaces?
When working on textured or uneven surfaces, you need to adapt your spray settings to handle surface irregularities. Start by increasing the fluid flow and adjusting the nozzle to a wider spray pattern for better coverage. Make nozzle adjustments to guarantee the paint evenly coats the surface, avoiding drips or uneven texture. Test on a small area first, then tweak the settings as needed to achieve a smooth, consistent finish on challenging surfaces.
What Settings Are Best for Spraying Latex Versus Oil-Based Paints?
For latex paint, set your sprayer to a lower pressure and use a wider spray pattern for smooth, even coverage, and remember to brush techniques for touch-ups. Oil-based paints usually require higher pressure and a narrower spray for better adhesion. Keep in mind that drying times differ: latex dries faster, so avoid over-application, while oil-based paints need longer to dry thoroughly. Adjust your settings accordingly for ideal results.
How Can I Prevent Drips and Runs When Switching Finishes?
To prevent drips and runs when switching finishes, start by cleaning your sprayer thoroughly to guarantee proper paint adhesion. Adjust your spray pattern to a consistent, even flow, and test it on a scrap surface. Maintain steady movement and avoid over-applying. These steps help ensure your finish looks smooth, with no drips or runs, while keeping the spray pattern uniform for the best results.
What Adjustments Are Needed for Spraying Metallic or Specialty Paints?
When spraying metallic paints or specialty finishes, you need to tweak your sprayer settings for ideal results. Use a lower pressure to prevent overspray and guarantee a smooth, even coat. Thinner metallic paints may require a slightly larger nozzle or a slower trigger pull. Always test on a scrap piece first, and clean your equipment thoroughly afterward to avoid contamination. Adjustments help achieve a flawless finish with specialty paints.
How Do Environmental Conditions Affect Sprayer Settings and Paint Application?
Environmental conditions are like the weather’s mood swing, influencing your spray game. Humidity impacts how paint flows, making it thicker or thinner, while temperature considerations affect drying time and spray consistency. When humidity’s high, dial down pressure to prevent drips; in cold weather, warm your workspace to keep paint flowing smoothly. Staying aware of these factors helps you achieve a flawless finish regardless of the weather outside.
Conclusion
Think of your sprayer as an extension of your creativity—you can achieve flawless finishes once you master its settings. Some say that adjusting pressure and nozzle size is just trial and error, but it’s actually about understanding your tools. When you tune your sprayer properly, you release professional results every time. So, trust your adjustments, stay curious, and remember: a well-maintained sprayer makes all the difference in turning your painting dreams into reality.