
To achieve a professional finish when spraying doors and trim, start by selecting the right equipment, like HVLP or conventional spray guns, and prepare a clean, well-ventilated workspace. Guarantee surfaces are sanded smooth, and use masking tape and drop cloths to protect surrounding areas. Apply even coats with consistent technique and proper spray distance, then allow ample drying and curing time. To master these tips and troubleshoot common issues, keep exploring further insights.
Key Takeaways
- Select the appropriate spray gun (HVLP or conventional) based on project size and detail for precise, even application.
- Properly sand and clean surfaces to ensure smooth paint adhesion and prevent imperfections.
- Mask edges accurately and protect surrounding areas to achieve clean lines and minimize touch-ups.
- Maintain consistent spray distance and overlapping strokes for uniform coats and professional finish.
- Allow adequate drying and curing time, and troubleshoot spray issues promptly for durable, flawless results.
Selecting the Right Spraying Equipment for Doors and Trim
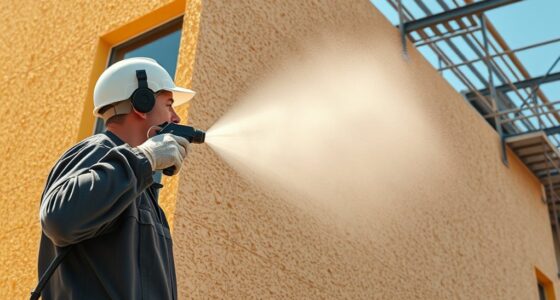
Choosing the right spraying equipment is vital for achieving a smooth, professional finish on doors and trim. Your choice of spray gun types impacts the quality and speed of your work. For detailed trim work, a smaller, HVLP (High Volume Low Pressure) spray gun offers precision and reduces overspray. Larger projects may benefit from a conventional spray gun for faster coverage. Additionally, understanding compressor requirements is essential; HVLP guns generally need a compressor with at least 3-4 CFM at 30-50 PSI, while conventional guns demand higher airflow. Make sure your compressor can supply consistent pressure and volume to avoid uneven application. Picking the appropriate spray gun type and verifying your compressor’s capabilities will streamline your project and deliver a professional finish on doors and trim. Proper preparation and choosing the right equipment are crucial elements in achieving a high-quality paint job on woodwork.
Preparing Your Workspace and Materials for Optimal Results
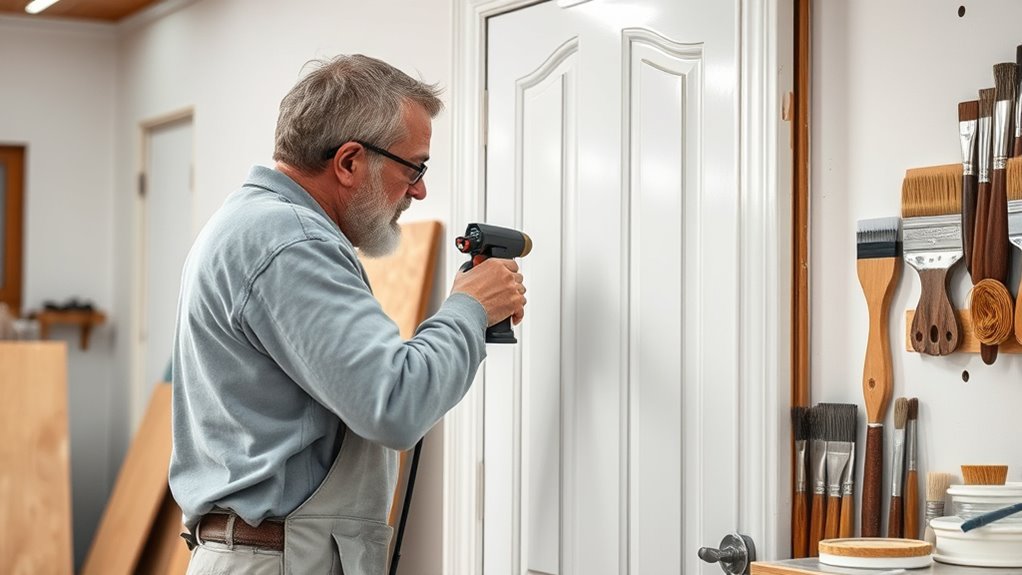
To achieve the best results when spraying doors and trim, you need to prepare your workspace and materials thoroughly. Start by organizing your workspace to create a clean, clutter-free environment that allows easy movement around your project. Clear surfaces of unnecessary tools and debris, and ensure proper ventilation. Proper material storage is essential—keep your paints, primers, and solvents sealed and stored upright to prevent spills and contamination. Arrange your spray equipment and materials within easy reach, so you don’t waste time searching for supplies. Protect surrounding areas with drop cloths or plastic sheeting, and set up lighting to ensure you can see your work clearly. Efficient workspace organization and careful material storage set the foundation for a smooth, professional spraying process. Additionally, understanding paint compatibility can help prevent issues with adhesion and finish quality, ensuring your project looks professional and lasting.
Surface Preparation and Sanding Techniques
To get a smooth finish, you need to focus on proper sanding techniques. Make sure you sand the surface thoroughly to remove imperfections and create an even base. Don’t forget to clean the surface well before you start painting to guarantee the best adhesion and results. Additionally, using the right filter replacement schedule can help maintain the quality of your work environment during the project.
Sanding for Smoothness
Before applying paint or stain to doors and trim, you need to sand the surfaces to achieve a smooth finish. Proper sanding enhances the grain pattern, revealing its natural beauty and ensuring the surface texture is even. Start with a medium-grit sandpaper to remove rough spots and old finishes, then switch to a fine-grit for a silky surface. Pay attention to the wood’s grain pattern, sanding with the grain to prevent scratches and imperfections. Consistent, light pressure helps avoid gouges, ensuring a uniform surface that’s ideal for spraying. Remember, well-sanded surfaces promote better adhesion of paint or stain and minimize the need for touch-ups later. Taking your time with sanding pays off with a professional-looking, smooth finish on your woodwork. For an optimal finish, consider the type of sanding technique suitable for your project.
Cleaning Before Painting
Cleaning the surfaces thoroughly is a crucial step before painting or staining doors and trim, as dirt, grease, and dust can hinder proper adhesion. Dust removal is essential to ensure a smooth finish, and surface priming can help seal the wood and improve paint adhesion. Before you start spraying, make sure to wipe down all surfaces with a damp cloth or tack cloth to eliminate dust particles. Inspect for any grease or grime and clean with a mild detergent if needed. Proper surface preparation creates a clean base for your paint, reducing the risk of imperfections. Remember, skipping cleaning can lead to uneven coverage and peeling. Using an appropriate air purifier during the process can help remove airborne dust and contaminants, ensuring a cleaner environment. Taking these steps guarantees a professional, durable finish on your doors and trim.
Choosing the Best Paints and Finishes for Spraying
Choosing the right paints and finishes is vital for a smooth spray job. You’ll need to take into account different types of paints, the finish options available, and how well they work together. Making these choices carefully guarantees a professional look that lasts. Considering personality traits such as patience and attention to detail can also significantly impact the outcome of your project.
Types of Paints
Selecting the right type of paint is essential for achieving a smooth, durable finish when spraying doors and trim. Your choice affects appearance, longevity, and ease of application. For a professional look, consider furniture paints designed for woodwork, which offer excellent adhesion and finish quality. Latex finishes are popular due to their quick drying times, low odor, and ease of cleanup. Other options include oil-based paints for durability and a smoother finish, or specialty primers to improve adhesion. Keep in mind that different paints work better with specific spraying equipment and techniques. Choosing the appropriate paint type ensures your project looks flawless and stands the test of time. Proper paint dilution and the right spray tips are also crucial for optimal results.
Finish Options Available
When it comes to spraying doors and trim, the finish you apply can dramatically impact the final look and durability of your project. You have several options, including lacquer options and stain finishes. Lacquers provide a smooth, glossy coating that dries quickly and offers a durable, professional appearance. They’re ideal if you want a sleek, high-shine finish. Stain finishes, on the other hand, enhance the wood’s natural beauty by adding color while allowing the grain to show through. These are perfect if you prefer a more natural or rustic look. Both options can be sprayed for an even application, but your choice depends on the desired aesthetic and level of protection. Consider the environment and use, and select the finish that best aligns with your project goals. Understanding different coating options can help you make an informed decision to achieve the best results.
Compatibility Considerations
To achieve a smooth and durable finish when spraying doors and trim, you need to contemplate the compatibility of your paints and finishes. Ensuring proper paint compatibility prevents issues like peeling, cracking, or uneven coverage. Consider both substrate compatibility—how well the paint adheres to the surface—and the type of paint used. Using incompatible products can compromise the finish’s longevity. Additionally, understanding self watering plant pots can provide insight into selecting materials that work well together and sustain long-term durability. Pay attention to these factors guarantees a professional-looking, lasting finish.
Proper Masking and Protection to Achieve Clean Edges
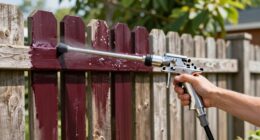
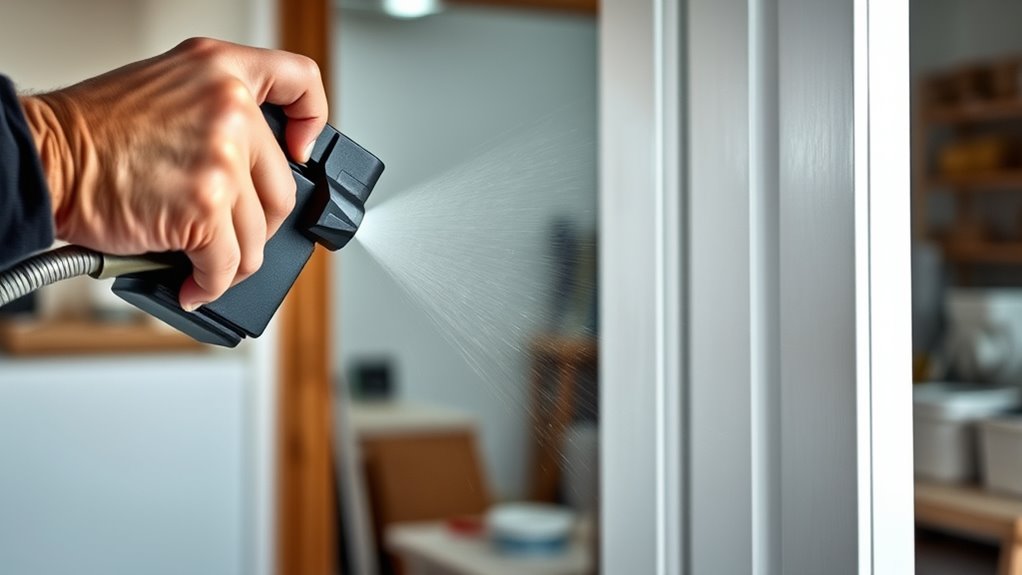
Achieving clean, sharp edges when spraying doors and trim depends heavily on proper masking and protection. Start with edge masking by carefully taping along the edges of the trim and surrounding surfaces. Use painter’s tape designed for delicate finishes to prevent bleed-through and ensure crisp lines. Cover the floor and nearby furniture with drop cloths to protect against overspray. Secure the cloths tightly to prevent shifting during spraying. Proper masking minimizes the need for touch-ups and keeps your work looking professional. Take your time to tape edges precisely, avoiding gaps that can cause paint bleed. Protecting surfaces thoroughly ensures a clean, sharp finish and makes cleanup easier. With careful masking, you’ll achieve the crisp, professional edges you’re aiming for. Additionally, understanding spraying techniques can help you apply the finish smoothly and evenly.
Techniques for Applying Spray Coats Evenly
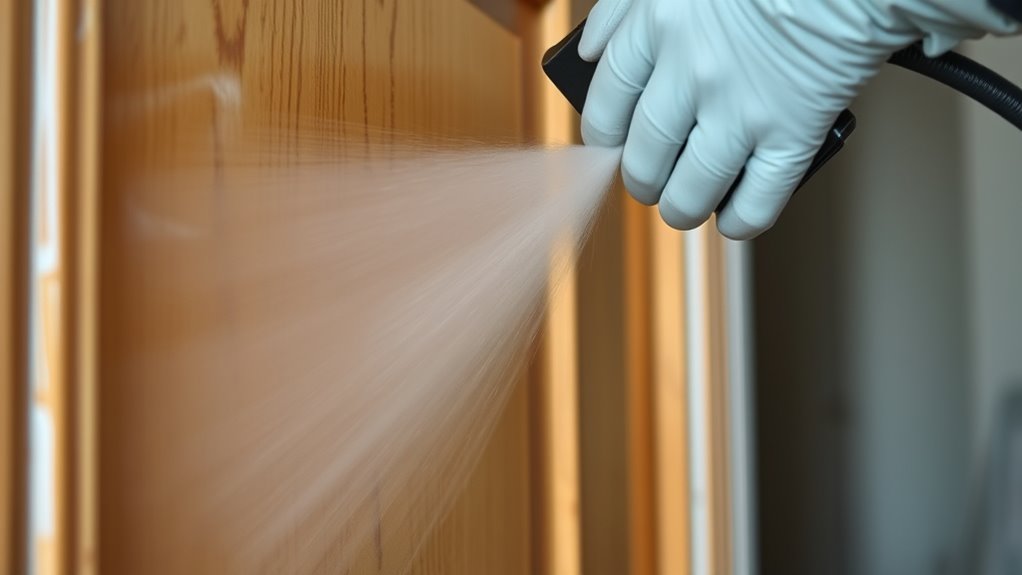
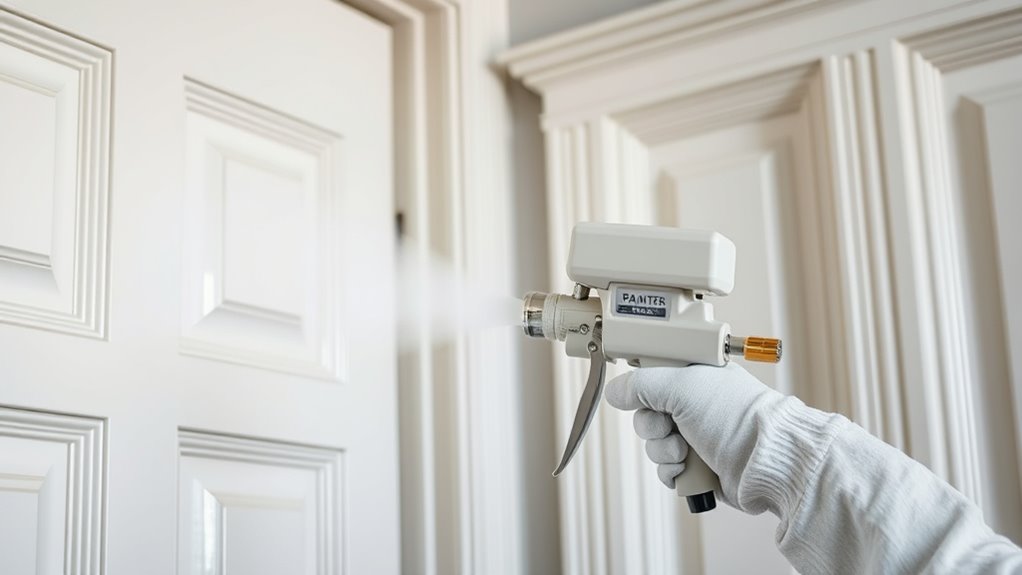
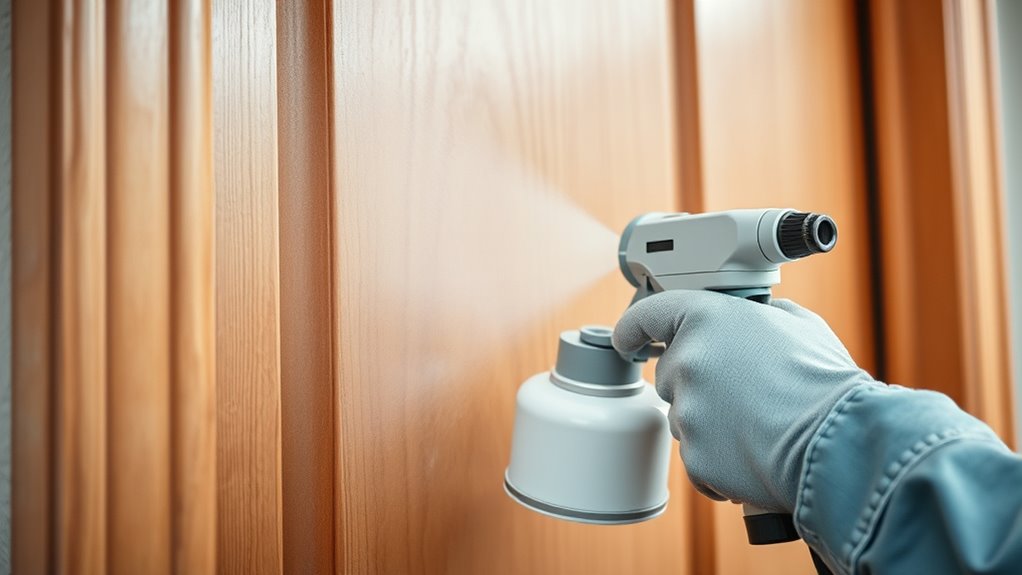
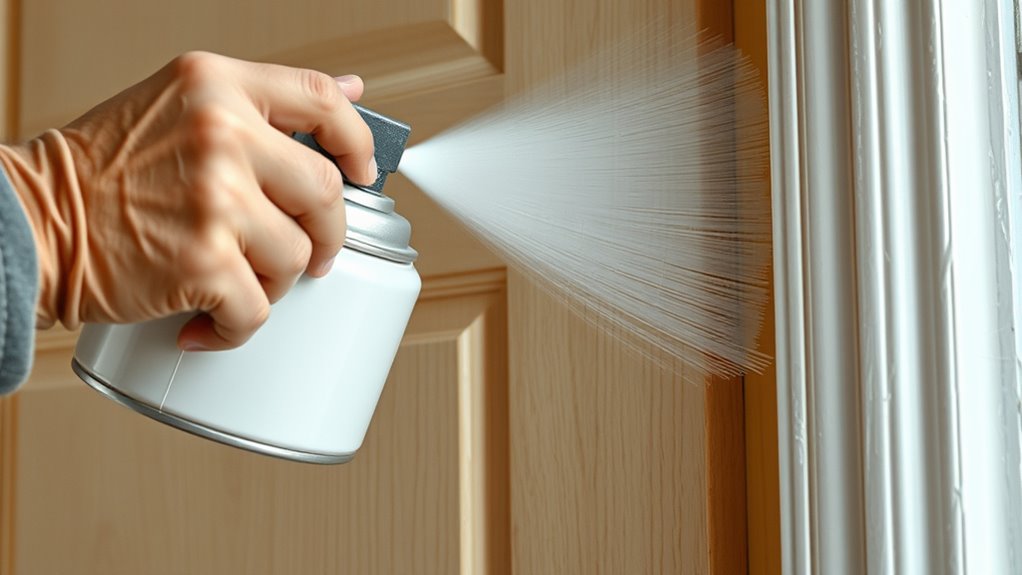
Applying spray coats evenly is essential for a smooth, professional finish. To achieve this, focus on maintaining consistent spray pattern and ideal paint atomization. Keep your spray gun at a steady distance from the surface, typically 6-12 inches, to ensure uniform coverage. Use smooth, overlapping strokes to prevent streaks and runs. Adjust your spray pattern to avoid uneven edges and maintain spray pattern consistency. Consistently monitor your trigger control to prevent too much paint from pooling. Regularly clean and check your equipment to maintain proper paint atomization. Practice on scrap wood to develop a steady hand and better control. Remember, patience and attention to detail are key to applying even spray coats for a flawless finish. Incorporating vertical storage solutions can also help keep your workspace organized, making your spraying process more efficient.
Drying, Curing, and Finishing Touches for a Flawless Look
Once you’ve finished spraying, allowing the paint to dry and cure properly is vital for a professional-looking finish. The drying process varies based on paint type and environmental conditions, so patience is key. Typically, you’ll need to wait for the curing time before handling or reinstalling the door and trim. Rushing this step can lead to smudges or damage. Use the table below to understand the importance of each phase:
| Drying Process | Curing Time |
|---|---|
| Allows solvents to evaporate | Ensures the finish hardens |
| Affects surface smoothness | Determines durability |
| Can be sped up with good ventilation | Varies by paint and conditions |
| Vital for avoiding imperfections | Essential for a flawless look |
Following the proper curing process also contributes to color accuracy and the overall quality of the finish.
Follow these steps, and your work will achieve a durable, flawless finish.
Troubleshooting Common Spray Painting Challenges

Spray painting can present several common challenges that may affect your final finish, but many of these issues are manageable with proper troubleshooting. If you notice uneven coverage, drips, or orange peel texture, consider adjusting your brush techniques or checking your paint mixing. Poor spray patterns often stem from inconsistent pressure or nozzle issues, so inspect your equipment regularly. To fix runs or sags, reduce your spray thickness and maintain a steady hand. If paint appears too thick or thin, revisit your paint mixing process for proper viscosity. Troubleshooting also involves cleaning your spray gun thoroughly to prevent clogs. Keep these tips in mind:
- Adjust your spray gun pressure
- Improve your brush techniques for touch-ups
- Ensure proper paint mixing
- Maintain consistent distance and speed
- Clean equipment regularly
- Be aware of nozzle maintenance to ensure optimal spray patterns and prevent uneven application.
Frequently Asked Questions
How Can I Prevent Drips and Runs During Spray Painting?
To prevent drips and runs during spray painting, you should focus on proper technique. Use smooth, even brush techniques for detailed areas, but rely on consistent spray pattern adjustment for larger surfaces. Keep the spray gun moving at a steady pace, avoiding lingering in one spot. Adjust your spray pattern to guarantee even coverage, and apply thin coats. This approach helps you achieve a professional finish without drips or runs.
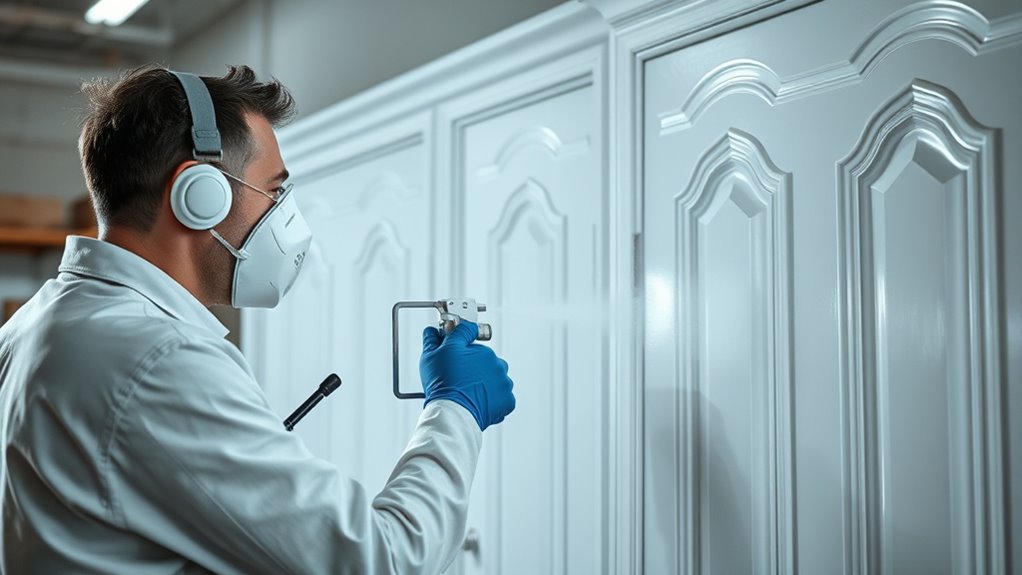
What Safety Precautions Should I Follow When Using Spray Equipment?
Think of spray equipment safety like wearing armor—you need protective gear to shield yourself from fumes and chemicals. Always wear a mask, goggles, and gloves, and guarantee proper ventilation to prevent inhaling harmful particles. I once skipped ventilation and got dizzy; safety precautions save you from similar mishaps. Keep your workspace well-ventilated and gear up properly to stay safe and healthy while spraying.
How Do I Achieve a Uniform Color on Multiple Doors and Trims?
To achieve a uniform color on multiple doors and trims, focus on color matching by mixing your paint thoroughly and using the same batch for all pieces. Maintain consistent spray patterns, pressure, and distance to guarantee finish consistency. Test your spray on scrap wood first, and keep your equipment clean to prevent color variations. These steps help you get a smooth, professional look with an even, matching finish across all your woodwork.
Can I Spray Paint Over Existing Finishes or Coatings?
You can spray paint over existing finishes if you guarantee proper surface preparation and paint compatibility. First, clean the surface thoroughly to remove dirt, oils, or loose paint. Lightly sand the existing coating to create a rough texture for better adhesion. Check that the new paint is compatible with the old finish. This process helps achieve a smooth, professional look without peeling or uneven coverage.
What Are the Best Cleaning Methods for Spray Equipment After Use?
Your spray equipment is a powerful beast that needs proper care to keep performing at its best. After use, you should thoroughly clean it with suitable cleaning solutions to prevent clogs and buildup. Disassemble the parts, rinse with water or appropriate solvent, and use brushes if necessary. Proper equipment maintenance guarantees smooth operation and a flawless finish every time, saving you time and effort in the long run.
Conclusion
Think of spray painting your doors and trim like sculpting a masterpiece—you’re shaping smooth, flawless surfaces with each even coat. I once saw a novice transform a rough wood piece into a mirror-like finish with patience and proper technique, proving that the right tools and prep make all the difference. With practice, you’ll turn everyday woodwork into stunning, professional-looking features—your home’s own gallery of craftsmanship. Keep refining your skills, and perfection will follow.