
When using an airless sprayer on stucco and textured walls, you should select a high-capacity sprayer with adjustable pressure, and use larger tips like 617 or 621 for heavy textures. Before spraying, thoroughly prepare and thin the paint if needed, and test on scrap surfaces. Maintain steady motion, keep the nozzle perpendicular, and overlap passes evenly. Proper safety gear and cleaning are essential. Continue exploring these tips to make certain a professional finish on your textured surfaces.
Key Takeaways
- Select a robust sprayer with adjustable pressure settings suitable for thick, textured surfaces.
- Use larger tip sizes (e.g., 617 or 621) for heavy textures and ensure proper paint thinning.
- Maintain consistent distance (around 12 inches) and overlapping strokes for even coverage.
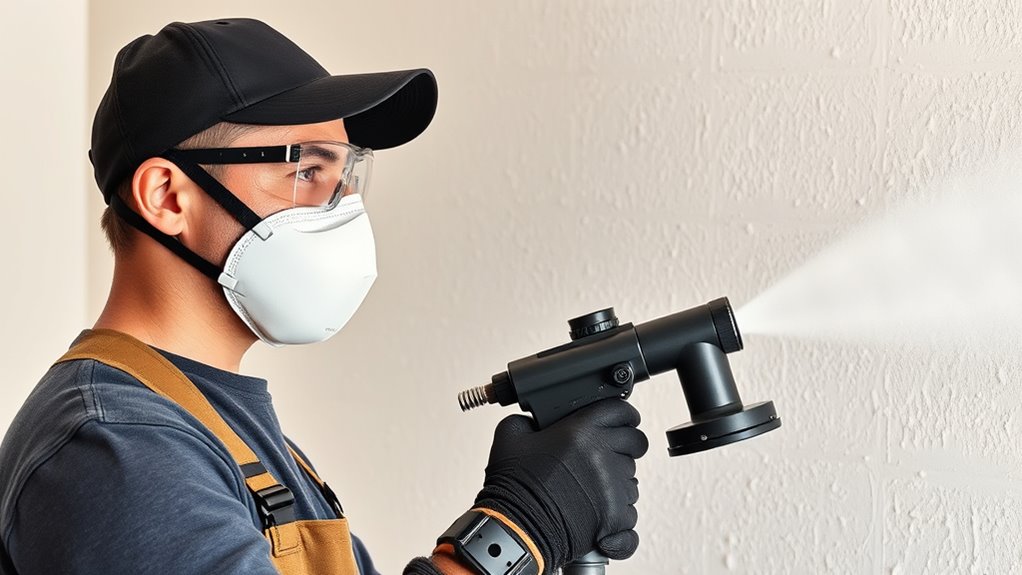
- Wear appropriate safety gear, including goggles, respirator, and protective clothing during spraying.
- Clean all equipment thoroughly after use to prevent clogging and ensure longevity.
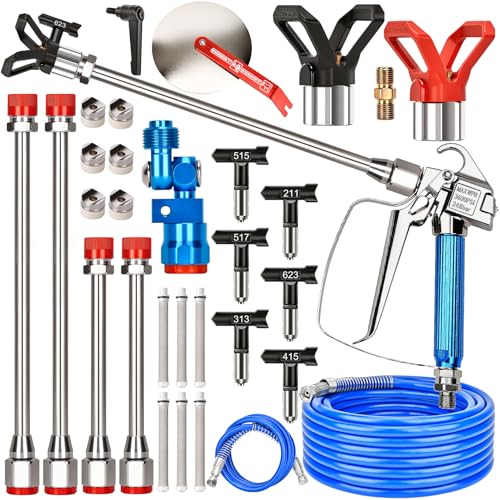
25PCS Airless Paint Sprayer Gun Kit, 3600PSI Airless Spray Gun with 50Ft and 4.92Ft High Pressure Hose, 6PCS Reversible Spray Tips & 6PCS Filters & 4PCS Extension Rod & Guide Tool & 2PCS Nozzle Seat
- Clog-Free, Smooth Spraying: Precision filters and reversible tips reduce clogs
- Complete Spray Gun Kit: Includes spray gun, tips, filters, hoses, and accessories
- Versatile Application: Suitable for indoor and outdoor surfaces
As an affiliate, we earn on qualifying purchases.
As an affiliate, we earn on qualifying purchases.
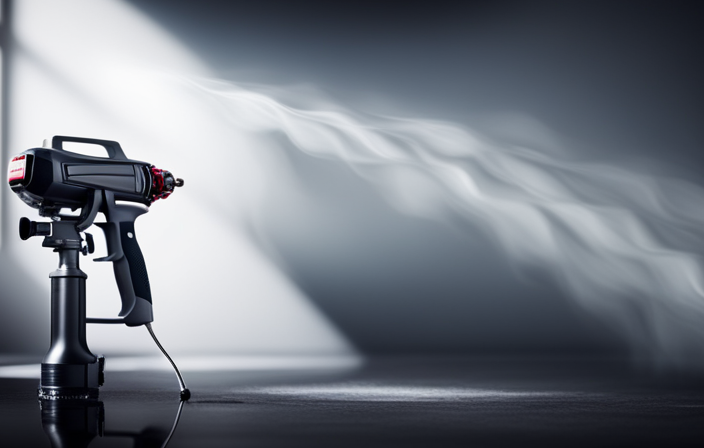
Selecting the Right Airless Sprayer for Textured Surfaces
Choosing the right airless sprayer for textured surfaces is essential to achieve an even, professional finish without frustration. You need a sprayer with high sprayer durability to handle thick, uneven paint layers typical of stucco and textured walls. Consider a model that can withstand frequent use and is built with robust materials. Pay attention to paint viscosity; textured surfaces often require thicker paint, so your sprayer should accommodate higher viscosity without clogging. A sprayer with adjustable pressure settings helps you control the flow and spray pattern, ensuring you cover rough surfaces evenly. Selecting a unit designed for heavy-duty use and capable of managing various paint viscosities guarantees smoother application and a more consistent, professional-looking finish.
Preparing Your Workspace and Surface for Painting
Before you start painting, it’s important to properly prepare your workspace and the surface you’re working on. Surface preparation ensures your paint adheres well and lasts longer, so clean the walls thoroughly to remove dust, dirt, and loose debris. Repair any cracks or holes with suitable filler, then sand smooth to create an even surface. For workspace setup, clear the area of furniture, cover nearby surfaces with drop cloths, and ensure good ventilation. Protect floors with plastic sheeting or drop cloths to prevent overspray. Checking the weather forecast helps avoid painting in rain or extreme humidity. Additionally, understanding self watering plant pots can help you maintain your plants effectively during the project. By organizing your workspace and prepping the surface, you set the stage for a clean, efficient painting process that yields professional results.
Choosing the Appropriate Tip Size for Stucco and Textured Walls
Choosing the right tip size is vital for achieving a smooth, even coat on textured walls. You need to take into account your wall’s texture compatibility, as different textures require specific tip sizes for ideal coverage. Proper tip selection also impacts spray pattern precision, making your job easier and results more professional. Additionally, understanding the bedroom design style can help ensure your painting choices complement the overall aesthetic.
Wall Texture Compatibility
Selecting the right spray tip size is essential when working with stucco and textured walls, as it directly affects the quality and consistency of your finish. The wall surface’s texture influences how the paint adheres and spreads. A rougher surface may require a larger tip to ensure proper coverage, while smoother textures benefit from a smaller tip for detailed application. Using the wrong size can lead to uneven spray, missed spots, or poor paint adhesion. Consider the wall’s texture and choose a tip accordingly:
| Wall Texture | Recommended Tip Size |
|---|---|
| Fine or Smooth | 311 or 313 |
| Medium Texture | 415 or 517 |
| Heavy Texture | 617 or 621 |
Matching the tip size to wall texture guarantees ideal paint adhesion and a flawless finish.
Tip Size Recommendations
Picking the right spray tip size is key to achieving a professional finish on stucco and textured walls. The tip size influences how much paint is atomized and how well it covers uneven surfaces. For thicker paint with high viscosity, use a larger tip (around 0.021-0.027 inches) to ensure proper flow. Conversely, if your paint is thinner, opt for a smaller tip to prevent overspray. Your brush techniques also impact the outcome—using consistent, controlled movements helps distribute paint evenly. Remember, a larger tip may require adjusting your spraying distance or pressure to avoid coating issues. Matching the tip size to your paint viscosity and your technique guarantees ideal coverage, minimizes waste, and delivers a smooth, professional-looking finish on textured surfaces. Additionally, understanding Kia Tuning options can help optimize your vehicle’s performance, just as selecting the correct spray tip optimizes your painting results.
Spray Pattern Precision
To achieve a precise spray pattern on stucco and textured walls, it’s vital to match your spray tip size to the surface’s unevenness. Using the correct tip ensures spray pattern consistency, preventing overspray or missed spots. Smaller tips provide more control and a finer pattern, ideal for detailed areas, while larger tips cover textured surfaces more evenly. Proper nozzle alignment is essential; misalignment causes uneven spray and inconsistent coverage. Hold the sprayer steadily, keeping the nozzle perpendicular to the wall. Adjust your distance and angle based on the surface texture to maintain uniform coverage. Additionally, understanding the mechanics of pinball machines can help inform how to optimize equipment settings for different surfaces. Taking these steps ensures your coat is even, with minimal overspray, resulting in a professional finish on your stucco or textured walls.
Mixing and Thinning Paint for Optimal Spray Performance
Achieving the best spray results requires properly mixing and thinning your paint beforehand. Start with thorough paint mixing to ensure pigment and additives are evenly distributed, preventing inconsistencies in coverage. Next, assess if your paint needs thinning; thicker paints can clog the sprayer or cause uneven spray patterns. To thin paint, add small amounts of water or the recommended thinning agent gradually, stirring constantly until you reach the ideal consistency—similar to milk. Proper paint thinning reduces viscosity, enabling smoother flow through the sprayer nozzle and creating a uniform finish. Always test the paint’s sprayability on a scrap surface before starting your project. Correct paint mixing and thinning are essential steps to achieve professional-looking results on stucco and textured walls.
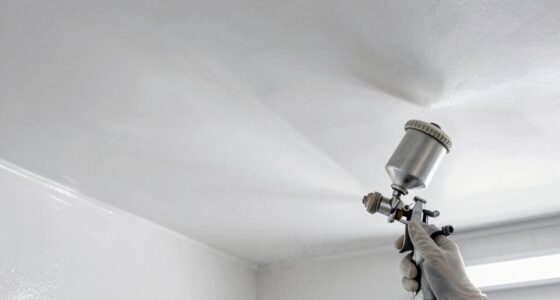
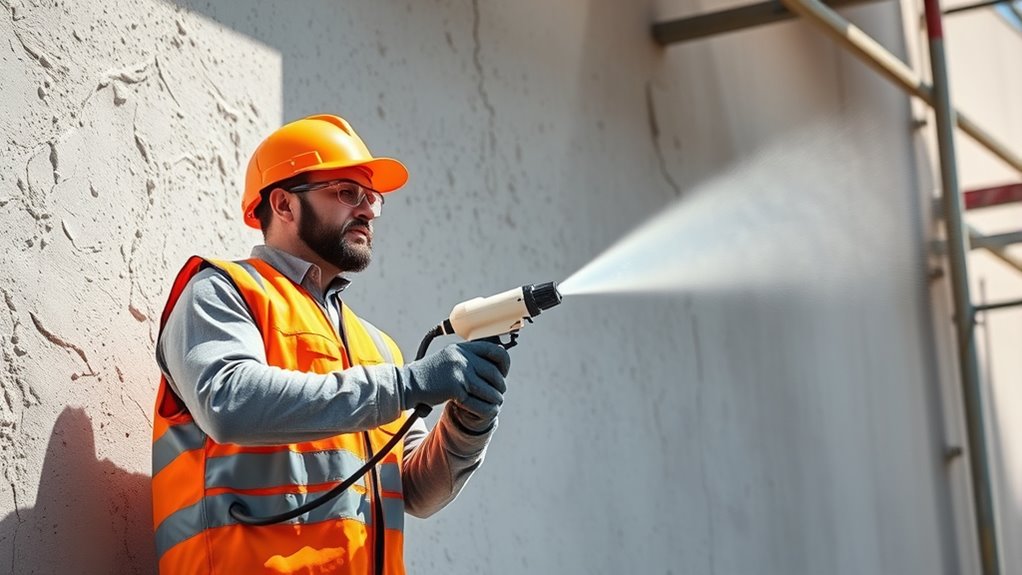
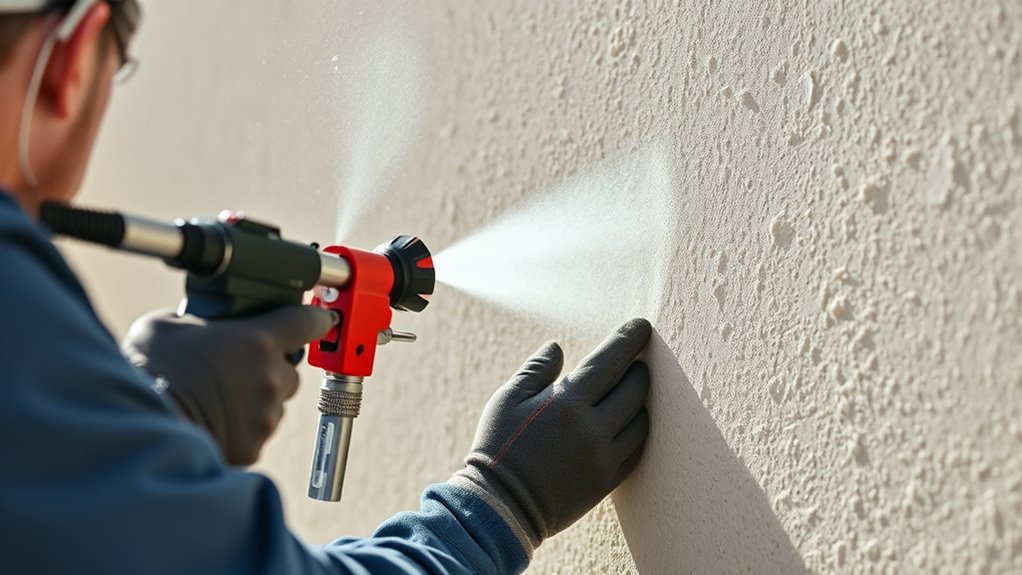
Techniques for Applying Paint on Stucco and Textured Finishes
When applying paint to stucco and textured surfaces, using the right technique guarantees even coverage and a smooth finish. Keep your spray at a consistent distance and use overlapping passes to prevent streaks. To achieve accurate color matching, test colors on small sections first, ensuring your choice complements the environment and existing structures. Pay attention to environmental considerations by using low-VOC paints and minimizing overspray. Use a steady, controlled motion to avoid uneven textures or drips. Additionally, understanding color accuracy can help ensure your finish looks vibrant and true to the desired palette.
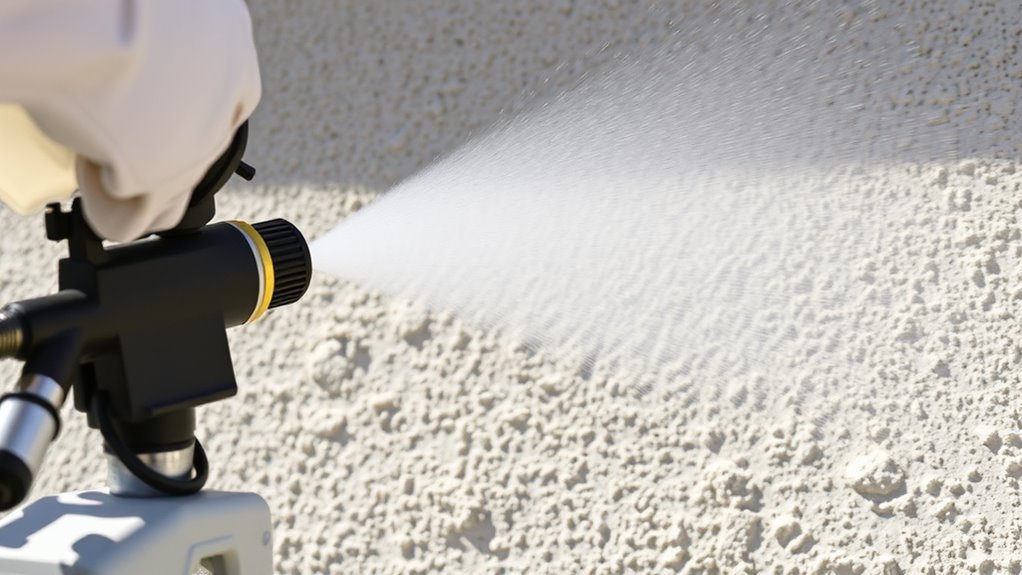
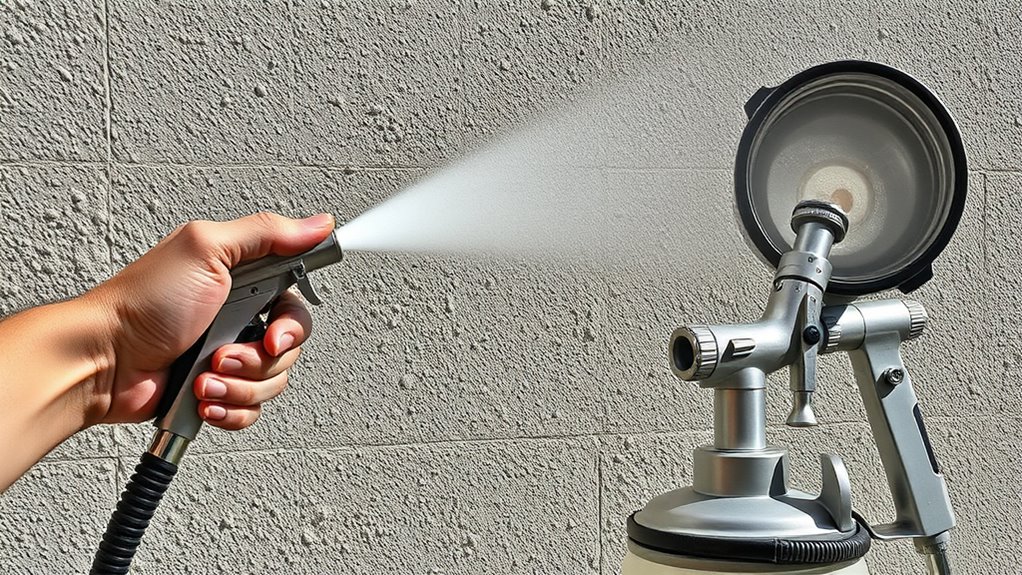
Managing Spray Settings for Even Coverage and Reduced Overspray

To achieve even coverage and minimize overspray, you need to manage your spray settings carefully. Keep the pressure consistent and adjust it based on the wall’s texture, and maintain a steady distance from the surface. Using the right spray pattern guarantees a smooth, even coat without wasting paint. Additionally, selecting the appropriate comfort solutions can make the painting process more manageable and reduce fatigue during extended work sessions.
Adjust Pressure Settings Carefully
Adjusting your airless sprayer’s pressure settings is crucial for achieving even coverage and minimizing overspray on stucco and textured walls. Proper pressure adjustment ensures the spray pattern is consistent and prevents paint from pooling or bouncing off uneven surfaces. Start with a lower pressure and gradually increase until you find the ideal level for your wall texture. Spray calibration is essential—test on a scrap piece first to fine-tune your settings. Too high pressure can cause overspray and waste, while too low might lead to uneven coverage. Always monitor your spray pattern and adjust the pressure accordingly. Precise control over your pressure settings helps you achieve a smooth, professional finish while conserving paint and reducing mess. Additionally, understanding fabric decorating markers can assist in touch-ups or detailed work on textured surfaces.
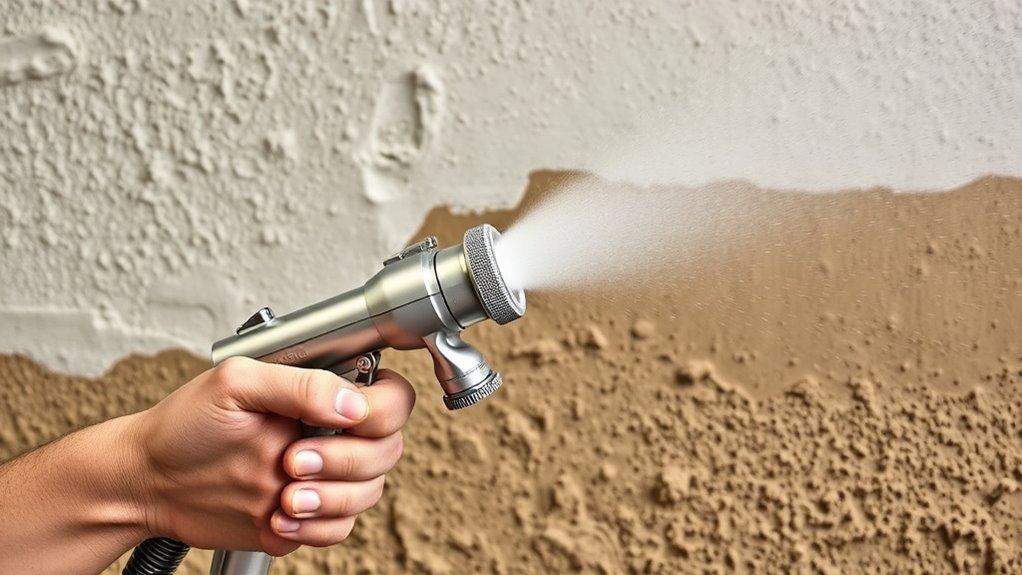
Maintain Consistent Distance
Maintaining a consistent distance between the spray nozzle and the wall is key to achieving even coverage and minimizing overspray. Keep the nozzle about 12 inches from the surface, adjusting as needed for textured areas. Use smooth, controlled brush techniques to overlap passes evenly. Proper paint mixing ensures consistent spray flow, reducing uneven spots. Consistency helps prevent drips and wasted material. Additionally, understanding vetted spray techniques can further enhance your application for a professional finish.
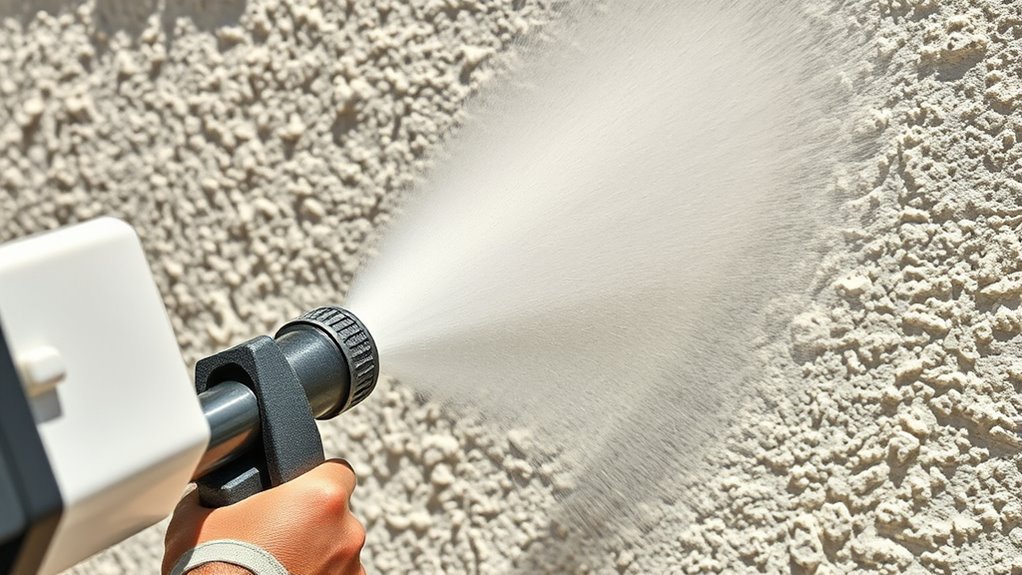
Use Proper Spray Pattern
Using the proper spray pattern is essential for achieving even coverage and minimizing overspray when working on stucco and textured walls. Maintaining spray pattern consistency ensures that the coating is applied uniformly, reducing the need for touch-ups. Proper nozzle alignment helps you keep the spray even and controlled. To optimize your spray pattern, focus on these key points:
- Keep the nozzle perpendicular to the wall for consistent spray pattern.
- Adjust your distance to maintain an even fan width.
- Use smooth, overlapping strokes to avoid streaks.
- Regularly check and clean the nozzle to maintain spray pattern consistency.
- Considering the texture of the wall can also influence the spray pattern and coverage, so adjust your technique accordingly.
Safety Precautions and Protective Gear When Using an Airless Sprayer
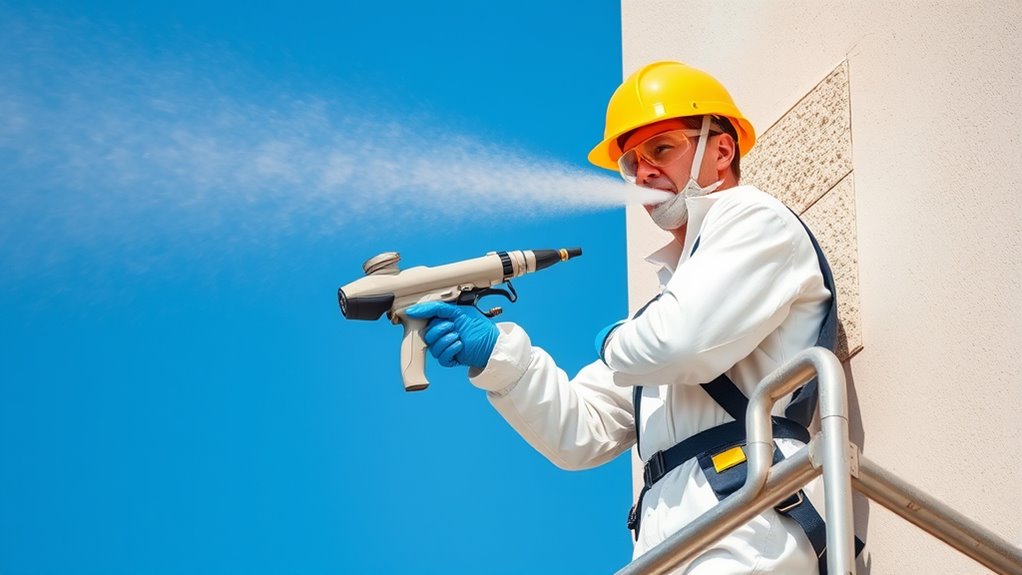
Before operating an airless sprayer on stucco or textured walls, it’s vital to prioritize safety by wearing appropriate protective gear. Safety precautions include goggles or a face shield to protect your eyes from overspray and debris. Wear a respirator or mask to prevent inhaling fumes or fine spray particles, especially in enclosed areas. Long-sleeved shirts, gloves, and coveralls shield your skin from paint and chemical exposure. Hearing protection is also recommended, as sprayers can be noisy. Always check your equipment for leaks or damage before use. Remember, following safety precautions not only keeps you safe but also ensures a smoother, more efficient painting process. Proper protective gear is essential when handling an airless sprayer on textured surfaces. Additionally, understanding air purifier features and technology can help you choose the right equipment to improve indoor air quality during and after painting projects.
Cleaning and Maintaining Your Sprayer After Use
After finishing your painting project, it’s vital to clean your airless sprayer thoroughly to keep it in ideal condition. Proper cleaning routines prevent clogs, maintain consistent spray quality, and extend the sprayer’s lifespan. First, flush out leftover paint with water or solvent, depending on the material used. Disassemble key parts like the nozzle and filters, then clean them with a brush. Make sure to check for paint residue in hoses and chambers. Once cleaned, dry all parts completely to prevent rust. For storage tips, store the sprayer in a dry, dust-free area, ideally covered to avoid dust buildup. Regular maintenance ensures your sprayer stays in top shape, ready for your next project. Additionally, using proper storage techniques can help prevent damage and prolong the life of your equipment. Proper cleaning routines and storage are vital for long-term performance.
Frequently Asked Questions
Can I Spray Multiple Coats on Textured Walls Without Causing Damage?
You can spray multiple coats on textured walls, but you need to be careful. Use a proper spray technique to avoid overspray or damaging the surface. Make sure to prepare the surface properly by cleaning and repairing any cracks or holes beforehand. Applying thin, even coats helps prevent damage and assures good adhesion. Patience is key—wait for each coat to dry completely before applying the next to achieve a durable, professional finish.
How Do I Prevent Paint Drips and Runs on Textured Surfaces?
To prevent paint drips and runs on textured surfaces, you should focus on proper brush techniques and paint consistency. Use a brush to smooth out thick or uneven areas, feathering the edges for even coverage. Keep your paint not too thick or thin—aim for a pourable consistency. Work in thin layers, and avoid overloading your brush or sprayer, which helps minimize drips and guarantees a smooth, professional finish.
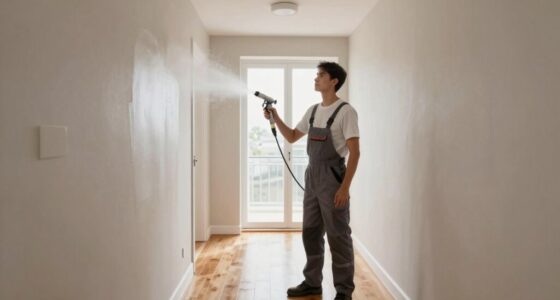
Is It Possible to Use an Airless Sprayer Indoors on Textured Walls?
You might think indoor spraying on textured walls isn’t possible, but with proper surface preparation, it can be effective. Investigate whether your sprayer’s pressure suits indoor use to prevent overspray and mess. Guarantee the area is well-ventilated, cover floors and furniture, and seal off vents. Using an airless sprayer indoors requires careful planning, but it can save time and give a smooth finish if you prep the surface and environment properly.
What Are Common Troubleshooting Issues During Spraying Textured Surfaces?
When spraying textured surfaces, you might encounter troubleshooting issues like uneven spray patterns or clogging. To fix these, check your spray pattern adjustments to guarantee even coverage and prevent drips. Regularly clean your nozzle to prevent clog buildup, which can cause uneven spray or stops. Keep an eye on pressure settings too, as incorrect pressure can lead to inconsistent application. Consistent maintenance helps you achieve a smooth, professional finish.
How Does Humidity Affect the Spraying Process on Stucco Walls?
Ever wondered how humidity impacts your spray job? High humidity can cause your paint or coating to dry slowly, leading to uneven spray consistency. It may result in runs, sags, or inconsistent texture on stucco walls. To get the best results, you should spray when humidity levels are moderate, avoid high moisture conditions, and adjust your pressure accordingly. This ensures a smooth, professional finish despite challenging weather.
Conclusion
Now that you’re armed with tips to conquer stucco and textured walls, go ahead—embrace the chaos of overspray and the thrill of uneven coverage. After all, perfect paint jobs are overrated, right? Just remember, a little mess adds character… or so we tell ourselves. Happy spraying! And if all else fails, blame the wall—after all, it’s textured, so it’s probably hiding your masterpiece anyway.