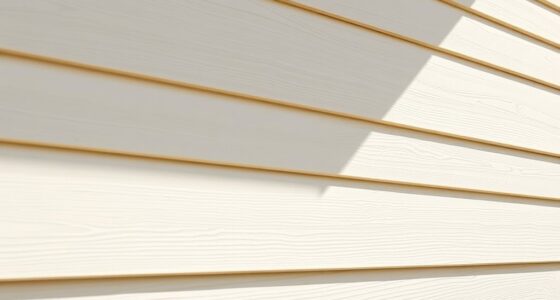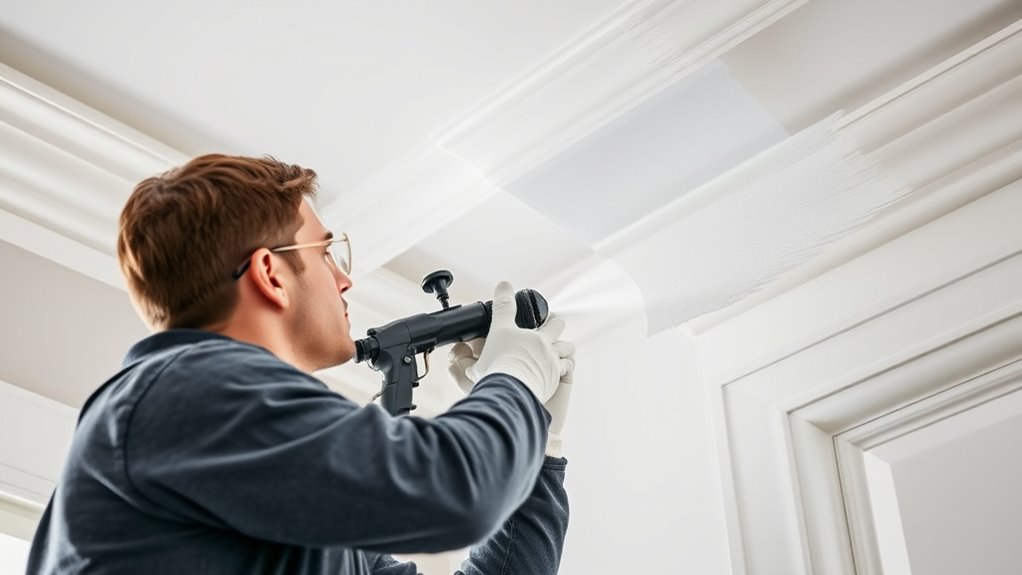
To paint crown molding with an airless sprayer, first prepare your workspace by covering surfaces and masking around the molding. Choose a sprayer with adjustable pressure and tips suitable for detail work, and thin your paint slightly. Keep a steady hand, maintain about 12 inches distance, and use smooth overlapping strokes for an even finish. Proper cleanup and troubleshooting ensure professional results. For detailed steps and expert tips, continue exploring techniques that make your project easier and flawless.
Key Takeaways
- Use a sprayer with a small tip and low pressure to ensure precise, smooth coverage on detailed crown molding.
- Thoroughly prepare surfaces and mask surrounding areas to prevent overspray and achieve clean lines.
- Thin the paint slightly and test spray pattern on scrap to avoid drips and ensure even application.
- Maintain consistent distance and overlap strokes for a professional finish, applying multiple thin coats as needed.
- Clean and maintain the sprayer properly after use to prevent clogs and ensure optimal performance for future projects.

VONFORN Paint Sprayer, 700W HVLP Spray Gun with Cleaning & Blowing Joints, 4 Nozzles and 3 Patterns, Easy to Clean, for Furniture, Cabinets, Fence, Walls, Door, Garden Chairs etc. VF803 Yellow
【4 Nozzles & 3 Spray Patterns】VONFORN 700W paint sprayer includes 4 nozzle sizes (1.0mm, 1.5mm, 2.0mm, 3.0mm) to…
As an affiliate, we earn on qualifying purchases.
As an affiliate, we earn on qualifying purchases.
Preparing Your Workspace and Materials

Before you begin painting your crown molding with an airless sprayer, it’s essential to prepare your workspace and gather the right materials. Start by clearing the area and covering nearby surfaces with drop cloths to protect against overspray. Safety precautions are vital, so wear protective gear like goggles, a mask, and gloves to avoid inhaling fumes or getting paint on your skin. Proper material selection is also crucial; choose high-quality, compatible paint suited for crown molding. Keep your tools organized and within reach to streamline the process. Ensure good ventilation to disperse fumes and maintain a safe environment. Taking these steps before you spray will help you achieve a smooth finish while keeping safety and efficiency your top priorities. Additionally, understanding sound vibrations can promote a calming environment during your project, making the process more enjoyable and effective. Recognizing paint adhesion techniques can further improve the longevity and quality of your paint job. Being aware of electric bike horsepower can also enhance your understanding of the equipment’s performance, even if not directly related to painting. Incorporating knowledge of lead safety measures can help prevent hazardous exposure during preparation and painting.

Gyfent X9 Airless Paint Sprayer, 0.39GPM Paint Sprayer for Home Interior 650W 3000psi Airless Sprayer with Low Overspray Adjustable Pressure & Motor Speed for House Painting DIY Garage
X9 Airless Paint Sprayer: This airless paint sprayer has soft spraying effect, which can make the paint spray…
As an affiliate, we earn on qualifying purchases.
As an affiliate, we earn on qualifying purchases.
Choosing the Right Airless Sprayer and Settings
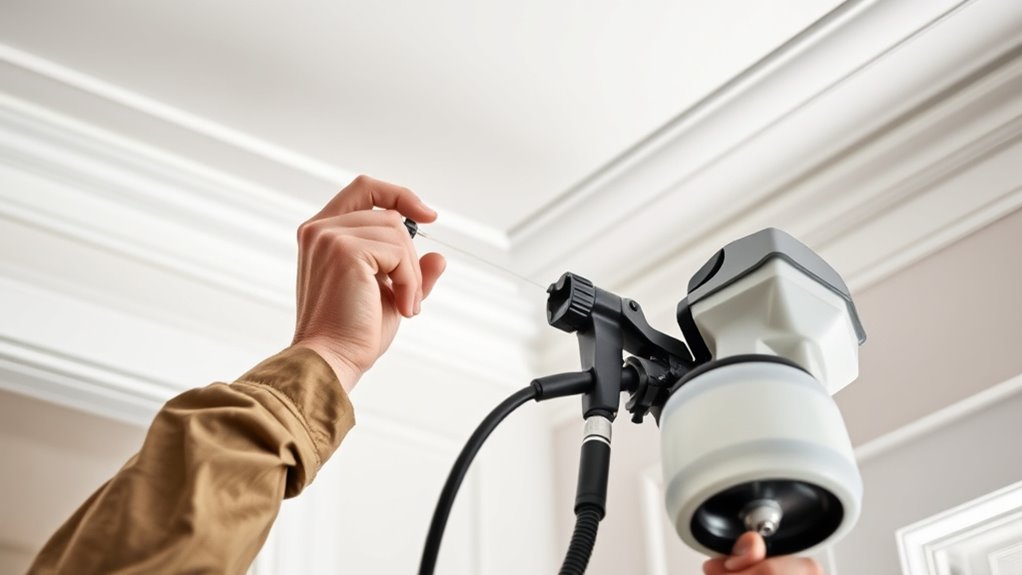
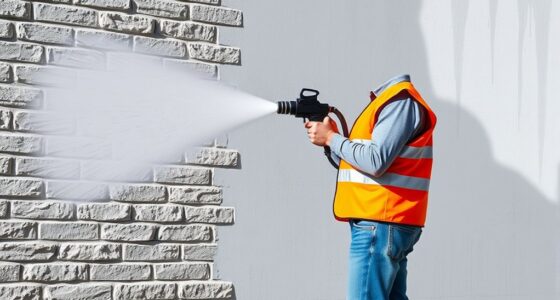
Selecting the right airless sprayer and adjusting its settings are key steps to achieving a professional-looking crown molding finish. Start by choosing a sprayer with the appropriate pressure and tip size for detailed work. Smaller tips and lower pressure help prevent drips and ensure smooth coverage. Remember, proper sprayer maintenance is essential for consistent results; clean the equipment thoroughly after each use. When spraying, you might need to thin the paint slightly to improve flow and reduce clogging, especially with thicker paints. Test your spray pattern on a scrap piece before starting on the molding. Adjust the pressure and paint consistency as needed. Maintaining consistent sprayer performance and taking these steps guarantees a clean, even coat and minimizes the risk of overspray or uneven coverage. Additionally, understanding paint viscosity and how it affects spray application can help you fine-tune your setup for optimal results. Being aware of emotional support strategies can also be beneficial when working through challenging projects or dealing with stress related to home improvements. Proper airless sprayer technique and adjustment of spray settings ensures a smoother finish and reduces material waste, making your project more efficient.

Spray Can Nozzle for Male Cans Bottle Nozzle Replacement – Spray Can Tips – for DIY Paint Art Street Art and Home Improvement (10)
Package Included: You will receive 10pcs Female Spray Can Nozzle. 10 kind different of spray paint nozzles of…
As an affiliate, we earn on qualifying purchases.
As an affiliate, we earn on qualifying purchases.
Properly Masking and Protecting Surrounding Areas
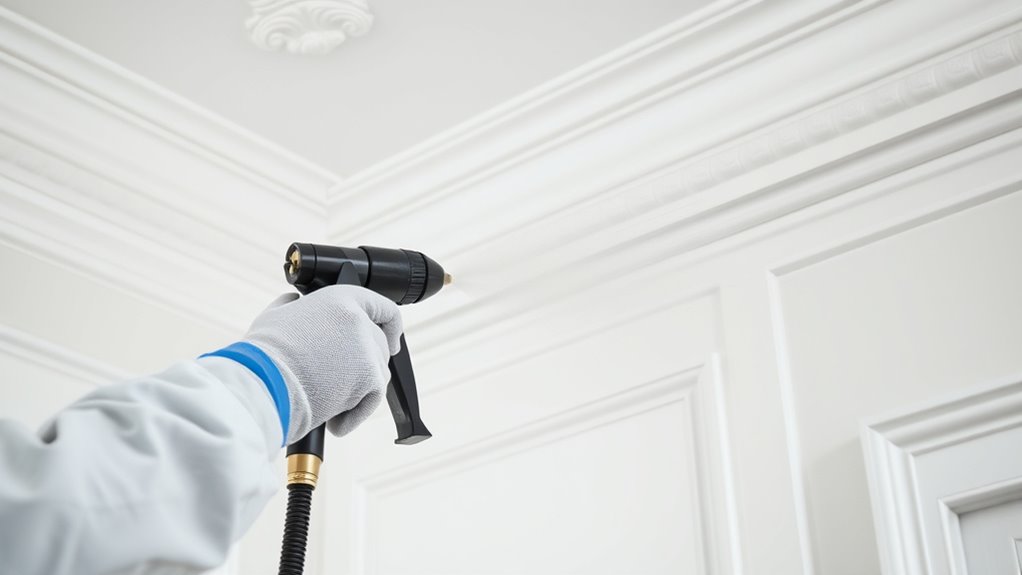
Before you start spraying, make sure to cover adjacent surfaces with painter’s tape and drop cloths. This safeguards your walls and furniture from overspray and keeps your workspace clean. Taking these steps ensures a smooth, professional finish without unintended paint spots. Additionally, using proper masking techniques can help prevent accidental paint on areas that should remain unpainted.
Cover Adjacent Surfaces
To achieve clean, professional results when painting crown molding with an airless sprayer, it’s vital to protect surrounding surfaces. Properly covering adjacent areas ensures sharp edge detailing and prevents overspray from settling on surfaces that don’t need paint. Using painter’s tape to mask off edges along walls and ceilings, creating a clean line for surface priming and edge detailing. Cover furniture, floors, and fixtures with plastic sheeting or drop cloths to guard against overspray. Guarantee all surfaces near the molding, like wall textures or decorative trim, are securely masked, reducing touch-ups later. Additionally, proper surface preparation enhances adhesion and paint finish, making your project easier and more successful. This careful coverage minimizes mess and helps your painting process go smoothly, giving you a flawless, professional finish. Being mindful of paint overspray control is essential for achieving precise results and protecting other parts of your space. Monitoring market trends and insights can also inform your project timeline, ensuring optimal conditions for painting success. Incorporating proper masking techniques with high-quality materials can further improve the overall outcome of your project. Moreover, using advanced sprayer technology can help achieve more even coatings with less effort.
Use Drop Cloths
Since drop cloths are essential for catching overspray and protecting your belongings, it’s important to set them up properly before you start spraying. Lay down drop cloths over furniture, floors, and nearby surfaces to guarantee thorough surface coverage. Secure the edges with painter’s tape if needed to prevent any shifting. Make sure the cloths cover all areas that could be affected by overspray, including vents, fixtures, and adjacent walls. Use multiple layers if necessary for added durability. Properly positioned drop cloths will catch overspray, keeping your space clean and minimizing touch-ups. Additionally, considering the right protective equipment like masks and gloves can help ensure safety during painting. It is also helpful to prepare your workspace by removing or covering any items that could be damaged or stained. This attention to detail is especially important when working around sensitive surfaces that require extra care. Properly securing and maintaining a clean workspace can further prevent mishaps and ensure a smooth painting process. Taking these steps ensures your crown molding painting project stays neat and efficient, saving you time and effort during cleanup.
Masking Master Painters Tape Applicator, 5X Faster Tape Dispenser with Integrated Scraper, One-Step Precision Paint Tape Tool for Baseboards Windows Door Frames, Bleed-Proof Clean Paint Lines
Masking Master Tape Dispenser for Precise Gap Application:This professional painters tape applicator maintains a stable 1mm consistent gap…
As an affiliate, we earn on qualifying purchases.
As an affiliate, we earn on qualifying purchases.
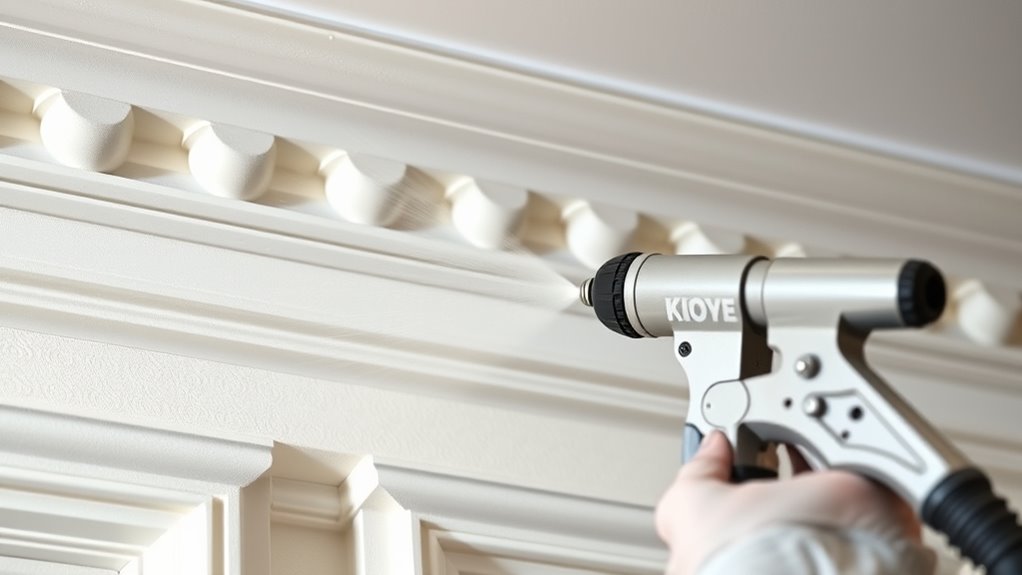
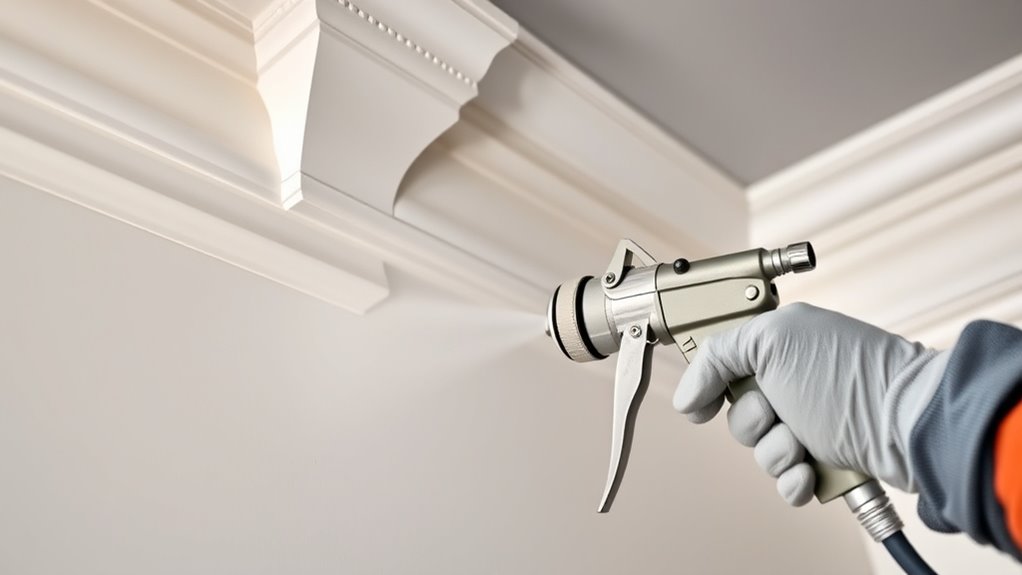
Technique for Applying an Even Coat on Crown Molding
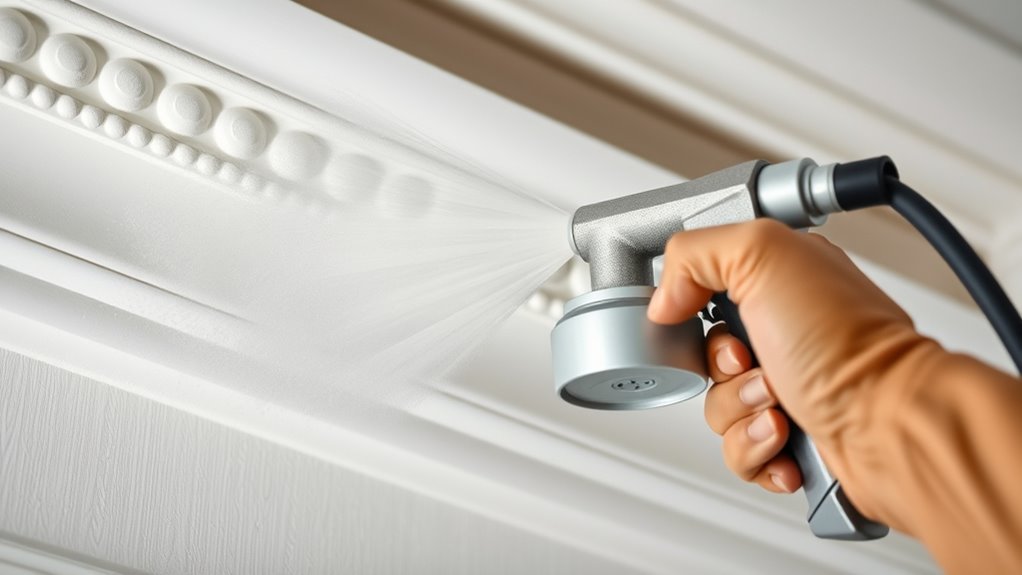
Achieving a smooth, even coat on crown molding with an airless sprayer requires careful technique. First, maintain a consistent distance of about 12 inches from the surface to prevent uneven coverage. Second, use smooth, overlapping strokes to ensure uniform paint distribution, especially when blending colors for a seamless look. Third, pay attention to paint flow, adjusting the pressure to avoid runs or drips. Focus on color matching by applying thin, multiple coats, allowing each layer to dry completely for better paint blending. Keep your movement steady, and avoid stopping in mid-spray to prevent streaks. Proper technique guarantees a professional finish with an even coat that highlights the molding’s details and achieves a flawless, consistent appearance. Incorporating comparative advantage principles can also help in selecting the right equipment and techniques to optimize efficiency and quality. Additionally, understanding sustainability in materials and equipment can lead to more environmentally friendly spraying practices.
Troubleshooting Common Spraying Issues
Even experienced painters encounter common spraying issues that can compromise the quality of your finish. Problems like uneven coverage, sputtering, or paint splatter often stem from inadequate sprayer maintenance or inconsistent paint consistency. To troubleshoot, check your equipment regularly and clean it thoroughly before each use. Adjust the pressure and nozzle to ensure a smooth spray pattern. Also, make sure your paint is properly mixed, avoiding thinning or thickening that leads to clogs or uneven flow.
| Issue | Solution |
|---|---|
| Uneven spray pattern | Clean the sprayer, check nozzle, and adjust pressure |
| Sputtering | Maintain sprayer, check for clogs, ensure proper paint consistency |
| Excess splatter | Adjust pressure, maintain sprayer, and control trigger speed |
Finishing Touches and Clean-Up Procedures
Once you’ve completed painting your crown molding, it is vital to focus on finishing touches and proper clean-up to guarantee a professional look and maintain your equipment. Start by inspecting the molding for any touch-up areas where the paint may be uneven or thin. Use precise touch-up techniques to smooth out these spots, ensuring a seamless finish. Next, allow sufficient drying time, typically 24 hours, before removing painter’s tape or handling the molding. Finally, clean your airless sprayer thoroughly: flush the system with solvent or water, depending on your paint type, to prevent clogs and preserve its lifespan.
- Carefully inspect for missed spots or drips that need correction.
- Handle drying time patiently to avoid smudges or damage.
- Properly clean and store your sprayer for future projects.
Frequently Asked Questions
How Long Does It Typically Take to Spray Crown Molding?
You’re wondering how long it takes to spray crown molding. Typically, it depends on your spray equipment and painting techniques. With a quality airless sprayer, you can usually complete the job in 1-2 hours, including prep and clean-up. Faster than brushing or rolling, spraying minimizes time and provides a smooth finish. Your efficiency hinges on proper technique and the sprayer’s capacity, making the process quicker and more consistent.
What Types of Paint Are Best for Airless Spraying?
For airless spraying, you’ll want paints that flow smoothly and are easy to apply. Latex or acrylic paints are ideal because they thin well with water, making them easier to spray. Before you start, use proper brush techniques to prep the surface and guarantee even coverage. Also, invest time in paint preparation—strain the paint to remove lumps and thin it slightly if needed—so your spray job looks flawless.
Can I Spray Intricate Crown Moldings With Fine Details?
You can spray intricate crown moldings with fine details using spray equipment, but you’ll need to adjust your brush techniques and equipment settings carefully. To achieve a smooth finish, use a high-quality sprayer with fine control, and practice on scrap before starting. Keep your spray distance consistent, and use light, even coats. Combining spray and hand-brushing for edges and detailed areas guarantees precision and a flawless look.
Is There a Recommended Drying Time Between Coats?
Think of drying time as the gentle pause between notes in a song. For your coat application, it’s best to wait about 4 hours before applying a second coat. This guarantees the paint has enough time to dry thoroughly, reducing drips and uneven coverage. Rushing this step can cause smudges or peeling later. Trust the process, and you’ll achieve a smooth, professional finish on your crown molding.
How Do I Prevent Over-Spray on Delicate Surfaces?
To prevent over-spray on delicate surfaces, you should start by applying protective masking around those areas. Use painter’s tape and plastic sheeting to shield surfaces from overspray. Additionally, select the right spray tip—preferably a fine-finishing tip—to control the spray pattern better. Keep the spray at the correct distance, move smoothly, and practice on scrap material first. These steps will help you achieve a clean, professional finish without mess.
Conclusion
By following these steps, you’ll achieve a professional-looking crown molding finish with your airless sprayer. For instance, imagine you’re renovating a historic home and want a flawless look—proper prep, technique, and cleanup make all the difference. With patience and attention to detail, you’ll transform your space efficiently, saving time and ensuring durability. Once mastered, sprayer painting becomes a reliable method to elevate your projects and showcase your craftsmanship.