
Yes, you can use an airless sprayer for staining wood, as long as you choose a stain compatible with sprayer application and prepare your equipment properly. Use the right nozzle and adjust pressure settings based on the stain’s thickness for smooth, even coverage. Keep your workspace clean and follow safety tips. For best results and tips on setup, techniques, and troubleshooting, you’ll find useful guidance as you continue.
Key Takeaways
- Yes, airless sprayers are suitable for applying wood stains, especially transparent or semi-transparent types.
- Use stains formulated specifically for spray application to ensure smooth, even coverage.
- Adjust the sprayer’s pressure and nozzle size based on the stain’s viscosity for optimal results.
- Properly prepare and clean the sprayer to prevent clogging when spraying thicker or gel stains.
- Test spray on scrap wood to fine-tune settings and achieve a consistent, professional finish.
Understanding How Airless Sprayers Work

Airless sprayers work by using high pressure to force paint or stain through a small nozzle, creating a fine spray that covers surfaces evenly. The type of sprayer nozzle you choose influences how the paint is delivered; different nozzle types produce varying spray patterns and fan widths, which affect application precision. Understanding paint viscosity is also essential, as thicker stains require a sprayer with higher pressure or specific nozzle sizes to prevent clogging and ensure smooth application. When selecting nozzle types, consider the texture and consistency of your wood stain. Properly matching the nozzle and paint viscosity ensures an even, professional finish while avoiding overspray or uneven coverage. Additionally, airless sprayer pressure plays a crucial role in controlling the spray quality and coverage, making it vital to adjust settings based on your project needs. Mastering these aspects helps you achieve the best results with your airless sprayer. To optimize performance, understanding tuning techniques can help you fine-tune your sprayer for different staining projects. Being aware of paint flow rates can also assist in adjusting your sprayer for more consistent application and minimal waste.
Types of Wood Stains Suitable for Spraying
Not all wood stains are ideal for spraying, but many can be applied effectively with the right preparation. For best results, choose stains designed for spray application, such as transparent or semi-transparent stains that enhance the wood grain. These stains allow the natural patterns to shine through while providing color. Oil-based stains are typically suitable because they penetrate deeply and offer rich stain colors, but water-based options can work too if they’re formulated for spraying. Avoid thick, gel-like stains, which can clog the sprayer. Keep in mind that the stain color you select will influence the appearance of the wood grain, so test different shades beforehand. Proper choice ensures a smooth, even finish and highlights the natural beauty of your wood surface. Additionally, understanding the role of contrast ratio can help in assessing how well the stain will reveal details and textures of the wood. Being aware of the compatibility with sprayers can further improve application results and prevent issues like uneven coating or clogging. Moreover, selecting appropriate stain formulations based on your project needs can contribute to achieving professional-looking results with your sprayer. Using the right type of refrigerants and environmental impact considerations in your choice can also ensure eco-friendly and efficient staining. For optimal results, it is helpful to familiarize yourself with application techniques that maximize coverage and finish quality.
Preparing Your Airless Sprayer for Staining
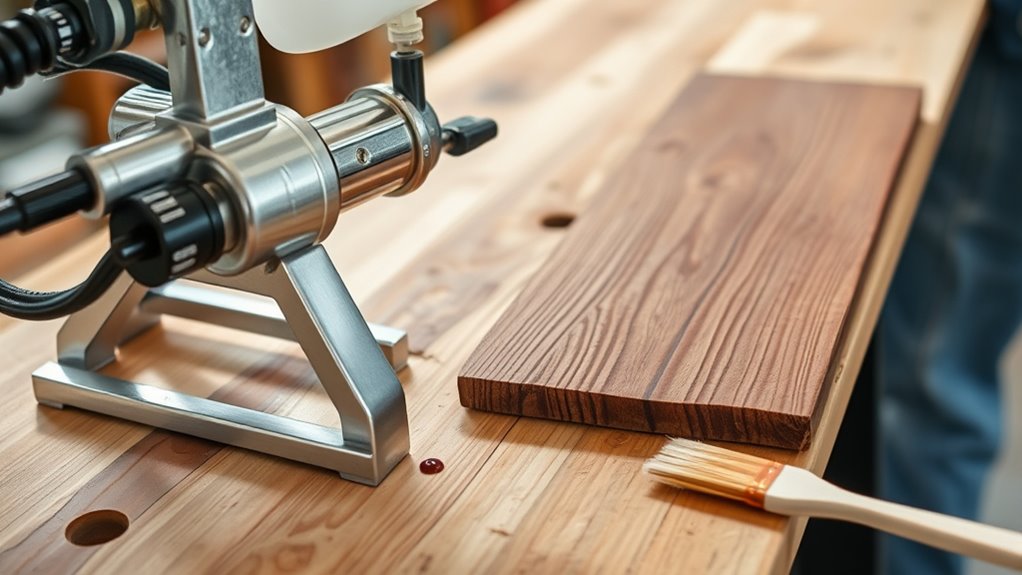
Before you start staining, making certain to properly prepare your sprayer guarantees a smooth, even application. First, check your airless sprayer compatibility with stains, as some models handle thicker liquids better. Next, clean all parts thoroughly to prevent clogs and ensure even stain absorption rates. Adjust the pressure settings according to the stain’s viscosity—too high can cause uneven coverage, too low may result in drips. Use the table below to visualize key preparation steps:
| Step | Purpose |
|---|---|
| Clean the sprayer thoroughly | Prevent clogs and guarantee smooth flow |
| Adjust pressure settings | Match stain viscosity for ideal absorption |
| Filter installation | Avoid debris in the spray pattern |
| Test spray on scrap wood | Check spray pattern and coverage |
Proper prep guarantees a professional-looking finish.
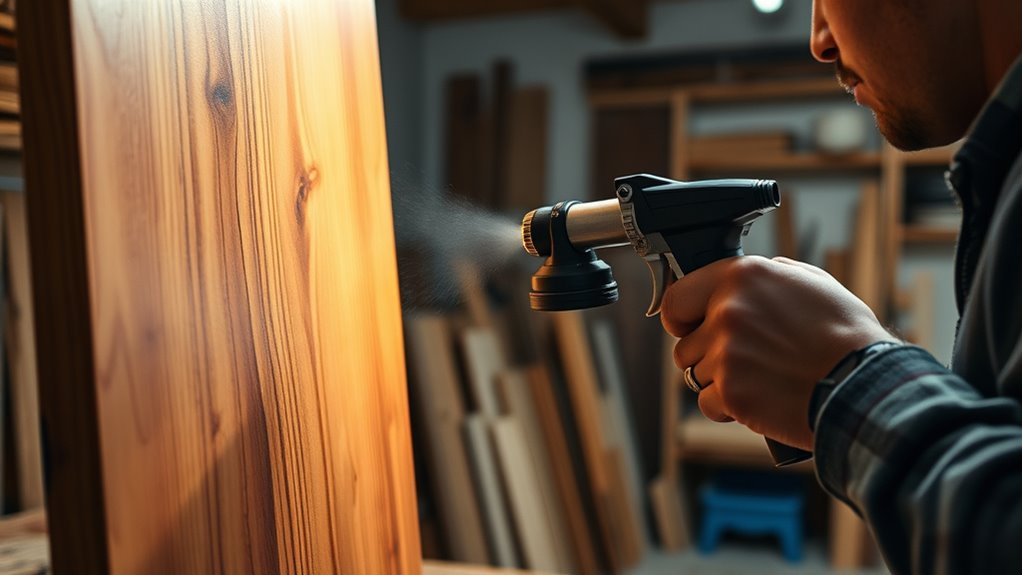
Techniques for Achieving a Smooth Finish
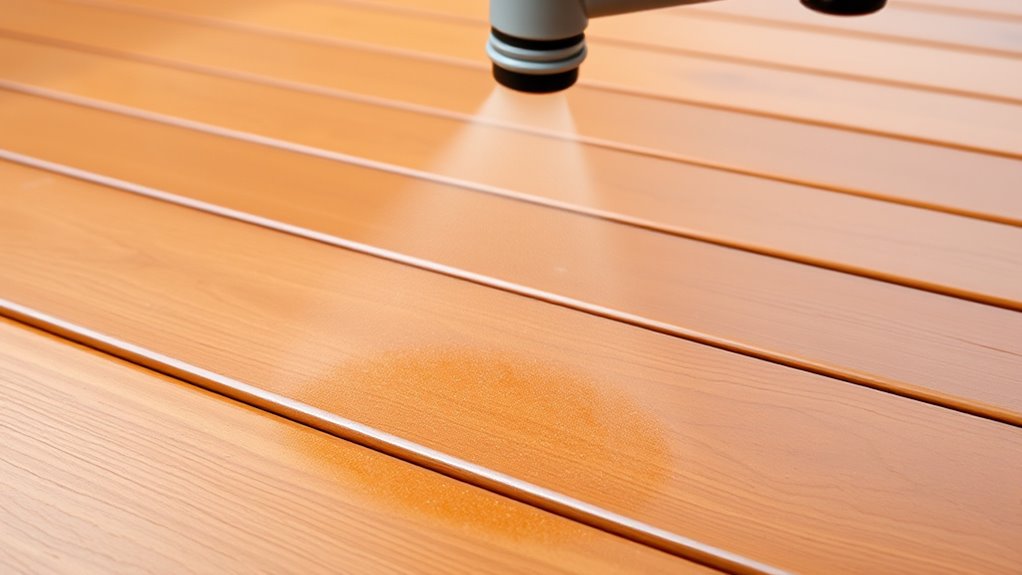
To achieve a smooth, professional-looking finish when staining wood with your sprayer, it’s essential to apply the stain in thin, even coats. Use consistent brush techniques to smooth out any streaks or drips, especially around edges and corners. Keep your sprayer moving at a steady pace to prevent uneven coverage. When selecting stain color choices, opt for lighter shades if you’re unsure, as darker stains can highlight imperfections. Work in overlapping passes to ensure uniformity, but avoid over-saturating the surface. After spraying, lightly brush any visible lines or uneven areas to blend the finish seamlessly. Proper brush techniques combined with mindful stain color choices help you achieve a sleek, flawless appearance every time. High-quality stains can also make a significant difference in the final result.
Safety Tips and Best Practices
Using an airless sprayer for staining wood requires strict safety precautions to safeguard yourself and ensure a successful project. Always wear protective gear like goggles, gloves, and a mask to prevent inhaling fumes or getting splatters. Confirm proper ventilation to protect your environmental safety, especially when working indoors. Keep the work area clear of children and pets. Check your equipment regularly for leaks or damage. Store stains and solvents safely away from heat sources. Proper glycolic acid benefits can also help you understand any subconscious messages or emotional responses that may arise during your project. Additionally, understanding the importance of gelato quality and selecting the right products can improve your results and safety during application. Staying informed about AI in Education can also help you incorporate innovative safety training methods into your projects. Regular maintenance and understanding industry trends further enhance your safety and efficiency. Here’s a quick safety checklist:
| Safety Tip | Why It Matters |
|---|---|
| Wear protective gear | Protects skin, eyes, and lungs |
| Ventilate the area | Reduces inhalation of fumes |
| Store materials properly | Prevents accidents and environmental hazards |
Troubleshooting Common Issues
If your sprayer isn’t working smoothly, start by checking your settings and adjusting the pressure or flow rate. Make sure you’re using compatible staining materials, as some may clog or damage your equipment. Regular cleaning and maintenance also prevent common issues and keep your sprayer performing at its best. Additionally, considering pet hair management techniques can help keep your workspace clean and free of fur that might interfere with your staining projects. Proper product selection ensures you use formulations suited for sprayers, reducing the risk of clogs and damage. Incorporating air purifier strategies in your workspace can also help control dust and airborne particles that may affect staining quality. Being aware of email etiquette in your communications can improve your overall project coordination and feedback. Maintaining a clean workspace with proper ventilation can further optimize your staining results and prolong your equipment’s lifespan.
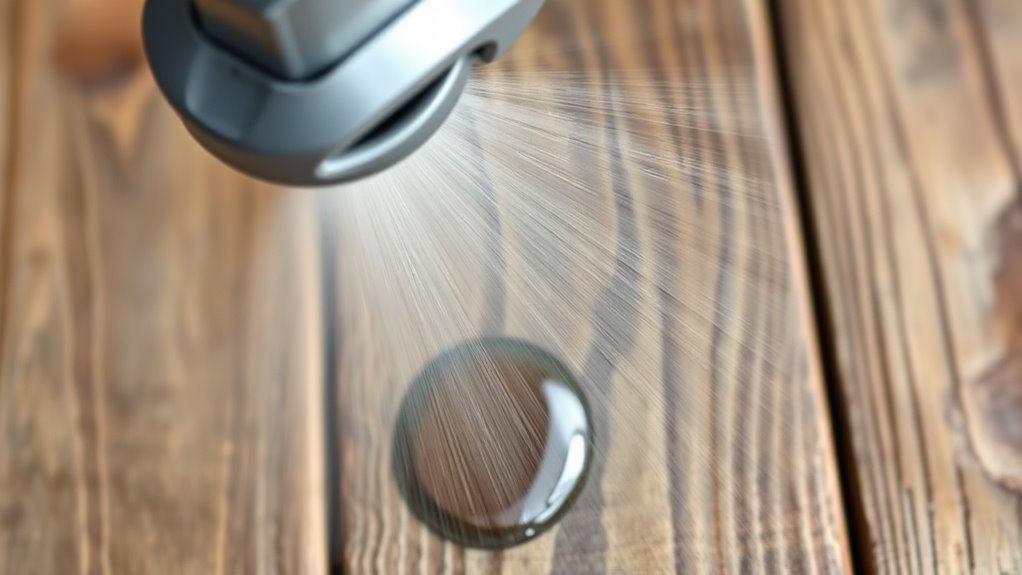
Proper Sprayer Settings
Proper sprayer settings are essential for achieving an even, professional-looking stain application and avoiding common issues like drips, runs, or uneven coverage. Start by selecting the right sprayer nozzle; a wider tip helps control spray pattern and coverage. Adjust the pressure to match the stain’s viscosity—thicker stains require higher pressure, while thinner stains need lower settings to prevent overspray. Test your spray on a scrap piece to fine-tune the flow rate and ensure a smooth, consistent application. Keep the spray at a consistent distance from the surface, usually 12-18 inches, to maintain uniform coverage. Regularly check the nozzle for clogs or wear, and modify settings as needed based on the stain’s flow and coverage. Proper setup guarantees a flawless finish. Additionally, understanding industry transformations like AI automation can help you stay updated on the latest tools and techniques for staining projects. Staying informed about advanced equipment features can further improve your staining results and efficiency. Moreover, utilizing appropriate paint thinning ensures optimal flow and minimizes issues during spraying.
Suitable Staining Materials
Choosing the right staining materials is key to preventing common issues like uneven color, blotching, or insufficient penetration. To enhance your results, focus on stain opacity and how it interacts with the wood grain. Here are some tips:
- Use a stain that matches your desired opacity—transparent for subtle wood grain, opaque for solid coverage.
- Select products designed for airless spraying to ensure smooth application.
- Test stain on a small area to check how it highlights the wood grain.
- Consider the stain’s consistency; thinning or thickening can affect penetration and final color uniformity.
- Pay attention to the stain’s penetration properties to ensure even coverage and avoid blotching.
Cleaning and Maintenance
Regular cleaning and proper maintenance are essential to prevent common issues such as clogging, uneven spray patterns, or paint buildup that can compromise your airless sprayer’s performance. After each use, thoroughly flush the system with water or the appropriate cleaning solution to remove residual stain or paint. Store your sprayer in a cool, dry place, following storage tips like draining the system and disconnecting hoses to prevent damage. Regularly check and perform calibration procedures to ensure even spray patterns and consistent application. Proper calibration helps avoid overspray or uneven coating, saving you time and material. Keeping your equipment clean and well-maintained extends its lifespan and guarantees ideal performance every time you stain wood with your airless sprayer.
Frequently Asked Questions
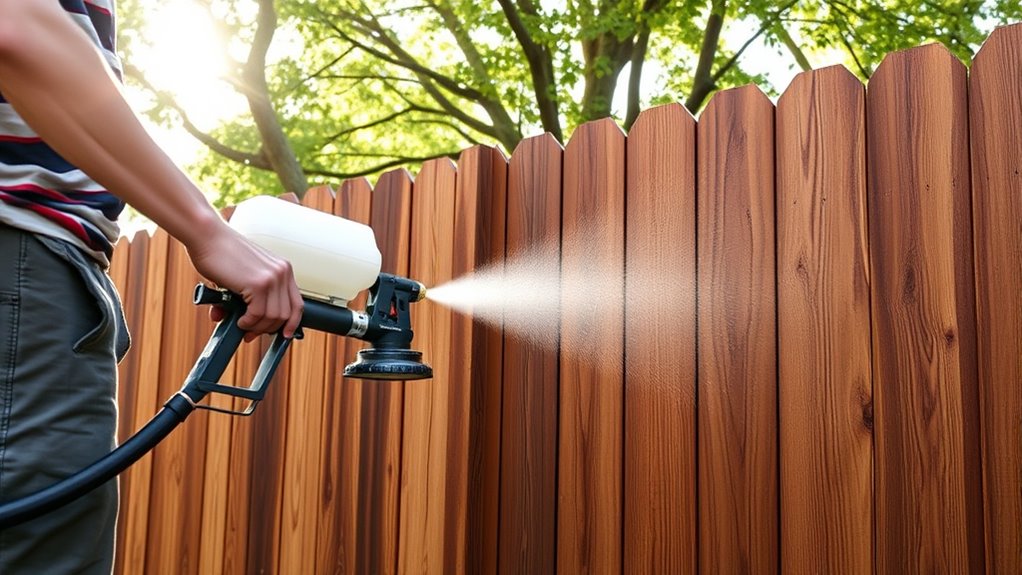
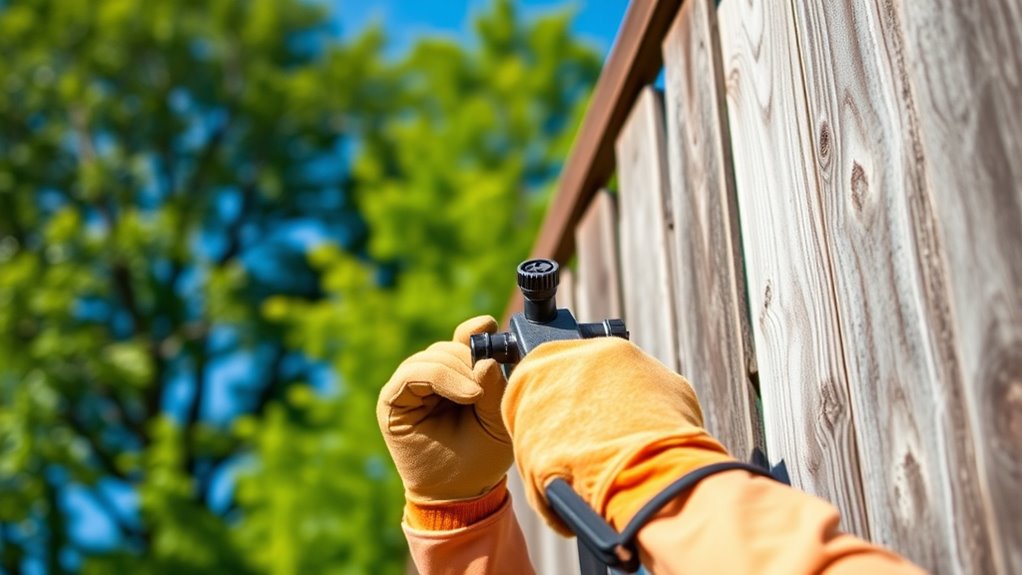
Can I Use My Airless Sprayer for Staining Outdoor Wood?
You can definitely use your airless sprayer for outdoor staining, but check its airless spraying compatibility first. Make sure it’s suitable for thicker stains and that you adjust the pressure accordingly. Follow outdoor staining tips like preparing the surface properly and testing on a small area. Using an airless sprayer can give you a smooth, even finish quickly, making your staining project more efficient and professional-looking.
What Types of Stains Are Incompatible With Airless Spraying?
When considering staining with an airless sprayer, you might encounter compatibility issues and stain limitations. Not all stains work well; oil-based or thick stains can clog or damage your equipment. Water-based stains typically spray smoothly but may not provide the same durability. Always check the manufacturer’s recommendations to avoid compatibility issues, and test a small area first to verify your chosen stain works effectively with your sprayer.
How Do I Clean My Airless Sprayer After Staining?
To clean your airless sprayer after staining, start by shutting off the sprayer and relieving pressure. Then, disassemble the spray tips and clean them thoroughly. Use a suitable cleaning solvent, like mineral spirits or water, depending on your stain type, and follow proper sprayer maintenance techniques. Rinse all parts thoroughly to prevent clogging and guarantee smooth operation for your next project. Regular cleaning keeps your sprayer in top shape.
Is It Necessary to Thin the Stain Before Spraying?
Think of your stain like a thick smoothie—if it’s too chunky, it won’t spray smoothly. To guarantee a fine, even coat, you may need to thin the stain, especially if you’re switching from brush application. Proper stain consistency helps prevent clogs and uneven coverage. Just test a small amount first, and adjust with the right solvent until it flows easily through your sprayer, giving you a flawless finish.
Can I Use the Same Sprayer for Different Wood Projects?
You can use your airless sprayer for different wood projects, but check for project compatibility first. Make certain the sprayer’s pressure and nozzle are suitable for each task, highlighting equipment versatility. Different projects may require adjustments, like thinning stain or changing nozzles. Always clean your sprayer thoroughly between uses to prevent cross-contamination. With proper setup, your sprayer becomes a versatile tool, making various wood projects faster and more efficient.
Conclusion
Yes, you can use your airless sprayer for staining wood, and with the right preparation, technique, and safety measures, you’ll achieve a smooth, professional finish. By understanding how your sprayer works, selecting suitable stains, and applying consistent strokes, you’ll enhance your woodworking projects. Remember to prepare thoroughly, follow safety tips, and troubleshoot issues promptly. With patience and practice, your stained wood will look flawless, your projects will shine, and your confidence will grow.