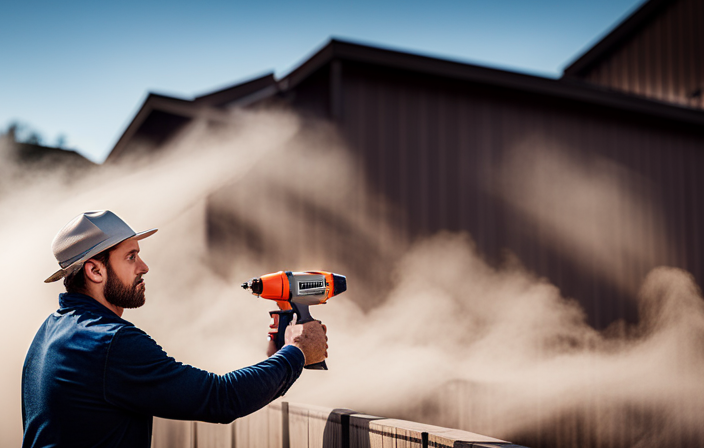

Have you ever finished a painting project, only to discover that your paint sprayer is in need of cleaning? Just like a knight after a battle, your Wagner airless paint sprayer may be covered in the remnants of your artistic triumph. Fear not, as I am here to guide you through the process of cleaning your sprayer after using Kilnz paint.
In this article, I will provide you with step-by-step instructions on how to properly clean your Wagner airless paint sprayer. From gathering your cleaning supplies to reassembling the sprayer, I will ensure that you have all the information you need to keep your sprayer in top-notch condition.
So, grab your cleaning gear and let’s embark on this cleaning adventure together. By the end, you’ll have a sparkling clean sprayer ready for your next masterpiece.
Let’s get started!
Key Takeaways
- Check the nozzle for clogs or damage
- Inspect the filter for debris or blockages
- Adjust the pressure according to paint viscosity
- Properly store and maintain the sprayer for future use
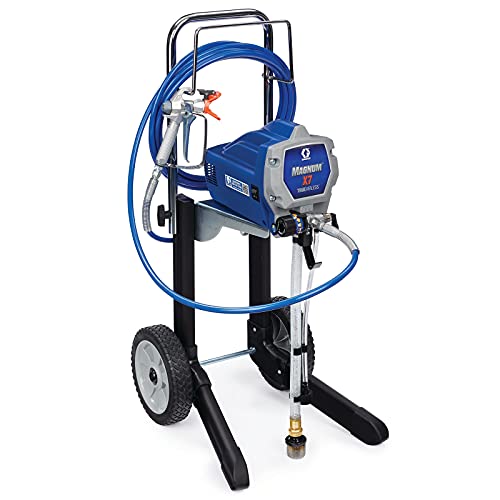
Graco Magnum 262805 X7 Cart Airless Paint Sprayer, Gray
CONTROL PAINT FLOW: Fully adjustable pressure to give you ultimate control of paint flow for any project size;...
As an affiliate, we earn on qualifying purchases.
Gather Your Cleaning Supplies
Now that you’re ready to clean your Wagner airless paint sprayer after using Kilnz, it’s time to gather all of your cleaning supplies! Cleaning techniques and maintenance tips are crucial to ensure the longevity and effectiveness of your sprayer.
To start, you’ll need a bucket or container to hold your cleaning solution, such as warm soapy water or a specialized cleaning agent. Additionally, gather a soft brush or toothbrush for scrubbing, a clean cloth or sponge for wiping, and a wrench or pliers to remove any stubborn parts. It’s important to have these supplies on hand to make the cleaning process efficient and thorough.
Once you have all your cleaning supplies ready, the next step is to disconnect the sprayer from the power source, ensuring your safety during the cleaning process.

Wagner Spraytech 2435698 Control Pro 130 Paint Sprayer with T2 Gun, High Efficiency Airless Sprayer with Low Overspray, Yellow
WAGNER AIRLESS PAINT SPRAYER: The Control Pro 130 Power Tank applies coatings 3X faster than a roller with...
As an affiliate, we earn on qualifying purchases.
Disconnect the Sprayer from the Power Source
First, make sure to unplug the sprayer from the power source to ensure your safety while cleaning. Cleaning precautions are important to follow to avoid any accidents or injuries.
Here are some troubleshooting tips to keep in mind while disconnecting the sprayer:
- Remove the power cord from the electrical outlet to prevent any accidental activation of the sprayer.
- Check for any loose connections or damaged wires before proceeding with the cleaning process.
- Use insulated gloves to protect your hands from any electrical shocks.
After disconnecting the sprayer from the power source, the next step is to release the pressure from the sprayer. This will prevent any unwanted paint spray during the cleaning process.

VEVOR Stand Airless Paint Sprayer, 650W, 3000PSI High Pressure Airless Sprayer with Cart, Cleaning Brush, Hose, Extension Rod, Nozzles, Electric Spray Paint Machine for House Exterior and Interior
Efficient Coating: The 650W motor, 0.31 GPM flow, and 3000 PSI pressure deliver spraying speeds 5x faster than...
As an affiliate, we earn on qualifying purchases.
Release the Pressure from the Sprayer
To ensure a safe and efficient cleaning process, it’s essential to release the pressure from the sprayer before proceeding. Start by turning off the power and unplugging the sprayer.
Next, locate the pressure release valve, usually located near the top of the sprayer. Slowly turn the valve counterclockwise to release the pressure.
Once all the pressure is released, you can proceed with cleaning the sprayer. It’s important to note that using a cleaning solution is necessary to remove any leftover paint residue. However, if you prefer not to use a cleaning solution, there are alternatives available such as warm soapy water or vinegar solution. These alternatives can effectively clean the sprayer without the use of harsh chemicals.
Now, let’s move on to the next step of removing the spray tip and guard.

VEVOR 750W Stand Airless Paint Sprayer, 3000PSI High Efficiency Electric Airless Sprayer, Fine and Even Painting Effect, Handheld Paint Sprayers for Home Interior and Exterior Furniture and Fences
Efficient Painting: Our stand airless paint sprayer is equipped with a powerful 750W motor, capable of delivering up...
As an affiliate, we earn on qualifying purchases.
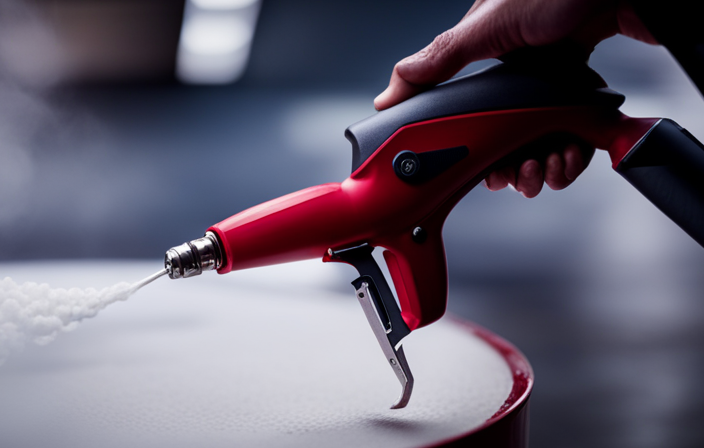
Remove the Spray Tip and Guard
After releasing the pressure, you can easily remove the spray tip and guard, like peeling away the protective layers of a blooming flower. To remove the spray tip and guard from a Wagner airless paint sprayer, follow these steps:
- Start by locating the spray tip at the end of the gun.
- Use a wrench to loosen the spray tip in a counterclockwise direction.
- Once the spray tip is loose, carefully remove it from the gun.
Next, locate the guard, which is the plastic piece surrounding the spray tip. Gently pull the guard away from the gun to remove it.
Tips for cleaning the spray tip and guard on a Wagner airless paint sprayer:
- Use a brush or toothpick to remove any dried paint or debris from the spray tip.
- Soak the spray tip and guard in a cleaning solution for a few minutes to remove any stubborn residue.
After removing the spray tip and guard, we can move on to flushing the system with water or cleaning solution.
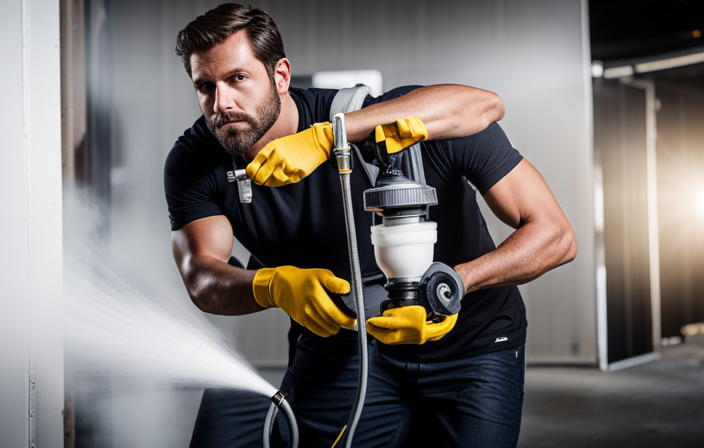
Flush the System with Water or Cleaning Solution
Now it’s time to give the system a thorough flush using water or a cleaning solution. This will ensure a fresh start for your next painting project. Cleaning techniques are crucial for maintaining the longevity of your Wagner airless paint sprayer.
To flush the system, start by attaching a clean bucket or container to the sprayer’s intake tube. Turn the sprayer on and run it until the water or cleaning solution runs clear. This will remove any leftover paint or residue from the system.
Once the system is flushed, you can move on to cleaning the spray tip and guard. I’ll explain this process in the next section.
Clean the Spray Tip and Guard
Ready to tackle the next step? Let’s give that spray tip and guard a good scrub to ensure a flawless finish on your next painting project! Here are some tips for cleaning the spray tip and guard:
- First, remove the spray tip and guard from the sprayer. You can usually do this by twisting them counterclockwise.
- Next, use a small brush or toothbrush to remove any dried paint or debris from the tip and guard. Be gentle to avoid damaging the delicate parts.
- If there’s still paint residue, soak the tip and guard in a cleaning solution for a few minutes. You can use a commercial cleaning solution or make your own by mixing water and dish soap.
- After soaking, scrub the tip and guard again to remove any remaining paint or residue.
- Rinse the tip and guard thoroughly with clean water to remove any cleaning solution.
Cleaning the spray tip and guard is an important part of maintaining your paint sprayer and prolonging its lifespan. Once you’ve finished cleaning, it’s time to move on to the next section: wiping down the exterior of the sprayer.
Wipe Down the Exterior of the Sprayer
To give your sprayer a polished look, go ahead and wipe down the exterior with a soft cloth, ensuring it’s free from any dust or grime.
Cleaning techniques for the exterior of the sprayer are simple yet essential in maintaining its performance. By wiping down the exterior, you remove any dirt or debris that may have accumulated during use. This not only improves the appearance of the sprayer but also helps prevent any potential clogs or malfunctions.
Regular maintenance tips like this can prolong the lifespan of your sprayer and ensure optimal functionality.
Once the exterior is clean, you can proceed to reassemble the sprayer, ensuring all components are properly secured for the next use.
Reassemble the Sprayer
Once you’ve wiped down the exterior of the sprayer, it’s time to reassemble it, making sure all the components are properly secured and ready for your next project. Here are some reassembling tips to ensure a smooth process:
-
Start by placing the suction tube back into the paint container and make sure it’s firmly attached.
-
Reattach the spray gun to the hose by aligning the connections and twisting them together until they lock.
-
Check that the filters are clean and properly positioned before inserting them back into the sprayer.
-
Finally, secure the prime valve and tighten all the connections to prevent any leaks.
If you encounter any issues during reassembly, such as loose connections or difficulty fitting the components, refer to the sprayer’s manual for troubleshooting tips.
Once the sprayer’s reassembled, you can proceed to the next section and test it to ensure proper functioning.
Test the Sprayer to Ensure Proper Functioning
Now that the sprayer has been reassembled, it’s time to put it to the test and ensure that it is functioning properly. Testing the sprayer after cleaning is crucial to troubleshoot common issues and guarantee a smooth painting process. Use the following table as a guide to check the various components of the sprayer:
| Component | Action |
|---|---|
| Nozzle | Check for clogs or damage |
| Filter | Inspect for debris or blockages |
| Pump | Listen for any unusual sounds |
| Pressure | Adjust according to the paint viscosity |
| Trigger | Test for smooth and consistent spray |
By following these steps, you can identify and address any potential problems before starting your painting project. Once you have tested the sprayer and confirmed its proper functioning, you can move on to the next section on how to properly store the cleaned sprayer for future use.
Properly Store the Cleaned Sprayer for Future Use
After properly storing the cleaned sprayer, you’ll be ready to tackle your next painting project with ease and confidence. To properly store your Wagner airless paint sprayer, there are a few maintenance tips you should follow.
First, make sure to clean and dry all the components thoroughly to prevent any residual paint from drying and clogging the system.
Next, store the sprayer in a cool, dry place to prevent any moisture from causing damage. It’s also important to protect the sprayer from dust and debris by using a cover or storing it in a sealed container.
Finally, periodically inspect the sprayer for any signs of wear or damage and address any issues before using it again. By following these proper storage and maintenance tips, your Wagner airless paint sprayer will be ready for your next painting project.
Frequently Asked Questions
Can I use a different cleaning solution other than water to flush the system?
Yes, using different cleaning agents other than water is possible but not recommended. Water is the proper cleaning solution for a Wagner airless paint sprayer to ensure effective and safe cleaning.
How often should I clean my Wagner airless paint sprayer?
I clean my Wagner airless paint sprayer after each use to properly maintain it. Regular cleaning prevents clogs and ensures optimal performance. Follow manufacturer guidelines for specific cleaning instructions and frequency.
Can I reuse the cleaning solution for multiple cleanings?
Yes, you can reuse the cleaning solution for multiple cleanings of your Wagner airless paint sprayer. However, it is recommended to use alternative cleaning solutions periodically to prevent buildup and maintain optimal performance.
What should I do if the spray tip and guard are difficult to remove?
If the spray tip and guard are difficult to remove, here are some tips for troubleshooting common issues. Applying heat with a hairdryer can help loosen stubborn parts. Using pliers or a wrench with a cloth can provide extra grip for better leverage.
Is it necessary to clean the exterior of the sprayer after each use?
Yes, it is necessary to clean the exterior of the sprayer after each use. Skipping this step can lead to paint buildup, clogging, and damage to the sprayer. Regular cleaning ensures optimal performance and extends the lifespan of the equipment.
Conclusion
After following these steps to clean your Wagner airless paint sprayer after using Kilnz, you’ll be left with a sparkling clean tool ready for your next painting project.
Imagine the satisfaction of knowing that your sprayer is free from any leftover paint or residue, ensuring optimal performance and longevity.
By properly maintaining and cleaning your sprayer, you’re not only saving time and money, but also ensuring that your future painting endeavors will be smooth and hassle-free.
So go ahead, give your sprayer the TLC it deserves and enjoy the seamless painting experience it’ll provide.