
To achieve the right overlap for an even finish, start by planning your overlaps carefully before beginning your work. Make certain the overlaps are uniform throughout and slightly extend beyond seams or joints for added strength. Use proper surface preparation, like sanding surfaces evenly and removing dust, to promote better adhesion. Apply your paint or material with quality tools in smooth, overlapping strokes, working consistently. If you follow these tips, you’ll create a seamless, durable result—keep exploring for more expert insights.
Key Takeaways
- Plan and mark consistent overlap areas before starting work to ensure uniformity throughout the project.
- Use proper surface preparation, including sanding and cleaning, to promote even paint adhesion and smooth overlaps.
- Select the appropriate tools and techniques, such as quality brushes or rollers, for seamless application and blending.
- Apply multiple thin coats of paint with overlapping strokes, allowing each layer to dry thoroughly for durability.
- Maintain uniform overlap distances across all joints to achieve a professional, even finish.

Achieving the right overlap is vital for guaranteeing smooth and efficient joint connections, whether you’re working with fabric, metal, or other materials. When aiming for an even finish, attention to detail in how you layer materials makes all the difference. Proper overlap prevents gaps, uneven surfaces, and weak spots that could compromise the integrity of your project. To get it right, start by carefully planning your overlaps; they should be consistent and slightly beyond the seam or joint line. This ensures that when you work with paint, fabric, or any coating, the surface appears seamless and professional.
Consistent, slightly extended overlaps ensure seamless, durable joints across all materials.
Sanding techniques play a pivotal role in preparing surfaces for painting or finishing. Before applying paint, you want to smooth out any imperfections, which involves using the right sanding grit and method for your material. For instance, a fine-grit sandpaper can help create a smooth surface on metal or wood, ensuring that your paint adheres evenly. Proper sanding also helps remove rough edges and bumps that could disrupt the overlap consistency. Always sand in a consistent pattern, applying even pressure to avoid creating uneven surfaces. After sanding, wipe the surface clean to remove dust, which could interfere with the adhesion of your paint or finish.
Choosing the right paint selection is equally important for achieving an even, durable finish. Different materials require specific types of paint; for example, metal surfaces benefit from rust-resistant paints, while fabrics might need specialized textile dyes or paints. When selecting paint, consider its opacity, drying time, and compatibility with your material. Thinner paints or those with high pigment concentration tend to level out better, reducing the appearance of overlaps or brush marks. Applying multiple thin coats rather than one thick coat helps maintain an even surface and avoids drips or uneven texture. Allow each coat to dry thoroughly before applying the next, following the manufacturer’s instructions.
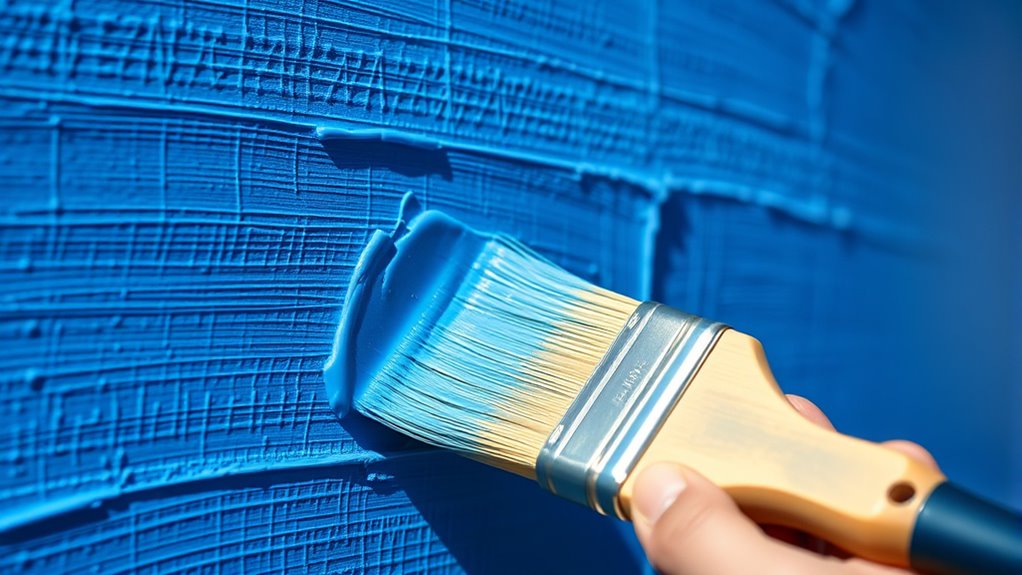
In addition to proper sanding and paint selection, focus on application techniques. Use quality brushes or rollers suited to your material and paint type, and work in smooth, overlapping strokes. Consistent overlap during application prevents visible lines or streaks and ensures that each coat blends seamlessly into the next. This careful approach, combined with proper surface preparation and suitable paint choices, guarantees that your project not only looks professional but also lasts longer. Remember, achieving the right overlap isn’t just about aesthetics—it’s about creating a solid, durable finish that stands the test of time.
Furthermore, understanding the horsepower of electric dirt bikes can help you select the right model for your needs, whether for off-road adventures or casual riding.
Frequently Asked Questions
How Do Different Materials Affect Overlap Techniques?
Different materials substantially influence your overlap techniques because material selection and surface compatibility matter. For instance, flexible fabrics require gentle overlapping to avoid puckering, while rigid surfaces need firm, precise overlaps for a smooth finish. You should assess each material’s texture, thickness, and adhesion properties to adapt your method. By understanding these factors, you guarantee a seamless, even finish, no matter what materials you’re working with.
What Tools Are Best for Precise Overlap?
Think of precision measurement as your compass and overlap consistency as your map. Use a fine-tipped measuring tape or a digital caliper to guarantee exact measurements, guiding your overlap with clarity. A straightedge or a quilting ruler helps keep your lines clean, acting as your steady hand. These tools work together, transforming your effort into a seamless, even finish where every overlap aligns perfectly, like a well-orchestrated symphony.
How to Correct Overlaps After Finishing?
You can correct overlaps after finishing by carefully inspecting your work for uneven edges, then using a sharp utility knife or edge trimmer to realign the edges. Focus on creating seamless shifts by smoothing out any bumps or overlaps. Lightly sand the edges to improve edge alignment, ensuring the surface is even. Take your time, work gradually, and check frequently to achieve a clean, professional finish with perfect edge alignment.
Does Overlap Vary With Project Size?
Overlap does vary with project size, but the core principles stay consistent. When doing paint blending and edge sealing, larger projects may require more overlap to guarantee seamless transition, while smaller ones need precise control. The key is maintaining a uniform overlap to prevent visible lines. Remember, consistent overlap helps achieve an even finish, regardless of project size, so adjust your technique accordingly for the best results.
Can Improper Overlap Cause Long-Term Damage?
Improper overlap can cause long-term damage because it weakens adhesive bonding, leading to potential failures over time. If you neglect proper surface preparation, the bond may not adhere correctly, increasing the risk of peeling or delamination. Always make sure you apply the right overlap and prepare surfaces thoroughly, as these steps are essential for durable, lasting results in your project. Proper techniques prevent damage and extend the lifespan of your work.
Conclusion
By mastering the right overlap, you guarantee a seamless, professional finish every time. Did you know that improper overlaps can lead to up to 30% more material wastage? Staying precise not only saves you money but also guarantees a polished look. Keep practicing your technique, pay attention to detail, and you’ll achieve flawless results. Remember, the right overlap isn’t just about appearance—it’s about efficiency and quality in every project you undertake.

With James‘ articles, you can expect comprehensive breakdowns of airless paint sprayer features, performance assessments, and expert insights into the latest industry innovations. His meticulous approach ensures that readers gain a thorough understanding of the equipment they are considering, helping them make well-informed choices.