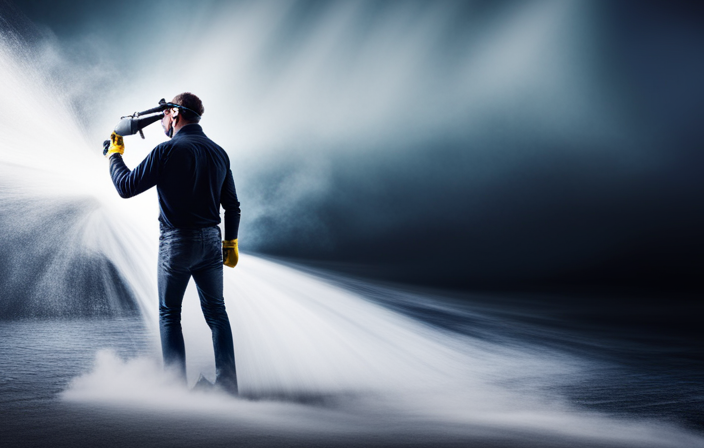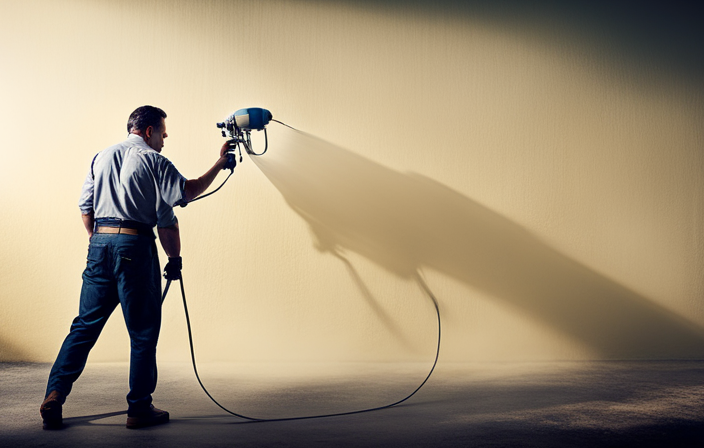

Imagine yourself standing in front of a blank canvas, ready to create a work of art. As a skilled painter, I understand the importance of using the right tools to bring my artistic vision to life. That’s why I choose airless paint sprayers – they are essential in achieving a flawless finish.
But the question often arises: how many coats are needed? Well, let me guide you through the intricacies of this artistic process.
When it comes to coverage, several factors come into play. The type of surface, paint quality and thickness, and even the color and shade all influence the number of coats required. As a knowledgeable professional, I’ll share my expertise on how to assess these variables and determine the optimal number of coats for your project.
But it doesn’t stop there. I’ll also delve into the importance of applying primer and conducting sample tests. And if adjustments or additional coats are needed, I’ll provide guidance on how to achieve that professional-looking finish.
So, let’s embark on this painting journey together – armed with knowledge and the right tools – to create a work of art that will leave a lasting impression.
Key Takeaways
- Testing paint coverage is important to ensure even application and desired results.
- Fine-tuning the spray pattern helps to eliminate unevenness and streaks in paint application.
- Applying multiple coats is often necessary to achieve the desired coverage.
- Inspecting and touching up the painted surface after each coat is crucial to achieve a flawless finish.
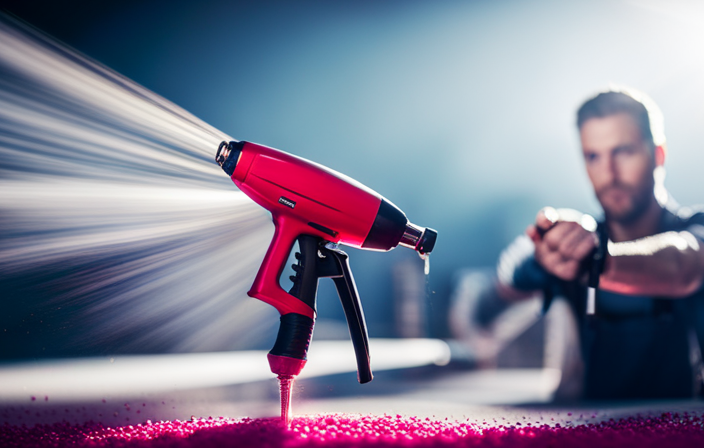
Understanding the Efficiency of Airless Paint Sprayers
One of the key benefits of airless paint sprayers is their ability to efficiently apply multiple coats of paint in a shorter amount of time. As a painting specialist, I pay close attention to detail and ensure that every coat of paint is applied evenly and accurately. I would provide specific instructions on the number of coats required for a particular project.
When using an airless paint sprayer, it is important to consider the efficiency comparison between different models. Some sprayers may require fewer coats to achieve the desired coverage, while others may require more. Additionally, proper maintenance tips for the sprayer can also contribute to its overall efficiency. By following these tips, you can ensure that the sprayer is functioning at its best and providing optimal coverage.
Moving on to factors to consider for coverage capabilities…
Factors to Consider for Coverage Capabilities
To determine the coverage capabilities of an airless paint sprayer, it is important to consider various factors. When using an airless paint sprayer, the number of coats needed for a project can depend on factors such as the type of surface being painted, the type of paint being used, and the desired finish. Here are four key factors to consider:
-
Surface porosity: Some surfaces, like bare wood or drywall, may require more coats to achieve full coverage due to their porous nature.
-
Paint thickness: Thicker paints may require fewer coats, while thinner paints may require more coats to achieve the desired opacity.
-
Color change: If you’re changing the color of a surface, it may require additional coats to fully cover the previous color.
-
Paint quality: Higher quality paints often have better coverage capabilities, allowing for fewer coats to be applied.
Considering these factors will help you determine the number of coats needed for your project. Evaluating the type of surface being painted is the next step to ensure a successful paint job.
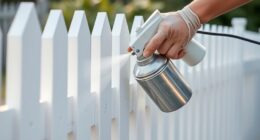
Evaluating the Type of Surface Being Painted
When evaluating the type of surface being painted, it’s important to consider its texture, condition, and any existing imperfections. Surface preparation plays a crucial role in achieving a smooth and lasting finish. Before applying paint with an airless paint sprayer, it’s essential to ensure that the surface is clean, dry, and free of any loose or peeling paint. Additionally, choosing the right paint type for the surface is vital. Different surfaces may require specific types of paint, such as oil-based or latex-based, to adhere properly and provide optimal coverage. By evaluating surface preparation and selecting the appropriate paint type, you can ensure that the desired number of coats will be applied evenly and accurately. Determining the paint quality and thickness is the next step in achieving professional results.
Determining the Paint Quality and Thickness
Now, let me show you how to assess the quality and thickness of your paint for a flawless finish.
As a painting specialist, I pay close attention to detail and ensure that every coat of paint is applied evenly and accurately. When evaluating the paint quality, it’s important to consider factors such as its viscosity and pigmentation.
High-quality paint will have a smooth consistency and vibrant color, indicating a good pigment concentration. In terms of thickness, a paint that is too thin may require additional coats to achieve full coverage, while a paint that is too thick can result in a heavy, uneven finish.
By assessing the paint thickness and quality, you can determine the appropriate number of coats needed for your project.
Now, let’s move on to assessing the color and shade of the paint.
Assessing the Color and Shade of the Paint
Take a moment to examine the color and shade of your paint to ensure it will make a bold and eye-catching statement in your space. Assessing the color accuracy and comparing different paint shades is crucial for achieving the desired aesthetic. As a painting specialist, I pay close attention to detail to ensure every coat of paint is applied evenly and accurately. To help you make an informed decision, consider the following table that compares different shades of paint:
| Shade | Description | Recommended Coats |
|---|---|---|
| Light Gray | Soft and subtle | 2 coats |
| Deep Blue | Rich and vibrant | 3 coats |
| Warm Beige | Cozy and inviting | 2 coats |
| Bold Red | Striking and energetic | 3 coats |
By assessing the color and shade of your paint, you can determine the number of coats needed to achieve the desired results. Taking into account the desired finish and texture, let’s explore additional considerations in the next section.
Taking into Account the Desired Finish and Texture
To achieve the desired finish and texture, it is important to consider the type of surface you are painting on and the effect you want to create in your space.
A painting specialist or paint contractor would pay close attention to detail and ensure that every coat of paint is applied evenly and accurately. They would provide specific instructions on the number of coats required for a particular project.
The number of coats needed depends on factors such as the color and shade of the paint, the condition of the surface, and the type of paint being used. For example, lighter colors may require more coats to achieve full coverage, while darker colors may require fewer.
It is also important to consider the desired texture of the finished surface. Some textures may require additional coats to achieve the desired effect.
Taking these factors into account will help you determine the number of coats needed for your project.
Now, let’s move on to applying primer for improved coverage.
Applying Primer for Improved Coverage
Applying primer enhances the coverage of the paint, ensuring a smoother and more professional finish. Here are four key reasons why primer is essential for achieving optimal coverage with an airless paint sprayer:
-
Improved Adhesion: Primer creates a bond between the surface and the paint, allowing it to adhere better and reducing the chances of peeling or flaking.
-
Concealing Imperfections: Primer helps to hide any surface imperfections such as stains or discoloration, allowing the paint to provide a consistent and even finish.
-
Sealing and Protecting: Primer acts as a barrier, preventing moisture and other elements from penetrating the surface and causing damage.
-
Enhanced Color: Applying primer before the paint can enhance the true color and vibrancy of the paint, making it more visually appealing.
By applying primer and achieving proper coverage, the subsequent section about testing the paint coverage with a sample area can be conducted to ensure the desired outcome.
Testing the Paint Coverage with a Sample Area
Before you start painting, it’s a good idea to test the paint coverage in a sample area. This will help you determine if the paint is covering evenly or if you need to do some touch-ups. As a painting specialist, I always pay attention to detail and ensure that each coat of paint is applied accurately. There are a few different ways to test the coverage. One method is to paint a small sample area and see how it looks. If the paint appears thin or uneven, you may need to apply another coat. Another technique is to use a wet film thickness gauge to measure the thickness of the paint film. This can help you determine if you’ve achieved the desired coverage. By testing the paint coverage in a sample area, you can make any necessary adjustments and apply additional coats as needed to get the best results.
Making Adjustments and Additional Coats as Needed
Once you’ve tested the paint coverage and noticed any imperfections, you’ll want to make adjustments and add extra layers for a flawless finish that will leave you feeling accomplished and proud of your painting project. To ensure the best results, follow these three steps:
-
Fine-tune the spray pattern: Adjust the nozzle settings on your airless paint sprayer to achieve a consistent and even spray pattern. This will help eliminate any unevenness or streaks in the paint application.
-
Apply additional coats as needed: Depending on the surface and type of paint you’re using, you may need to apply multiple coats to achieve the desired coverage. It’s important to follow the manufacturer’s recommendations for the number of coats required for optimal results.
-
Inspect and touch up: After each coat, carefully inspect the painted surface for any missed spots or areas that need touch-ups. Use a brush or roller to fill in any gaps or fix any imperfections before proceeding to the next coat.
By making adjustments and applying additional coats, you’ll be well on your way to achieving a professional-looking finish with your airless paint sprayer.
Achieving a Professional-Looking Finish with an Airless Paint Sprayer
When it comes to achieving a professional-looking finish with an airless paint sprayer, there are a few key factors to consider.
First and foremost, it is important to ensure that you have applied the necessary number of coats for the desired result. As a painting specialist, I recommend applying multiple thin coats rather than one thick coat to achieve a smooth finish. The number of coats required may vary depending on the surface being painted and the type of paint used.
Additionally, choosing the right nozzle for your airless paint sprayer is crucial. Different nozzles produce different spray patterns, so it is important to select the one that will provide the best coverage for your project.
By paying attention to these details and taking the time to properly adjust and apply the paint, you can achieve a professional-looking finish with your airless paint sprayer.
Frequently Asked Questions
Can an airless paint sprayer be used for all types of surfaces, including textured or uneven ones?
An airless paint sprayer is versatile and can be used on various surfaces, including textured or uneven ones. However, it is important to follow the instructions provided by a painting specialist or contractor to ensure even and accurate application. They will specify the number of coats required for a specific project, whether it is for furniture or ceilings. Their expertise and knowledge in the paint industry will guide you on achieving the best results.
How long does it typically take for the paint to dry after spraying with an airless paint sprayer?
Typically, paint sprayed with an airless paint sprayer takes about 2-4 hours to dry. The drying time can vary depending on factors such as temperature and humidity. However, the effectiveness of the airless sprayer ensures that each coat is evenly applied.
Is it necessary to sand the surface before using an airless paint sprayer?
Yes, it is necessary to sand the surface before using an airless paint sprayer. Sanding helps create a smooth and even surface for the paint to adhere to. This will ensure better coverage and a professional-looking finish.
Can an airless paint sprayer be used for both interior and exterior painting projects?
As a painting specialist, I can confidently say that an airless paint sprayer is suitable for both interior and exterior projects. However, it’s important to consider the pros and cons of using it for each. For interior painting, the sprayer can provide a fast and even application, but it may require more masking and covering to protect surrounding surfaces. When it comes to exterior painting, the sprayer can cover large areas quickly, but it may be challenging to control overspray and protect nearby objects. Ultimately, the number of coats needed will depend on the surface and type of paint being used.
Are there any safety precautions or guidelines to follow when using an airless paint sprayer?
When using an airless paint sprayer, it is important to follow safety precautions and guidelines to ensure a successful project. As a painting specialist, I can provide specific instructions on the number of coats needed for optimal results.
Conclusion
In conclusion, when using an airless paint sprayer, it’s essential to consider various factors to determine the number of coats needed for a project.
As a painting specialist, I have found that testing the paint coverage with a sample area is crucial in assessing the desired finish.
For example, when painting a textured wall, it may require three coats to achieve an even and smooth appearance.
By following professional techniques and being knowledgeable about the paint industry, you can ensure a professional-looking finish with an airless paint sprayer.

Jule’s attention to detail, editorial prowess, and commitment to delivering high-quality content ensure that every article and review on our website is polished and reader-friendly. Jule’s vision for the website as a one-stop destination for paint sprayer enthusiasts has been instrumental in shaping the platform into what it is today.