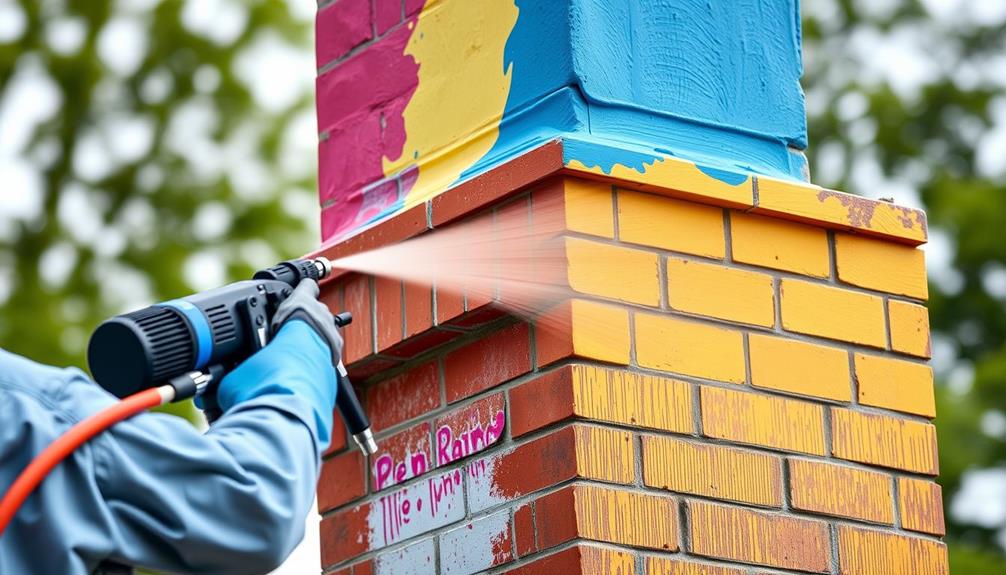
Using an airless paint sprayer to paint brick chimneys streamlines your process and enhances the finish. Start by cleaning the surface thoroughly for maximum paint adhesion. Maintain a distance of 6 to 12 inches from the brick while spraying in horizontal strips, overlapping each pass for an even coat. Allow each layer to dry completely before adding more. Use high-quality masking tape to guarantee clean lines, and consider employing a spray shield for tight areas. Finally, keep your sprayer clean for best results. If you're looking for additional tips on achieving that professional look, there's more to explore.
Key Takeaways
- Use a Wagner Flexio 4300 paint sprayer for even coverage and smoother finishes on brick surfaces.
- Maintain a distance of 6 to 12 inches from the brick while applying paint in horizontal strips.
- Ensure the brick surface is clean and dry before spraying for optimal paint adhesion.
- Overlap each spray pass by one-third to one-half for consistent application and avoid uneven coverage.
- Clean the sprayer components immediately after use to maintain equipment and prevent clogs.
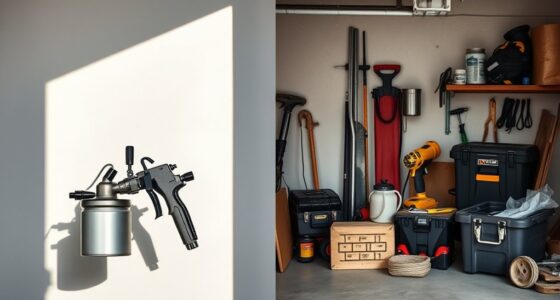
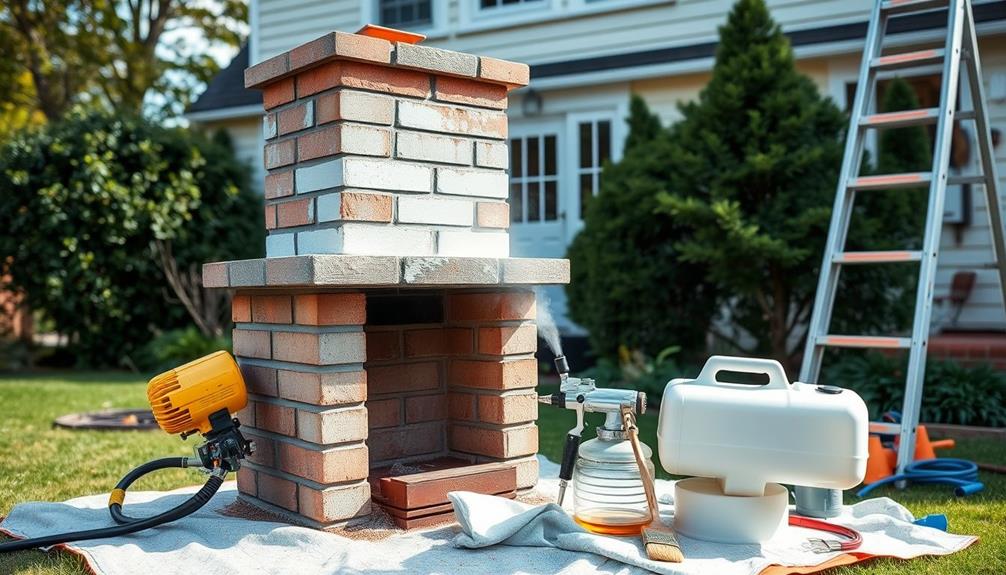
Supplies Needed for the Project
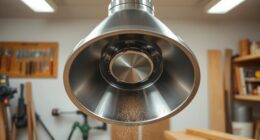
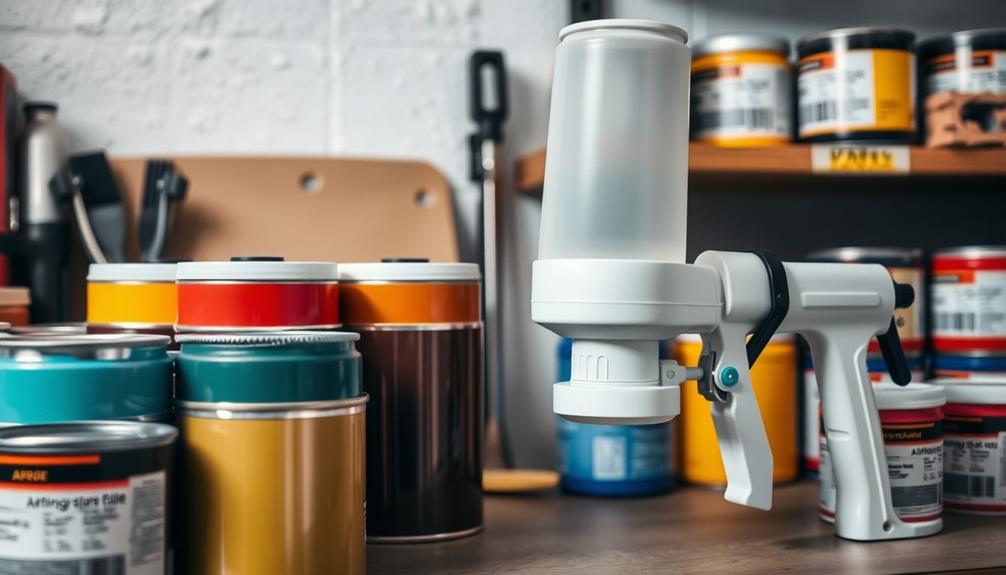
When you're preparing to paint a brick chimney, having the right supplies is vital for a successful project. Start with a reliable paint sprayer like the Wagner Flexio 4300; it's perfect for achieving even coverage on textured surfaces like brick. An airless paint sprayer can greatly speed up the application process, making it easier to cover large areas quickly, which is particularly beneficial for projects like this choose the right sprayer.
You'll want to make sure you have plenty of drop cloths or plastic sheeting to cover the ground and catch any paint splatter during your spraying.
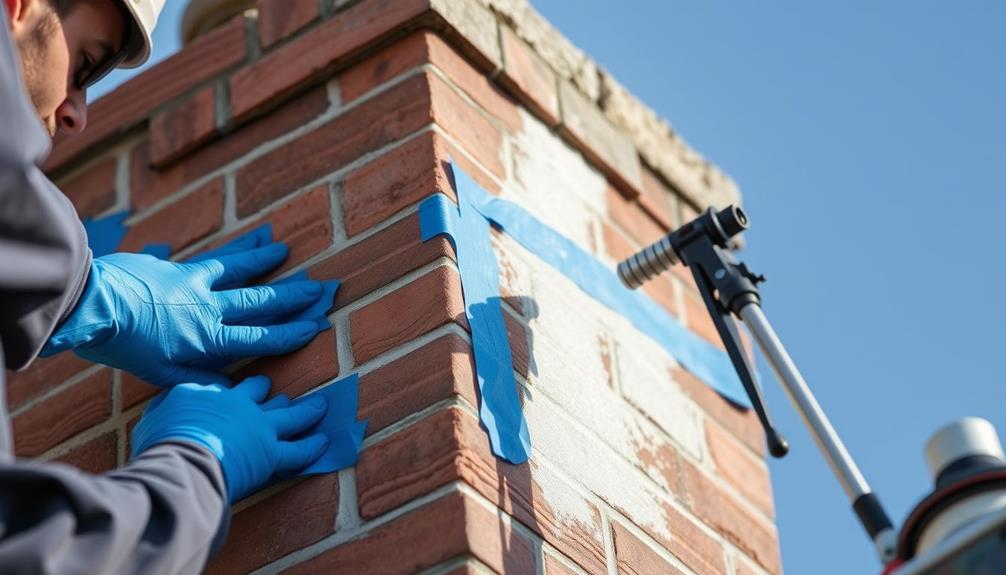
Next, grab some quality masking tape and masking paper. These are essential for protecting areas that you don't want to paint, such as windows and adjacent structures. Take your time to properly tape off these areas, ensuring clean lines and avoiding any mishaps.
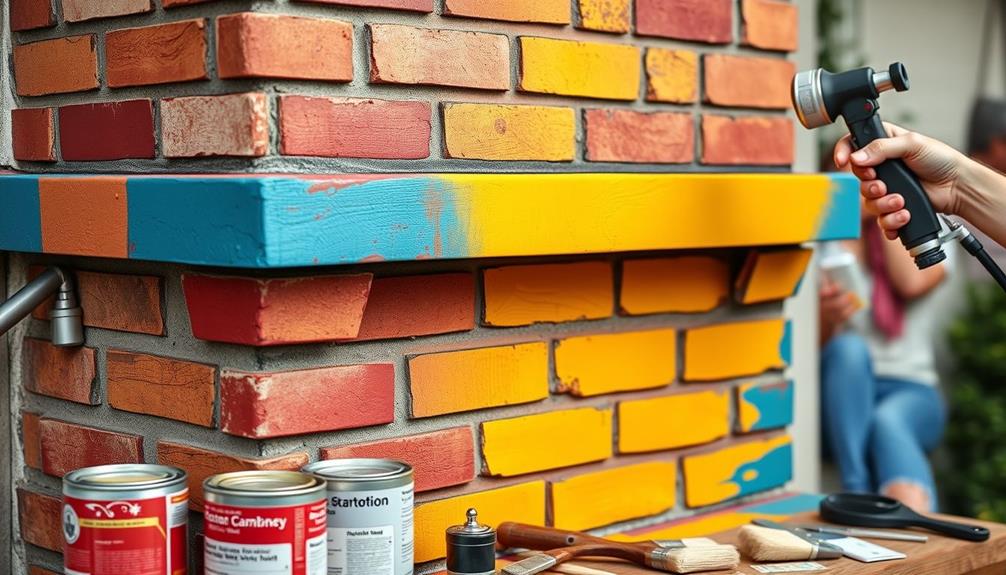
Don't forget to choose heat-resistant masonry paint. This type of paint will adhere well to your brick surface and withstand temperature fluctuations, ensuring durability over time.
Preparation Steps for Painting
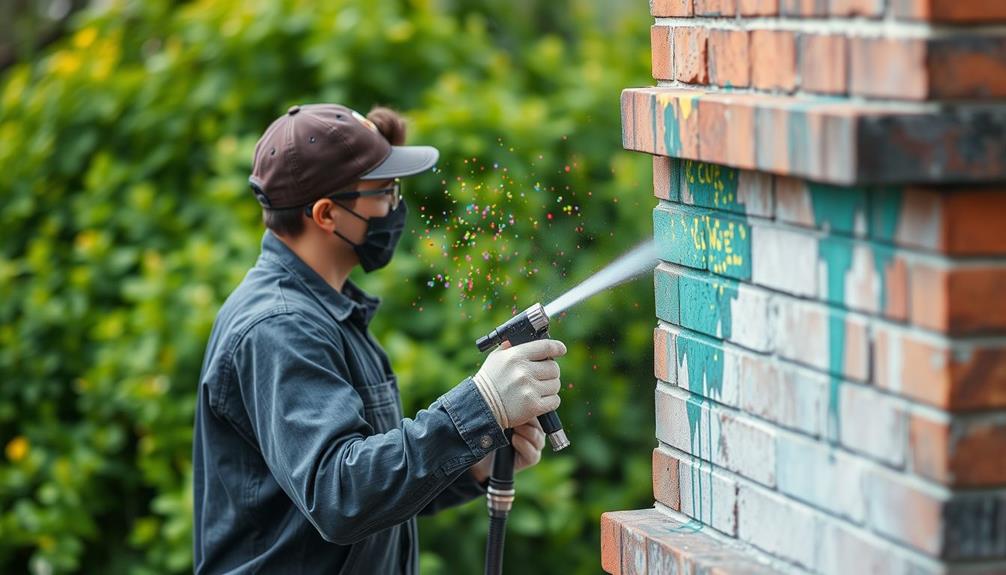
Before you start painting, you need to focus on cleaning the surface thoroughly to guarantee the paint sticks well. This may involve using a pressure washer or a scrub brush to remove dirt and grime effectively.
Additionally, consider employing essential items for a home cleaning kit to enhance your cleaning process.
Use effective masking methods to protect areas you don't want to paint, preventing any unwanted overspray.
Surface Cleaning Techniques
Thoroughly cleaning the surface is essential for successful painting, as it guarantees ideal paint adhesion. Start by using a wire brush or a stiff-bristled brush with soapy water to scrub the brick surface. This will help remove dirt, grime, and any loose particles that may interfere with the paint.
For stubborn stains or heavy buildup, consider applying a cleaning solution like trisodium phosphate (TSP) mixed with water. This can enhance the cleaning process before you rinse with clean water. Additionally, verifying good indoor air quality during your project is important; using an air purifier can help reduce dust and allergens that may be stirred up during cleaning.
If your chimney is on the exterior, a pressure washer can be an effective surface cleaning technique. Just be careful not to use excessive pressure, as this might damage the brick.
After cleaning, verify that all surfaces are completely dry. Moisture can negatively affect paint adhesion and durability, so let the bricks dry thoroughly.
Effective Masking Methods
Once the surface is clean and dry, it's time to focus on effective masking methods to guarantee a neat painting job. Start by applying high-quality masking tape along the edges of areas you don't want to paint. This will assure a clean line and prevent paint bleed.
It's also wise to take into account the impact of your chosen materials on the environment, making certain that the masking tape and coverings you use are eco-friendly options that won't contribute to waste. Next, cover floors and furniture with drop cloths or plastic sheeting to protect them from any overspray during the painting process.
For windows and doors, secure masking paper that extends beyond their edges. This way, you'll catch any potential overspray and protect glass surfaces from unwanted paint. Remember, if surfaces aren't clean and dry, the masking materials mightn't adhere properly, compromising your protection.
Additionally, understanding the flow of the paint being used can help in achieving a smooth application, similar to maintaining ideal water flow in plumbing systems toilet water flow.
In tight spaces or intricate areas, think about using a spray shield or a cardboard barrier to block overspray effectively. This extra step enhances your masking efforts and assures that your paint job remains precise.
Painting Process Overview
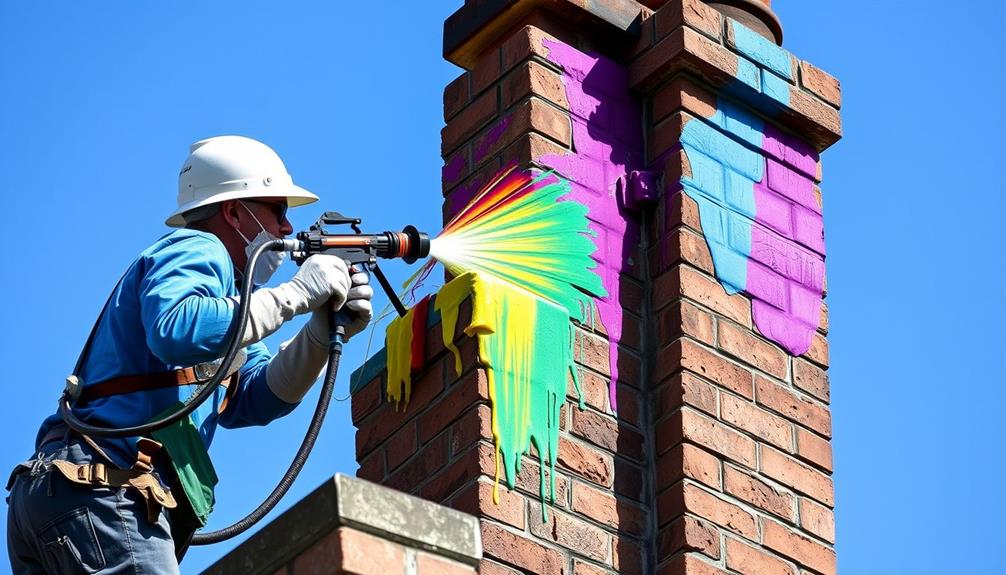
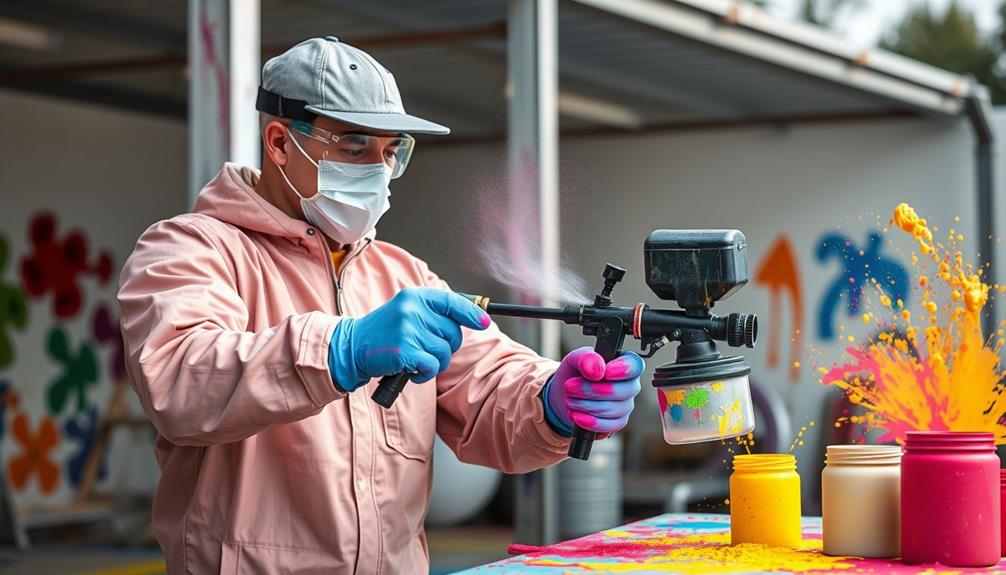
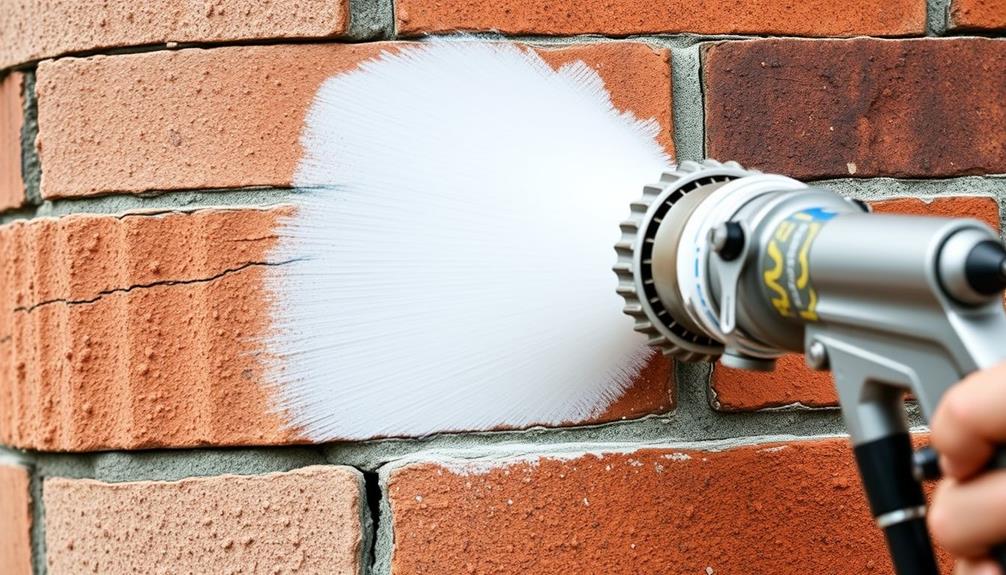
When you're ready to start the painting process, it's vital to begin with a clean brick surface. Use a wire brush and soapy water to thoroughly clean the bricks, guaranteeing proper paint adhesion. Once the surface is prepped, grab your airless paint sprayer. Maintain a distance of 6 to 12 inches from the brick to achieve an even spray pattern and avoid paint buildup.
Apply the paint in horizontal strips, overlapping each pass by one-third to one-half. This technique will help you achieve a smooth and uniform finish across the chimney. It's important to allow each coat of paint to dry completely before applying subsequent coats. This not only promotes better adhesion but also contributes to a more durable final outcome.
Here's a quick overview of the process:
| Step | Action | Notes |
|---|---|---|
| 1. Clean Surface | Use wire brush and soapy water | Vital for paint adhesion |
| 2. Set Up Sprayer | Maintain 6-12 inches distance | Guarantees even coverage |
| 3. Apply Paint | Use horizontal strips, overlap | Achieves a smooth finish |
After finishing, clean your sprayer components immediately to keep your equipment in top shape.
Final Touches and Decorations
After you've painted your chimney, it's time to think about how you want to enhance its look.
Consider adding seasonal decorations or personal touches that reflect your style while ensuring they're safe and won't damage the fresh paint.
Incorporating natural elements, such as greenery, can complement the rustic charm of your brick chimney, creating a harmonious aesthetic that aligns with modern farmhouse decor trends.
Placing decorative items thoughtfully can transform your chimney into a standout feature in your home.
Decorative Item Placement
Enhance your newly painted brick chimney by thoughtfully arranging decorative items on the mantel. This final touch not only showcases your style but also breathes life into the space. Start with seasonal decorations like wood garlands or faux eucalyptus to create a warm atmosphere. Incorporate natural elements, such as dried orange garlands, to add texture and color, making it feel inviting.
To achieve a cohesive look, select decorative items that complement your chimney's color. Position candles and lanterns strategically to add warmth and ambiance, especially during evening hours. Regularly updating these decorations keeps your fireplace area fresh and appealing throughout the year.
Here's a simple table to guide your decorative item placement:
| Item | Purpose | Seasonal Suggestions |
|---|---|---|
| Candles | Add warmth and ambiance | Harvest scents in fall |
| Wood Garlands | Create a rustic feel | Holiday-themed garlands |
| Faux Eucalyptus | Lush greenery | Spring blooms |
With these tips, you'll effortlessly enhance your space. So, as you think about how to paint your fireplace, don't forget the impact of decorative item placement!
Seasonal Aesthetic Enhancements
To create an enchanting seasonal aesthetic for your painted brick chimney, consider how decorative items can transform the space.
Start by styling your mantel with wood garland and faux eucalyptus, which can beautifully enhance the atmosphere. Incorporating elements such as cozy teenage girl room colors can inspire warm and inviting tones that complement your decorations.
For a festive touch during the holidays, incorporate dried orange garlands to add warmth and cheer to your fireplace area.
Using a cohesive color palette is key; choose shades that complement the dark painted stone for a modern and inviting look. This will guarantee your seasonal decorations harmonize with your chimney's new paint job.
To elevate the ambiance further, add candles and ornaments that reflect your personal style. These elements can create a welcoming environment, perfect for gatherings.
Personal Style Expression
Personal style expression shines through in the final touches and decorations you choose for your painted brick chimney. After you've transformed your chimney with fresh paint, consider incorporating decorative elements like wood garlands, dried orange garlands, or faux eucalyptus.
To enhance the overall aesthetic, you might even consider adding a stylish wall clock to your decor, as they can transform spaces with stylish wall clocks that blend aesthetics and functionality. These additions not only enhance the aesthetic appeal but also reflect your unique taste.
To achieve a cohesive look in your space, utilize a color scheme that complements the newly painted chimney. Earthy tones or contrasting colors work well to tie everything together. Seasonal decorations, such as festive ornaments or candles, can create a warm and inviting atmosphere, especially during holidays.
Don't forget about lighting! Decorative lighting, like string lights or lanterns, can highlight your brick chimney, creating a cozy ambiance in your living area.
Experimenting with various textures and materials in your mantel decor, such as metal, glass, or natural fibers, adds depth and interest to your personal style expression.
Troubleshooting Common Issues
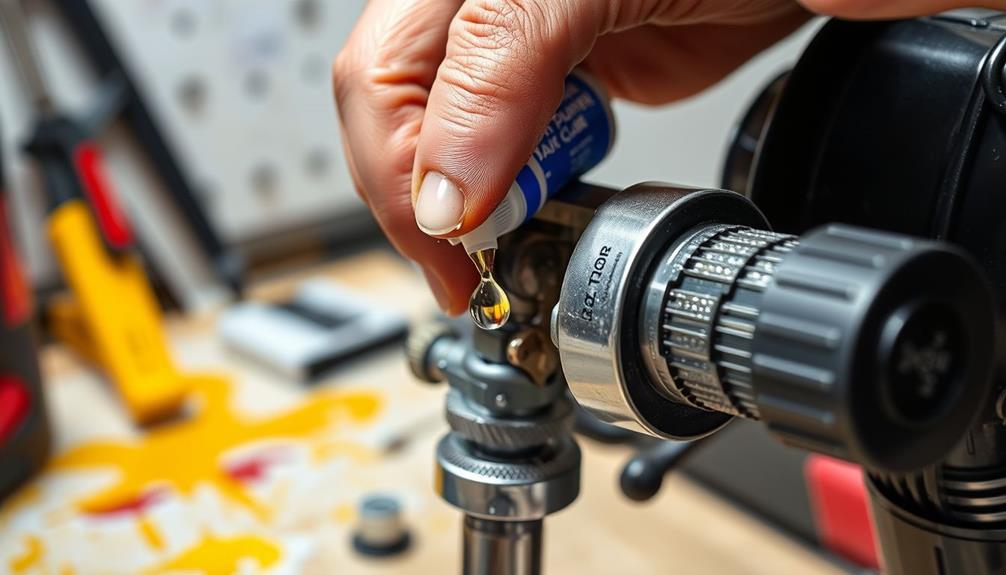
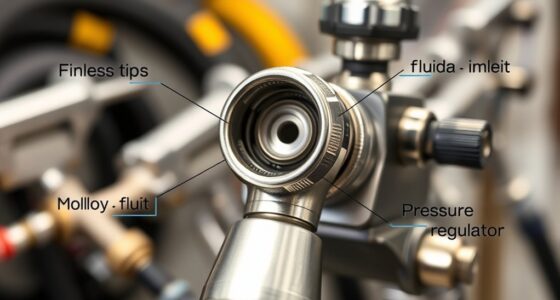
When you encounter issues with your airless paint sprayer, addressing them promptly can save you time and guarantee a smooth application. Here are some common problems you might face and how to resolve them:
| Issue | Solution |
|---|---|
| Rounded spray pattern | Replace the worn spray tip for optimal performance. |
| Uneven spray | Adjust the pump pressure or use the correct tip size. |
| Excessive overspray | Reduce the pressure settings to improve paint adherence. |
| Sputtering paint | Check for clogs in the sprayer; clean the tip and filters. |
| Accidental spraying | Always engage the trigger lock when not in use to prevent mishaps. |
Understanding these issues can help you troubleshoot effectively. If you notice a rounded spray pattern, it's time to replace the spray tip. An uneven finish suggests you should check your pressure settings or tip size. For excessive overspray, lowering the pressure can make a big difference. Sputtering indicates clogs in the sprayer, which you can fix by cleaning. Finally, always engage the trigger lock to avoid accidental spraying. With these tips, you can guarantee smooth and efficient sprayer uses.
Techniques for Optimal Results
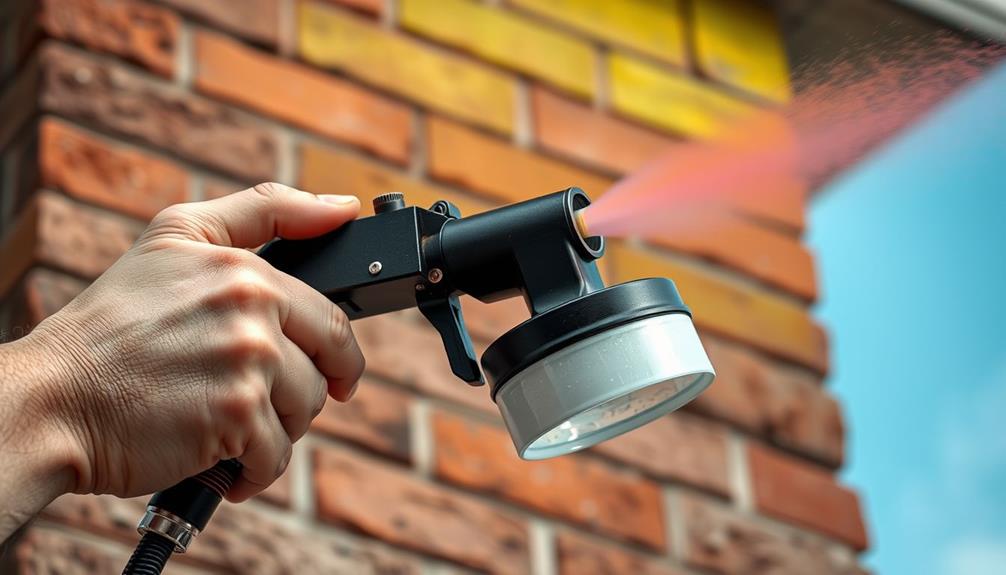
How can you guarantee your airless paint sprayer delivers the best results? First, maintain a distance of 6 to 12 inches from the brick surface while spraying. This distance helps achieve even coverage and prevents drips or runs.
As you spray, keep the gun moving in a sweeping motion, moving horizontally in 3-foot strips. Overlap each pass by one-third to one-half to secure consistent application of paint particles. Additionally, using the right type of paint can enhance adhesion to the brick surface, similar to how garage door openers enhance home security with modern technology.
Next, adjust the paint thickness and pressure settings according to the manufacturer's guidelines. Proper adjustments optimize flow and reduce overspray, which is essential for an even finish.
Remember to release the trigger before stopping movement. This technique avoids paint buildup at the end of your spray pass, guaranteeing a smooth finish.
Advantages of Using a Sprayer
Using an airless paint sprayer can transform your painting experience, especially for challenging surfaces like brick. These sprayers work by delivering a high volume of paint at low pressure, which considerably reduces overspray and guarantees an efficient application.
Additionally, employing a budget-friendly vacuum cleaner can help you maintain a clean workspace, free from paint dust and debris.
Here are a few advantages of using an airless sprayer for your brick chimney project:
- Better Coverage: The spray pattern allows for excellent coverage in grooves and crevices that brushes or rollers struggle to reach.
- Time-Efficient: You can cut down application time by up to 50%, making it ideal for large projects like painting brick chimneys.
- Smoother Finish: Airless sprayers produce a smoother finish with less texture, minimizing the appearance of brush or roller marks.
Additionally, airless sprayers can handle thicker paints, giving you a durable and long-lasting finish, which is essential for exterior applications exposed to harsh weather.
When you use a paint sprayer, you not only achieve a professional look but also make the process quicker and easier. Embrace the efficiency and effectiveness of airless sprayers for your next painting project!
Additional Projects to Consider
For anyone looking to elevate their home or workspace, considering additional projects with an airless paint sprayer can lead to impressive results. One great project is painting a room. Using a sprayer allows you to achieve a smooth finish while reducing application time, making it ideal for large wall surfaces.
Additionally, verifying that your workspace has ideal air circulation can enhance comfort during your projects, reminiscent of the benefits of top room fans for summer cooling.
You could also revamp your office bookshelves by adding an electric fireplace, combining functionality with a modern aesthetic that enhances your workspace ambiance.
Updating your stairs and railings with a fresh coat of paint using an airless sprayer will restore the overall look of your home and guarantee an even application.
If you're feeling adventurous, why not design a treehouse that caters to both kids and adults? You can incorporate creative painting techniques to give it a fun, vibrant finish.
Finally, explore various creative applications of your Wagner paint sprayer by painting outdoor furniture or garden features. These projects can refresh and add cohesion to your outdoor spaces, making them more inviting.
Frequently Asked Questions
Can You Use a Sprayer to Paint Brick Fireplace?
Yes, you can use a sprayer to paint a brick fireplace. Just guarantee to clean the surface, mask off areas, and maintain a distance of 6 to 12 inches for even coverage and great results.
Can You Spray Masonry Paint With an Airless Sprayer?
Yes, you can spray masonry paint with an airless sprayer. Just make certain you use the right tip size and pressure, and consider thinning the paint for better flow. Practice beforehand to guarantee a smooth finish.
How to Paint a Brick Chimney?
To paint a brick chimney, start by cleaning it thoroughly. Mask surrounding areas, then apply quality masonry paint in thin coats. Maintain a distance, allowing proper drying time between each coat for the best finish.
Is It Better to Roll or Spray Paint Brick?
You might think rolling is just as good as spraying, but it's not. Spraying offers faster, more even coverage on textured surfaces, making it the better choice for achieving a professional finish on brick.
Conclusion
To sum up, painting your brick chimney with an airless sprayer can transform it like a fresh coat of paint on a canvas. By following the right techniques and preparation steps, you'll achieve a professional finish that enhances your home's curb appeal. Don't forget to address any issues that might arise and embrace the advantages of using a sprayer for a smooth application. With a little practice, you'll be ready to tackle even more projects around your home!