Using an airless paint sprayer for doors can give you a sleek finish quickly. Start by organizing your workspace and securing doors using metal L brackets for support. Choose the right equipment, like the Sherwin Williams 395 PC Nova sprayer, and use a 411 tip for wider coverage. Maintain a consistent distance of 10 inches from the surface and follow a 4-inch wide spray pattern with 50% overlap. Begin with the edges and move to the flat surfaces. Allow adequate drying time between coats for the best results. There's much more to master for an impeccable finish, so keep exploring!
Key Takeaways
- Prepare the work area by positioning doors securely on 5-gallon paint sticks and elevating them with metal L brackets to avoid surface contact.
- Use the 395 PC Nova sprayer with a 411 tip for doors and maintain a distance of 10 inches to 1 foot from the surface for optimal coverage.
- Apply the first coat starting with edges, followed by flat surfaces, ensuring a 4-inch wide spray pattern with 50% overlap for even application.
- Allow 1-2 hours of drying time between coats and inspect the first coat for evenness to avoid bubbling in the final finish.
- Wear an N95 respirator and seal off doorways to contain overspray, ensuring good ventilation for safety during the spraying process.
Preparing the Work Area
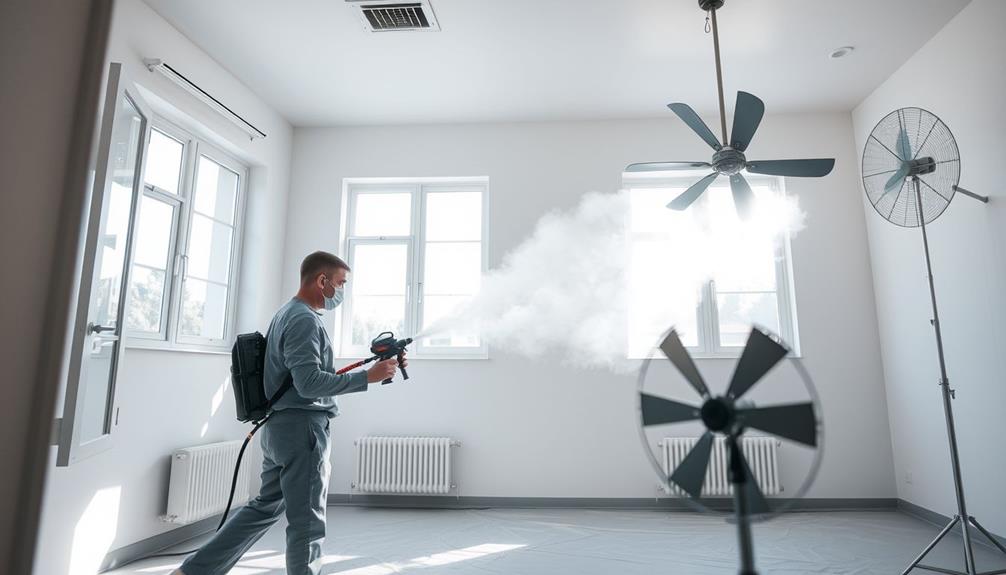
Before you start spraying, it's vital to prepare your work area properly to guarantee a smooth process and a quality finish. First, position 30 doors in a single room using cut 5-gallon paint sticks for support. This setup helps maintain an efficient workflow.
Elevate the doors off the floor with metal L brackets from Sherwin Williams to prevent them from contacting surfaces during spraying. Properly preparing the area not only enhances your efficiency but also contributes to achieving an even finish, which is significant when using airless paint sprayers.
Next, protect your surroundings with two layers of builder's paper, as rosin paper isn't advisable due to moisture issues. Make sure you seal off doorways with plastic and tape to contain the spray within your work area, ensuring a controlled environment.
This setup not only helps maintain a clean space but also improves your spray pattern, making it easier to apply that second coat evenly.
Lastly, prioritize your safety by wearing an N95 respirator during spraying. This protective gear is vital to guard against inhalation of paint particles, allowing you to focus on achieving a flawless finish.
With the right preparations, you're ready to tackle your project with confidence!
Choosing the Right Equipment
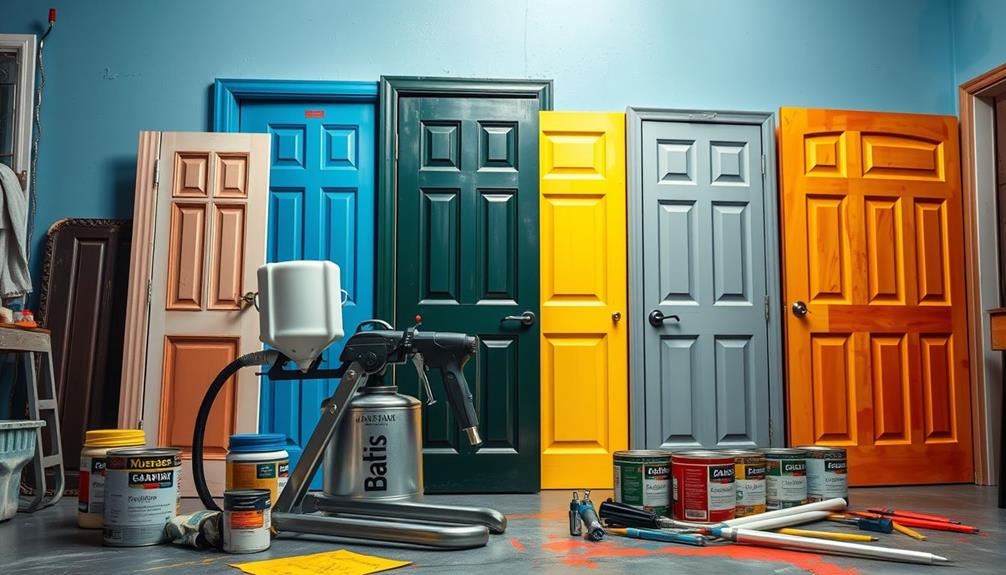
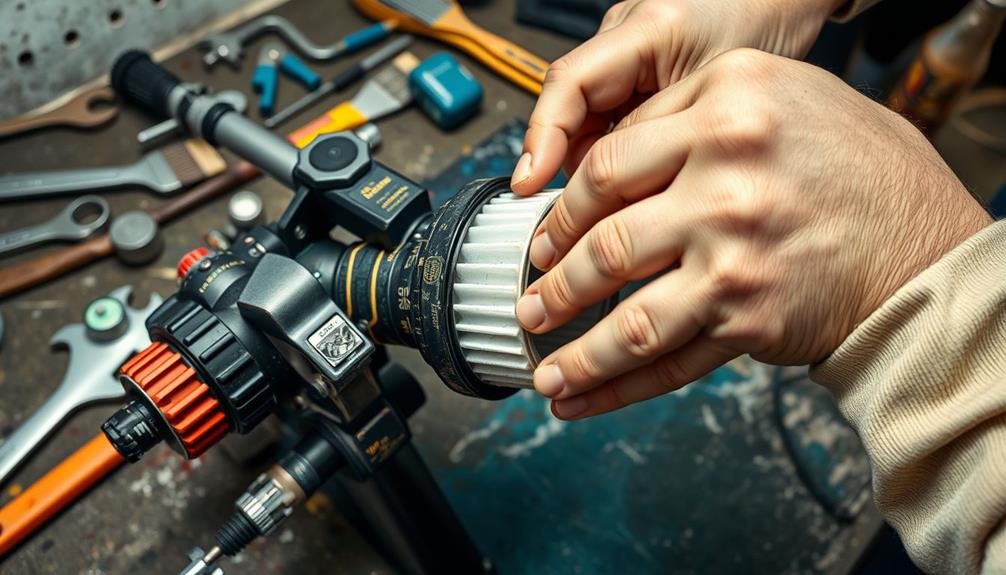
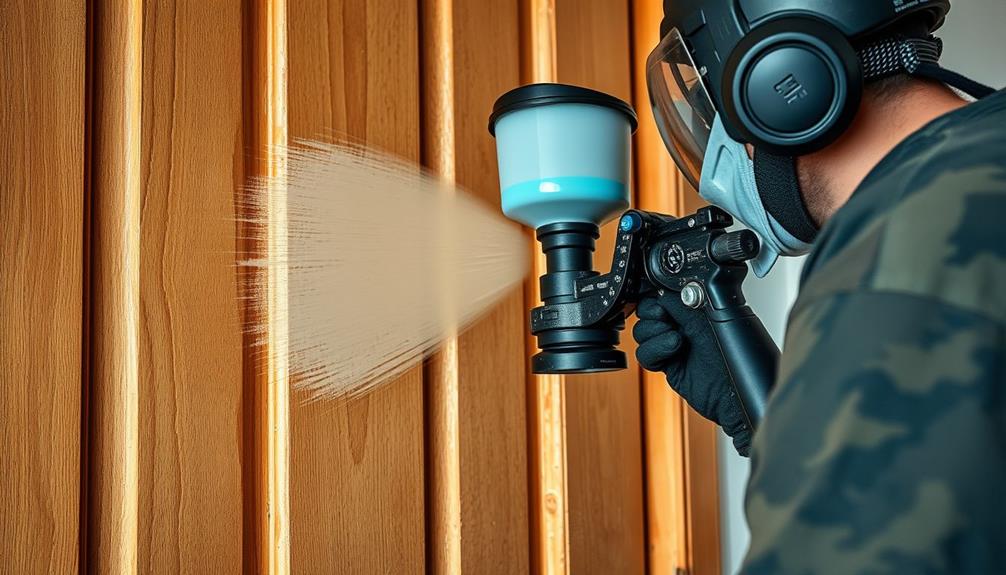
When it comes to choosing the right equipment for your airless paint sprayer project, selecting the appropriate sprayer is essential for efficiency and quality. For door painting projects, the 395 PC Nova sprayer from Sherwin Williams is a top choice due to its effectiveness.
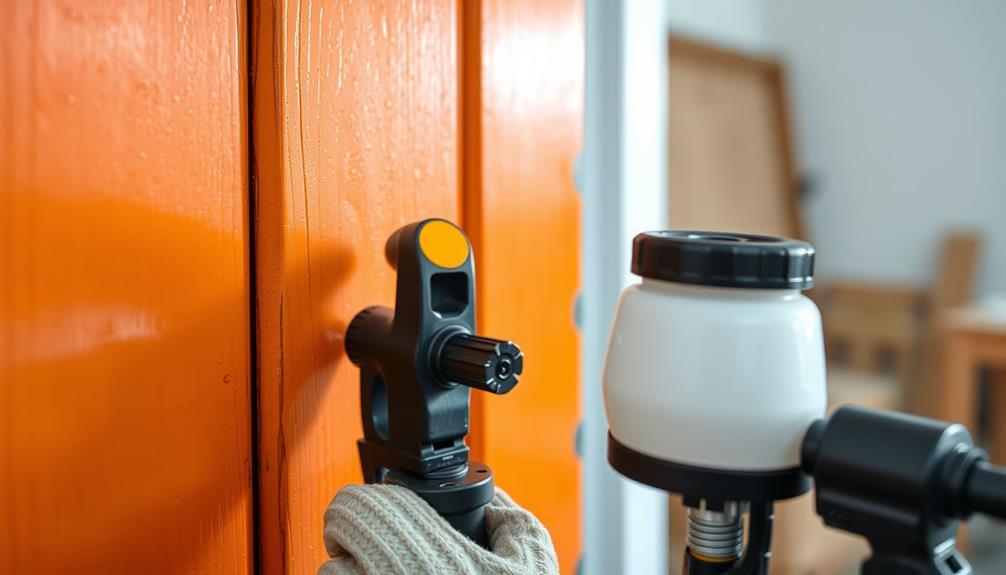
To achieve wider spray coverage, you should use a 411 tip, but keep in mind that options like 10, 11, or 13 tips might be better suited for varying door and trim work. Using the Graco FFLP Fine Finish Low Pressure Reversible Tip can further improve your results by reducing overspray and enhancing control.
While spraying, you'll want to reduce the sprayer's power to avoid creating "fingers" in your spray pattern, ensuring a smooth finish on your doors. An important aspect of your setup is safety; always wear N95 respirators to protect yourself from inhaling paint particles.
As you spray, maintain a distance of about 10 inches to 1 foot from the door surface to optimize application and finish quality. If you find you need a more concentrated spray, you can increase the pressure, but be cautious not to compromise the finish.
With the right equipment and precautions, you'll be set for a successful painting project.
Understanding Spray Techniques

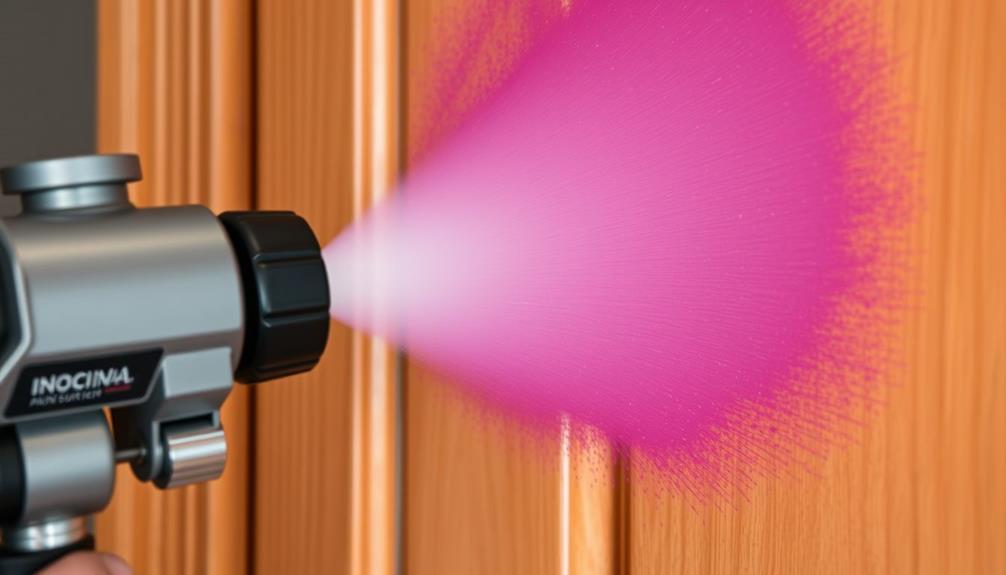
Understanding spray techniques is essential for achieving a professional finish with your airless paint sprayer. To start, maintain a 4-inch wide spray pattern with 50% overlap. This guarantees even coverage and helps you avoid any missed spots on your door.
For instance, using tools like garage door openers can enhance your home's security while you focus on your painting project. Begin by spraying the edges of the door, gradually moving towards the flat surfaces. This method provides a complete and uniform coating.
Keep your sprayer positioned about 10 inches to 1 foot away from the door surface. This distance allows you to achieve the best spray results without over-saturating any area. When spraying, use a continuous motion; avoid stopping and starting, as this can lead to uneven areas and a less smooth finish.
For your second coat, switch to a straight spray technique. This approach enhances the overall finish and coverage of your door, giving it that polished look you desire.
Managing Spray Patterns

To manage your spray patterns effectively, keep a consistent distance of 10 inches to 1 foot from the door surface.
Utilizing the right techniques can greatly enhance your painting experience, much like how a well-organized home cleaning service can improve your living space.
You should also maintain a 4-inch wide spray pattern with a 50% overlap for even coverage.
This approach will help you achieve a smooth finish without any uneven areas.
Maintaining Distance Consistency
Maintaining distance consistency is essential for achieving a smooth and even finish when using an airless paint sprayer. To guarantee this, keep your sprayer at a distance of 10 inches to 1 foot from the door surface. This distance allows for a uniform spray pattern while minimizing the risk of uneven coverage.
Here's a quick reference table to help you remember key points:
| Aspect | Recommendation |
|---|---|
| Distance from Surface | 10 inches to 1 foot |
| Spray Pattern Width | 4 inches wide |
| Overlap Amount | 50% between passes |
| Motion | Keep your hand moving |
| Angle for Detail Areas | Use a slight angle |
Adjust the sprayer power to avoid creating "fingers" in the spray pattern, which can lead to touch-ups. Always keep your hand moving to prevent uneven areas and inconsistent coverage. For more intricate designs, a slight angle can provide better control while maintaining the proper distance. By following these tips, you'll achieve a consistent and professional finish on your doors.
Overlap for Even Coverage
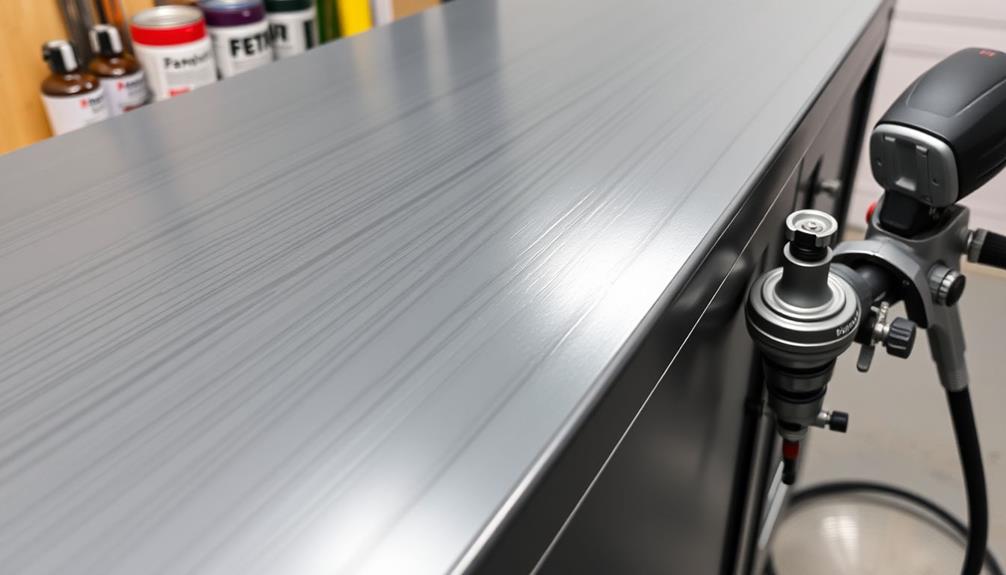
Achieving even coverage when using an airless paint sprayer hinges on effective overlap management. To guarantee a consistent application of paint on your doors, aim for a 4-inch wide spray pattern with a 50% overlap on each pass. Start by spraying at the edges of the door, then move across the surface, overlapping each stroke. This technique prevents gaps and uneven areas in the finish.
Regular maintenance of your sprayer is vital to avoid clogs, much like how proper toilet maintenance can prevent issues in plumbing toilet maintenance practices.
Maintain a distance of 10 inches to 1 foot from the door surface. This distance facilitates proper atomization and coverage while giving you control over the spray pattern. Use a trigger control technique: pull the trigger to start spraying and release it to stop. This method helps you achieve clean edges and prevents paint build-up at the beginning or end of each stroke.
When applying your second coat, stick with a straight spray technique but keep the same overlap strategy. This approach not only enhances the finish but also helps you achieve a smooth, professional look.
Applying the First Coat
Before you start applying the first coat, make certain your equipment is set up correctly to avoid issues with the spray pattern.
Consider consulting resources that highlight exclusive design insights to enhance your technique.
Use the ideal spray technique by keeping the right distance and maintaining a smooth motion to guarantee even coverage.
Don't forget to factor in drying time, as it's vital for a successful finish before adding any additional coats.
Equipment Setup Essentials
Setting up your equipment properly is essential for a successful airless paint spraying job, especially when applying the first coat. Start by positioning the doors securely using cut 5-gallon paint sticks for support. Elevate them off the floor with metal L brackets to prevent any surface contact during spraying.
For this job, the 395 PC Nova sprayer with a 411 tip is perfect, providing a wider spray pattern. Adjust the power to minimize the risk of "fingers" in the finish. Begin your spraying by targeting the edges of the door, then shift to the surfaces while keeping a distance of 10 inches to 1 foot for best coverage.
Here's a quick reference table to help you with essential setup details:
| Step | Details |
|---|---|
| Door Positioning | Use 5-gallon sticks and L brackets |
| Sprayer Model | 395 PC Nova with 411 tip |
| Spray Distance | 10 inches to 1 foot |
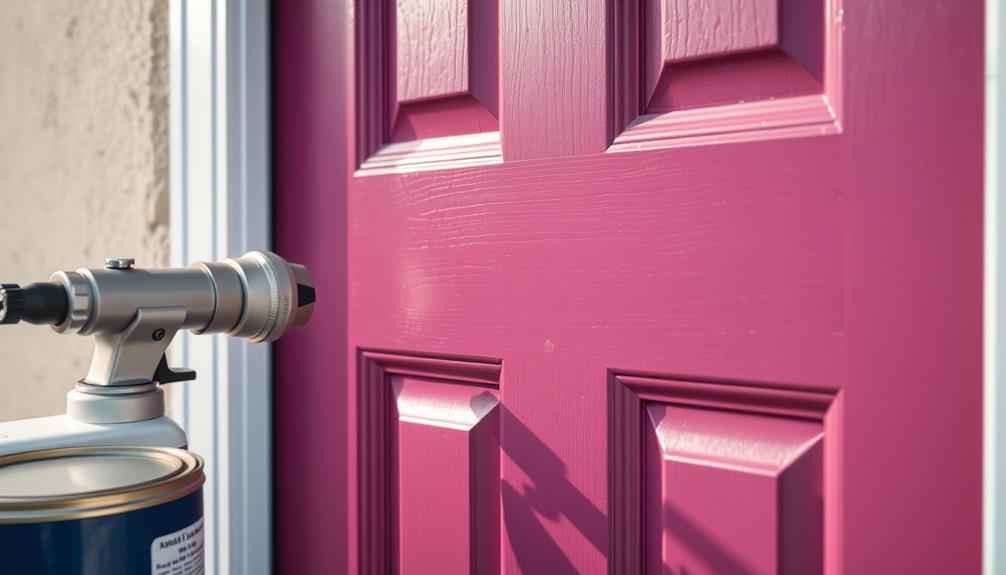
| First Coat Type | Semi-gloss enamel |
Maintain a 4-inch wide spray pattern with 50% overlap, moving your hand continuously to avoid uneven areas. After spraying, allow adequate drying time before making any adjustments for the second coat.
Optimal Spray Technique
With your equipment properly set up, it's time to focus on the ideal spray technique for applying the first coat.
Begin by maintaining a 4-inch wide spray pattern with a 50% overlap to guarantee an even coating across the door's surface. Studies indicate that maintaining a steady hand and consistent motion is key to achieving a flawless finish, much like how cats display affection when they feel comfortable.
Start spraying on the edges, then shift to the flat areas. This approach helps you achieve full coverage while avoiding missed spots.
Keep a distance of 10 inches to 1 foot from the door surface while spraying. This distance optimizes your spray pattern and helps prevent drips.
Use a consistent, continuous motion as you spray. Avoid starting and stopping, as this can lead to uneven areas and disrupt the smooth finish you're aiming for.
As you work, be prepared to adjust the sprayer pressure as needed. This will help eliminate trailing fingers and achieve your desired coverage.
Remember, practice makes perfect, so don't hesitate to test your technique on a scrap piece of wood before tackling the door itself.
Drying Time Importance
Proper drying time is essential after applying the first coat of semi-gloss enamel. Allowing adequate time between coats guarantees proper adhesion, preventing peeling and other imperfections. Typically, you should wait at least 1-2 hours before applying the second coat, but keep in mind that environmental conditions can alter this timeframe.
Utilizing techniques from DIY kitchen wall decor can also help create a more effective workspace for your painting project.
To expedite the drying process, consider using a fan or improving ventilation in the area. This not only helps the enamel dry faster but can also enhance the overall finish quality. Once you believe the first coat has dried, take a moment to inspect it for evenness and coverage. Any inconsistencies you spot now can inform necessary adjustments before applying the second coat.
Don't rush this stage; hurrying the drying process can lead to issues like bubbling or uneven texture, which can compromise the final appearance of your doors. By prioritizing proper drying time, you set the foundation for a beautiful, long-lasting finish.
Adjusting for Optimal Finish
Achieving an ideal finish with your airless paint sprayer requires careful adjustments that directly influence the quality of your work. Start by adjusting the sprayer pressure to eliminate trailing fingers, guaranteeing an even coating on your doors.
To guarantee a serene atmosphere, consider incorporating cozy textiles and natural elements into your workspace. A consistent distance of 10 inches to 1 foot from the door surface is vital. This prevents overspray and helps you achieve a smooth application.
Choose a 411 tip for wider spray coverage, allowing for a 4-inch wide spray pattern with a 50% overlap. This overlap is fundamental for uniform results, so don't rush it. Keep your hand in continuous motion while spraying. Avoid starting and stopping, as this can create uneven areas that detract from your finish.
When applying the second coat, utilize a straight spray technique to enhance the finish and improve overall coverage. Remember to allow adequate drying time between coats; this step is significant for achieving that flawless look.
Tips for Efficient Spraying
To maximize efficiency when using your airless paint sprayer, start by organizing your workspace strategically. Position all doors in one room, and guarantee you have everything you need at hand. This assembly-line approach minimizes time spent moving back and forth.
Additionally, consider how dog training and socialization principles can apply to creating a focused work environment, as both require preparation and attention to detail.
Here are a few tips to keep in mind:
- Use a 411 tip with the 395 PC Nova sprayer for a wider spray pattern, achieving a smooth finish with a 4-inch coverage and 50% overlap.
- Maintain a distance of 10 inches to 1 foot from the door surface while spraying to optimize coverage and minimize drips.
- Begin with edges before shifting to surfaces; use continuous motion to avoid uneven areas.
Apply two coats of semi-gloss enamel, allowing adequate drying time between coats. Adjust your sprayer pressure to eliminate trailing fingers for a flawless final appearance.
Ensuring Safety Measures
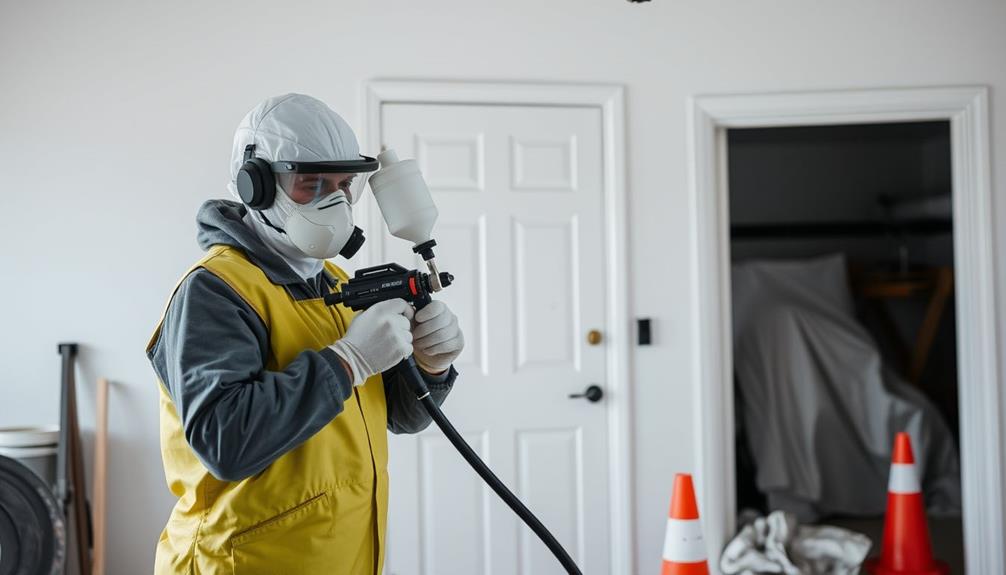
Maintaining a safe workspace is just as important as mastering your spraying techniques. Always wear an N95 respirator during spraying. This will protect you from inhaling hazardous paint particles and fumes that can pose serious health risks.
Additionally, use plastic and tape to seal off doorways. This helps contain the spray within your work area, minimizing your exposure to overspray.
Proper ventilation is essential, too. Make certain your workspace has good air circulation to further reduce inhalation risks. Open windows or use fans to keep the air flowing.
When adjusting your sprayer, make sure it's set correctly to avoid "fingers" in the spray pattern. This not only leads to uneven application but also creates potential safety hazards during cleanup.
Lastly, always follow the manufacturer's safety guidelines for your airless paint sprayer and any chemical products you're using. These instructions are designed to guarantee safe operation and prevent accidents.
Evaluating the Final Result
Inspect your work closely after applying the first coat to catch any uneven areas or missed spots that might need touch-ups. A thorough evaluation sets the stage for a flawless finish.
Make certain the spray pattern maintains a consistent 4-inch width with 50% overlap to guarantee even coverage.
After applying the second coat, check for the following:
- Smoothness: The finish should be polished, with no rough patches or inconsistencies.
- Technique Marks: Look for signs of "fingers" or trailing marks, which may indicate improper pressure or distance while spraying.
- Drying Time: Ascertain sufficient drying time between coats to enhance durability and visual appeal.
Frequently Asked Questions
How Do You Spray a Door With an Airless Sprayer?
To spray a door with an airless sprayer, elevate it, choose the right tip, maintain a consistent distance, start with edges, overlap your strokes, and apply multiple coats for a smooth, even finish.
How Do You Get a Smooth Finish With an Airless Sprayer?
Want a smooth finish with an airless sprayer? Keep your distance consistent, adjust the pressure, and use the right tip. Remember to overlap your strokes and apply multiple thin coats for that flawless look!
Do You Dilute Paint When Using an Airless Sprayer?
You typically don't need to dilute paint when using an airless sprayer, especially with quality paints. However, if it's thick, consider diluting up to 10% for a smoother spray and better results. Always test first!
How to Paint Doors Smooth Finish?
"Measure twice, cut once." To paint doors for a smooth finish, start with an even coat, allow drying, then apply a second coat. Use consistent strokes and maintain distance for ideal coverage, reducing imperfections.
Conclusion
In the end, mastering airless paint sprayer techniques for doors isn't just about the tools; it's about transforming your space with precision and flair. When you apply these techniques, you're not just painting—you're creating a lasting impression. So, why settle for ordinary when extraordinary is within reach? With practice and the right approach, you'll achieve a professional finish that elevates your home's aesthetic and reflects your personal style. Happy spraying!