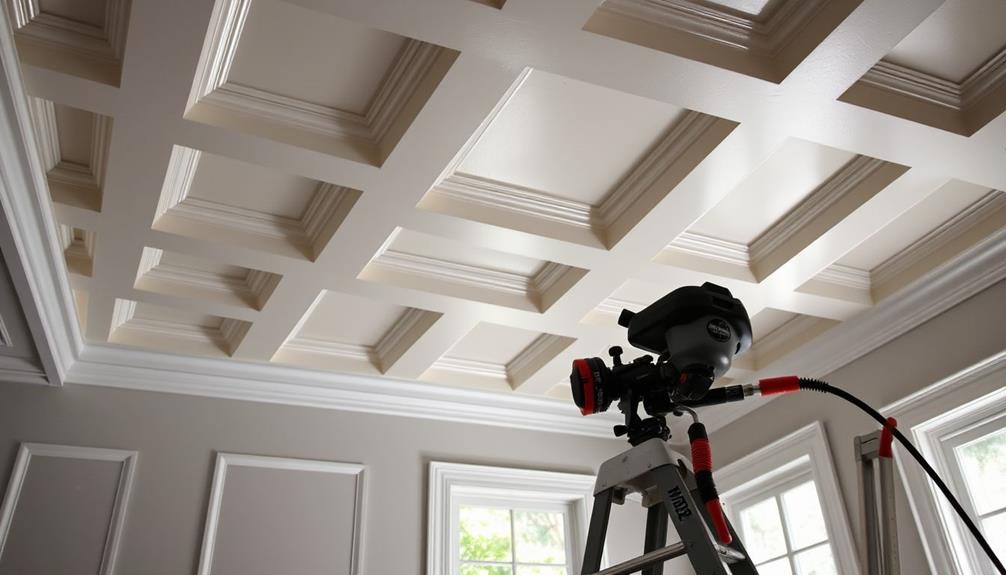

When painting coffered ceilings with an airless paint sprayer, start with thorough preparation. Move furniture and cover everything with drop cloths. Use high-quality masking tape to protect edges and prevent overspray. Adjust the pressure to 2000-3000 psi, and maintain a distance of 12-18 inches from the surface for even coverage. Use a low-pressure HEA ProTip nozzle for better control in recessed areas, ensuring an overlap of 50% on each pass. Finally, keep your tools clean to maintain performance. There's a lot more to explore, so you'll want to keep going to enhance your painting skills further.
Key Takeaways
- Thoroughly prepare the area by covering furniture and using high-quality masking tape to protect edges from overspray.
- Use a reliable airless paint sprayer with low-pressure nozzles for better control and to maintain ornate details.
- Adjust the material pressure to 2000-3000 psi and maintain a consistent distance of 12-18 inches from the ceiling for even coverage.
- Overlap each spray pass by 50% and mix paint thoroughly from multiple containers to ensure consistent color and avoid lap marks.
- Regularly clean the sprayer components and inspect spray tips to maintain optimal performance and prevent clogs during application.

VEVOR 750W Stand Airless Paint Sprayer, 3000PSI High Efficiency Electric Airless Sprayer, Fine and Even Painting Effect, Handheld Paint Sprayers for Home Interior and Exterior Furniture and Fences
- Powerful Motor: 750W motor with 3000 PSI pressure
- Fast Coverage: Up to 5x faster than rolling
- Smooth Painting: Flow rate of 1.2 LPM for continuous work
As an affiliate, we earn on qualifying purchases.
As an affiliate, we earn on qualifying purchases.
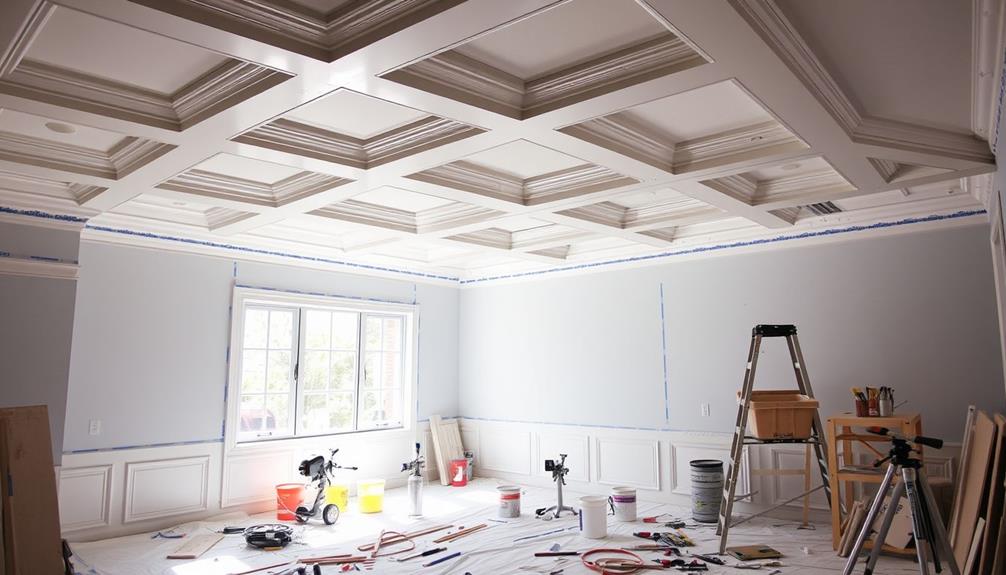
Project Overview
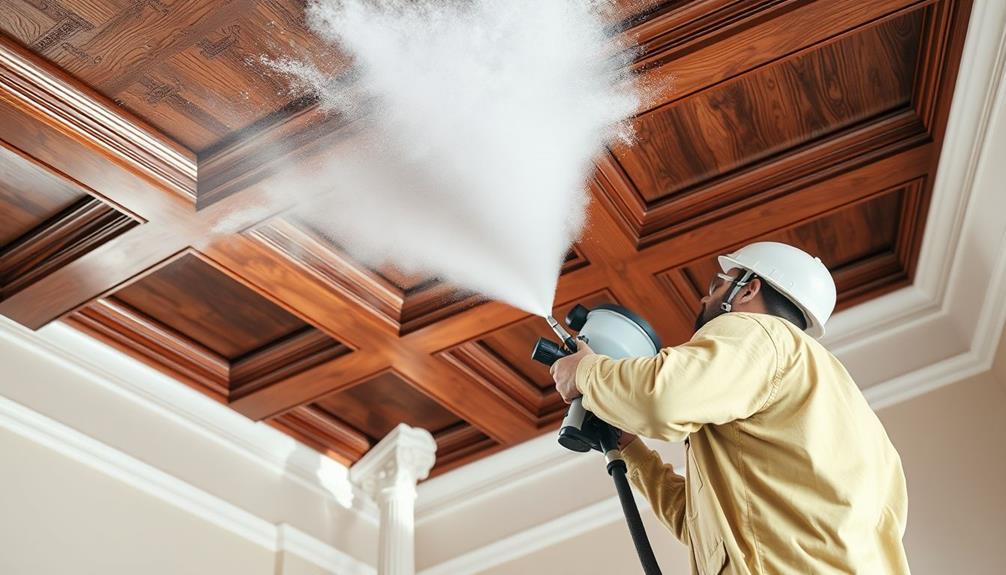
When tackling a coffered ceiling project, how can you guarantee a flawless finish? Start with thorough preparation. Sanding and masking surrounding surfaces protects them from paint and guarantees clean lines.
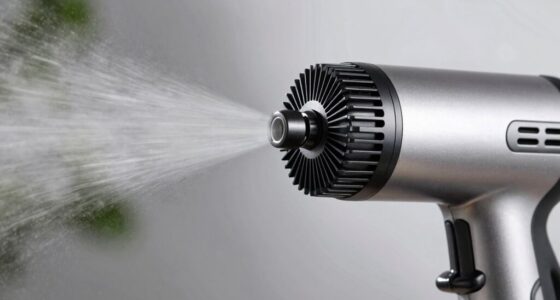
Next, grab your airless paint sprayer, which is vital for achieving even coverage across those intricate decorative recesses. To enhance your results, consider using a sprayer with adjustable pressure settings, which allows for versatile applications as you navigate different sections of the ceiling for ideal use and cleanup.
To minimize overspray while maintaining control, use a low-pressure nozzle like the HEA ProTip. This allows you to navigate the coffered sections with precision. Before you start painting, testing the sprayer settings on cardboard is essential. This step helps you find the right spray pattern and pressure, guaranteeing consistent results on your ceiling.
When dealing with elevated areas, consider using a long-reach gun or nozzle extensions. These tools make it easier and more comfortable to access hard-to-reach spots without straining.
With the right preparation and equipment, you can confidently tackle your coffered ceiling project and achieve a beautiful, professional finish. Remember, the key to a successful outcome lies in your attention to detail and careful execution throughout the entire process.
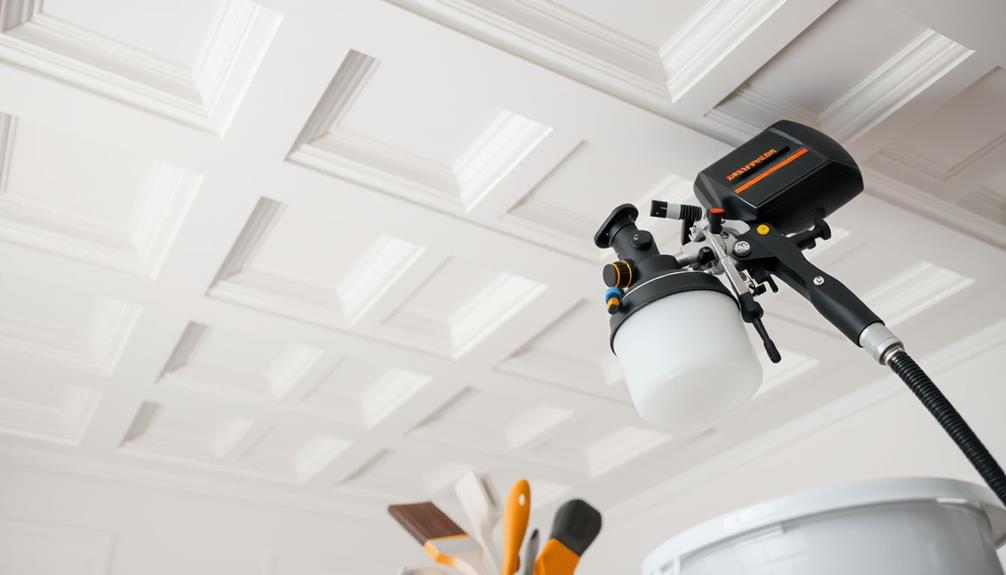
Essential Tools and Equipment
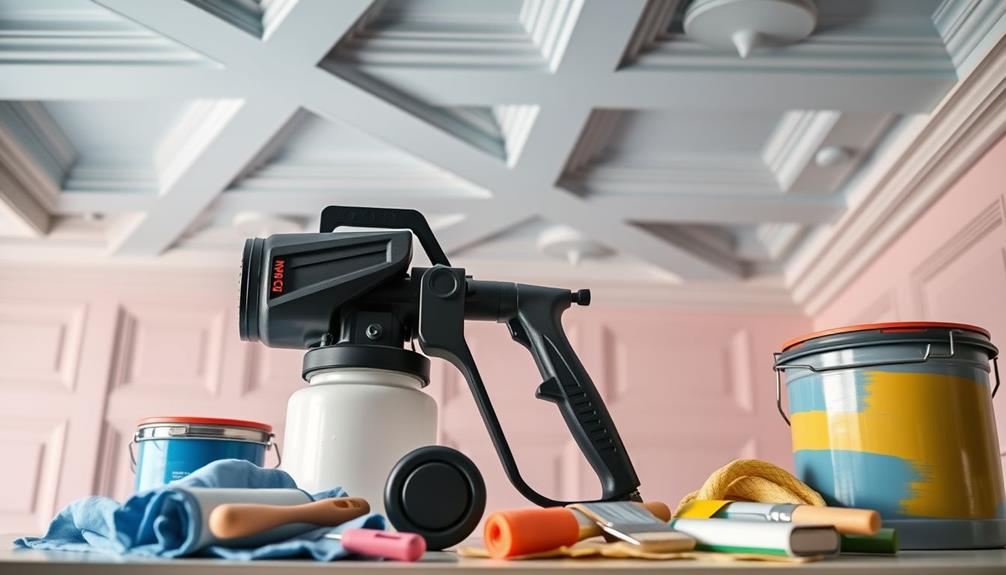
To achieve a flawless finish on your coffered ceilings, you'll need the right tools and equipment.
Start with a reliable airless paint sprayer, like the Graco ProX7 Hi-Boy, which utilizes revolutionary spray technology for perfect finishes, and don't forget essential accessories that enhance your spraying experience.
Proper preparation and setup will also guarantee you get the best results with minimal effort.
Recommended Sprayers Overview
Choosing the right airless paint sprayer can make a significant difference in achieving a flawless finish on coffered ceilings. For small residential projects, the ProSpray 3.21 is an excellent choice, delivering efficient coverage with minimal overspray. This sprayer's precision guarantees that every nook and cranny of your coffered ceiling gets the attention it deserves.
To complement the rustic charm of your space, consider using colors from a neutral color palette that harmonize with modern farmhouse decor trends.
If you're tackling larger areas, consider the SuperFinish 23 Plus. It's perfect for exterior masonry and adapts well to various paint types. For industrial applications, the SuperFinish 33 can handle diverse materials, including corrosion protection paints, making it a versatile option.
To enhance your experience, pair your airless sprayer with nozzle extensions and HEA ProTip Low-Pressure Nozzles. These accessories improve control and accessibility, especially when maneuvering intricate ceiling designs.
Additionally, using a TempSpray Heated Hose can help reduce paint viscosity, allowing for a smoother application on coffered ceilings. With the right equipment and techniques, you'll achieve stunning results that elevate your space beautifully.
Essential Accessories Needed
Having the right accessories can make all the difference in your airless paint sprayer experience, especially for coffered ceilings. Start with the TempSpray Heated Hose, which helps reduce the viscosity of your paint, guaranteeing a smooth application on intricate designs.
Additionally, consider opting for a budget-friendly vacuum cleaner to keep your workspace tidy after painting, as maintaining cleanliness is essential during home improvement projects.
Next, consider using the HEA ProTip Low-Pressure Nozzle. This nozzle minimizes overspray and enhances control, making it perfect for detailing while painting in the vicinity of your coffered ceiling.
To reach those elevated sections without straining, invest in Nozzle Extensions and Long-Reach Guns. These tools promote efficiency and assure thorough coverage of high and complex structures.
Don't forget about the TipClean Nozzle Cleaner; this accessory is essential for keeping your nozzles free from clogs and maintaining peak performance after each use.
When painting, always remember to maintain a constant distance from the surface, and make sure you have adequate ventilation in your workspace.
Preparation and Setup Tips
Before diving into your coffered ceiling project, it's crucial to prepare your workspace properly. Start by moving all furniture out of the room or covering it with protective materials to prevent paint damage.
Additionally, consider using a reliable home cleaning service to guarantee your space is clean and free of dust before you begin. Next, use high-quality masking tape to carefully mask the edges of the coffered ceiling, making certain adjacent surfaces are protected from overspray.
Select an airless paint sprayer, like the Graco ProX7 Hi-Boy, and confirm it's set to the appropriate pressure—around 3000 psi—for ideal paint atomization. Equip your sprayer with the right accessories, including a low-pressure nozzle and nozzle extensions, to reach all areas of the coffered ceiling effectively.
Before you start painting, thoroughly clean the sprayer to verify it's ready for use. Don't forget to test the spray settings on a piece of cardboard. This step helps confirm the desired pattern and consistency before applying paint to your ceiling.
Taking these preparation and setup steps will ensure you achieve a flawless finish on your coffered ceiling while minimizing mess and protecting your space.
Preparation and Masking
Before you start spraying, make sure to thoroughly clean the coffered ceiling to eliminate dust and debris for better paint adhesion.
It's also beneficial to inspect the ceiling for any signs of slow drainage or gurgling sounds that may indicate plumbing issues in the area.
Next, use high-quality masking tape to protect the edges and any adjacent surfaces from overspray.
Don't forget to cover the floor and furniture, and take extra care with the recessed areas to preserve the intricate details.
Surface Cleaning Techniques
When preparing to paint coffered ceilings, it's essential that all surfaces are cleaned thoroughly to guarantee ideal paint adhesion. Dust and grease can greatly impact the final result, so make sure to tackle this step diligently.
Here are some effective surface cleaning techniques to take into account:
1. Use a mild detergent: Mix a mild detergent with warm water and apply it with a soft cloth or sponge. This is especially important for cleaning intricate areas of the coffered design without causing damage.
Regular cleaning methods can be crucial for maintaining surfaces, much like how grout cleaners keep tile floors looking fresh and revitalized.
2. Sand rough spots: Lightly sand any rough patches using fine-grit sandpaper. This will help create a smooth surface, enhancing paint grip and ensuring even coverage.
3. Prepare the area: Cover your floors and furniture with drop cloths or plastic sheeting to catch any overspray during the painting process. This keeps your area clean and prevents unwanted paint on surfaces you want to protect.
Effective Masking Strategies
Once you've thoroughly cleaned the surfaces, it's time to focus on effective masking strategies to protect your home during the painting process.
Start by using high-quality masking tape to create clean lines along the edges of the beams and recessed areas in your coffered ceilings. This will help maintain the decorative features and guarantee a sharp contrast between painted and unpainted surfaces, preventing any unsightly paint bleeding.
Additionally, consider using a headphone amplifier to enjoy your favorite music while you work, as it can enhance your overall experience and keep you motivated.
Next, cover the entire floor and any remaining furniture with drop cloths or plastic sheeting. This step's essential for protecting these areas from overspray and paint splatters during the spraying process.
As you apply the masking tape, take your time and plan the masking process in advance. Consider the ceiling's layout to guarantee all intricate areas are adequately protected.
Once the tape's applied, use a utility knife to press down the edges firmly. This not only seals the tape but also further prevents paint from bleeding underneath.
Setup and Adjustment
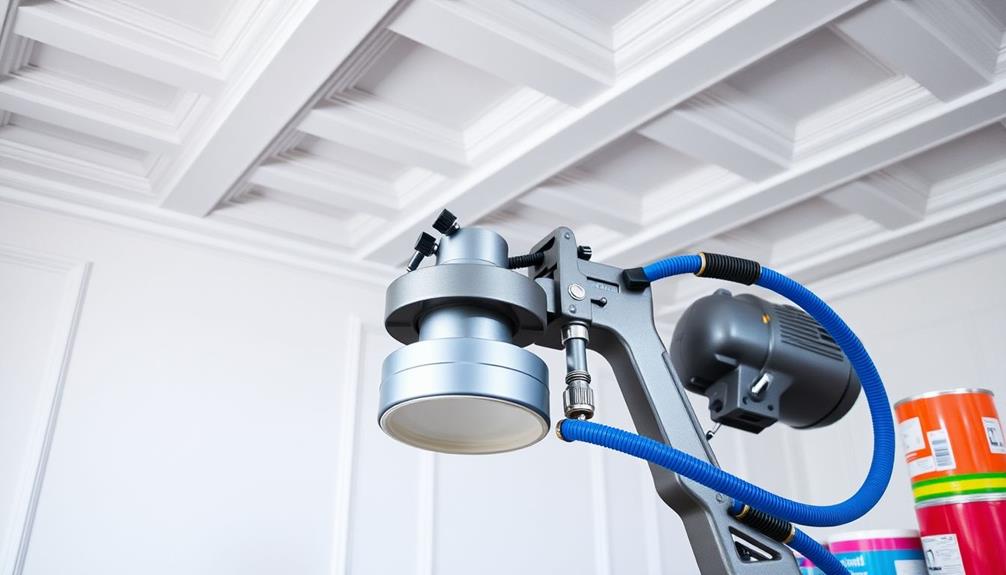
To achieve a flawless finish on coffered ceilings, proper setup and adjustment of your airless paint sprayer are essential. Start by verifying your sprayer is fitted with a suitable nozzle extension. This will help you effectively reach the depth of the ceilings while maintaining control over the spray pattern.
Additionally, keeping your workspace free of distractions can enhance your focus and guarantee a smoother painting process. Understanding how to manage your tools effectively can lead to better results, much like how cats show signs of separation anxiety when their owners leave, highlighting the importance of a stable environment.
Here are some key steps for setup and adjustment:
- Pressure Setting: Adjust the material pressure to the recommended setting for your paint—typically around 2000-3000 psi. This optimizes atomization and coverage.
- Distance Maintenance: Keep a consistent distance of about 12-18 inches from the ceiling surface during painting. This helps achieve even coverage without under- or over-spraying.
- Testing and Cleaning: Before you begin, test the spray jet on a piece of cardboard to verify the spray pattern is even. Also, regularly check and clean the nozzle while painting to prevent clogs and guarantee smooth application flow.
With these adjustments in place, you're set for a successful painting project!
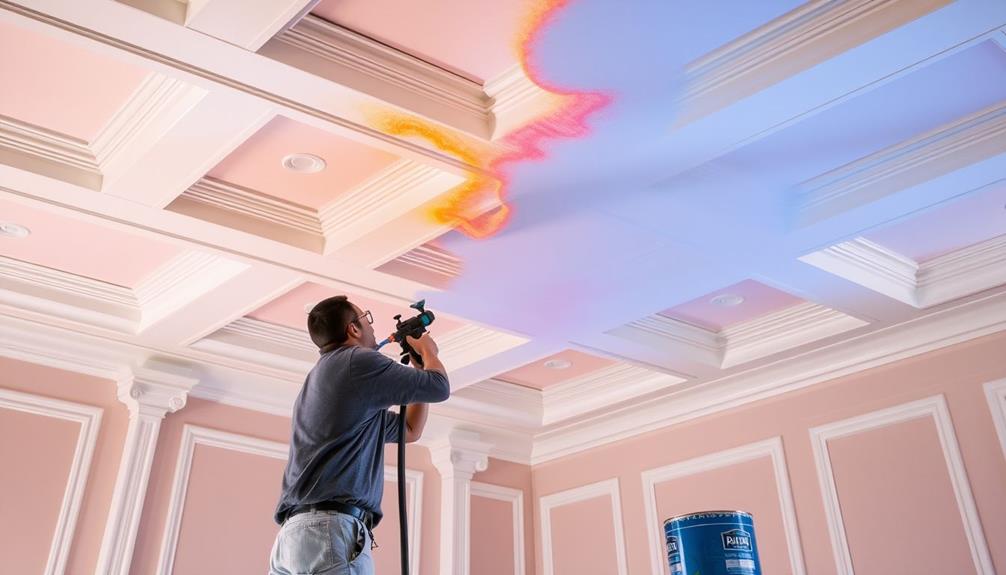
Spraying Techniques
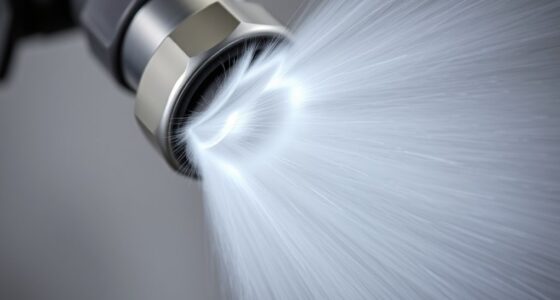
With your airless paint sprayer set up and adjusted, it's time to focus on effective spraying techniques for coffered ceilings. Start by maintaining a consistent distance of about 12 to 18 inches from the surface. This distance helps achieve even coverage without overspray or drips.
Use a low-pressure nozzle, like the HEA ProTip, to enhance control, especially in the recessed areas. Begin spraying at the ceiling-wall edge and work from one side to the other, overlapping each pass by about 50% to guarantee uniformity and avoid lap marks.
Before you paint, mix paint thoroughly from multiple containers to maintain color consistency across the intricate patterns of coffered ceilings. Always test the sprayer settings on a piece of cardboard to adjust the spray pattern and pressure.
Here's a quick overview of essential spraying techniques:
| Technique | Description |
|---|---|
| Distance | Maintain 12-18 inches for even coverage |
| Nozzle | Use low-pressure for better control |
| Overlapping | Overlap by 50% to avoid lap marks |
| Consistency | Mix paint well for uniform color |
| Test Settings | Adjust pattern and pressure on cardboard |
Cleaning Procedures
Cleaning your airless paint sprayer is essential for maintaining its performance and extending its lifespan. After every use, you should disassemble the equipment and flush the system with a suitable cleaning solution until the fluid runs clear. This prevents clogging and buildup that can hinder your sprayer's efficiency.
Regular maintenance of your tools is akin to the benefits of using essential oils, as both practices enhance overall performance and longevity, including natural alternatives to synthetic fragrances.
Here are some key cleaning procedures to follow:
- Scrub Components: Use a stiff brush and cleaning rags to remove any paint residue, paying special attention to the nozzle and filters. This guarantees that there's no leftover paint that could affect your next project.
- Inspect Regularly: Check the spray tips and filters for any signs of wear and tear. Replace them as needed to maintain peak performance and finish quality.
- Proper Storage: Store the sprayer in a clean, dry environment. Make sure the nozzle and hose are properly cleaned and secured to avoid damage during periods of inactivity.
Always follow the manufacturer's cleaning instructions specific to your model. Regular maintenance not only keeps your equipment in top shape but also guarantees you achieve the best results with every use.
Advantages of Spray Painting
Proper maintenance of your airless paint sprayer sets the stage for superior results when it comes to painting coffered ceilings. One of the main advantages of using an airless sprayer is the ability to achieve faster job completion. This method allows you to paint ceilings quickly, considerably reducing project time compared to traditional techniques.
An airless sprayer effectively minimizes paint wastage by reducing overspray, giving you an equal coat without the risk of paint pooling in recessed areas. You'll maintain the decorative details of your coffered ceilings while ensuring full coverage. This precision means your textured patterns remain intact, enhancing the overall aesthetic.
Additionally, spray painting requires less physical effort, which can help reduce fatigue—especially useful when tackling high or intricate ceiling designs. You'll find that the ease of use allows you to work longer without wearing yourself out.
Cost savings also come into play, as faster job completion and reduced material usage mean you can reinvest in future projects or upgrades. By opting for an airless sprayer, you achieve efficiency and quality in one go, making it a smart choice for your painting endeavors.
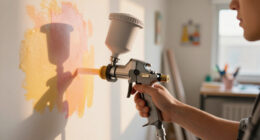
Recommended Equipment and Accessories
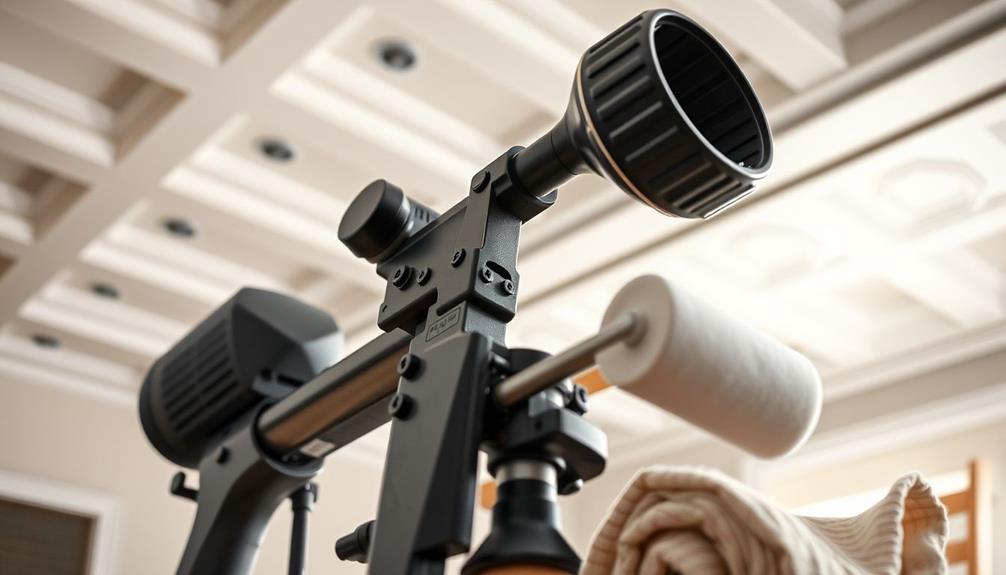
Choosing the right equipment and accessories is vital for achieving the best results when spray painting coffered ceilings. Using appropriate tools not only enhances your efficiency but also guarantees even coverage and precise finishes.
Here are three recommended items:
- ProSpray 3.21: This sprayer is perfect for small residential areas. It delivers even coverage, important for the intricate designs of coffered ceilings.
- TempSpray Heated Hose: This accessory reduces paint viscosity, allowing for a smoother application. It's especially important for maneuvering the detailed patterns found in coffered ceilings.
- HEA ProTip Low-Pressure Nozzle: This nozzle minimizes overspray and gives you greater control, assuring you achieve those precise finishes you're aiming for.
Additionally, don't overlook nozzle extensions for reaching high areas without straining.
A TipClean Nozzle Cleaner is also vital to keep your nozzles free from clogs, maintaining peak performance throughout your project.
With the right tools, you'll have a much easier time creating stunning coffered ceilings that showcase your painting skills.
Frequently Asked Questions
What Spray Tip Should I Use for Ceilings?
For ceilings, you should use a spray tip size of 515 or 517. This allows for proper paint flow and a smooth finish. Always test on cardboard first to guarantee even coverage before starting.
What Is the Best Tip for Airless Paint Sprayer?
The best tip for your airless paint sprayer is a low-pressure nozzle, ideally between 0.015 and 0.019 inches. It'll give you better control, minimize overspray, and guarantee an even finish on your projects.
Do You Paint the Ceiling or Walls First With an Airless Sprayer?
You should paint the ceiling first with an airless sprayer. This approach prevents drips on freshly painted walls, saves time, and guarantees a smooth finish, allowing you to focus on touch-ups afterwards.
How Do You Get a Smooth Finish With an Airless Sprayer?
You might think getting a smooth finish with an airless sprayer's tricky, but it isn't. Keep a consistent distance, use a quality nozzle, and overlap your passes for an even, professional look.
Conclusion
In the end, embracing the art of spray painting for your coffered ceilings can transform your space with ease and elegance. By following these tips, you'll glide through the process like a pro, leaving behind a flawless finish that'll make your ceiling the talk of the town. So, grab that airless sprayer and let your creativity flow—you're not just painting; you're crafting a masterpiece that'll elevate your home's charm to new heights!