
TL;DR

Get business pricing on tools and workshop supplies
- Business-only prices and quantity discounts
- Tax-exempt purchasing
- Multiple users, one account, clear invoices
Airless paint sprayers speed up large painting projects and deliver smooth, even coverage. Proper technique, safety, and equipment matching are key to avoiding overspray and getting professional results at home.
Imagine finishing a whole room in a fraction of the time it takes to roll or brush—sounds tempting, right? Airless paint sprayers are a game-changer for DIYers tackling large surfaces. They can coat walls, fences, and decks with impressive speed and a smooth finish. But there’s a catch: overspray, safety risks, and the right technique matter just as much as the machine itself.
If you’re ready to cut your painting time in half and get professional-looking results, understanding how these sprayers work is essential. This guide will walk you through everything—what to look for, how to spray safely, and tips to avoid common mistakes. Let’s turn your next project into a quick, clean success story.
Match your sprayer’s size and tip to your project—small projects need light units, large surfaces need bigger, more powerful machines.
Use low pressure and proper technique—overdoing it wastes paint and creates a rough finish.
Thorough masking and safety precautions are vital—overspray can ruin furniture, floors, and neighboring property.
Regular cleaning and maintenance extend your sprayer’s life and keep it performing at its best.
Rent or buy based on how often you’ll spray—buy if you have multiple projects, rent for a one-off job.
Why a DIYer Should Consider an Airless Sprayer Instead of Rolling or Brushing
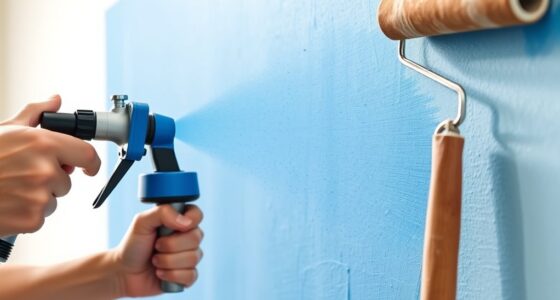
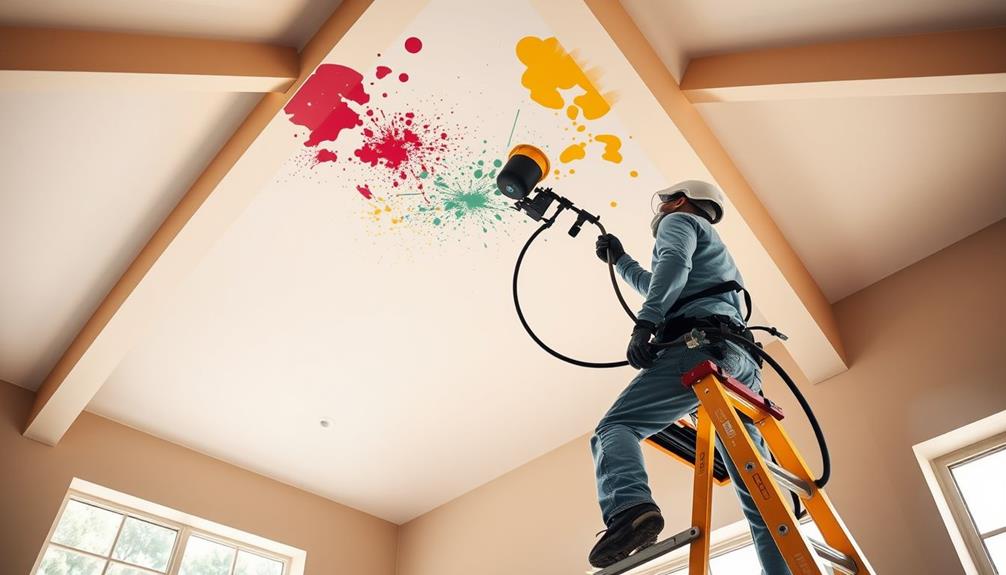
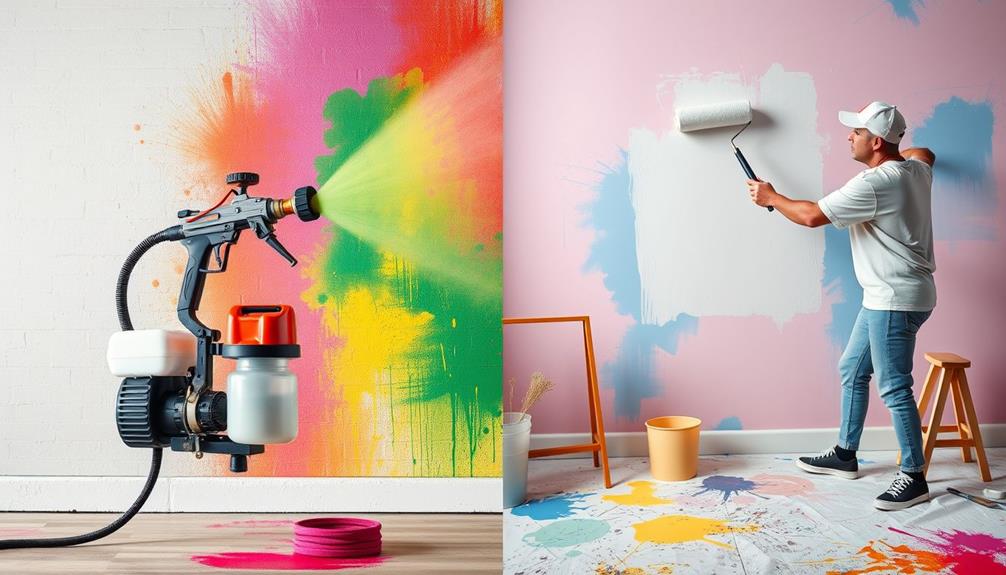
Airless paint sprayers can cover large areas faster than brushes or rollers—up to 10 times quicker in some cases. For example, a typical 12×12 room with textured walls can take a day to roll, but just a few hours with a sprayer. The secret? They spray a uniform coat that leaves a sleek, professional look without brush strokes.
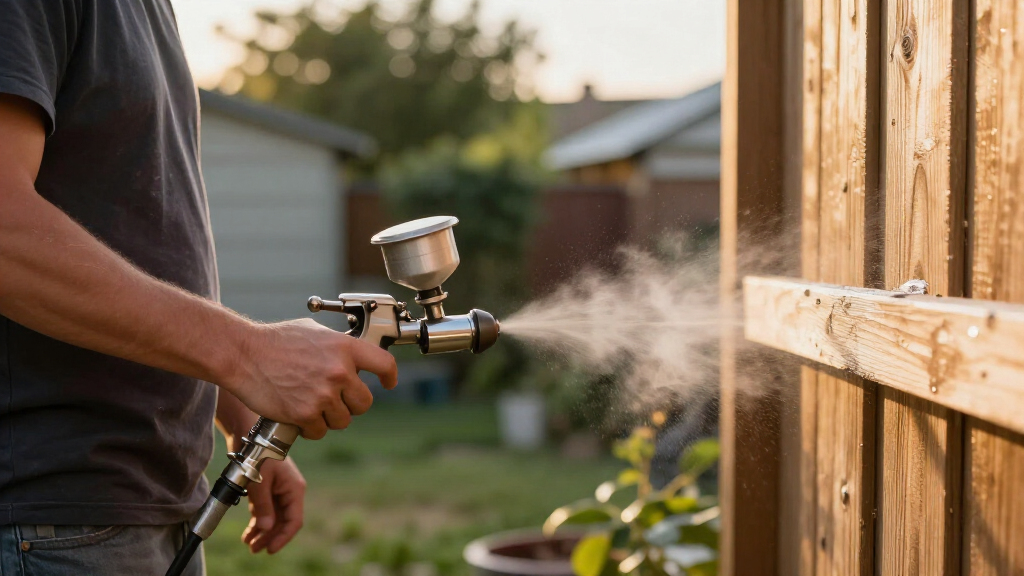
Picture this: you’re painting a weathered fence. With a sprayer, you can coat every plank evenly in 30 minutes, whereas rolling might take an hour or more. Plus, they handle textured surfaces like stucco or brick with ease, giving you a smooth, consistent finish that’s tough to achieve with brushes.
However, the speed and coverage come with tradeoffs. Overspray is a significant concern—paint particles can drift onto unintended areas, wasting material and creating extra prep work. Additionally, the initial cost and setup time might be higher than traditional methods. But for large, flat projects, the efficiency gained often outweighs these drawbacks, especially considering the professional finish you can achieve.
Choosing an airless sprayer means understanding the balance between speed and control. While they excel at large-scale jobs, they require careful handling to minimize waste and overspray. The decision hinges on project size, the importance of finish quality, and your willingness to invest in safety and preparation. In essence, they are a powerful tool that, if used correctly, can elevate your DIY projects to a professional level while saving time.
airless paint sprayer for DIY projects
As an affiliate, we earn on qualifying purchases.
As an affiliate, we earn on qualifying purchases.
How to Pick the Right Airless Sprayer for Your DIY Project
Choosing the best sprayer depends on your project’s size, frequency, and the type of coating. Here’s a simple way to match your needs:
- Assess your project size: Small projects like furniture or a single wall? A handheld model works. Larger jobs—whole rooms or exteriors? Opt for a stand-mounted or cart-style sprayer.
- Check maximum tip size: Thicker paints and primers need bigger tips (like 0.017–0.021 inches). For thin stains or finishes, smaller tips (around 0.013 inches) are better.
- Consider pressure control: Adjustable pressure helps you avoid overspray and get a smooth finish. Look for models with easy-to-use regulators.
- Hose length and portability: Longer hoses give you freedom to move, but too long can cause pressure drops. Choose a sprayer with a hose length matching your space.
- Serviceability: Replacing filters, seals, or tips saves money and hassle. Check if parts are available locally.
Matching your sprayer to your project is about balancing power, size, and ease of use. For example, a homeowner tackling a fence and a few walls might pick a portable sprayer with a 25-foot hose and a medium tip size.
Beyond these basics, consider the implications of choosing a machine with higher pressure or larger capacity. Higher pressure can mean faster application but also more overspray and material waste if not carefully managed. Conversely, smaller units might be less efficient for large projects but offer more control for detail work. The key is understanding your specific project needs and how different features influence the outcome and ease of use.
Best DIY Applications for Airless Sprayers—and When Not to Use Them
Airless sprayers excel on large, open surfaces where speed and uniform coverage are priorities. Think: painting an exterior siding, deck, or entire basement wall. The rapid application helps you complete projects in a fraction of the time it would take with brushes or rollers, and the even spray ensures a consistent finish that’s difficult to replicate manually.
However, the limitations become clear in more delicate or detailed tasks. Small repairs, intricate trim, or occupied rooms demand precision and control that are hard to achieve with high-pressure spray. Masking becomes more cumbersome because overspray can easily reach unintended areas, increasing prep time and cleanup. For furniture, cabinetry, or fine finishes, traditional methods or specialized low-pressure sprayers provide better control, preventing drips, runs, and uneven coats.
For example, attempting to spray stain on kitchen cabinets with an airless sprayer might result in drips and an uneven finish due to overspray and high pressure, which can be difficult to control in tight spaces. In such cases, manual brushing or a detail-oriented sprayer with adjustable pressure offers cleaner, more precise results. Recognizing these limitations ensures you select the right tool for each job, balancing efficiency with quality and control.
In essence, airless sprayers are ideal for large-scale, flat surfaces where speed and coverage matter most. For detail work or small, intricate projects, traditional methods or specialized equipment may serve you better, saving time and ensuring a higher-quality finish.
Frequently Asked Questions
Can I spray latex paint without thinning?
Yes, most modern airless sprayers can handle unthinned latex paint. However, check your machine’s specifications and the paint’s consistency. If the paint is too thick, a light thinning—around 10% water—can improve flow without sacrificing coverage.What’s the best tip size for exterior walls?
For large exterior surfaces with thick paint or primer, a tip size around 0.017–0.021 inches works well. For thinner stains or finishes, smaller tips like 0.013 inches provide better control and reduce overspray.How do I avoid overspray when spraying indoors?
Thorough masking and sealing off the area are key. Use drop cloths, plastic sheeting, and painter’s tape to protect furniture and floors. Also, set your pressure to the lowest effective level and keep the gun moving steadily.How long does cleaning a sprayer typically take?
For an experienced user, cleaning takes about 20–40 minutes. It involves flushing with water or solvent, cleaning filters, and proper storage. Rushing this step can lead to clogs and damage later on.Is an airless sprayer safe for beginners?
Yes, if you follow safety guidelines—wear protective gear, read the manual thoroughly, and practice on scrap first. Respect the high pressure involved to avoid injury, especially injection risks.Conclusion
An airless sprayer can turn a long, tedious paint job into a swift, professional-looking project—if you respect safety, choose the right equipment, and master the technique. Remember, the key isn’t just the machine but how you use it. Proper prep, steady hand, and careful cleanup make all the difference.
So next time you face a big painting task, picture yourself wielding a tool that makes the work faster, cleaner, and more satisfying. With the right approach, your DIY project will look like it was done by a pro—minus the professional price tag.
Halloween Picks
halloween
As an affiliate, we earn on qualifying purchases.