
Your right fingertip holds surprising power in creating glass-smooth finishes. Its heightened sensitivity and fine motor control allow you to apply gentle, precise touches that smooth, blend, and press with finesse. By consciously paying attention to how your fingertip interacts with surfaces, you can eliminate streaks and bubbles effortlessly. Developing awareness and control transforms your results, making finishes perfect and professional-looking. Keep exploring, and you’ll discover how to harness this small but mighty tool for flawless craftsmanship.
Key Takeaways
- The right fingertip’s heightened nerve endings enable precise pressure control for smooth finishes.
- Conscious awareness of fingertip-surface interaction enhances blending and reduces imperfections.
- Gentle, deliberate strokes with the fingertip promote even spreading and eliminate streaks or bubbles.
- Developing fine motor control through practice improves consistency and professional-quality results.
- Trusting your innate tactile sensitivity transforms surface treatments into seamless, polished outcomes.

Many people overlook the subtle influence of their right fingertip, yet it holds a surprising power that can impact your daily life. That small patch of skin can be your secret weapon for achieving smooth, flawless finishes in various tasks. Whether you’re working on a craft project, applying makeup, or even handling delicate electronics, your right fingertip plays a crucial role in how well you perform. Recognizing its potential allows you to harness that power intentionally, making your work more precise and polished.
Your right fingertip is uniquely sensitive, packed with nerve endings that give you a heightened sense of touch. This sensitivity enables you to gauge pressure, detect texture, and control movements with incredible finesse. When you use your fingertip intentionally—say, when smoothing out a paint stroke or adjusting a makeup application—you tap into this natural ability to create seamless results. Instead of relying on tools or other techniques, your fingertip can do much of the fine-tuning, giving you a level of control that’s hard to match with other methods.
Your right fingertip’s sensitivity allows precise control and seamless results in every delicate task.
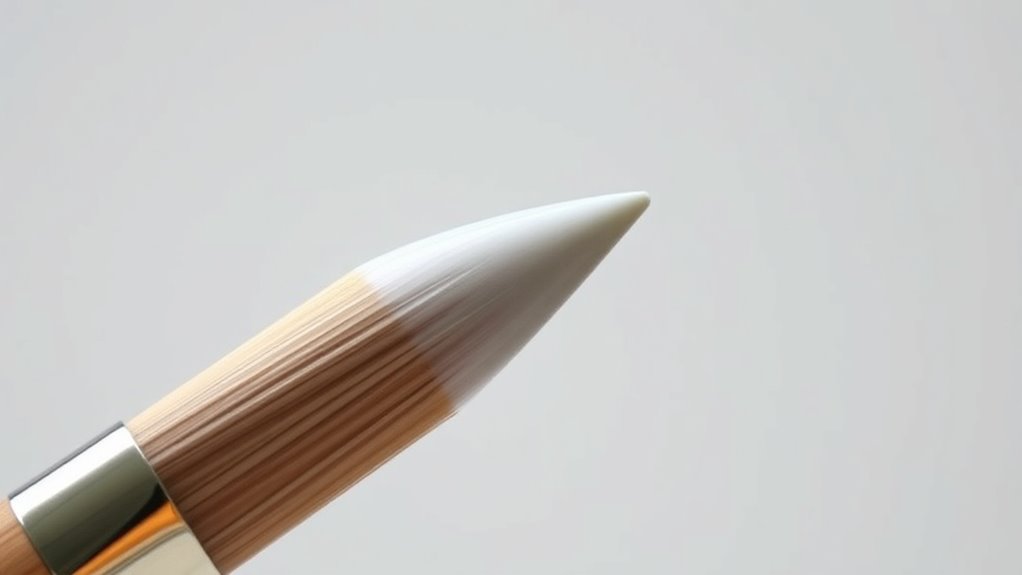
Getting glass-smooth finishes begins with awareness. Pay close attention to how your right fingertip interacts with surfaces. Light, controlled touches allow you to spread, blend, or press with precision. For example, when applying a finishing coat of paint or varnish, gentle strokes with your fingertip can eliminate streaks, bubbles, or uneven patches. The key is to use your fingertip as an extension of your intention, guiding the material smoothly and evenly. This approach not only improves the quality of the finish but also reduces the risk of accidental smudges or uneven application.
Practicing this technique can also help you develop better control over your hand movements. Start with simple tasks—like smoothing out a piece of paper or blending makeup—and notice how your fingertip responds. Over time, you’ll find that your ability to create flawless surfaces improves, thanks to the fine motor skills and sensitivity of your right fingertip. Remember, consistency is essential. The more you use your fingertip intentionally, the more natural and effective your touch becomes.
In essence, your right fingertip is a powerful tool for achieving a glass-like, smooth finish in everything you do. By becoming more aware of its subtle influence, you can elevate your craftsmanship, whether you’re tackling artistic projects, household repairs, or personal grooming. Small adjustments—like gentle, deliberate strokes—can make a big difference. When you trust in the innate sensitivity of your fingertip, you’re better equipped to produce professional-quality results with minimal effort. Embrace this hidden power, and watch your finishes become smoother, more refined, and effortlessly perfect. Recognizing the importance of sensorial awareness can further enhance your precision in various tasks.
Frequently Asked Questions
Can the Right Tip Improve Finish Quality on All Paint Types?
Yes, the right tip can enhance finish quality on most paint types. It helps you apply paint more evenly, reducing brush or roller marks and creating a smoother surface. However, the effectiveness depends on the paint’s consistency and the surface you’re working on. Using the correct tip size and type for your specific paint ensures you get the best possible finish, regardless of the paint you’re using.
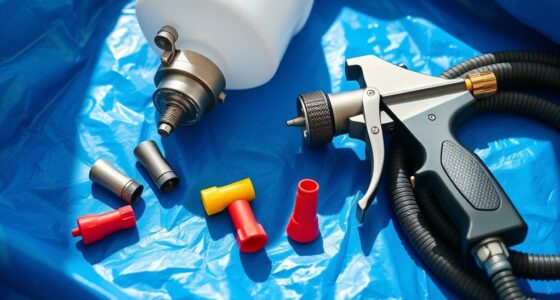
How Do I Choose the Best Tip Size for My Project?
To choose the best tip size for your project, consider the type of paint and surface you’re working on. For fine finishes or detailed work, go smaller, like a 0.8mm or 1.0mm tip. For larger areas or thicker paints, opt for a bigger tip, such as 1.4mm or 1.8mm. Always test your chosen tip on a scrap surface to guarantee smooth coverage and avoid drips.
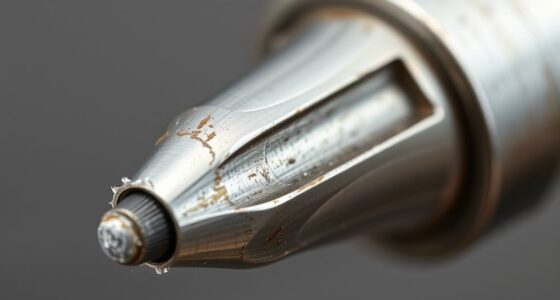
Is It Necessary to Clean the Tip After Every Use?
Ever wondered if you really need to clean your tip after every use? It’s a good idea to do so, especially if you’re switching materials or colors. Residue can clog the tip or cause uneven finishes. Cleaning prevents buildup and guarantees consistent results. Plus, it extends your tool’s lifespan. So, yes—cleaning after each use keeps your work smooth, professional, and hassle-free. Wouldn’t you want the best finish every time?
What Are Common Mistakes When Using Different Tips?
You often make mistakes when switching tips by not cleaning them properly or using the wrong tip for the job. You might forget to adjust the heat settings, which can cause uneven finishes or damage to the tip. Additionally, you sometimes neglect to handle tips carefully, leading to wear or breakage. Always make sure you select the right tip, clean it after use, and adjust settings appropriately to achieve smooth, professional results.
How Does Tip Material Affect the Spray Result?
Think of your spray tip as the brush to a painter—its material shapes your masterpiece. A brass tip heats up faster and offers good durability, perfect for general use, while stainless steel resists corrosion and lasts longer for fine finishes. Aluminum tips are lightweight but may wear quicker. Choosing the right material guarantees your spray results stay smooth and consistent, turning every project into a work of art.
Conclusion
Now that you know the secret power of the right tip, you hold the key to flawless finishes. Think of your tool as a finely tuned instrument, each tip a note that sings perfectly. When you choose the right one, your work becomes a smooth symphony of glass-like surfaces. Trust your instincts, pick wisely, and watch your projects transform into masterpieces, shining with a mirror-like gleam—your own reflection of mastery.