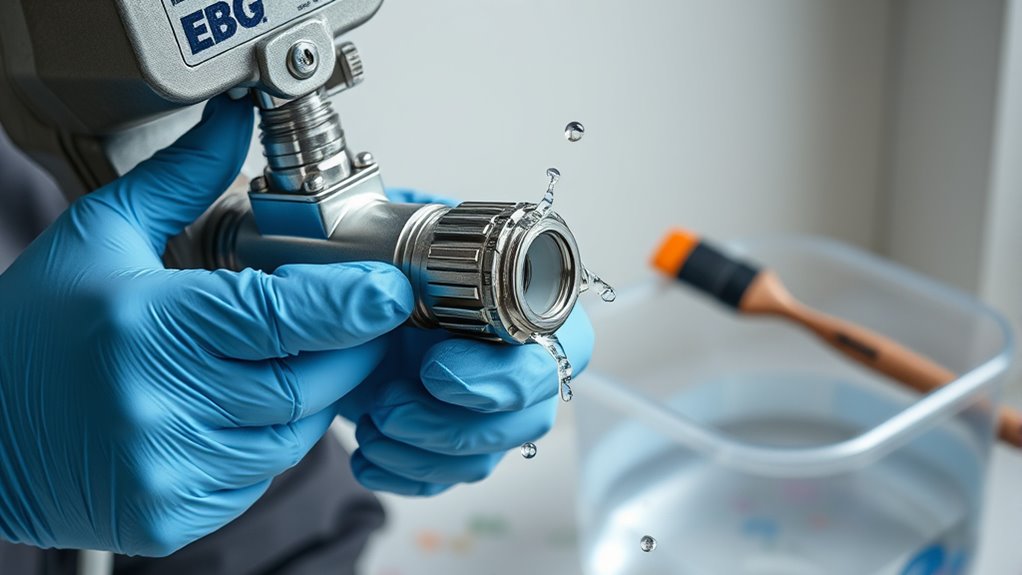
After each use, shut off the sprayer, release pressure, and remove all detachable parts, soaking them in the appropriate cleaning solution. Fill the reservoir with cleaning solution, run the sprayer to flush out residual paint, then disconnect the hose and thoroughly rinse in both directions. Use brushes to clear stubborn spots, check for clogs, and inspect seals. Once everything is dry, reassemble and test the system to guarantee it’s clean and ready for your next project. Keep following these steps for expert results.
Key Takeaways
- Turn off the sprayer, release pressure, and remove spray tip, guard, and detachable parts for soaking and cleaning.
- Flush the reservoir and hoses with water or solvent to clear residual paint, then scrub nozzles and filters thoroughly.
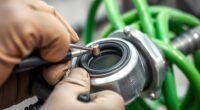
- Inspect spray tips, filters, and seals for clogs, wear, or damage, and clean or replace as needed.
- Dry all parts completely before reassembling, then run cleaning solution through the system to ensure clear flow.
- Regularly lubricate moving parts, tighten fittings, and perform maintenance to prolong equipment life and ensure optimal performance.
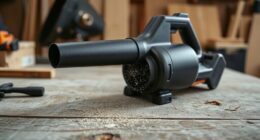
Cleaning your airless paint sprayer after each use is essential to guarantee peak performance and longevity. Proper cleaning helps prevent clogs, ensures smooth operation, and extends the lifespan of your equipment. To do this effectively, start by shutting off the sprayer and releasing any remaining pressure according to the manufacturer’s instructions. Remove the spray tip, guard, and any other detachable parts, then soak them in a cleaning solution suitable for your paint type. This initial step prevents paint buildup and makes subsequent cleaning easier.
Regularly cleaning your airless paint sprayer after each use ensures optimal performance and prolongs its lifespan.
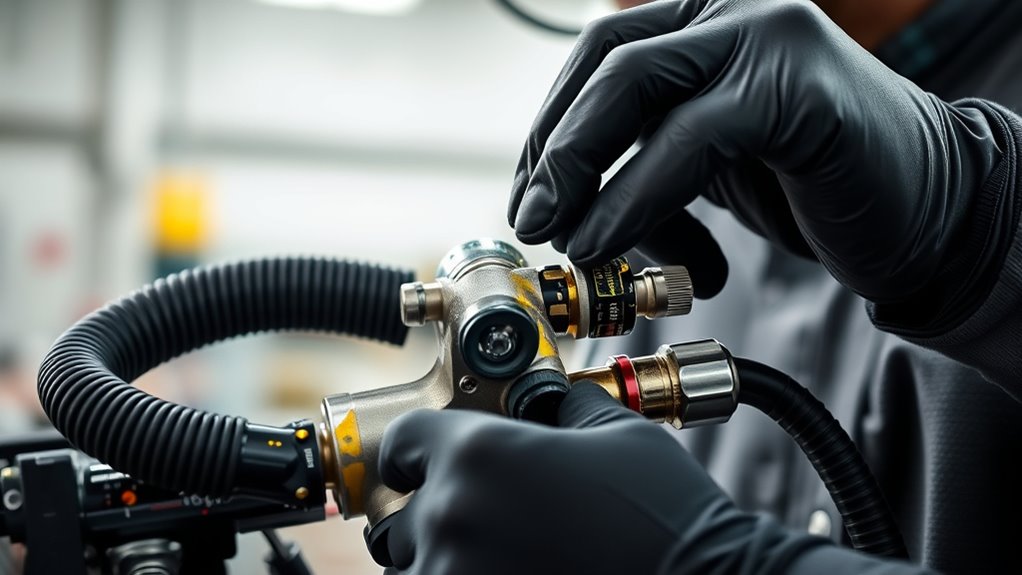
Next, fill the paint reservoir with a cleaning solution—usually a mixture of water for latex paints or solvent for oil-based paints. Power on the sprayer and run it for a few seconds to flush out residual paint from the hoses and pump. This process helps clear out stubborn paint that might clog the system later. Follow this by disconnecting the spray hose and cleaning it thoroughly with the same solution, making sure to flush in both directions to remove any dried paint inside. Use a brush or cleaning tool if necessary to scrub stubborn spots inside the hose or nozzle.
Once the main components are cleaned, focus on troubleshooting techniques to identify potential issues before they escalate. Check the spray tip for any clogs or paint buildup—if it’s blocked, clear it carefully with a small brush or tip cleaner. Inspect the filters and screens, cleaning them thoroughly to prevent future blockages and maintain consistent spray patterns. Regular maintenance tips include lubricating moving parts, tightening fittings, and inspecting seals for wear and tear. Doing this after every cleaning session keeps your sprayer running smoothly and helps you catch problems early. Additionally, understanding the importance of color accuracy can help you diagnose issues related to paint delivery and spray consistency.
When reassembling, ensure all parts are dry and properly fitted. Test the sprayer by running water or cleaning solution through it before resuming work. This step confirms that the system is clear and ready for the next project. Remember, neglecting proper cleaning can lead to persistent clogs, uneven spray patterns, and costly repairs down the line. By consistently applying simple maintenance tips and troubleshooting techniques, you’ll keep your airless paint sprayer in top condition, saving time and money over the long haul. Taking these steps after each use guarantees your equipment stays reliable and performs at its best, giving you professional results every time.
Frequently Asked Questions
How Often Should I Clean My Airless Paint Sprayer?
You should clean your airless paint sprayer after every single project—think of it as giving your tool a much-needed bath after a long day of work! Follow your maintenance schedule and cleaning frequency diligently, because neglecting this can turn your sprayer into a sluggish, paint-clogged nightmare. Regular cleaning keeps it running smoothly, prolongs its life, and ensures flawless finishes every time you spray. Don’t skip it—your sprayer merits it!
Can I Use Water to Clean Latex Paint?
Yes, you can use water for water cleaning latex paint from your airless paint sprayer. Water effectively removes latex paint, making it easier to clean the system, especially when the paint is still wet. To guarantee thorough latex paint removal, flush the sprayer with clean water immediately after use. This prevents paint from drying inside the system and keeps your sprayer in good condition for future projects.
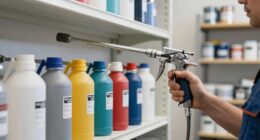
What Cleaning Solutions Are Safe for All Sprayer Parts?
You should use eco-friendly solvents that are compatible with your sprayer parts to guarantee safe cleaning. Check the manufacturer’s guidelines for solvent compatibility before choosing a cleaning solution. Avoid harsh chemicals that could damage seals or components. Opt for biodegradable or water-based cleaners when possible, as they’re safer for the environment and effective at removing paint residues. Always rinse thoroughly to prevent buildup and maintain your sprayer’s performance.
How Do I Prevent Clogs During Cleaning?
Think of your sprayer as a busy highway—prevent nozzle clogging by clearing debris promptly and maintaining filters regularly, like toll booths keeping traffic flowing. Rinse parts thoroughly after each use, ensuring no paint residue blocks the way. Always check and clean filters to prevent buildup. By staying vigilant and proactive, you keep your spray route smooth, avoiding clogs that could slow down your painting journey.
Is There a Risk of Damaging the Sprayer During Cleaning?
Yes, there’s a risk of damaging your sprayer during cleaning if you’re not careful. Proper equipment maintenance is key; avoid rushing or using harsh tools that could harm parts. Cleaning hazards like using the wrong cleaning agents or neglecting to disconnect and depressurize the system can cause damage. Follow the manufacturer’s instructions carefully, and always handle cleaning tasks with caution to prevent costly repairs and guarantee your sprayer stays in good shape.
Conclusion
By following this simple cleaning routine, you’ll keep your airless paint sprayer in top shape. Imagine finishing a project, then easily cleaning your tool so it’s ready for next time—no clogs or paint buildup. For example, Sarah cleaned her sprayer after every use, preventing downtime and costly repairs. With just a few minutes of maintenance, you’ll guarantee smooth operation and long-lasting performance, making your painting projects quicker and more efficient every time.