
To clean your airless paint sprayer properly, first gather safety gear and appropriate cleaning solutions based on your paint type. Turn off, unplug, and relieve pressure before disassembling components like the nozzle and filter. Flush the system with water or solvent until clear, then clean and inspect all parts. Reassemble, run a test spray, and ensure everything functions smoothly. For detailed tips on maintenance and troubleshooting, keep exploring the full cleaning process.
Key Takeaways
- Relieve pressure, disconnect hoses, and flush the system with water or solvent based on the paint type.
- Disassemble the spray tip, filter, and pump components for thorough cleaning.
- Use appropriate cleaning agents to remove residual paint and prevent clogs.
- Reassemble components, check for leaks, and test spray with water or cleaner.
- Regularly maintain and store the sprayer in a dry, clean environment for optimal performance.
Gathering Necessary Supplies and Safety Precautions
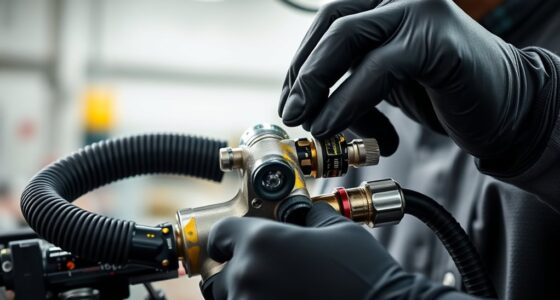
Before you begin cleaning your airless paint sprayer, it is vital to gather all the necessary supplies and take safety precautions. Start by collecting safety gear like gloves, goggles, and a mask to protect against fumes and splashes. Next, gather the appropriate cleaning solutions, such as water for water-based paints or specialized solvents for oil-based coatings. Having these supplies ready guarantees a smooth cleaning process and minimizes risks. Check your manufacturer’s instructions for any specific cleaning agents recommended for your sprayer model. Keep your workspace well-ventilated, especially when handling strong solvents. Being prepared with safety gear and the right cleaning solutions helps you stay safe and makes the cleaning task more efficient. Proper preparation is key to maintaining your sprayer’s performance and longevity. Additionally, understanding industry trends can help you select the most effective cleaning methods and products for your specific sprayer.
Preparing the Sprayer for Cleaning
To prepare your airless paint sprayer for cleaning, start by turning off the sprayer and unplugging it to guarantee safety. Next, relieve pressure by triggering the gun until no paint flows. Check the paint viscosity; if it’s thick, it may affect the spray pattern and make cleaning more challenging. Adjust the pressure or dilute the paint if necessary to ensure easier cleanup. Remove the spray tip and guard, inspecting them for clogs or damage. Be sure to keep the spray pattern in mind, as a clogged tip can distort it. These steps help prevent messes and ensure the sprayer is ready for effective cleaning, making the process smoother and reducing the risk of damage to your equipment. Additionally, understanding the importance of contrast ratio can help you evaluate the effectiveness of your cleaning process in maintaining proper spray quality.
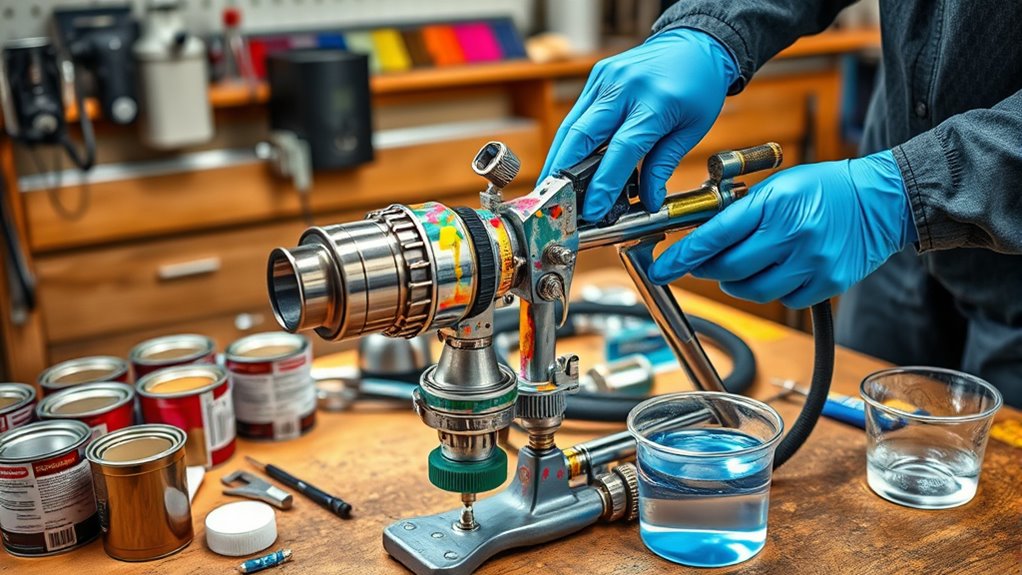
Flushing the System With Water or Solvent
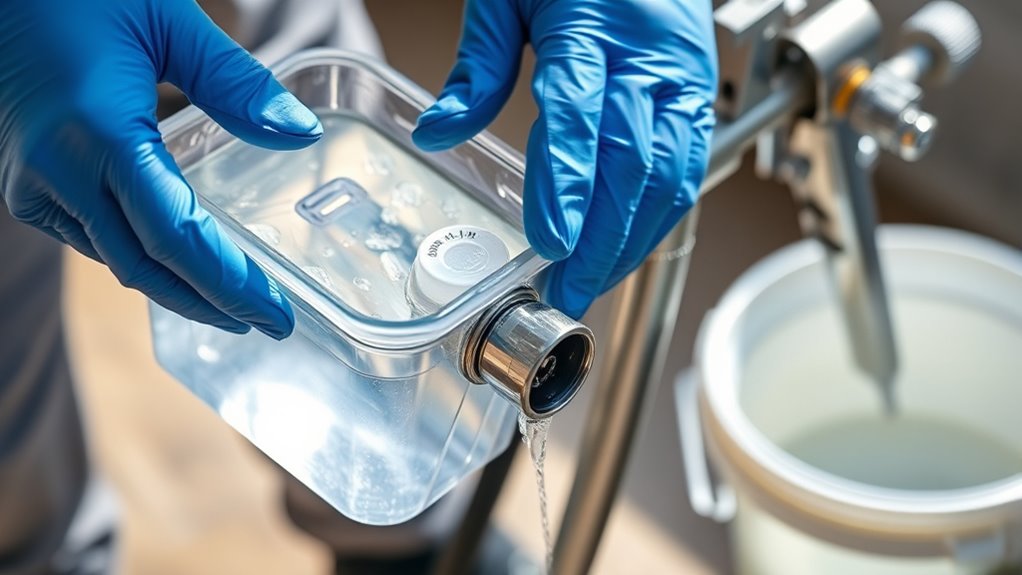
Start by selecting the appropriate flushing agent—water for water-based paints or solvent for oil-based ones. Connect your sprayer, activate the system, and run it until the liquid runs clear. This process makes certain your system is thoroughly cleaned and ready for future use. Regular cleaning with proper maintenance techniques helps extend the lifespan of your paint sprayer.
Select Appropriate Flushing Agent
Selecting the right flushing agent is essential for effectively cleaning your airless paint sprayer. Your choice depends on the type of paint used and the cleaning solvents compatible with your equipment. For water-based paints, water is usually sufficient. For oil-based or latex paints, you’ll need a suitable solvent. Consider the impact on your sprayer’s components and environmental safety when selecting a cleaning solvent. Here’s a quick guide:
| Choosing Flushing Agents | Types of Cleaning Solvents |
|---|---|
| Water for latex paints | Mineral spirits for oil-based paints |
| Solvent for heavy paints | Commercial paint removers |
| Eco-friendly options | Specific manufacturer recommendations |
Matching the right agent ensures thorough cleaning and preserves your sprayer’s longevity. Properly selecting a cleaning solvent can also prevent damage to sensitive components and promote a safer working environment.
Connect and Activate System
After selecting the appropriate flushing agent, the next step is to connect your sprayer to the cleaning source and activate the system. Verify your paint sprayer is properly calibrated for water or solvent flow, adjusting pressure settings if needed. If you’ve recently replaced the nozzle, double-check its installation to prevent leaks or blockages. Connect the hose securely to the spray gun and the water or solvent source. Turn on the system, allowing the cleaning fluid to flow through the entire spray assembly. This process helps loosen residual paint and prepares the system for thorough cleaning. Keep an eye on pressure levels to avoid over-pressurizing, which could damage internal components. Once activated, you’re ready to proceed with flushing to ensure your sprayer is clean and ready for future use. Proper system maintenance ensures optimal performance and longevity of your equipment.
Run Until Clear
Once the cleaning system is activated, run the sprayer until the fluid flowing from the nozzle is clear. This indicates all residual paint and solvent have been flushed out. Pay close attention to the paint color; if it’s still tinted, continue flushing until it’s completely clear. A clean spray pattern ensures the nozzle isn’t clogged and that future paint jobs will have a smooth finish. To help, here’s a quick guide:
| Indicator | Action |
|---|---|
| Colored fluid | Continue flushing until clear |
| Uneven spray | Check for clogs and flush thoroughly |
| Consistent pattern | Confirm system is clean |
Running until clear guarantees your sprayer is ready for the next project, preventing clogs and uneven paint application. Proper maintenance also involves inspecting for any rust or debris that might have accumulated in the system, ensuring optimal performance.
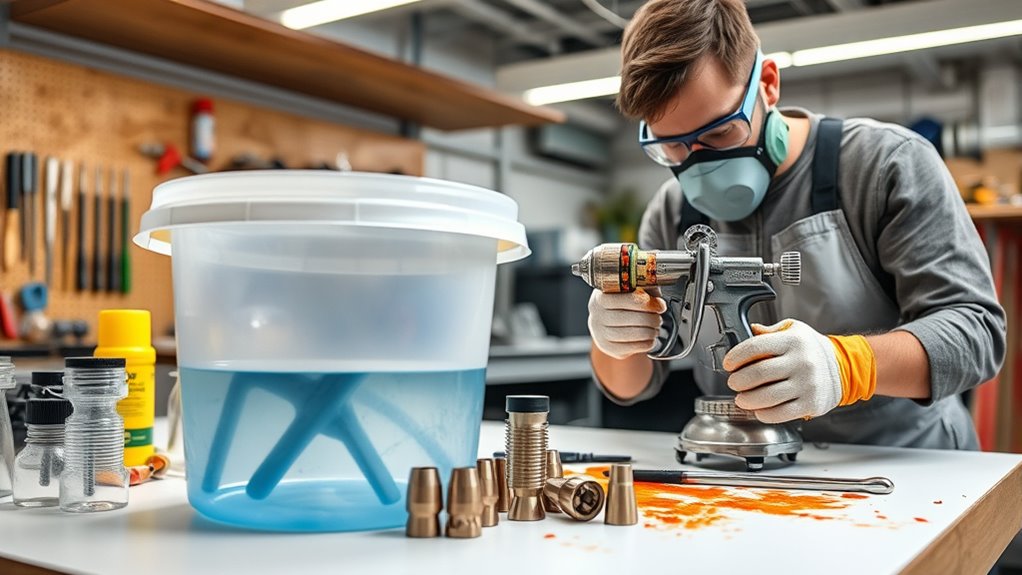
Disassembling Key Components for Deep Cleaning
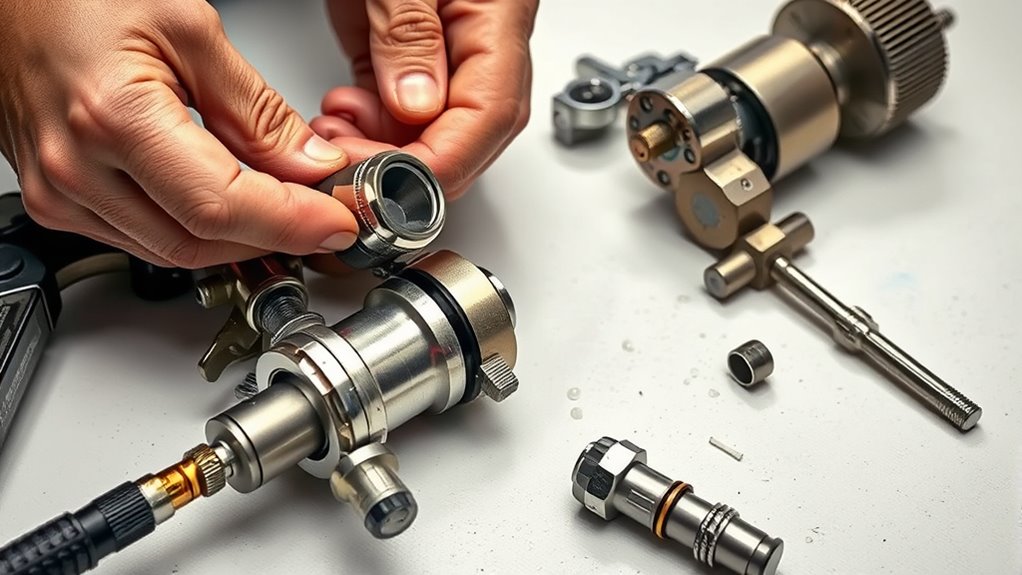
To clean your sprayer thoroughly, you need to disassemble some key parts. Start by removing the nozzle and filter, then carefully detach the pump assembly. This step guarantees you can access all areas for a deep and effective clean. Proper maintenance, similar to performance tuning, can also help ensure your equipment runs smoothly and lasts longer.
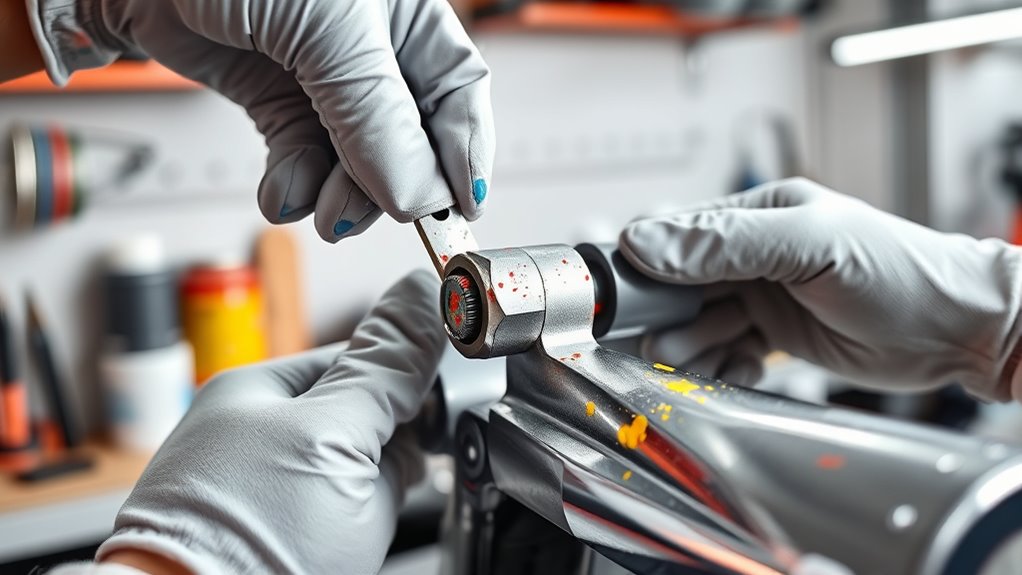
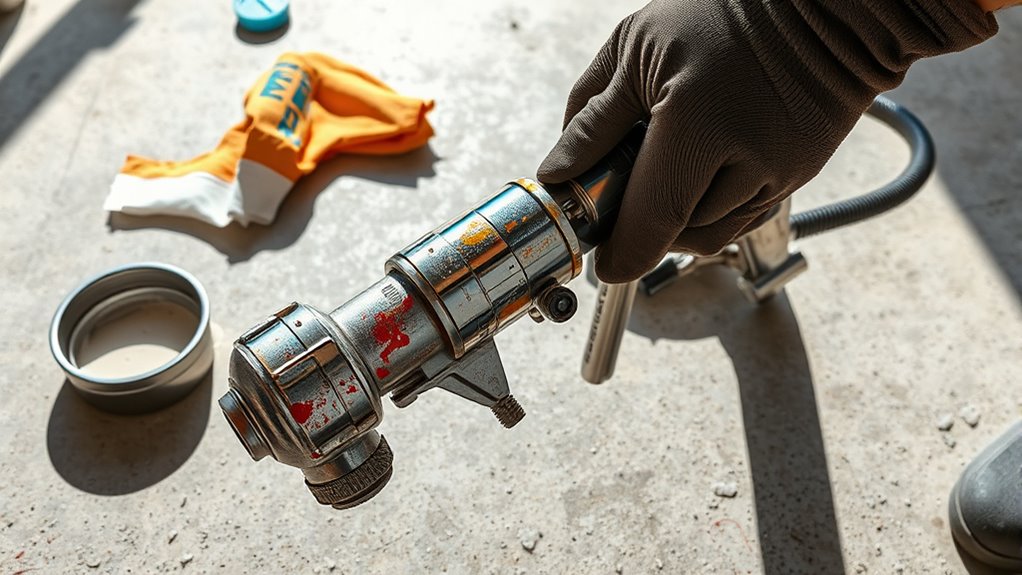
Removing the Nozzle and Filter
Removing the nozzle and filter is a crucial step in deep cleaning your airless paint sprayer, as it allows you to thoroughly inspect and clean these essential components. Proper removal ensures you can check for clogs, wear, or damage, and perform necessary nozzle replacement or filter inspection. Anime movies are often praised for their visual storytelling and emotional depth, which can be appreciated even during maintenance routines. Here are some key points to consider:
- Use the appropriate wrench to loosen the nozzle without damaging it
- Carefully detach the nozzle to prevent cross-threading
- Remove the filter gently to avoid tearing or deforming
- Check the filter for debris or buildup and clean or replace if necessary
- Inspect the nozzle for wear or clogs that might affect spray quality
Taking these steps ensures your sprayer functions smoothly and delivers a consistent finish.
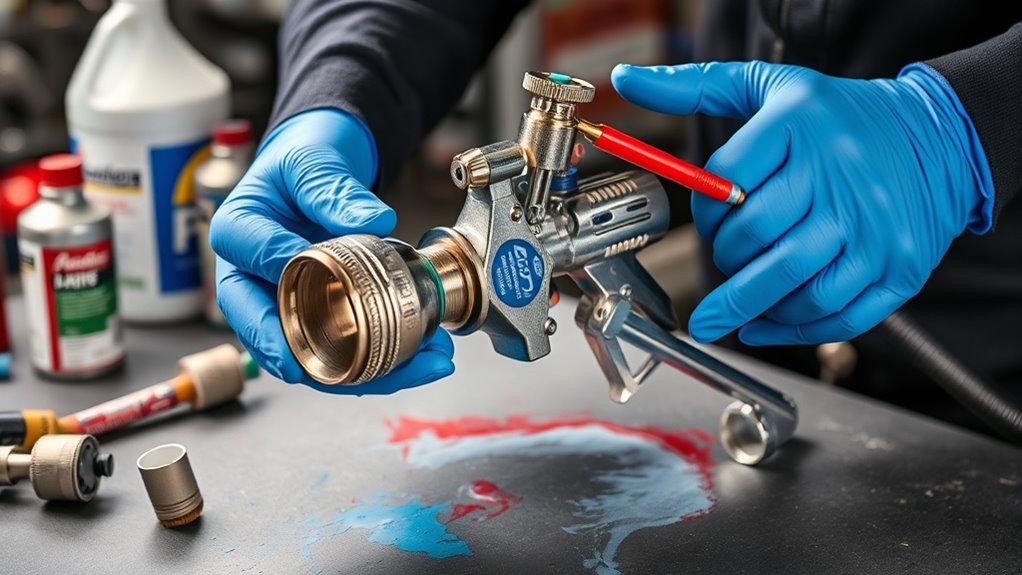
Detaching the Pump Assembly
Begin by turning off the power and disconnecting the airless sprayer from the power source to guarantee safety. Next, carefully detach the pump assembly by following the disassembly instructions provided with your sprayer. Usually, you’ll need to loosen bolts or screws securing the pump to the motor or hose. Once loosened, gently lift the pump assembly away from the unit. Keep track of all small parts, such as O-rings or seals, as you disassemble. This allows you to access internal components for thorough cleaning. Be gentle during this process to avoid damaging any parts. Following these disassembly instructions ensures you can safely and effectively detach the pump assembly for deep cleaning, helping your airless paint sprayer maintain *ideal* performance. Additionally, consider proper maintenance techniques to prolong the lifespan of your equipment.
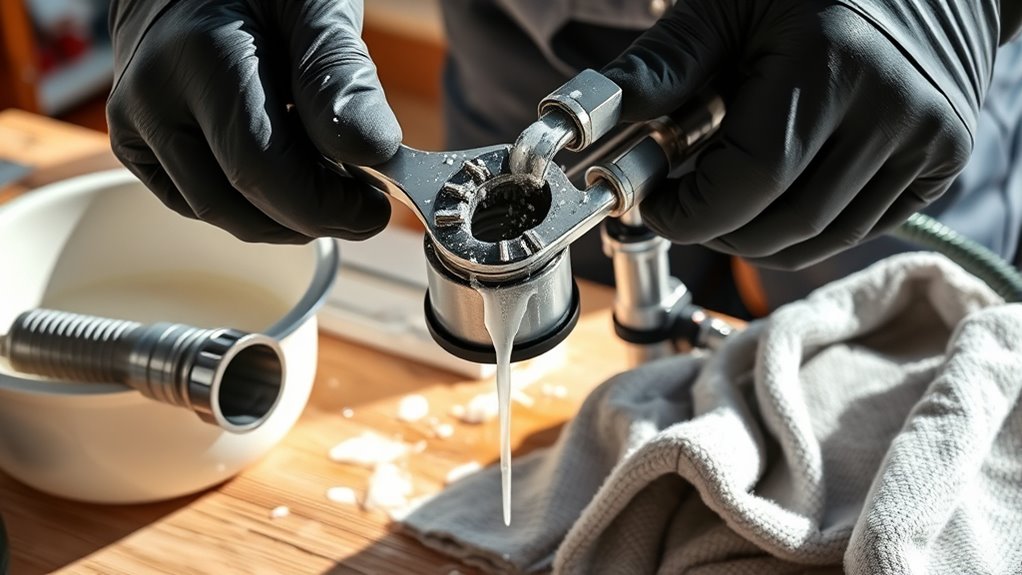
Cleaning and Inspecting the Nozzle and Spray Tip
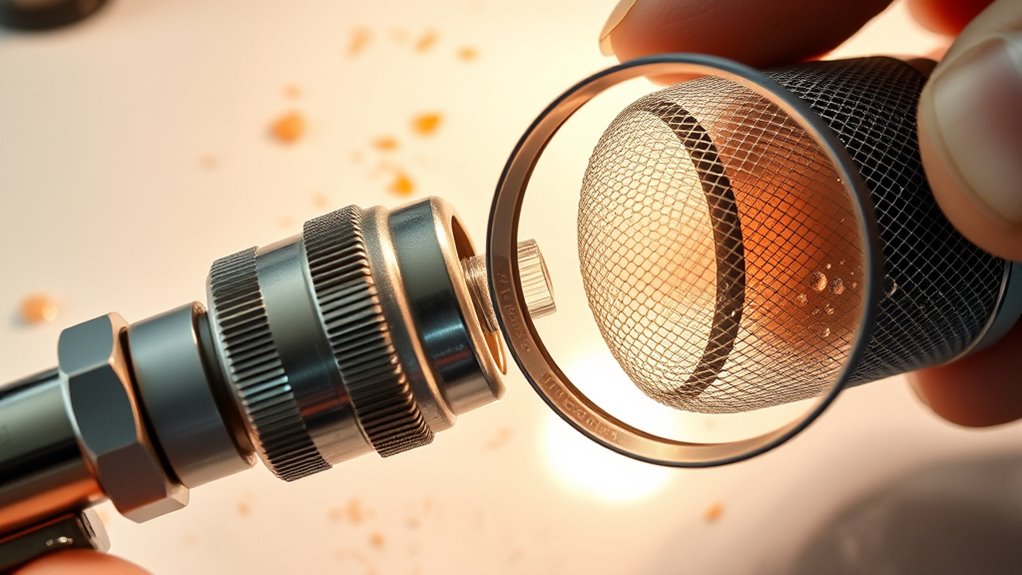
Cleaning and inspecting the nozzle and spray tip is a crucial step to guarantee your airless paint sprayer works efficiently. A clean nozzle ensures proper nozzle alignment, which affects the spray pattern and overall finish. Regular checks prevent clogs and uneven spray, saving you time and paint. Incorporating proper maintenance routines can extend the lifespan of your equipment and improve its performance over time.
Reassembling the Sprayer and Performing a Test Run
Once you’ve finished inspecting and cleaning the nozzle and spray tip, it’s time to reassemble the sprayer carefully. Confirm all components are securely in place, following your maintenance schedule to prevent issues later. Double-check that the spray tip is properly aligned and tightened. Before starting the test run, fill the paint reservoir with water or cleaning solution, depending on your needs. Turn on the sprayer and perform a test spray on a scrap surface. Watch for uneven spray patterns, leaks, or pressure drops—these are common troubleshooting tips that can help identify residual blockages or loose fittings. If everything functions smoothly, you’re ready to proceed with your project. Regularly following this reassembly and testing process keeps your sprayer in excellent condition and minimizes breakdowns. Proper maintenance is essential for ensuring safe and effective operation of your equipment.
Tips for Maintaining Your Airless Sprayer Between Uses
To keep your airless sprayer in ideal condition between projects, it’s vital to perform simple maintenance routines regularly. Proper storage best practices prevent damage and guarantee consistent performance. Before storing, clean the paint sprayer thoroughly to avoid clogs. Check and calibrate your paint sprayer to maintain spray quality and color accuracy. Store the equipment in a dry, protected area, ideally indoors, to prevent rust. Always relieve pressure before storage and disconnect hoses to avoid damage. Inspect seals and filters, replacing them if worn. Keep a maintenance log to track calibration and part replacements. Incorporating industry transformations into your maintenance routine can help ensure your sprayer stays up-to-date with the latest innovations and best practices. These steps help extend your sprayer’s lifespan and ensure it’s ready for the next project, saving you time and money on repairs or recalibration later.
Troubleshooting Common Cleaning and Maintenance Issues
Even with proper maintenance, you might encounter common issues that affect your airless sprayer’s performance. One frequent problem is inconsistent paint consistency, which can cause uneven coverage or drips. Always check the paint mixture before spraying, and strain it if necessary to remove debris. Another common issue is nozzle clogging, which happens if paint dries inside the nozzle or if debris gets trapped. To fix this, clean the nozzle thoroughly after each use and clear any blockages immediately. Regularly inspecting and cleaning your equipment helps prevent these problems from worsening. If you notice persistent spray pattern issues or uneven flow, recheck your cleaning procedures and make sure all parts are clear. Addressing these issues promptly keeps your sprayer functioning smoothly and extends its lifespan. Additionally, understanding equipment regulation and following proper safety guidelines can help prevent damage and ensure optimal operation.
Frequently Asked Questions
How Often Should I Clean My Airless Paint Sprayer?
You should clean your airless paint sprayer regularly to maintain ideal performance. Follow a consistent maintenance schedule with proper cleaning frequency, especially after each use or if you switch colors or paints. Neglecting cleaning can cause clogs and damage. Make it a habit to clean thoroughly once you’re done painting, and perform quick cleanings if you’re using it again soon. Regular maintenance ensures your sprayer stays in top condition.
Can I Use Bleach or Harsh Chemicals for Cleaning?
Using bleach or harsh chemicals might seem like quick fixes, but they can damage your sprayer. Bleach safety is a concern, as it can corrode components and harm you. Instead, consider chemical alternatives like water-based cleaners or specialized sprayer rinses. These options are safer and effective, ensuring your equipment stays in top shape without risking damage or health hazards. Always follow manufacturer guidelines for cleaning your airless paint sprayer.
What Should I Do if the Spray Tip Is Clogged?
If your spray tip is clogged, you should first stop spraying and turn off your sprayer. Use a tip brush or a small pin to clear the blockage carefully. Regular spray tip maintenance and clog prevention techniques, like flushing the tip after each use and avoiding thick paints, help prevent future clogs. Always wear gloves and safety glasses, and work in a well-ventilated area for safety.
How Do I Prevent Paint From Drying Inside the Sprayer?
Think of your sprayer as a delicate garden that needs constant care. To prevent paint from drying inside, you should clear away paint residue immediately after use and perform regular nozzle maintenance. Keep the paint flowing smoothly by flushing the system with solvent or water, especially if you’ll pause for a while. This prevents clogs and guarantees your sprayer stays in top shape, ready for your next project.
Is It Necessary to Wear Protective Gear During Cleaning?
You should always wear protective gear during cleaning to guarantee safety precautions are in place. Protective gear, like gloves and goggles, shields your skin and eyes from paint fumes and splatters. It’s essential because paint chemicals can be harmful if they come into contact with your skin or eyes. By following safety precautions and wearing proper gear, you protect yourself from potential health risks and make the cleaning process safer and more effective.
Conclusion
Now that you know how to clean your airless paint sprayer properly, you can keep it running smoothly and avoid costly repairs. Regular maintenance is the key to extending its lifespan and ensuring a flawless finish every time. Don’t let small issues snowball into big problems—stay on top of cleaning, and your sprayer will serve you well for years to come. With a little effort, you’ll keep it in tip-top shape and ready to roll whenever you need it.