
To achieve professional-quality finishes, focus on smoothing edges for a clean, crisp look. Use fine sandpaper or sharp blades to remove rough spots and create seamless progressions. When blending colors, apply light, overlapping strokes with brushes or sponges to avoid harsh lines and achieve smooth gradients. Paying attention to detail at these final steps makes a big difference in your space’s overall look. Keep going to discover more tips on perfecting these finishing touches.
Key Takeaways
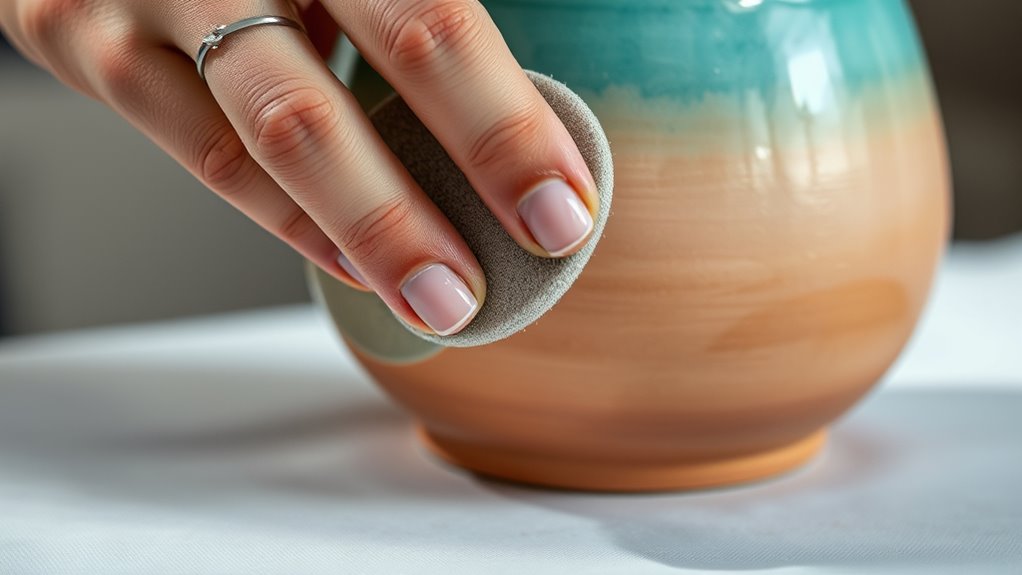
- Use fine sandpaper or sharp blades to carefully smooth painted edges for a clean, crisp finish.
- Employ light, overlapping strokes with brushes or sponges to seamlessly blend colors and create smooth transitions.
- Focus on removing rough spots, overlaps, or uneven cuts to achieve a polished, professional appearance.
- Gradually introduce new hues during blending to avoid harsh lines and ensure a harmonious color gradient.
- Patience and precision in finishing touches elevate the overall aesthetic and demonstrate craftsmanship.
Have you ever wondered how the final details can transform an ordinary space into something truly exceptional? It’s often the small touches—like perfect edge refinement and seamless color blending—that make all the difference. When you pay close attention to these finishing touches, you elevate your project from good to stunning, creating a polished, professional look that draws attention for all the right reasons.
Edge refinement is about more than just making things look neat; it’s about crafting smooth, clean lines that enhance the overall design. Whether you’re working on a painted wall, tiled surface, or wood trim, taking the time to refine edges ensures there are no rough spots, overlaps, or uneven cuts. You might use fine sandpaper on painted edges or a sharp blade to trim excess material precisely. This step might seem small, but it has a significant impact on the final appearance. When edges are crisp and well-defined, the entire space looks more cohesive and intentionally designed. It’s about creating that flawless transition from one surface to another, so nothing appears out of place or sloppy. Additionally, paying attention to the quality of materials and tools used can further enhance the overall finish.
Refining edges creates a seamless, polished look that elevates your entire design.
Color blending plays an equally essential role in achieving a seamless look. When you blend colors smoothly, you avoid harsh lines or abrupt shifts that can distract the eye. Whether you’re applying paint, wallpaper, or decorative finishes, practicing good color blending techniques ensures that hues gradually transition gently and naturally. Use tools like brushes, sponges, or rollers with light, overlapping strokes to merge colors seamlessly. If you’re working with multiple shades, take your time to gradually introduce the new hue, softening the transition zone. This skill is especially important when creating gradients, shadows, or accent walls, where subtle shifts in tone add depth and dimension. Proper blending brings harmony to your color palette, making the entire space feel more unified and inviting.
Combining meticulous edge refinement with skillful color blending turns an ordinary space into something extraordinary. These finishing touches are your secret weapon for achieving a high-end look without overhauling the entire design. As you work on your project, remember that patience and precision are crucial. Take your time to refine edges and blend colors thoughtfully—you’ll be amazed at how these small details elevate the overall aesthetic. When you pay attention to these intricate elements, you demonstrate a level of craftsmanship that transforms your space from merely functional to beautifully refined. In the end, it’s these subtle, careful touches that leave a lasting impression and make your space stand out with sophistication and style. Understanding dreaming and subconscious mind processes can also inspire creative approaches to your work, ensuring a more personalized and expressive finish.
Frequently Asked Questions
What Tools Are Best for Detailed Edge Smoothing?
For detailed edge smoothing, you should use fine abrasive pads and small detail brushes. Abrasive pads help gently refine rough edges without damaging the surface, while detail brushes allow precise control for delicate areas. Combining these tools gives you the ability to achieve smooth, seamless edges and professional-looking blends. Make sure to choose the right grit for abrasive pads and a fine tip for your brushes to get the best results.
How Do I Prevent Blending From Overdoing It?
To prevent overdoing blending, focus on careful edge refinement first. Use gentle blending techniques, applying small amounts of color gradually rather than all at once. Keep your brush or tool light-handed, and step back frequently to assess your work. Adjust opacity and flow settings if you’re digital, and don’t hesitate to take breaks to avoid over-blending. This approach helps maintain natural progressions without losing control.
Can Finishing Touches Damage the Underlying Surface?
Finishing touches can damage the underlying surface if you’re not careful. To prevent this, always protect the surface with appropriate coverings and use well-maintained tools to avoid accidental gouges or scratches. Regularly clean and sharpen your tools, and work gently to reduce the risk of damage. By focusing on surface protection and tool maintenance, you guarantee your finishing touches enhance your project without causing harm.
What Safety Precautions Should I Take During Finishing?
You should always wear safety gear like masks, goggles, and gloves to protect yourself during finishing. It’s a common myth that ventilation isn’t necessary, but proper workspace ventilation decreases inhaling harmful fumes or dust. Always work in a well-ventilated area, and verify your safety equipment fits correctly. Taking these precautions minimizes health risks and keeps you safe while achieving a smooth, professional finish.
How Long Should I Wait Before Applying Finishing Touches?
You should wait at least 24 hours after painting preparation and surface cleaning before applying finishing touches. This guarantees the paint has dried properly and bonds well, preventing smudges or uneven blending. Rushing this step can ruin your work. Check the paint manufacturer’s recommendations for specific drying times, and make sure the surface feels dry and is free of dust or moisture to guarantee smooth edges and seamless blending when you proceed.
Conclusion
Now that you’ve smoothed the edges and blended seamlessly, your project transforms from rough sketch to polished masterpiece. Think of it as adding the final brushstrokes to a canvas, where each subtle touch brings everything to life. These finishing touches are like the sparkle in a diamond—small but powerful. With patience and care, you’ve turned a work in progress into a shining example of your skill, ready to impress and inspire everyone who sees it.