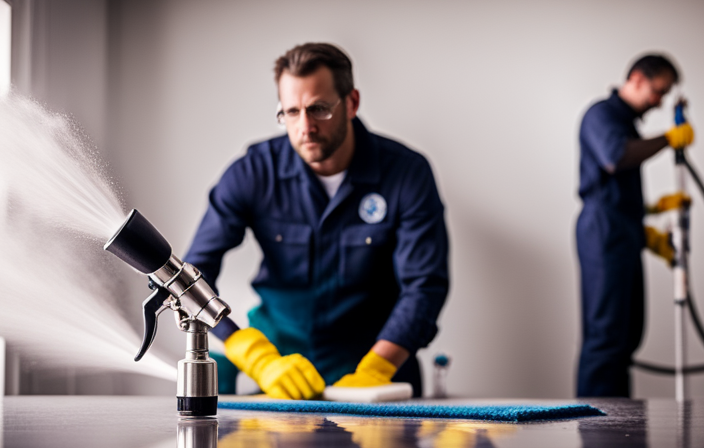
Have you ever thought that cleaning an airless paint sprayer was as daunting as climbing a mountain? Fear not! In this guide, I will take you through the step-by-step process of cleaning your airless paint sprayer, making it as easy as a walk in the park.
First, gather all the necessary cleaning supplies, such as water or a cleaning solution.
Then, disconnect and empty the paint sprayer, ensuring there is no leftover paint.
Next, flush the sprayer with water or the cleaning solution to remove any residue.
Don’t forget to disassemble and clean the spray gun and nozzle, as well as remove and clean the filters.
Rinse and dry all components thoroughly, and finally, store the cleaned sprayer in a safe and dry location.
By following this knowledgeable and detailed cleaning process, along with a regular maintenance schedule, you can keep your airless paint sprayer in top condition for all your future painting projects.
So, let’s jump right in and make cleaning your sprayer a breeze!
Key Takeaways
- Choose a well-ventilated location for cleaning the airless paint sprayer
- Regular cleaning and maintenance is important for optimal performance and durability
- Clean and inspect filters regularly to prevent clogging and ensure proper paint flow
- Flush the system with a cleaning solution after each use to remove paint residue and prevent buildup in the pump
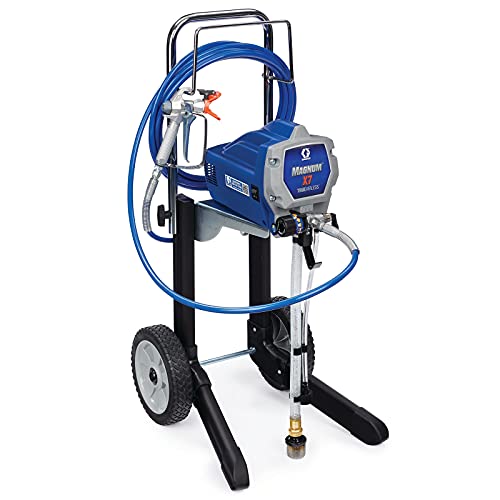
Graco Magnum 262805 X7 Cart Airless Paint Sprayer, Gray
CONTROL PAINT FLOW: Fully adjustable pressure to give you ultimate control of paint flow for any project size;...
As an affiliate, we earn on qualifying purchases.
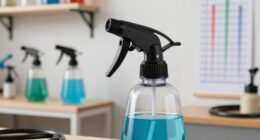
Gather the necessary cleaning supplies
To get started, you’ll need to gather all the cleaning supplies you’ll need for washing your airless paint sprayer.
Proper organization of your cleaning supplies is crucial to ensure a smooth and efficient cleaning process. Make sure to have:
- A bucket or container to hold the cleaning solution
- A cleaning brush with stiff bristles
- A small wire brush for unclogging the spray tip
- A set of wrenches for disassembling the sprayer
Additionally, it’s essential to have safety gear such as gloves and goggles to protect yourself from any potential hazards.
When gathering your supplies, be mindful of some common mistakes to avoid, such as using the wrong cleaning solution or failing to properly clean the spray tip.
Now that you have all your cleaning supplies ready, let’s move on to the next step of disconnecting and emptying the paint sprayer.

Wagner Spraytech 2435698 Control Pro 130 Paint Sprayer with T2 Gun, High Efficiency Airless Sprayer with Low Overspray, Yellow
WAGNER AIRLESS PAINT SPRAYER: The Control Pro 130 Power Tank applies coatings 3X faster than a roller with...
As an affiliate, we earn on qualifying purchases.
Disconnect and empty the paint sprayer
To begin, you’ll need to disconnect and empty out the handy device. Follow these steps:
-
Turn off the airless paint sprayer and unplug it from the power source. This ensures your safety and prevents accidental paint discharge.
-
Remove the paint container or bucket from the sprayer. Carefully pour any remaining paint back into its original container or dispose of it properly.
-
Detach the spray gun from the sprayer by unscrewing it counterclockwise. Be cautious not to spill any excess paint during this process.
Proper maintenance is crucial for the longevity of your airless paint sprayer. By disconnecting and emptying it correctly, you can avoid potential issues and ensure its smooth operation.
Now, let’s move on to the next step: flushing the sprayer with water or cleaning solution.

VEVOR Stand Airless Paint Sprayer, 650W, 3000PSI High Pressure Airless Sprayer with Cart, Cleaning Brush, Hose, Extension Rod, Nozzles, Electric Spray Paint Machine for House Exterior and Interior
Efficient Coating: The 650W motor, 0.31 GPM flow, and 3000 PSI pressure deliver spraying speeds 5x faster than...
As an affiliate, we earn on qualifying purchases.
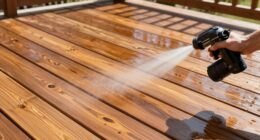
Flush the sprayer with water or cleaning solution
Now let’s give your handy device a refreshing cleanse by flushing it with water or a cleaning solution. Cleaning your airless paint sprayer is an essential step in maintaining its performance and longevity. Properly flushing the sprayer removes any leftover paint residue and prevents clogs or blockages. To ensure a thorough cleaning, consider using a cleaning solution specifically designed for airless sprayers. This will help break down and remove stubborn paint buildup more effectively. Here’s a helpful table summarizing the best cleaning techniques for your airless paint sprayer:
| Cleaning Technique | Advantages |
|---|---|
| Flushing with water | Easily accessible |
| Using cleaning solution | Removes stubborn paint buildup |
| Disassembling and cleaning spray gun and nozzle | Deep cleaning for optimal performance |
Next, we’ll move on to the next step of disassembling and cleaning the spray gun and nozzle, ensuring every component is spotless.

VEVOR 750W Stand Airless Paint Sprayer, 3000PSI High Efficiency Electric Airless Sprayer, Fine and Even Painting Effect, Handheld Paint Sprayers for Home Interior and Exterior Furniture and Fences
Efficient Painting: Our stand airless paint sprayer is equipped with a powerful 750W motor, capable of delivering up...
As an affiliate, we earn on qualifying purchases.
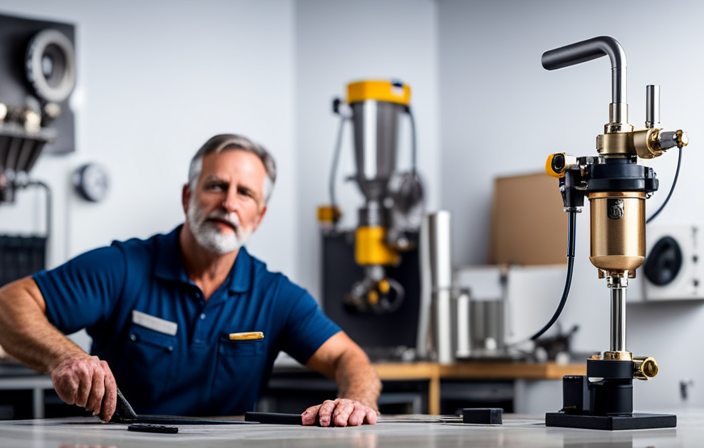
Disassemble and clean the spray gun and nozzle
After flushing, it’s time to take apart the spray gun and nozzle for a thorough cleaning. Disassembling the spray gun is essential to remove any paint residue or debris that may have accumulated during use.
To begin, make sure the gun is disconnected from the power source and relieve any pressure that may still be in the system. Start by removing the nozzle and needle, being careful not to damage them. Use a wrench to unscrew the air cap and fluid tip, and then separate the gun body from the handle.
Clean each component individually with warm water or a cleaning solution, making sure to remove any clogs or build-up. Additionally, inspect the O-rings and seals for any signs of wear or damage.
These disassembly tips will ensure a thorough cleaning and troubleshoot common issues.
Now, let’s move on to the next step of removing and cleaning the filters.
Remove and clean the filters
To ensure optimal performance and prevent clogs, it is crucial to address the maintenance of the filters in your spray gun. Proper filtration is of utmost importance when it comes to airless paint sprayers. Cleaning the filters regularly will help remove any debris or particles that may hinder the flow of paint and affect the quality of your work. There are various cleaning techniques you can employ, such as using a soft brush to remove larger particles and rinsing the filters with water. It is essential to follow the manufacturer’s instructions for cleaning and replacing the filters to ensure they function effectively. The table below provides a visual guide on how to clean the filters properly:
| Filter Type | Cleaning Method |
|---|---|
| Mesh Filters | Rinse with water and gently brush |
| Paper Filters | Replace with new filters |
| Coalescing Filters | Rinse with water and air dry |
Now that the filters have been cleaned, let’s move on to the next step: cleaning the pump and hoses.
Clean the pump and hoses
To ensure optimal performance and prevent clogs, it is crucial to thoroughly clean the pump and hoses. This step is essential for achieving flawless results and a professional finish.
To clean the pump, start by disconnecting the hoses and unscrewing the pump housing. Use a brush to remove any dried paint or debris, paying extra attention to the intake and outlet valves.
For the hoses, flush them with water to remove any leftover paint. If there are stubborn clogs, you can use a pipe cleaner or a small brush to dislodge the blockage.
Cleaning the pump and hoses is also a helpful troubleshooting step for common issues such as low pressure or inconsistent spray patterns.
Once the cleaning is complete, rinse and dry all components thoroughly, preparing them for the next step of the painting process.
Rinse and dry all components thoroughly
After thoroughly cleaning the pump and hoses of the airless paint sprayer, it is crucial to rinse and dry all components thoroughly. This step ensures that no residual paint or cleaning solution is left behind, which could potentially cause clogs or damage to the sprayer in the future.
To dry the components, I recommend using a clean cloth or towel to wipe away any excess moisture. It is important to pay special attention to areas that are prone to collecting water, such as crevices and connectors.
Additionally, allow the components to air dry for a sufficient amount of time to ensure that they are completely dry before storing.
Common mistakes to avoid during this process include using excessive force when drying, as this may damage delicate parts, and rushing through the drying process, which may leave moisture behind.
With the components thoroughly rinsed and dried, we can now move on to the next step of storing the cleaned sprayer in a safe and dry location.
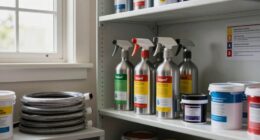
Store the cleaned sprayer in a safe and dry location
Now that the components are thoroughly rinsed and dried, it’s time to find a secure and dry spot to store your freshly cleaned sprayer.
Safe storage is crucial to protect the sprayer from damage and ensure its longevity. Choose a location that is free from excessive moisture, as this can lead to rust and corrosion. Additionally, it is important to prevent mold growth, as it can not only damage the sprayer but also pose health risks.
Look for a spot that is well-ventilated and away from any potential sources of water or humidity. A cool, dry area, such as a garage or storage room, is ideal for storing your airless paint sprayer.
Now, let’s move on to some tips for choosing the best location to clean your sprayer.
Tips for choosing the best location to clean your sprayer
When choosing the best location to clean your airless paint sprayer, there are a few key factors to consider. Firstly, it’s crucial to select the right cleaning solution. Opt for a solution specifically formulated for airless sprayers, as it will effectively remove paint residues and debris without damaging the components.
Proper ventilation is also important. Choose a location with good airflow to prevent the accumulation of fumes and aid in the drying process. This will help maintain the sprayer’s performance and prolong its lifespan.
By carefully considering these factors, you can create an ideal space for cleaning your sprayer and ensure it remains in top condition.
Maintenance and regular cleaning schedule to keep your sprayer in top condition
To maintain peak performance, it’s crucial to regularly clean and perform maintenance on your sprayer. By following a regular cleaning schedule, you can ensure that your airless paint sprayer stays in top condition and continues to deliver flawless results. Here are some maintenance tips to keep in mind:
| Maintenance Tips | Troubleshooting Common Issues |
|---|---|
| Clean the filters regularly to prevent clogging and ensure proper paint flow. | If you notice uneven spray patterns or reduced pressure, check for clogged filters. |
| Flush the system with a cleaning solution after each use to remove any paint residue. | If the sprayer won’t prime or has a weak spray, check for paint buildup in the pump. |
| Inspect and replace worn or damaged parts to prevent leaks and maintain optimal performance. | If you experience excessive overspray or dripping, inspect the seals and replace if necessary. |
By following these maintenance tips and troubleshooting common issues, you can keep your airless paint sprayer running smoothly and extend its lifespan. Remember to always refer to the manufacturer’s instructions for specific maintenance guidelines.
Frequently Asked Questions
How often should I clean my airless paint sprayer?
How often should I clean my airless paint sprayer? Regular maintenance is crucial for optimal performance. Cleaning after each use and deep cleaning every 3-6 months using recommended cleaning solutions ensures longevity and efficient operation.
Can I use regular water to clean my sprayer, or do I need a specific cleaning solution?
Regular water can be used to clean an airless paint sprayer, but using a specific cleaning solution is recommended. These solutions are designed to effectively remove paint residue and ensure proper maintenance. Cleaning techniques and supplies should be followed as per the manufacturer’s guidelines.
How do I know if the filters in my paint sprayer need to be replaced?
When the spray pattern becomes uneven or the pressure drops, it could indicate clogged filters in the airless paint sprayer. Regular filter maintenance is essential to ensure optimal performance and prevent damage to the equipment.
What should I do if there is stubborn paint residue in the spray gun or nozzle?
To remove stubborn paint residue from the spray gun or nozzle, I recommend using cleaning techniques such as soaking the parts in a solvent, using a brush or toothpick to scrub off the residue, and rinsing thoroughly with water.
Are there any specific safety precautions I should take when cleaning my airless paint sprayer?
When cleaning an airless paint sprayer, it is important to follow specific safety precautions. Wear protective goggles, gloves, and clothing. Properly dispose of cleaning solutions used, as they may contain hazardous materials.
Conclusion
In conclusion, properly cleaning and maintaining your airless paint sprayer is crucial for its longevity and optimal performance. By following the outlined steps and using the appropriate cleaning supplies, you can ensure that your sprayer remains in top condition.
Remember, a well-maintained sprayer is like a well-oiled machine, ready to tackle any painting project with ease. So, don’t neglect the cleaning process and find a safe and dry location to store your sprayer.
Remember, a clean sprayer is a happy sprayer!