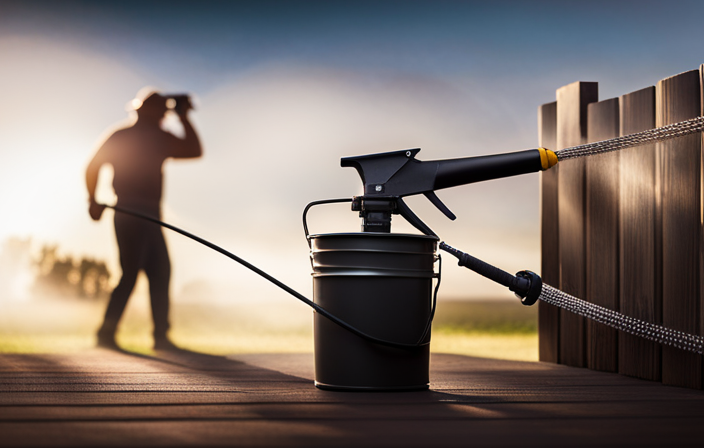
I’ve always been familiar with the phrase, ‘A new layer of paint can do miracles.’ And I can assure you, this holds entirely accurate in refreshing your fence’s appearance. If you’re prepared to revitalize your fence, adopting an airless sprayer coupled with a 5-gallon bucket is your best bet. Believe me, it revolutionizes the painting experience. It not only accelerates and streamlines the painting task but also guarantees a uniform and flawless coverage.
In this article, I’ll walk you through the step-by-step process of using an airless sprayer with a 5-gallon bucket to paint your fence. From gathering the necessary materials to properly storing the sprayer and paint materials, I’ll cover it all.
So, get ready to unleash your DIY skills and give your fence a brand new look that will make your neighbors green with envy. Let’s dive in!
Key Takeaways
- Apply thin, even coats and allow each layer to dry before adding another to prevent drips and runs.
- Properly clean the sprayer and equipment after use to extend their lifespan and prevent residual paint from affecting future projects.
- Inspect the results for color consistency, smoothness, and any missed spots or uneven areas, and apply additional coats if necessary for thorough coverage.
- Store the sprayer and paint materials properly for longevity, dispose of leftover paint responsibly, and take safety precautions when handling paint materials.
Gather the Necessary Materials
To use an airless sprayer with a 5-gallon bucket, you’ll need to gather the necessary materials.
First, start by preparing the paint mixture. Make sure to follow the manufacturer’s instructions for the correct ratio of paint to water or thinner. This step is crucial in achieving a smooth and even application.
Next, choose the right spray tip for your project. The size of the tip determines the width and thickness of the paint spray pattern. For a fence, a tip with a wider spray pattern is ideal for covering large areas quickly.
Once you have gathered these materials, you can proceed to prepare the fence for painting.
Prepare the Fence for Painting
Before painting my fence, I need to prepare the surface by cleaning it thoroughly to remove any dirt, dust, or debris. This will ensure that the paint adheres properly and provides a smooth finish.
Additionally, I will inspect the fence for any damage and repair it before painting. This includes fixing loose or broken boards, filling in any holes or cracks, and replacing any damaged sections.
Clean the Surface
Once the surface is thoroughly cleaned, get ready to unleash the power of an airless sprayer with a 5-gallon bucket for a fence-painting experience like no other.
Surface preparation is crucial for achieving a smooth and long-lasting finish. Before painting, it is important to ensure that the surface is free from dirt, dust, and loose debris. Use a pressure washer or a scrub brush along with a mild detergent to clean the fence thoroughly. Allow the surface to dry completely before proceeding with painting.
Additionally, choosing the right paint is essential for a successful project. Opt for a high-quality exterior paint that is specifically designed for fences. It should provide excellent adhesion and durability.
With the surface cleaned and the right paint selected, you are now ready to repair any damage and prepare the fence for painting.
Repair any Damage
When your fence has suffered damage, it’s like a warrior wounded in battle, needing your skilled hands to mend its wounds and restore its strength. Before you start painting, it’s important to repair any damage to ensure a smooth and even finish.
Begin by inspecting the fence for loose boards, cracks, or splintered areas. Use appropriate repair techniques such as replacing broken boards, filling cracks with wood putty, and sanding rough spots.
Once the repairs are complete, it’s time to choose the right paint for your fence. Opt for a high-quality exterior paint that is specifically designed for outdoor use and provides long-lasting protection against the elements. Consider factors such as color, finish, and durability.
With the repairs done and the paint selected, you’re now ready to set up the airless sprayer and bring your fence back to life.
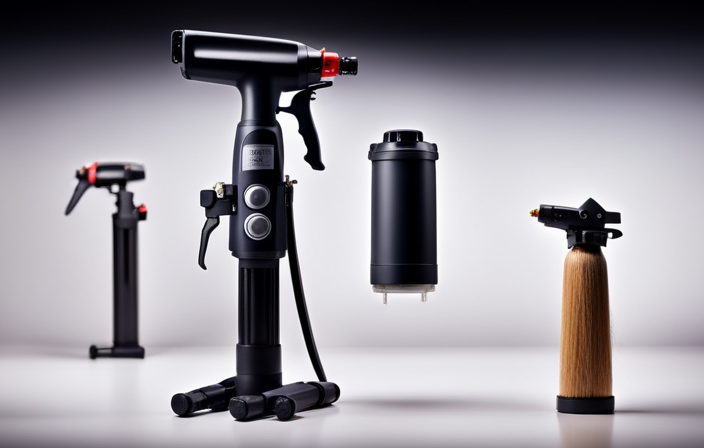
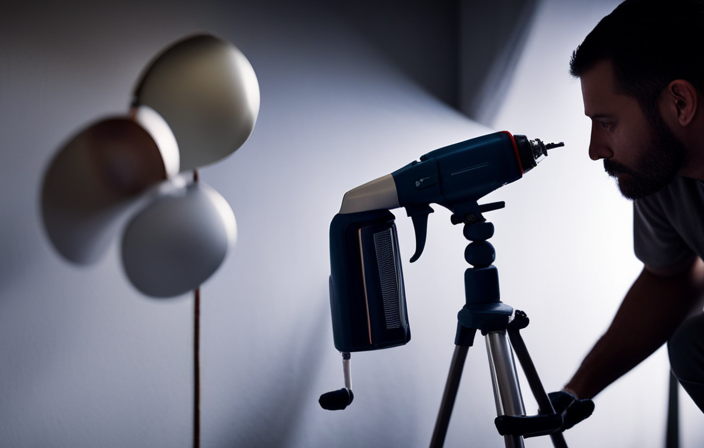
Set Up the Airless Sprayer
Before setting up the airless sprayer, I always make sure to carefully read and follow the manufacturer’s instructions. This ensures that I’m using the sprayer correctly and getting the best results.
If the paint I’m using is too thick for the sprayer, I dilute it according to the manufacturer’s recommendations. This step is important to ensure that the paint flows smoothly through the sprayer and provides an even coat on the fence.
Follow the Manufacturer’s Instructions
To properly use an airless sprayer with a 5-gallon bucket to paint your fence, make sure you follow the manufacturer’s instructions for best results.
The instructions provided by the manufacturer are crucial in ensuring that you maximize the effectiveness of the sprayer and achieve a professional finish. They will guide you on proper assembly, usage, and maintenance of the sprayer.
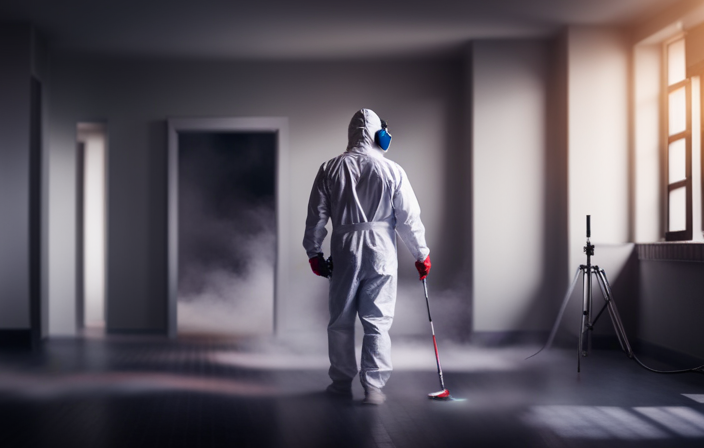
It is important to pay close attention to any safety precautions mentioned, such as wearing protective clothing and using proper ventilation. Following these instructions will help you avoid any accidents or mishaps while painting.
Once you have familiarized yourself with the manufacturer’s instructions, you can proceed to the next step of diluting the paint if necessary, which will be discussed in the following section.
Dilute the Paint if Necessary
If the paint seems a bit thick, go ahead and add a splash of water to give it a smoother consistency. Properly diluting the paint is crucial when using an airless sprayer to ensure a smooth and even paint finish.
To achieve the desired consistency, start by pouring a small amount of water into the 5-gallon bucket of paint. Mix the water and paint thoroughly until you reach the desired consistency. It’s important to follow the manufacturer’s instructions for the specific type of paint you are using, as different paints may require different amounts of water for dilution.
By diluting the paint correctly, you can ensure that it will flow smoothly through the airless sprayer without clogging or splattering. Once the paint is properly diluted, you can move on to practicing your spraying technique for a professional-looking finish.
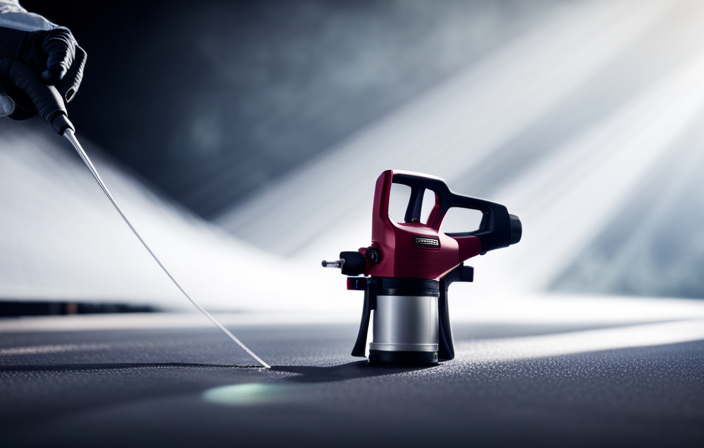
Practice Spraying Technique
To master the art of spraying, it is important to practice proper spraying technique. This involves holding the airless sprayer with a firm grip and aiming the nozzle at the fence. Smoothly glide the sprayer back and forth in even strokes.
To ensure a professional finish, here are some spraying tips for achieving even coverage:
-
Maintain a consistent distance: Keep the sprayer nozzle about 12 inches away from the fence surface. This helps prevent over-spraying or uneven application.
-
Overlap each stroke: Start each stroke slightly overlapping the previous one. This helps avoid leaving gaps or streaks in the paint.
-
Move at a steady pace: While spraying, maintain a consistent speed. Neither too fast nor too slow. This ensures an even coat and prevents drips from forming.
-
Practice proper technique: Use a side-to-side motion while spraying. Avoid excessive spraying in one area, as this can lead to uneven coverage.
By following these spraying tips, you can achieve a smooth and even coat of paint on your fence. Now, let’s move on to the next step of actually painting the fence.
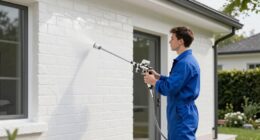
Begin Painting the Fence
Let’s jump right into painting the fence and create a beautiful transformation! To achieve a smooth finish, there are a few tips you can follow.
First, make sure to overlap your spray pattern by about 50% to ensure even coverage. This will help avoid any streaks or uneven spots.
Additionally, maintain a consistent distance of around 8-12 inches from the fence while spraying to prevent drips or excess paint buildup. If you encounter any clogs or inconsistent spray, try adjusting the pressure on your airless sprayer or cleaning the nozzle.
Taking breaks and maintaining a consistent pace is essential to avoid fatigue and ensure a consistent application of paint.
Now, let’s move on to the next section about taking breaks and maintaining a consistent pace.
Take Breaks and Maintain a Consistent Pace
To ensure a flawless finish, it’s important to take breaks and maintain a consistent pace while transforming your fence. Maintaining stamina and avoiding fatigue throughout the painting process is crucial. Here are three key tips to help you achieve a smooth finish and minimize mistakes:
-
Maintain a steady hand: Hold the sprayer at a consistent distance from the fence and move in a smooth, controlled motion. This will help you avoid overspray and achieve an even coat.
-
Minimize drips and runs: Be mindful of the amount of paint you’re applying to the fence. Apply thin and even coats, allowing each layer to dry before adding another. This will help prevent drips and runs.
-
Take regular breaks: Painting a fence can be physically demanding. Remember to take short breaks at regular intervals to rest and recharge. This will help you maintain your energy levels and ensure consistent results.
By following these tips, you’ll be well on your way to a beautifully painted fence. Now, let’s move on to cleaning the sprayer and equipment.
Clean the Sprayer and Equipment
Cleaning the sprayer and equipment after painting is essential to ensure a smooth and efficient painting process for future projects. Proper cleaning not only extends the lifespan of the equipment but also prevents any residual paint from affecting the quality of future paint jobs. To clean the sprayer, start by emptying any remaining paint from the container into a 5-gallon bucket. Then, disassemble the sprayer and clean each part thoroughly using cleaning chemicals specifically designed for paint sprayers. Remember to follow all safety precautions, such as wearing gloves and eye protection, when handling these chemicals. Once the sprayer is clean, rinse it with water to remove any remaining residue. Cleaning the equipment, such as brushes and rollers, is also important to maintain their effectiveness. By taking the time to clean the sprayer and equipment properly, you’ll be ready to tackle your next painting project with ease. Now, allow the paint to dry and inspect the results to ensure a flawless finish.
Allow the Paint to Dry and Inspect the Results
Once the paint has dried, take a moment to inspect the results and admire the flawless finish.
Inspecting techniques are crucial in determining whether the coverage is satisfactory. Begin by evaluating the overall color consistency and smoothness of the painted surface.
Look closely for any missed spots, streaks, or uneven areas that may require touch-ups. Pay special attention to corners, edges, and hard-to-reach areas that may have been overlooked during the application process.
If necessary, use a flashlight or direct sunlight to examine the fence from different angles, as this can reveal imperfections that may not be immediately noticeable.
Once you are satisfied with the coverage and finish, you can proceed to the next step of applying additional coats if needed, ensuring a thorough and even coating throughout the entire fence.
Apply Additional Coats if Needed
After admiring the flawless finish, you might consider adding an extra layer if necessary to ensure an even and thorough coating throughout the entire fence. Applying a primer coat before the final layer can help improve adhesion and durability.
To determine the appropriate drying time between coats, refer to the paint manufacturer’s instructions. It’s crucial to allow the previous coat to dry fully before applying additional layers to avoid streaks or clumping.
Here are four essential points to keep in mind:
- Check the paint can label for recommended drying time.
- Ensure the weather conditions are suitable for paint application.
- Use a light touch when applying additional coats to maintain an even finish.
- Inspect the fence after each coat to identify any missed spots or uneven areas.
Once you are satisfied with the coverage, you can move on to properly storing the sprayer and paint materials.
Properly Store the Sprayer and Paint Materials
To ensure the longevity of your equipment and materials, it’s important to properly store the sprayer and paint supplies once you’ve achieved the desired finish on your fence.
Properly disposing of any leftover paint is essential. Begin by cleaning the sprayer thoroughly according to the manufacturer’s instructions. Remove any excess paint from the bucket and dispose of it responsibly, following local regulations.
Rinse the bucket with water and allow it to dry completely before storing. Store the sprayer and other equipment in a cool, dry place to prevent damage.
It’s also crucial to take safety precautions when handling paint materials. Wear gloves and protective eyewear when cleaning and storing, and keep them out of reach of children and pets.
By following these steps, you can ensure that your sprayer and paint supplies are ready for future use and maintain their quality.
Frequently Asked Questions
How long does it typically take to paint a fence using an airless sprayer and a 5-gallon bucket?
Typically, it takes about 4-6 hours to paint a fence using an airless sprayer and a 5-gallon bucket. To ensure efficiency, it’s important to follow proper painting techniques and best practices.
Can an airless sprayer be used to paint other surfaces besides fences?
An airless sprayer, known for its versatility, can be used to paint various surfaces. With different airless sprayer techniques, the best paint sprayer brands offer efficient and even coverage for walls, ceilings, furniture, and more.
What type of paint is recommended for painting fences with an airless sprayer?
For painting fences with an airless sprayer, it is recommended to use an exterior latex paint. Prior to painting, prepare the fence by cleaning it thoroughly and removing any loose or peeling paint.
Is it necessary to wear protective gear while using an airless sprayer?
Wearing protective gear is crucial when using an airless sprayer. However, the advantages of using one with a 5 gallon bucket are worth it. It ensures efficient and even paint application, saving time and effort.
Are there any safety precautions to consider when using an airless sprayer with a 5-gallon bucket?
When using an airless sprayer with a 5-gallon bucket, it is important to follow safety precautions and best practices. This includes wearing protective gear, ensuring proper ventilation, and securely anchoring the bucket to prevent tipping.
Conclusion
In conclusion, using an airless sprayer with a 5-gallon bucket to paint a fence was quite the experience. It may have had its challenges, but it was definitely worth it in the end.
The results were nothing short of amazing, and I couldn’t be happier with how my fence turned out. It’s incredible what a fresh coat of paint can do to enhance the beauty of your outdoor space.
So, if you’re looking to give your fence a makeover, I highly recommend giving this method a try. Happy painting!