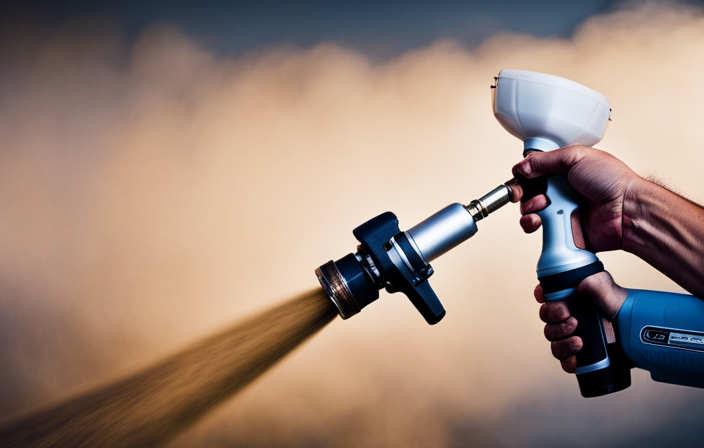

As a DIY enthusiast, I truly appreciate the satisfaction that comes with completing a painting project and admiring the vibrant colors on the walls. However, cleaning up after using an airless sprayer for oil-based paints can be a daunting task. This is where I can provide guidance on effectively cleaning an airless sprayer after using oil-based paints.
Gather your materials and tools, disconnect and empty the paint container, and get ready to witness the magic of a thorough cleaning. By flushing the sprayer with a cleaning solution, removing and cleaning the spray tip and guard, as well as taking care of the filter and other removable parts, you’ll ensure optimal performance for future painting endeavors.
But don’t worry, it’s not all technical jargon and tedious tasks. With my precise and detail-oriented instructions, you’ll be able to clean your sprayer with ease, leaving you with a sense of accomplishment and a sprayer ready for your next masterpiece.
So let’s dive in and get your airless sprayer sparkling clean!
Key Takeaways
- Disconnect the sprayer from the power source and remove any remaining paint from the container.
- Disassemble the sprayer according to the instructions and clean the parts with warm, soapy water, paying special attention to the nozzle.
- Use a brush or toothpick to remove any dried paint or debris from the parts and rinse them with clean water.
- Allow the parts to dry completely before reassembling the sprayer, ensuring regular maintenance and cleaning for optimal efficiency.

InoKraft MaXpray M1 Airless Paint Sprayer, 3000 PSI 550W Corded Electric, Thinning-Free for Latex & Stain, DIY Home Interior Exterior Walls Fences Decks, Includes Spray Gun Kit & 12" Tip Extension
- Fast Painting Speed: 5X faster than rolling, 12X faster than brushing
- High-Pressure Performance: 3000 PSI, 0.29 GPM for even coverage
- Direct from Bucket: Draw paint from 5-gallon bucket for large projects
As an affiliate, we earn on qualifying purchases.
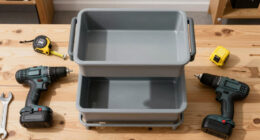
Gather the necessary materials and tools for cleaning
Now, you’ll want to gather all the materials and tools you’ll need for cleaning your airless sprayer after applying oil-based paint.
Start by gathering the necessary cleaning equipment, such as a clean cloth or sponge, a bucket of warm soapy water, and a small brush for scrubbing.
Additionally, make sure you have gloves and safety goggles to protect yourself during the cleaning process.
It’s also important to have a proper disposal method for any leftover paint or cleaning solutions. You can use a sealable container to store any excess paint for future use, or dispose of it according to your local regulations.
With all the materials and tools in place, you’ll be ready to move on to the next step of disconnecting and emptying the paint container.
Disconnect and empty the paint container
First, it’s time to disconnect and empty out the container holding the vibrant pigment. Cleaning process and proper maintenance are crucial for keeping your airless sprayer in top condition. To properly clean the paint container, follow these steps:
- Disconnect the sprayer from the power source and remove the container from the sprayer.
- Use caution when handling the container, as it may still contain paint residue.
- Empty any remaining paint into a separate container for disposal.
Cleaning the paint container is an essential part of maintaining your sprayer and ensuring its longevity.
Now that the container is disconnected and emptied, it’s time to move on to the next step: flushing the sprayer with a cleaning solution. This will thoroughly remove any remaining paint and prepare the sprayer for future use.
Flush the sprayer with a cleaning solution
To keep your airless sprayer in top shape, it’s time to give it a refreshing cleanse by flushing it with a cleaning solution.
There are various cleaning solution alternatives you can choose from, such as warm soapy water or a commercial paint cleaner. Whichever option you select, make sure it’s compatible with oil-based paints.
Start by filling the paint container with the cleaning solution and then attach it to the sprayer. Turn on the sprayer and run the cleaning solution through the system for a few minutes. This will remove any remaining paint residue and ensure a thorough cleaning.
Regularly cleaning your sprayer with a cleaning solution will not only prolong its lifespan but also prevent clogging and maintain optimal performance.
With the sprayer now cleaned, it’s time to move on to the next step of removing and cleaning the spray tip and guard.
Remove and clean the spray tip and guard
Once you’ve finished flushing the sprayer, it’s time to tackle the next crucial step: removing and giving some TLC to the spray tip and guard. Cleaning techniques for the spray tip and guard are essential to ensure optimal performance and prevent clogs. Here are some troubleshooting tips to help you clean them effectively:
- Use a small brush or toothpick to remove any dried paint or debris from the tip and guard.
- Soak the spray tip and guard in a cleaning solution for about 15-30 minutes to dissolve any stubborn paint residue.
- Rinse them thoroughly with water to remove any remaining residue.
- Inspect the spray tip for any signs of wear or damage. Replace it if necessary.
- Reassemble the spray tip and guard securely before using the sprayer again.
Now that the spray tip and guard are clean, let’s move on to the next section about cleaning the filter and other removable parts.
Clean the filter and other removable parts
Now that the spray tip and guard are sparkling, let’s delve into the next step of rejuvenating your sprayer: giving the filter and other removable parts a thorough cleaning.
Cleaning the airless sprayer nozzle is crucial for maintaining optimal performance. Start by removing the nozzle and filter from the sprayer according to the manufacturer’s instructions.
Rinse the filter under running water to remove any paint residue or debris. Use a soft brush to gently scrub the nozzle, ensuring all clogs are removed. If you encounter any issues, such as uneven spray patterns or reduced pressure, troubleshooting common issues with airless sprayers can help identify the problem.
Once the filter and nozzle are clean, transition into the subsequent section about using a brush or cloth to clean the exterior of the sprayer to complete the cleaning process.
Use a brush or cloth to clean the exterior of the sprayer
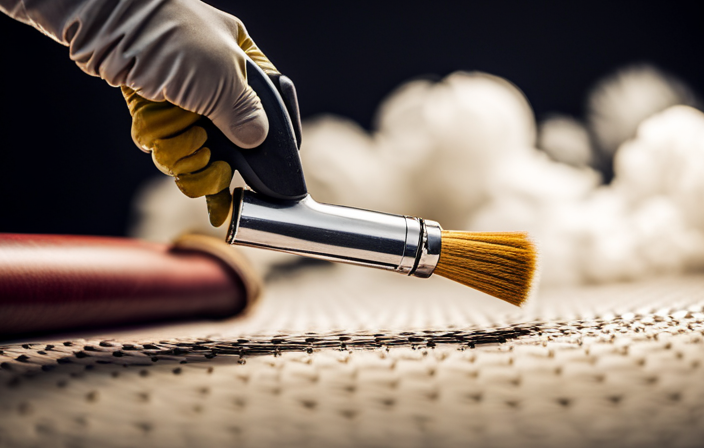
After you’ve finished giving the filter and other removable parts a thorough cleaning, it’s time to tackle the exterior of your sprayer with a brush or cloth. Here are some effective cleaning techniques to ensure your sprayer is free from any oil-based paint residue:
-
Use a soft-bristle brush: Gently scrub the exterior surface of the sprayer with a brush to remove any dried paint particles. Be careful not to scratch or damage the sprayer’s finish.
-
Damp cloth: Moisten a clean cloth with a mild cleaning solution or soapy water. Wipe down the sprayer, paying attention to areas with stubborn paint stains. Rinse the cloth frequently to avoid spreading the paint residue.
-
Alternative cleaning methods: If the paint is particularly stubborn, you can try using a paint thinner or solvent specifically designed for oil-based paints. Follow the manufacturer’s instructions and use these products with caution.
With the sprayer’s exterior cleaned, it’s time to move on to the next step: rinsing the sprayer with clean water to ensure all traces of paint are removed.
Rinse the sprayer with clean water
To ensure a pristine finish on your project, it’s time to give your sprayer a refreshing rinse with clear water. Cleaning techniques are crucial in maintaining the sprayer’s functionality and prolonging its lifespan.
Start by detaching any removable parts and rinsing them separately. Then, fill a bucket or sink with clean water and submerge the sprayer’s nozzle and other small components. Use a soft brush or cloth to gently scrub away any paint residue. If necessary, you can also use alternative cleaning solutions specifically designed for oil-based paint.
Once everything is thoroughly rinsed, dry the sprayer and reassemble it for future use. With a clean and well-maintained sprayer, you can achieve professional-quality results on your next painting project.
Now, let’s move on to the next section about how to dry and reassemble the sprayer.
Dry and reassemble the sprayer
Once you’ve finished rinsing the sprayer, it’s time to dry it and put it back together for future use, so you can continue to achieve amazing results on your painting projects.
Start by thoroughly drying all the parts with a clean cloth. Make sure to remove any excess water or moisture to prevent rusting.
After drying, it’s important to re-oil the sprayer to keep it working smoothly. Apply a few drops of oil to the piston rod, packings, and other moving parts as specified in the manufacturer’s instructions. This will help maintain the sprayer’s performance and extend its lifespan.
Additionally, take this opportunity to troubleshoot common issues with airless sprayers, such as clogged nozzles or worn seals. Addressing these problems now will save you time and frustration later.
With the sprayer dried, oiled, and in proper working condition, you can confidently move on to the next step of storing it properly for future use.
Store the sprayer properly for future use
Make sure you store your sprayer properly to keep it in top shape for your next painting project. Proper storage is essential for preventing paint buildup and maintaining optimal performance.
Here are some tips to help you store your sprayer effectively:
- Clean the sprayer thoroughly after each use, making sure to remove any leftover paint or debris.
- Disassemble the sprayer and store each part separately to prevent damage and ensure easy reassembly.
- Store the sprayer in a clean, dry, and well-ventilated area to prevent moisture buildup and rust.
- Use a protective cover or wrap the sprayer in a cloth to shield it from dust and potential damage.
By following these storage guidelines, you can extend the lifespan of your sprayer and ensure it’s ready for use whenever you need it.
Now let’s move on to how to regularly maintain and clean the sprayer to ensure optimal performance.
Regularly maintain and clean the sprayer to ensure optimal performance
Regularly tending to your sprayer is like giving it a refreshing shower, ensuring its peak performance. To maintain the sprayer’s performance and prevent clogging issues, it’s crucial to clean it thoroughly after each use.
Start by disconnecting the sprayer from the power source and removing any remaining paint from the container. Next, disassemble the sprayer according to the manufacturer’s instructions and clean each part with warm, soapy water. Pay special attention to the nozzle, as it’s prone to clogging. Use a brush or toothpick to remove any dried paint or debris.
After cleaning, rinse all parts with clean water and allow them to dry completely before reassembling the sprayer. Regular maintenance and cleaning will ensure that your sprayer continues to work efficiently and deliver flawless results.
Frequently Asked Questions
How often should I clean my airless sprayer after using oil-based paint?
I should clean my airless sprayer immediately after using oil-based paint to prevent any residue from drying and clogging the system. Using a pressure washer is not recommended as it may damage the sprayer.
Can I use any cleaning solution or is there a specific one recommended for cleaning the sprayer?
Using any cleaning solution is like pouring water on a fire! For the best results, stick to the specific cleaning solution recommended for your sprayer. It’s important to follow best practices for sprayer maintenance to ensure optimal performance and longevity.
Are there any special instructions for cleaning the spray tip and guard?
To clean the spray tip and guard, it’s important to follow proper cleaning techniques. Start by removing them from the sprayer and soaking them in a cleaning solution. Use a small brush to scrub away any paint residue, and troubleshoot any clogs or blockages.
How should I store the sprayer to ensure it remains in good condition for future use?
To store the sprayer properly for future use, I recommend following these maintenance steps. Clean the sprayer thoroughly, remove any leftover paint, and store it in a dry and temperature-controlled area. This ensures its longevity and optimal performance.
What are some signs that indicate the sprayer needs maintenance or cleaning?
Signs of sprayer maintenance needed include clogged or uneven spray patterns, decreased paint flow, and excessive overspray. To properly clean the airless sprayer, disassemble the parts, flush with water or appropriate solvent, and remove any paint residue.
Conclusion
In conclusion, cleaning an airless sprayer after applying oil-based paint is a crucial step in maintaining its optimal performance. By following the steps outlined above, you can ensure that your sprayer remains in top condition for future use.
Remember to regularly maintain and clean the sprayer, as this will prevent clogs and ensure smooth and even paint application. With proper care and attention, your sprayer will continue to provide you with excellent results. So, don’t forget to clean and store it properly after each use.