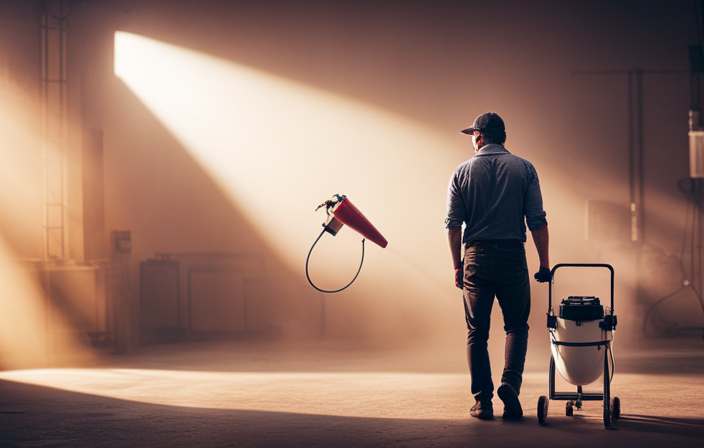

As someone who enjoys DIY projects, I have always been impressed by the efficiency and speed of airless paint sprayers. Recently, I faced a challenging task of reviving an old wooden fence. With my trusted airless sprayer in hand, I began the project, but soon found myself wondering: how much paint do I actually need for an airless sprayer?
This question may seem simple, but the answer requires careful consideration of factors such as the area to be painted, the paint coverage rate, the number of coats, and even the potential for overspray and wastage.
In this article, I will guide you through the process of determining the right amount of paint to use with your airless sprayer, sharing valuable tips and insights along the way. So let’s dive in and demystify this vital aspect of airless painting!
Key Takeaways
- Factors affecting paint usage include the size of the project, type of paint being used, surface being painted, sprayer settings, and the skill level of the user.
- Estimating costs and calculating the amount of paint needed is important to avoid running out of paint during a project and to plan accordingly.
- Proper maintenance and cleaning of the sprayer, including unclogging spray tips and regular pump maintenance, is crucial for achieving consistent and quality results, prolonging the sprayer’s lifespan, and preventing premature wear and tear.
- Smooth operation of the airless sprayer is essential to achieve professional results, prevent issues, avoid interruptions, and ensure even coverage.

Baotree Airless Paint Sprayer, High-Pressure Electric Paint Spray Gun with Extension Rod, Thinning-Free Professional Painting Tool for Interior/Exterior Walls, Fences, Ceilings, Cabinets
1. High efficiency and time saving, the spraying speed is 5 times faster than traditional brushing ✅ High...
As an affiliate, we earn on qualifying purchases.
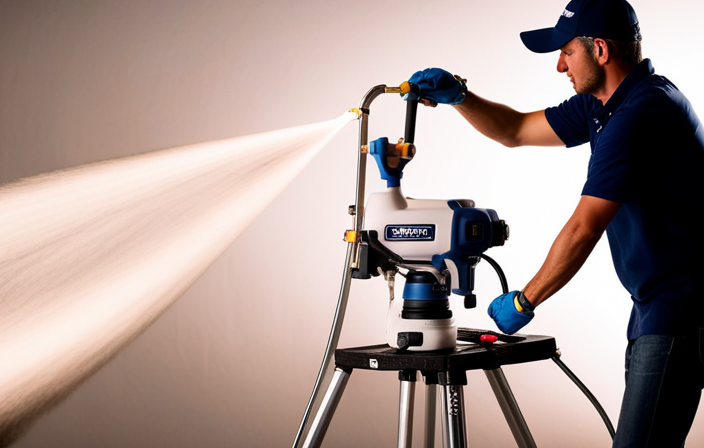
Understanding the Basics of Airless Sprayers
If you’re new to airless sprayers, you might be wondering how much paint you can spray with them. Well, let me tell you, airless sprayers are a game-changer when it comes to painting projects. The benefits of using an airless sprayer are numerous.
First and foremost, they provide a faster and more efficient way of applying paint compared to traditional methods. Additionally, airless sprayers offer a smoother finish with less overspray and waste.
Now, when it comes to calculating paint consumption, it’s crucial to consider the area to be painted. By accurately calculating the area, you can determine the amount of paint needed for your project.
So, let’s dive into the next section and learn how to calculate the area to be painted.

VEVOR 750W Stand Airless Paint Sprayer, 3000PSI High Efficiency Electric Airless Sprayer, Fine and Even Painting Effect, Handheld Paint Sprayers for Home Interior and Exterior Furniture and Fences
Efficient Painting: Our stand airless paint sprayer is equipped with a powerful 750W motor, capable of delivering up...
As an affiliate, we earn on qualifying purchases.
Calculating the Area to be Painted
When determining the amount of paint needed for a project, it’s important to calculate the total area that requires a fresh coat. To do this, follow these steps:
- Start by measuring the length and width of each wall or surface that needs to be painted.
- Multiply the length by the width to find the square footage of each individual surface.
- Add up the square footage of all the surfaces to get the total area to be painted.
Calculating paint quantity is crucial to avoid running out of paint or wasting money on excess supplies. By accurately measuring the surface area, you can ensure that you have enough paint to complete the job.
Once you have calculated the total area, you can move on to determining the paint coverage rate and estimating the amount of paint needed.

MaXpray M1 Airless Paint Sprayer, Highly Efficient Thinning-Free Minimal Overspray for Up to 10 Gallon DIY Painting Projects Home Interior & House Exterior, Comes with Sprayer Accessories
Your DIY Partner - All DIY Homeowners, upgrade your DIY game with the MaXpray M1 airless paint sprayer—far...
As an affiliate, we earn on qualifying purchases.
Determining the Paint Coverage Rate
To accurately estimate the amount of paint you’ll need for your project, it’s essential to understand the paint coverage rate. Determining the paint coverage rate involves estimating the amount of paint needed to cover a certain area.
This rate is typically provided by the manufacturer and is specified in terms of square footage per gallon. For example, a paint coverage rate of 400 square feet per gallon means that one gallon of paint will cover 400 square feet of surface area.
By knowing the paint coverage rate and the total area to be painted, you can easily calculate the volume of paint required. However, it’s important to consider that the number of coats you apply can affect the overall paint coverage rate.

Graco Magnum 262805 X7 Cart Airless Paint Sprayer, Gray
CONTROL PAINT FLOW: Fully adjustable pressure to give you ultimate control of paint flow for any project size;...
As an affiliate, we earn on qualifying purchases.
Considering the Number of Coats
Don’t underestimate the transformative power of multiple coats of paint – they can give your project a stunning and professional finish. When considering the number of coats to apply with an airless sprayer, it’s important to keep in mind that each coat adds to the overall thickness and durability of the paint job.
Applying multiple coats can help achieve a more even and consistent coverage, especially for darker or more vibrant colors. However, it’s essential to allow sufficient drying time between coats to ensure proper adhesion and prevent any issues with bubbling or peeling.
Keep in mind that the number of coats needed may vary depending on the type of surface, the paint brand, and the desired final result.
Now, let’s move on to the next section and discuss adjusting for overspray and wastage.
Adjusting for Overspray and Wastage
Effortlessly adjusting the settings on your sprayer to account for overspray and wastage is essential for a more efficient and economical paint application process. By minimizing overspray, you can avoid wasting paint and reduce unnecessary expenses.
Overspray occurs when paint particles drift away from the intended surface, resulting in a loss of material. To minimize this, it is important to adjust the sprayer’s pressure and spray pattern. This will create a more controlled and targeted application, reducing the chances of overspray.
In addition to minimizing overspray, reducing paint wastage is crucial. This can be achieved by properly calibrating the sprayer’s settings. By ensuring the right amount of paint is being delivered without excess, you not only save money but also ensure a more even and professional finish.
Transitioning into estimating the amount of paint needed, it is crucial to consider these factors. By taking into account overspray and wastage, you can achieve a cost-effective and precise paint job.
Estimating the Amount of Paint Needed
Estimating how many gallons of paint you’ll need can be a tricky task, but with a little planning and some simple math, you’ll be able to ensure you have just the right amount for your project.
To estimate the paint quantity, you need to consider several factors that affect paint usage. The surface area to be painted is the most important factor. Measure the length and height of each wall, then multiply them to find the square footage. Don’t forget to subtract any doors or windows from the total.
Another factor is the number of coats you plan to apply. Generally, two coats are recommended for a smooth, even finish.
Finally, the type of surface and the paint’s coverage rate will also impact the quantity needed. Keep these factors in mind when estimating how much paint to buy.
By doing so, you can ensure a successful and efficient painting project.
Now, let’s move on to choosing the right paint type and quantity.
Choosing the Right Paint Type and Quantity
When it comes to painting, selecting the appropriate paint type and amount is like choosing the perfect color palette to bring your vision to life. To ensure a successful paint job, it is important to choose the right paint type and calculate the correct quantity. Here are the steps to follow:
-
Consider the surface: Different surfaces require different types of paint. Whether it’s wood, metal, or drywall, make sure to choose a paint that is suitable for the surface you are working on.
-
Determine the coverage rate: Each type of paint has a coverage rate, which indicates how much area it can cover with a gallon. Calculate the square footage of the area you want to paint and divide it by the coverage rate to determine the quantity of paint needed.
-
Account for multiple coats: If you plan on applying multiple coats, multiply the quantity of paint needed for one coat by the number of coats desired.
-
Add a little extra: It’s always a good idea to have some extra paint for touch-ups or future projects. Add around 10% to the calculated quantity to ensure you have enough.
By choosing the right paint type and calculating the proper quantity, you can ensure a smooth and efficient painting process.
Now, let’s move on to some tips for efficiently using an airless sprayer.
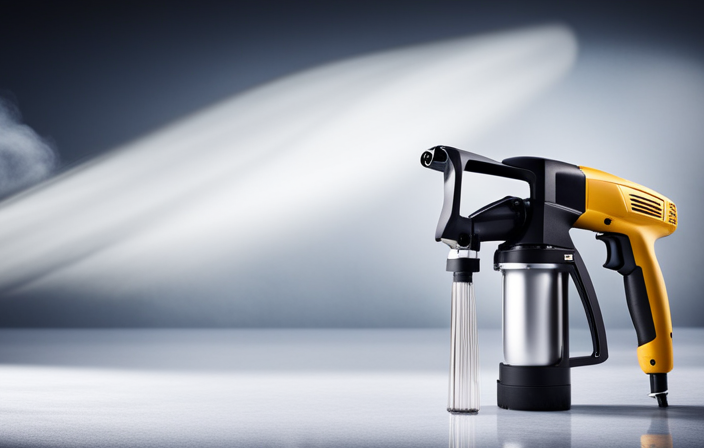
Tips for Efficiently Using an Airless Sprayer
When it comes to efficiently using an airless sprayer, there are a few tips to keep in mind:
-
Maintain a consistent speed and keep the sprayer at the optimal distance from the surface. This will help maximize coverage while minimizing overspray.
-
Choose the correct nozzle size for the type of paint you are using. A smaller nozzle will provide a finer spray pattern for detailed work, while a larger nozzle is better suited for larger surfaces.
-
Master these spraying techniques and select the appropriate nozzle to ensure you are using your airless sprayer to its fullest potential.
Now, let’s move on to discussing the proper maintenance and cleaning of the sprayer.
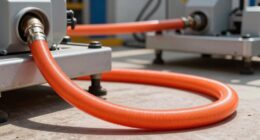
Proper Maintenance and Cleaning of the Sprayer
Maintaining and cleaning your sprayer is essential for optimal performance and longevity. It’s important to regularly inspect and troubleshoot your sprayer to ensure it is working properly. Here are some common sprayer maintenance issues to be aware of:
-
Clogged spray tips: Over time, paint residue and debris can accumulate in the spray tips, causing a decrease in performance. Regularly clean or replace clogged tips to maintain a smooth and even spray pattern.
-
Pump maintenance: The pump is the heart of the sprayer, and it requires regular maintenance to prevent issues. Clean and lubricate the pump regularly to keep it running smoothly and prevent premature wear and tear.
Proper maintenance and cleaning of your sprayer will not only prolong its lifespan but also ensure consistent and quality results.
Now, let’s move on to FAQs on using paint with an airless sprayer.
FAQs on Using Paint with an Airless Sprayer
When it comes to using paint with an airless sprayer, there are often questions that arise. As someone who has had experience with airless sprayers, I can provide some insights.
One common question is, ‘How much paint do you use with an airless sprayer?’ The answer to this question depends on several factors, such as the size of the project and the type of paint being used. Estimating costs can be challenging, but it is essential to have an idea of how much paint you will need to avoid running out in the middle of a job.
Additionally, troubleshooting common issues is crucial to ensure smooth operation of the sprayer. Being knowledgeable about these FAQs will help you achieve professional results and make your painting projects a breeze.
Frequently Asked Questions
Can I use any type of paint with an airless sprayer?
Oh, you wouldn’t believe the variety of paints you can use with an airless sprayer! From latex to oil-based, it’s a painter’s dream. Plus, the advantages of using an airless sprayer are unmatched – fast, even coverage and effortless application.
Is it necessary to thin the paint before using it in an airless sprayer?
It is not always necessary to thin paint before using it in an airless sprayer. The paint viscosity can affect the spraying performance, so it’s important to consider the pros and cons of thinning.
How long does it take for the paint to dry when using an airless sprayer?
When using an airless sprayer, the paint typically dries within a few hours. However, it’s important to follow best practices such as applying thin coats and ensuring proper ventilation for faster and more even drying.
Can I use an airless sprayer for small touch-up jobs?
Yes, an airless sprayer can be used for small touch-up jobs. The pros include efficient and fast coverage, while the cons are the potential for overspray. Best practices include using a smaller tip size and practicing on scrap surfaces first.
How do I prevent clogging in the nozzle of an airless sprayer?
To prevent clogs in the nozzle of an airless sprayer, I troubleshoot nozzle problems by following these steps: 1) Regularly clean the nozzle filter. 2) Use the correct paint viscosity. 3) Check for any obstructions or debris.
Conclusion
In conclusion, using an airless sprayer for painting projects can be a game-changer. It’s like having a magic wand in your hand, effortlessly transforming surfaces with a smooth and even coat of paint.
By understanding the basics, calculating the area, and choosing the right paint type and quantity, you can achieve professional results.
With proper maintenance and cleaning, your sprayer will be your trusty sidekick for years to come.
So grab your sprayer and let your creativity take flight, turning ordinary into extraordinary.