Did you know that having the right consistency of primer is crucial when using a Krause and Becker airless paint sprayer? It plays a vital role in achieving a smooth and flawless finish. In this article, I will guide you through determining the proper thinness of your primer for effective spraying with this particular paint sprayer.
Understanding your airless paint sprayer is the first step to achieving professional-looking results. I will explain the importance of proper primer consistency and why it matters. Following the manufacturer’s guidelines is essential, but I will also provide tips on how to test and adjust the consistency of your primer for optimal performance.
We will dive into the world of consistency and viscosity, exploring the tools and techniques that can help you achieve the desired results. Safety precautions and troubleshooting tips will also be covered to ensure a smooth painting process.
So, let’s get started on your journey to mastering the art of spraying primer through a Krause and Becker airless paint sprayer!
Key Takeaways
- Proper surface preparation is essential for achieving a smooth finish when using a Krause and Becker airless paint sprayer.
- It is important to follow safety precautions and wear protective gear, such as goggles, gloves, and a mask, when using the airless paint sprayer.
- Troubleshooting paint flow problems, such as checking for debris in the spray tip and obstructions in the paint hose, is necessary for optimal performance.
- Regular maintenance of the airless paint sprayer, including cleaning and replacing worn-out parts, is crucial for excellent results.
Understanding Your Airless Paint Sprayer
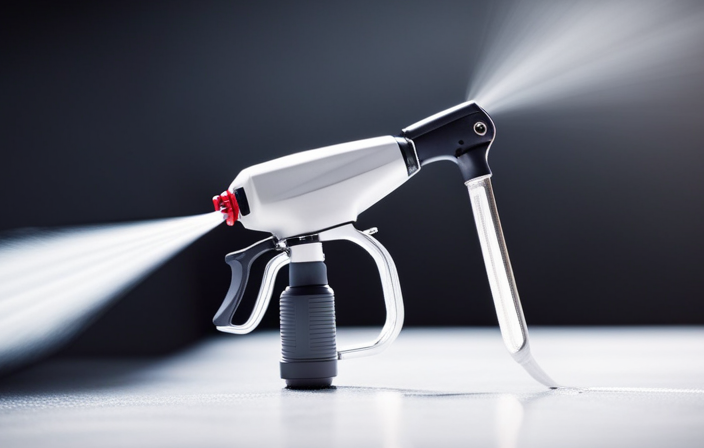
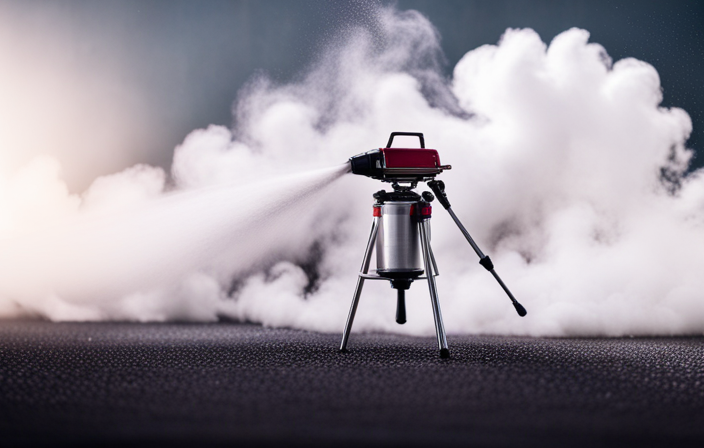
To truly understand the capabilities of your Krause and Becker airless paint sprayer, you’ll want to familiarize yourself with how it operates and what it can do for your painting projects.
Proper maintenance of the airless paint sprayer is essential for optimal performance. Regularly clean the sprayer, check for any clogs or blockages, and ensure all parts are in good working condition.
Troubleshooting common issues, such as uneven spray patterns or paint buildup, is also important to ensure a smooth painting process.
Now that you know how to maintain and troubleshoot your sprayer, let’s move on to the importance of proper primer consistency. It plays a crucial role in achieving a professional finish and ensuring that your paint adheres properly to the surface.
Importance of Proper Primer Consistency
When it comes to achieving a smooth and professional finish, the importance of proper primer consistency cannot be overstated. A consistent and even application of primer is crucial for ensuring a flawless end result.
Proper primer consistency enhances the adhesion and durability of the paint, allowing it to adhere better to the surface and last longer.
Paying attention to the consistency of the primer is a key step in achieving a high-quality and long-lasting paint job.
Achieving a smooth and professional finish
To achieve a smooth and professional finish, there are four key factors to consider:
-
Consistency: The primer should have a viscosity that allows it to flow smoothly through the sprayer without clogging or splattering.
-
Dilution: If the primer is too thick, it may need to be thinned with a compatible solvent or thinner. Follow the manufacturer’s instructions for the correct ratio.
-
Testing: Before spraying the entire surface, it’s important to do a test spray on a small area to ensure that the consistency is correct and the sprayer is working properly.
-
Adjustments: If the primer is not spraying evenly or is too thin, you may need to adjust the pressure settings on the sprayer or experiment with different nozzle sizes.
By achieving the proper consistency, you can ensure a smooth application and professional results. This will enhance the adhesion and durability of the paint, creating a long-lasting finish.
Enhancing adhesion and durability of the paint
To enhance the adhesion and durability of your paint, it’s crucial to achieve a smooth and professional finish. This not only improves paint adhesion but also increases paint longevity.
One way to achieve a smooth finish is by using a primer that is thin enough to spray through a Krause and Becker airless paint sprayer. The primer should be properly mixed and strained to ensure a consistent and even application.
It’s important to note that the thickness of the primer should be within the manufacturer’s guidelines for the specific paint sprayer being used. By following these guidelines, you can ensure that the primer adheres well to the surface and provides a strong foundation for the paint.
Additionally, it helps to prevent any peeling or chipping, ultimately enhancing the durability of the paint.
Follow Manufacturer’s Guidelines
Follow the manufacturer’s guidelines to ensure that the primer is thin enough to be successfully sprayed through the Krause and Becker airless paint sprayer. These guidelines are crucial in achieving a smooth finish and maximizing the adhesion and durability of the paint.
The manufacturer’s guidelines will specify the appropriate thinning ratio for the primer, which is typically a mixture of the primer and an appropriate thinning agent. It is essential to follow these guidelines precisely to avoid issues such as clogging or uneven application.
By adhering to the manufacturer’s recommendations, you can ensure that the primer is at the correct viscosity to be effectively sprayed through the airless paint sprayer.
Once you have properly thinned the primer, the next step is to test and adjust the spray pattern and pressure settings of the paint sprayer to achieve optimal results.
Test and Adjust
After familiarizing myself with the manufacturer’s guidelines for the Krause and Becker airless paint sprayer, I am now ready to move on to the next step: testing and adjusting the thinness of the primer.
This is a crucial process to ensure optimal performance and achieve the desired results. There are various test methods and adjusting techniques that can be employed to determine the ideal thinness for the primer.
One common method is to start with the recommended thinning ratio provided by the manufacturer and spray a test pattern on a scrap surface. By observing the coverage and consistency of the sprayed primer, adjustments can be made accordingly. It may be necessary to add more thinner or reduce the amount, depending on the desired outcome.
This careful testing and adjusting process will ultimately help achieve the perfect consistency and viscosity for the primer, ensuring smooth and even application.
Consistency and Viscosity
Achieving the perfect consistency and viscosity for the primer is like finding the right balance between pancake batter that’s too runny and pancake batter that’s too thick – it requires precision and experimentation to get it just right. When it comes to primer application, thinning techniques play a crucial role in ensuring a smooth and even coat.
Here are three key points to keep in mind:
-
Start by reading the manufacturer’s instructions: Different primers may have specific recommendations for thinning ratios, so it’s important to follow their guidelines.
-
Use the right solvent: Depending on the type of primer, you may need to use water, mineral spirits, or another appropriate solvent for thinning. Using the wrong solvent can affect the primer’s performance.
-
Test and adjust: It’s always a good idea to do a test spray before starting the actual project. If the primer is too thick, add a little more solvent and mix well. If it’s too thin, add more primer and mix again.
By understanding these thinning techniques, you’ll be able to achieve the optimal consistency and viscosity for your primer application. Now, let’s move on to exploring the different types of primers.
Types of Primers
Let’s dive into the different types of primers so you can choose the perfect one for your project. Primer is an essential component of any painting job as it provides a smooth, even surface for the paint to adhere to. There are several types of primers available, each with its own unique benefits.
| Type of Primer | Benefits |
|---|---|
| Oil-based | Excellent adhesion and stain-blocking properties |
| Water-based | Quick drying and easy cleanup |
| Shellac-based | Great for sealing stains and odors |
| Bonding primer | Ideal for slick surfaces and improving paint adhesion |
Choosing the right primer depends on the surface you are painting and the desired outcome. If you’re dealing with stains or odors, a shellac-based primer would be a great choice. For slick surfaces, a bonding primer would improve paint adhesion.
Now that we’ve covered the different types of primers, let’s move on to discussing the tools and techniques you’ll need for a successful paint job.
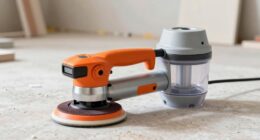
Tools and Techniques
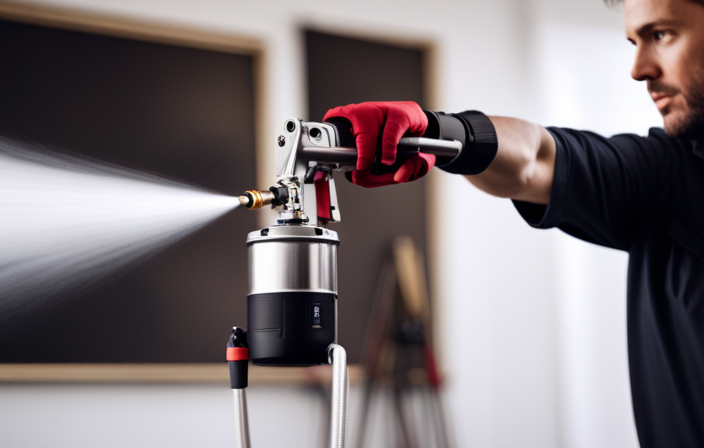
To effectively complete your painting project, it is important to familiarize yourself with the appropriate tools and techniques.
When it comes to using an airless paint sprayer like the Krause and Becker, tool maintenance is crucial. Before starting, make sure the sprayer is clean and free of any clogs or debris. Regularly check and replace worn-out parts to ensure optimal performance.
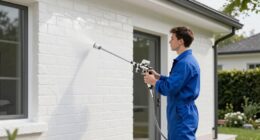
Additionally, proper surface preparation is essential for a smooth and professional finish. Clean the surface thoroughly, removing any dirt, grease, or loose paint. Fill in any cracks or imperfections and sand the surface to create a smooth canvas for the primer.
Once the tools and surfaces are ready, you can move on to applying the primer. Safety precautions should be taken into consideration, such as wearing protective gear and ensuring proper ventilation.
Overall, by maintaining your tools and preparing your surfaces adequately, you can achieve excellent results with the Krause and Becker airless paint sprayer.
Safety Precautions
For your own safety, it’s crucial to take the necessary precautions when using the Krause and Becker airless paint sprayer.
To ensure a safe working environment, make sure to have the proper equipment and follow ventilation requirements.
Wear appropriate safety gear, including goggles, gloves, and a mask, to protect yourself from potential hazards.
Ensure that the area you are working in has proper ventilation to prevent the buildup of fumes.
Adequate airflow will help maintain a safe and healthy environment.
By following these safety precautions, you can minimize the risk of accidents or health issues while using the Krause and Becker airless paint sprayer.
Moving on to troubleshooting tips, let’s explore some common issues that you may encounter during the painting process.
Troubleshooting Tips
Now that we’ve covered the necessary safety precautions, let’s move on to troubleshooting tips for your Krause and Becker airless paint sprayer.
It’s important to be prepared for any potential issues that may arise during your painting project. One common problem you may encounter is troubleshooting paint flow. This could be caused by a clog in the spray tip, a blockage in the paint hose, or an issue with the pressure settings.
To address these issues, start by checking the spray tip for any debris and clean it if necessary. Next, inspect the paint hose for any obstructions and clear them if needed. Finally, ensure that the pressure settings on your sprayer are adjusted correctly for the type of paint you’re using.
By troubleshooting these common issues, you’ll be able to achieve a smooth and consistent paint flow.
And remember, practice makes perfect, so let’s move on to the next section and continue to improve our painting skills.
Practice Makes Perfect
Improving your painting skills is all about practice and repetition. When it comes to using an airless paint sprayer, practicing is particularly important. The more you use the sprayer, the better you will become at controlling the flow and pressure, resulting in a smoother and more even finish.
One of the key aspects of improving technique is understanding how thin the primer should be to spray through a Krause and Becker airless paint sprayer. It is important to follow the manufacturer’s guidelines and mix the primer to the recommended consistency.
Common mistakes include using primer that is too thick, which can clog the sprayer, or using primer that is too thin, resulting in a runny and uneven application. By practicing and experimenting with different primer consistencies, you will develop a better understanding of how to achieve the desired results with your airless paint sprayer.
Frequently Asked Questions
Can any type of primer be used with the Krause and Becker airless paint sprayer?
Yes, any type of primer can be used with the Krause and Becker airless paint sprayer. The best practices for priming with an airless paint sprayer include using primers that are specifically designed for airless sprayers and thinning them according to the manufacturer’s instructions.
How long does it typically take for primer to dry when sprayed through an airless paint sprayer?
When using an airless paint sprayer, primer typically dries within a few hours. To ensure optimal performance and achieve a smooth finish, it is important to properly clean and maintain the sprayer. Here are some tips and tricks for achieving a smooth and even primer finish.
Are there any specific safety precautions to keep in mind when using the Krause and Becker airless paint sprayer with primer?
When using the Krause and Becker airless paint sprayer with primer, it is important to follow specific safety precautions. Additionally, it is recommended to use a primer with the appropriate viscosity for optimal spraying results.
Can the consistency and viscosity of primer be adjusted while using the airless paint sprayer, or does it need to be prepared beforehand?
The viscosity of primer can be adjusted while using the airless paint sprayer. However, there are benefits to prepping the primer beforehand, such as ensuring a consistent and smooth finish.
What are some common troubleshooting issues that may arise when using the airless paint sprayer with primer, and how can they be resolved?
Common troubleshooting issues with airless paint sprayers include clogging, uneven spray patterns, and overspray. To achieve a smooth finish when spraying primer, ensure proper equipment maintenance, adjust pressure settings, and practice proper spraying techniques.
Conclusion
In conclusion, it is crucial to understand the proper consistency of primer when using a Krause and Becker airless paint sprayer to achieve the best results. Following the manufacturer’s guidelines and conducting tests to adjust the consistency and viscosity of the primer is key.
One interesting statistic to note is that the ideal thickness of primer for spraying through an airless paint sprayer is typically around 20-25 seconds on a viscosity cup. This statistic helps paint a clear picture for the audience, ensuring they have a precise understanding of the thinness required for optimal spraying.
Remember, practice and attention to safety precautions will lead to perfect results.