To achieve a smooth finish with your airless paint sprayer, start by preparing the workspace and surfaces thoroughly. Sand the surfaces and clean them to guarantee proper paint adhesion. Select the right spray tip and adjust the pressure to suit your material. Maintain a 12-inch distance while spraying and use slow, overlapping motions for consistent coverage. Always trigger the gun only while in motion to avoid drips. Regular maintenance of your sprayer will also keep it performing well. Curious about more tips and techniques for that flawless finish? There's plenty more to explore!
Key Takeaways
- Select the right spray tip size and adjust pressure for optimal material flow and a fine spray pattern.
- Maintain a consistent distance of about 12 inches from the surface while spraying for even coverage.
- Use slow, overlapping motions with a 50% overlap to prevent gaps and achieve a uniform finish.
- Properly prepare surfaces by sanding, cleaning, and filling imperfections to enhance paint adhesion.
- Regularly clean and maintain the sprayer to prevent clogs and ensure consistent performance.
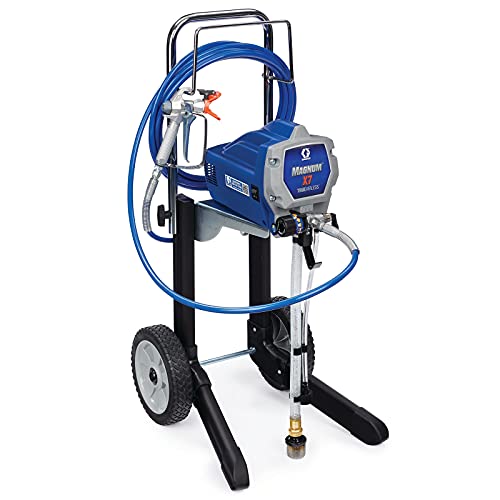
Graco Magnum 262805 X7 Cart Airless Paint Sprayer, Gray
CONTROL PAINT FLOW: Fully adjustable pressure to give you ultimate control of paint flow for any project size;...
As an affiliate, we earn on qualifying purchases.
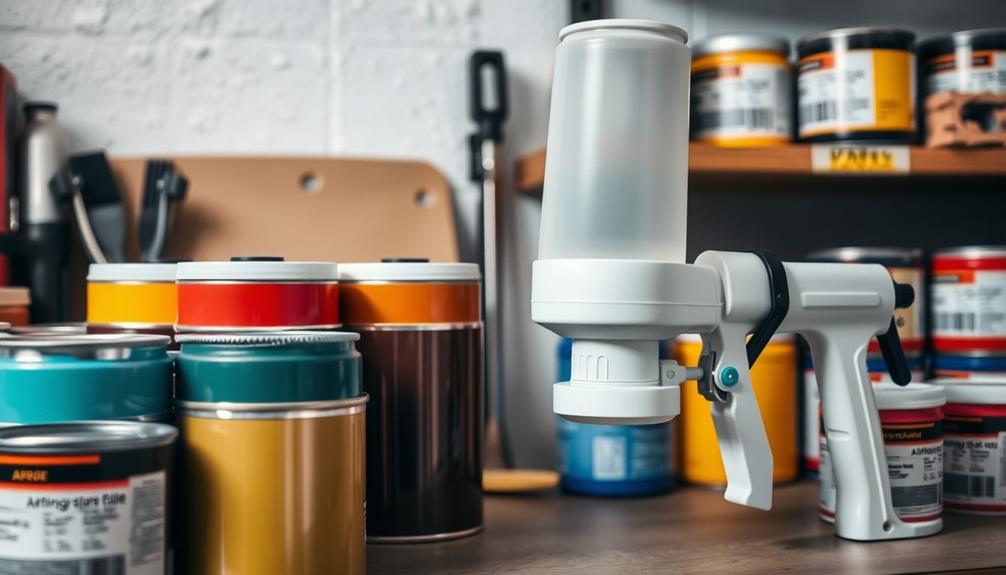
Understanding Airless Paint Sprayers
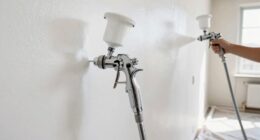
Understanding airless paint sprayers is important for achieving a professional finish in your painting projects. These sprayers use high pressure, often reaching up to 3,000 psi, to atomize paint, creating a fine spray pattern. This method allows you to achieve a smooth finish without relying on compressed air, making it efficient for a variety of surfaces and materials.
Additionally, airless sprayers are ideal for large surfaces, such as walls and fences, which can greatly reduce your project time. Selecting the right spray tip is essential for your desired finish. Different tip sizes control the spray pattern and paint output, so knowing which one to use can greatly impact your results. For example, a smaller tip may provide a finer finish, while a larger tip is better for thicker materials.
Versatility is another standout feature of airless paint sprayers. They can handle a range of materials, from stains to latex paints, allowing you to tackle various projects directly from the container.

Wagner Spraytech 2435698 Control Pro 130 Paint Sprayer with T2 Gun, High Efficiency Airless Sprayer with Low Overspray, Yellow
WAGNER AIRLESS PAINT SPRAYER: The Control Pro 130 Power Tank applies coatings 3X faster than a roller with...
As an affiliate, we earn on qualifying purchases.
Preparing Your Workspace
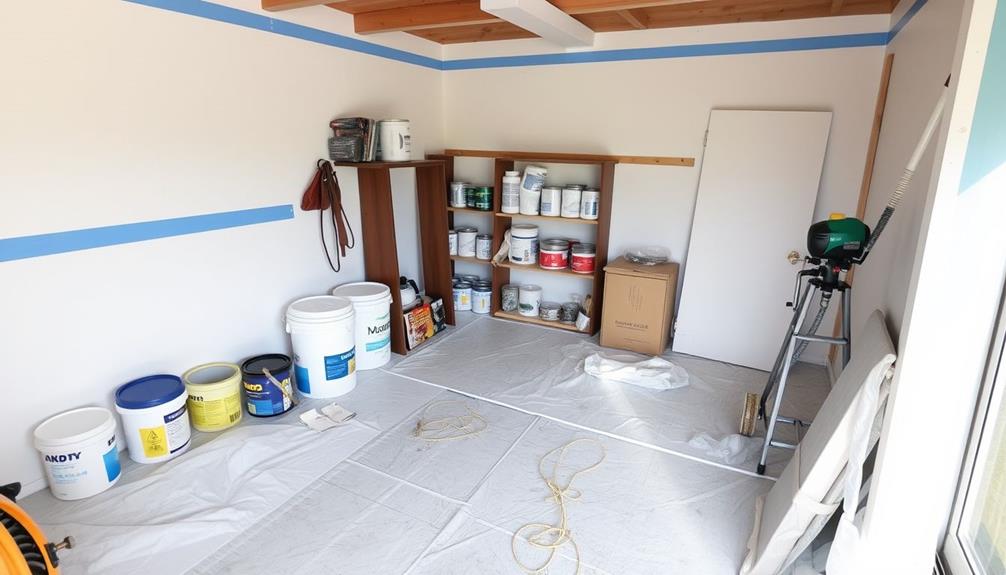
Achieving a smooth finish with an airless paint sprayer starts long before you pull the trigger on the sprayer. Preparing your workspace is essential for a successful project. First, you'll want to clear the area of any furniture and cover anything that isn't being painted with plastic sheeting or canvas tarps. This protects your belongings from overspray.
Here's a quick checklist to keep in mind while preparing your workspace:
| Task | Purpose |
|---|---|
| Clear the area | Prevents obstructions while spraying |
| Cover anything | Protects items from overspray |
| Use painter's tape | Masks off edges for clean lines |
| Guarantee ventilation | Reduces fume buildup and promotes drying |
Additionally, create a dedicated spray booth or use an unfinished area to minimize dust and debris contamination. Don't forget to maintain a clean workspace by sweeping up dust and debris before starting. This will help achieve a smoother finish and reduce imperfections. By taking these steps, you'll set yourself up for success with your airless paint sprayer.

VEVOR 750W Stand Airless Paint Sprayer, 3000PSI High Efficiency Electric Airless Sprayer, Fine and Even Painting Effect, Handheld Paint Sprayers for Home Interior and Exterior Furniture and Fences
Efficient Painting: Our stand airless paint sprayer is equipped with a powerful 750W motor, capable of delivering up...
As an affiliate, we earn on qualifying purchases.
Surface Preparation Techniques
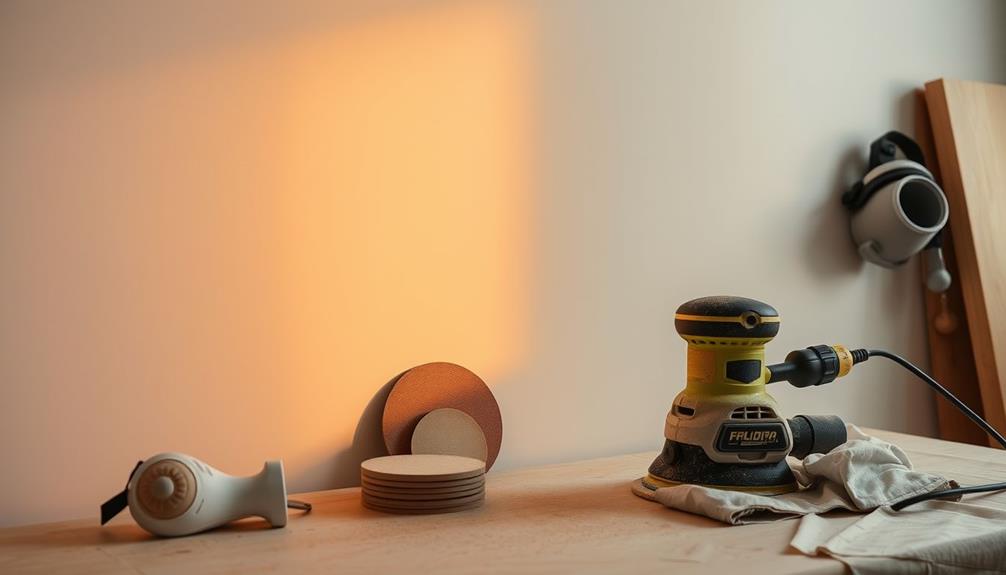
Properly preparing your surfaces is essential for guaranteeing a smooth finish with your airless paint sprayer. Start by sanding the surfaces using 150 to 220 grit sandpaper. This step enhances paint adhesion and creates a smooth surface for application, allowing for an even finish that airless sprayers are designed to achieve.
After sanding, clean the area thoroughly to remove any dust and debris; these can lead to imperfections in your final finish. For more effective painting techniques, consider techniques for effective painting.
For metal surfaces, perform light scuff sanding instead of heavy sanding to guarantee proper paint adherence without creating deep scratches.
If you encounter any holes or damage, fill them with wood filler, and caulk any gaps to achieve a seamless appearance before painting.

MaXpray M1 Airless Paint Sprayer, Highly Efficient Thinning-Free Minimal Overspray for Up to 10 Gallon DIY Painting Projects Home Interior & House Exterior, Comes with Sprayer Accessories
Your DIY Partner - All DIY Homeowners, upgrade your DIY game with the MaXpray M1 airless paint sprayer—far...
As an affiliate, we earn on qualifying purchases.
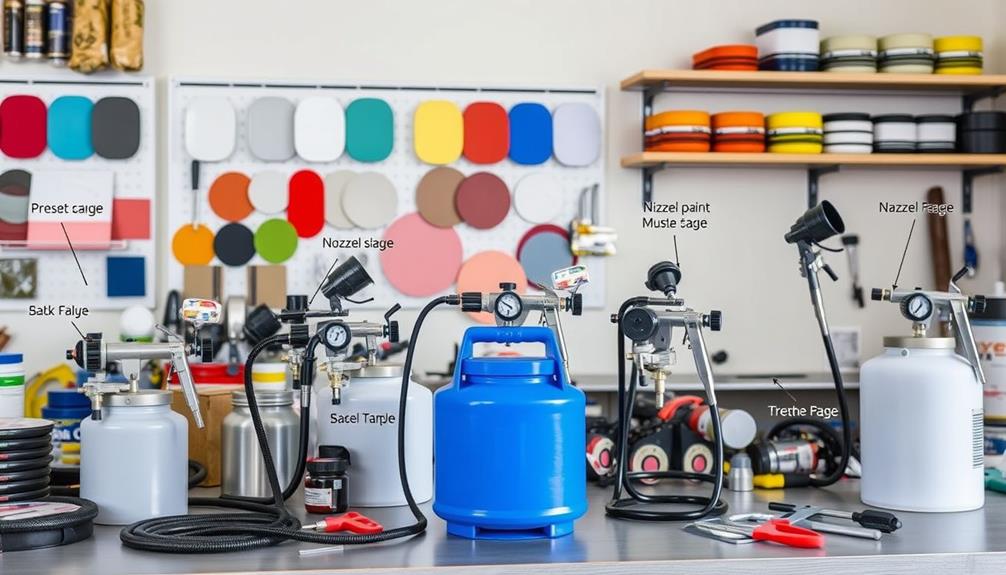
Material and Settings Adjustments
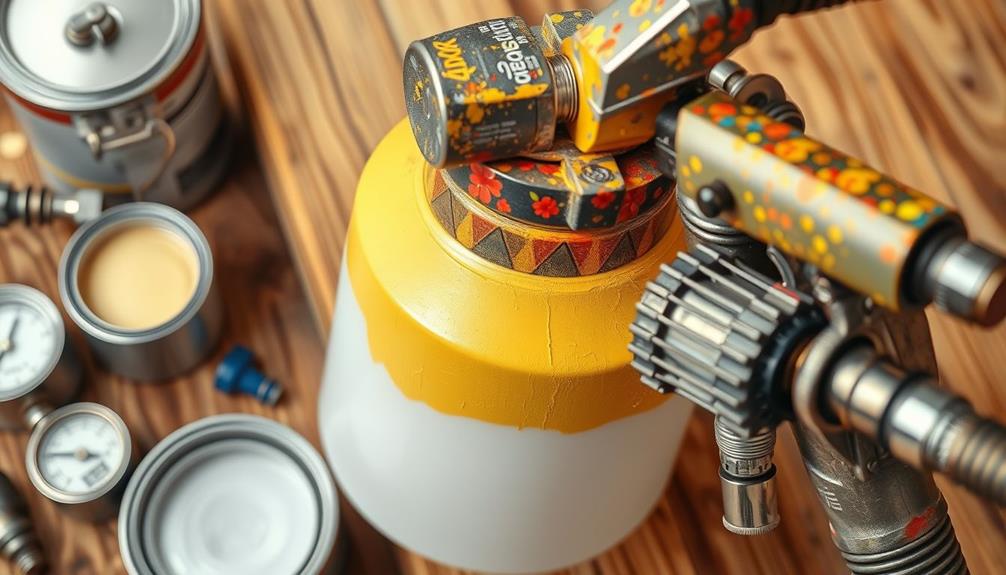
After you've prepared your surfaces, adjusting the material and settings on your airless paint sprayer plays a significant role in achieving that smooth finish.
Start by selecting the appropriate spray tip size; fine finish airless tips enhance material breakup and provide better atomization, which is essential for a silky result. For instance, using the Graco FFLP Fine Finish Low Pressure Reversible Tip can greatly improve control and reduce overspray.
Next, adjust the pressure control knob. Begin with low pressure and gradually increase it until you achieve a full, even spray pattern without any runs.
Thinning the paint to a pancake batter consistency is important for proper material flow and atomization through the spray tip. Fine-tune the material flow and spray width settings on your airless sprayer to guarantee uniform paint droplets and consistent coverage. This helps minimize texture issues like orange peel, which can ruin your finish.
Before you start painting the actual surface, run a few tests on cardboard to check your spray pattern. This will help you identify the right settings to achieve that perfect finish.
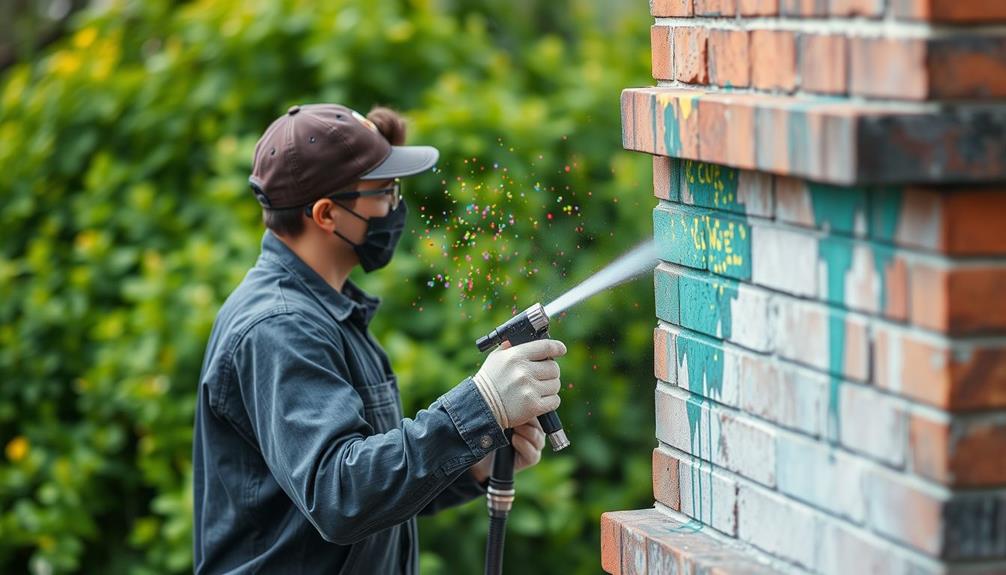
Application Techniques for Smoothness
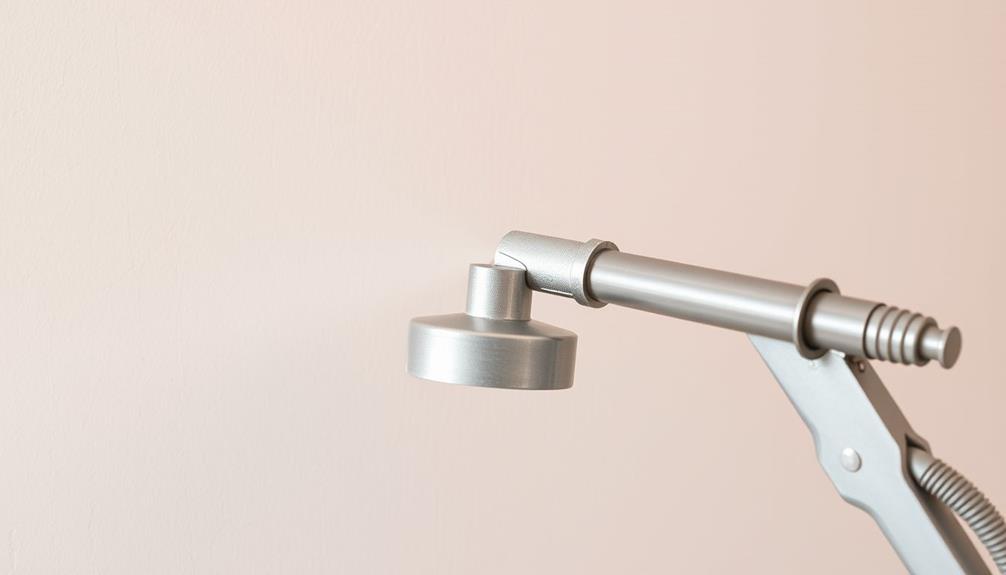
To achieve a smooth finish, you need to master your spray technique and maintain an ideal distance of about 12 inches from the surface.
Consistent overlapping passes are essential, so aim for a 50% overlap to guarantee even coverage.
Consider using a high-quality headphone extension cable to reduce interference if you're listening to music while you work.
Proper Spray Technique
Achieving a smooth finish with an airless paint sprayer hinges on your spray technique. Start by maintaining a consistent distance of about 12 inches from the surface. This distance helps guarantee an even application and prevents drips.
When you make your spray passes, use slow, overlapping motions with a recommended 50% overlap. This coverage technique avoids excessive thickness and minimizes light spots. Additionally, consider the air quality in your workspace to guarantee a comfortable environment while painting, as air purifiers reduce allergens that could affect your health.
It's essential to keep your airless spray gun perpendicular to the surface. This alignment prevents fanning and ensures a uniform spray pattern. Trigger the gun only while in motion to control the amount of paint applied, reducing the risk of pooling or runs.
To perfect your application, you'll need to adjust the pressure control knob. Begin at a low pressure and increase it as needed to achieve the desired spray pattern. This way, you can avoid runs while ensuring a smooth finish.
Always remember that proper spray technique combines distance, motion, and pressure adjustments to create a flawless result. By mastering these elements, you'll enhance your painting efficiency and quality.
Optimal Distance Maintained
Maintaining the ideal distance of about 12 inches from the surface is vital for achieving a smooth finish with your airless paint sprayer. This optimal distance helps guarantee even coverage while preventing excessive pooling of paint, which can ruin your project.
Additionally, it's important to take into account the cleanliness of the surface being painted; a reputable home cleaning service can help prepare your walls for the best results. Keep the spray gun perpendicular to the surface for a more uniform finish. This position allows you to distribute the paint evenly and avoid any uneven application that could mar your results.
Avoid fanning the spray gun, as this can lead to inconsistent paint distribution and affect the smoothness of your final coat. Instead, adopt a steady, deliberate spraying technique. Move your gun slowly with each pass, ensuring about a 50% overlap to cover all areas thoroughly without missing spots.
Additionally, regularly check your spray settings to confirm they're adjusted correctly. If you notice any runs or drips, readjust your distance to maintain that essential smoothness.
Consistent Overlapping Passes
Consistent overlapping passes are essential for guaranteeing a smooth finish when using an airless paint sprayer. To achieve this, maintain a distance of around 12 inches from the surface while spraying. This distance helps you apply paint evenly across the entire area. Aim for a 50% overlap with each pass to prevent gaps and avoid uneven spray patterns that can ruin your project.
Additionally, guaranteeing proper maintenance practices for your sprayer can greatly impact the quality of your finish; regular checks on seals and connections can prevent issues during application proper maintenance practices.
As you spray, remember to trigger the gun only while in motion. This technique prevents excess material buildup, which can lead to drips and uneven finishes. Adjust your spray pattern and pressure settings as needed to create a fine mist, promoting smooth layering and minimizing texture irregularities.
Before you start on your actual project, practice your technique on a piece of cardboard. This allows you to refine your approach and guarantee you're ready for a flawless finish.
Maintenance and Troubleshooting Tips

To keep your airless paint sprayer in top shape, you'll want to establish a regular cleaning schedule after each project.
This practice is essential for ensuring your equipment functions at its best, as key traits of successful SQA engineers highlight the importance of attention to detail in avoiding common issues like clogs and inconsistent spray patterns.
Plus, knowing how to troubleshoot can save you time and frustration, ensuring a smooth finish every time.
Regular Cleaning Schedule
A regular cleaning schedule is vital for keeping your airless paint sprayer in peak condition. After each use, you should flush out all paint residue to prevent clogs and maintain peak performance. Additionally, making sure your work environment is secure can help protect your equipment from theft, which is essential for safeguarding your investments in tools and supplies.
Depending on the type of paint you used, make certain to utilize the appropriate cleaning solvent—water for water-based paints and mineral spirits for oil-based ones reducing risk.
Disassemble the spray gun regularly and clean the filter and tip, as these components are most prone to buildup. If neglected, they can greatly affect your spray quality.
Ideally, perform a thorough cleaning of the entire system, including flushing the pump, within 30 minutes of use. This quick action helps prevent paint from drying inside the components.
To stay organized, keep a checklist of maintenance tasks, including cleaning intervals and the replacement of worn parts. This will guarantee that your airless paint sprayer remains in top working condition for all your future projects.
Common Troubleshooting Issues
Several common troubleshooting issues can arise when using an airless paint sprayer, but most can be easily addressed with a little attention.
First, always check and clean the filters and spray tips regularly to prevent clogs, which can lead to uneven spray patterns and a compromised finish. If you notice a sputtering spray pattern, it's a sign of inadequate pressure; adjust the pressure control knob to guarantee a smooth application.
Additionally, confirming that your workspace is free of debris and clutter can help maintain a consistent spray environment, much like how safety features in garage door openers enhance overall performance.
Before you start painting, make sure the pump is properly primed. This step is essential to avoid paint splatter and achieve a consistent finish.
Don't forget to inspect your spray tips for any wear or damage, as these can negatively affect atomization and overall performance. Replacing worn tips when necessary can make a significant difference in your results.
Lastly, maintain your sprayer according to the manufacturer's guidelines. Flushing the system with solvent or clean water after each use prevents residue buildup and keeps your sprayer in top condition.
Frequently Asked Questions
How to Get Super Smooth Paint Finish?
To get a super smooth paint finish, thin your paint properly, choose the right tools, maintain even distance, and use slow, overlapping strokes. Don't forget to sand between coats for the best results!
Why Is My Paint Sprayer Not Smooth?
Imagine a painter's brush dancing gracefully, but your sprayer stumbles. Clogs, pressure missteps, thick paint, and inconsistent distance cause the chaos. Adjust these, and your masterpiece can flow smoothly, just like that brush.
What Is the Number One Rule When Using Airless Spray Guns?
The number one rule when using airless spray guns is maintaining about 12 inches from the surface. This distance guarantees even coverage and helps you avoid drips, resulting in a smoother, more professional finish.
How Do I Make Sure My Spray Paint Is Smooth?
To guarantee your spray paint's smooth, silky surface, start by thinning your paint, sanding surfaces, and maintaining a steady distance. Overlap your passes, adjust the pressure, and allow proper drying time for perfection.
Conclusion
To sum up, achieving a smooth finish with your airless paint sprayer is easier than winning a gold medal in the paint Olympics! With a little prep, the right adjustments, and some practice, you'll transform your surfaces into sleek masterpieces that even Michelangelo would envy. So grab your sprayer, channel your inner Picasso, and watch as your walls become the talk of the town. Get ready for compliments that'll make you feel like a painting superstar!