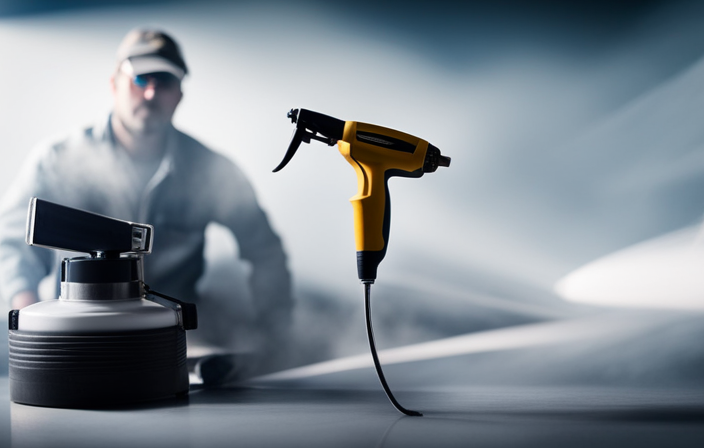
Have you ever wished for a painting tool that provides even coverage effortlessly, without the need for an air compressor? Look no further! This article will guide you on how to make your own cart for an airless paint sprayer.
With this DIY project, you’ll have the convenience of a mobile cart and the efficiency of an airless sprayer, all in one. By following these step-by-step instructions, you’ll be able to create a sturdy and reliable cart that can hold your paint sprayer securely.
I will also walk you through the process of installing the sprayer onto the cart, connecting the necessary hoses and fittings, and adjusting the pressure settings for optimal performance. Additionally, I will provide tips and techniques for achieving even coverage and maintaining your cart airless paint sprayer.
Get ready to revolutionize your painting experience with this innovative DIY project!
Key Takeaways
- Gather strong and durable materials and tools for building the cart.
- Position and fasten the airless paint sprayer using mounting brackets.
- Clear furniture and clean surfaces before painting, and patch up any imperfections.
- Practice proper spraying techniques, such as holding the sprayer at a consistent distance and moving smoothly across the area.

VEVOR 750W Stand Airless Paint Sprayer, 3000PSI High Efficiency Electric Airless Sprayer, Fine and Even Painting Effect, Handheld Paint Sprayers for Home Interior and Exterior Furniture and Fences
Efficient Painting: Our stand airless paint sprayer is equipped with a powerful 750W motor, capable of delivering up...
As an affiliate, we earn on qualifying purchases.
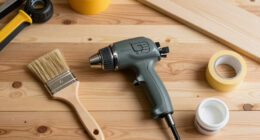
Gather the necessary materials and tools
Before diving into the exciting world of cart airless paint sprayers, let’s gather up all the materials and tools we’ll need for this DIY adventure.
To build a cart airless paint sprayer, you’ll need a few key items. First, you’ll need a high-quality airless paint sprayer, which will serve as the heart of your setup. There are various options available on the market, so choose one that suits your needs and budget.
Additionally, you’ll need a sturdy mobile cart design that can support the weight of the paint sprayer and provide easy maneuverability. Consider using materials like steel or aluminum for durability.
Finally, gather any necessary accessories such as extension poles, nozzles, and paint filters.
With all these materials and tools in hand, we can now move on to creating a sturdy, mobile cart for your paint sprayer, ensuring convenience and efficiency throughout your painting projects.

HomeRight Super Finish Max HVLP Paint Sprayer - 450 Watts, Model# C800971.M
PAINT SPRAYER FOR COUNTLESS DIY PROJECTS: The HomeRight Super Finish Max paint sprayer offers the ultimate DIYing experience....
As an affiliate, we earn on qualifying purchases.
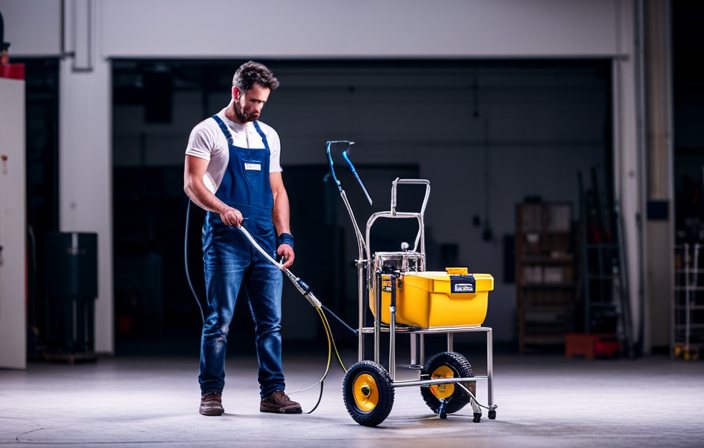
Create a sturdy, mobile cart for your paint sprayer
Although it may seem counterintuitive, constructing a reliable, portable contraption for your trusty paint-spraying device is surprisingly simple.
When creating a sturdy, mobile cart for your paint sprayer, it’s important to consider stability features and portability options. To ensure stability, I recommend using a strong and durable material such as metal or heavy-duty plastic. Additionally, incorporating features like locking wheels and a low center of gravity will help prevent any tipping or wobbling while moving the cart around.
For portability, consider adding handles or grips for easy maneuverability and transportation. By carefully selecting the materials and incorporating stability features and portability options, you can create a cart that’ll securely hold your paint sprayer while allowing you to easily move it from place to place.
With the cart complete, it’s now time to install the airless paint sprayer onto it for convenient use.

Graco Magnum 257025 Project Painter Plus Paint Sprayer
Ideal for projects up to 5 gallons in size, allowing you to tackle a range of projects every...
As an affiliate, we earn on qualifying purchases.
Install the airless paint sprayer onto the cart
To securely attach your powerful paint-spraying device onto the sturdy and mobile contraption, simply position it onto the cart and fasten it with the provided mounting brackets. Installing the sprayer properly is essential to ensure stability and safety during operation.
Here’s how to secure the sprayer on the cart:
-
Place the sprayer on the designated area of the cart, making sure it is centered and aligned properly.
-
Attach the mounting brackets to the sprayer, ensuring they’re firmly secured.
-
Use the provided screws or bolts to fasten the brackets onto the cart, tightening them securely.
-
Double-check the stability of the sprayer by gently shaking it to ensure there is no wobbling or movement.
With the sprayer securely attached to the cart, the next step is to connect the necessary hoses and fittings. This will allow the paint to flow smoothly from the sprayer to the nozzle, ensuring an even and efficient application.

Graco Magnum 262800 X5 Stand Airless Paint Sprayer, Blue
Just right for DIY Homeowners and Remodelers looking for more power and mobility when tackling larger projects
As an affiliate, we earn on qualifying purchases.
Connect the necessary hoses and fittings
Once you’ve securely attached the sprayer to the cart, it’s time to connect the necessary hoses and fittings. This will ensure a smooth and efficient flow of paint from the sprayer to the nozzle.
Start by examining the connectivity options provided by your specific airless paint sprayer model. Most sprayers have dedicated ports for connecting the paint hose, airless hose, and pressure gauge.
Begin by attaching the paint hose to the designated port on the sprayer, ensuring a tight fit to prevent any leaks.
Next, connect the airless hose to the appropriate port, making sure it’s securely fastened.
Finally, attach the pressure gauge to its designated port, allowing you to monitor the pressure levels during operation.
If you encounter any difficulties during the connection process, refer to the troubleshooting tips provided in the sprayer’s instruction manual.
Now that the hoses and fittings are properly connected, we can move on to adjusting the pressure settings on the sprayer.
Adjust the pressure settings on the sprayer
After securely connecting the necessary hoses and fittings, it is essential to fine-tune the pressure settings on the sprayer for optimal paint application. Adjusting the pressure correctly ensures a smooth and even coat of paint, preventing any drips or uneven coverage. To help you achieve the best results, here are some adjustment techniques and pressure control tips:
| Adjustment Technique | Pressure Control Tip |
|---|---|
| Start with a low pressure setting and gradually increase as needed | Use the manufacturer’s recommended pressure range |
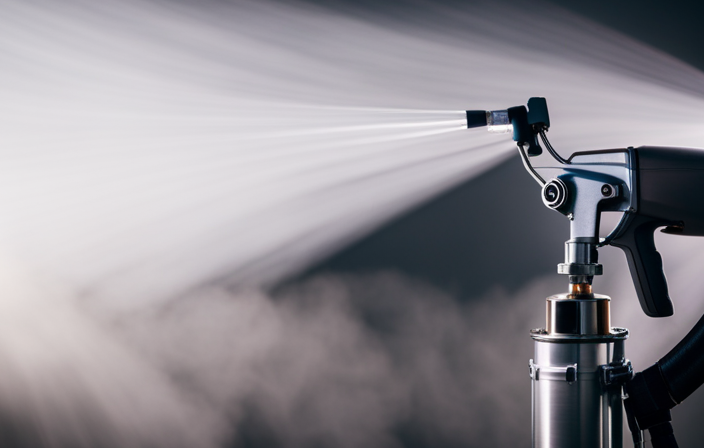
| Test the spray pattern on a scrap material to ensure it is even | Adjust the pressure accordingly to achieve the desired spray pattern |
| Keep the sprayer perpendicular to the surface for a consistent application | Monitor the pressure gauge throughout the painting process |
By following these adjustment techniques and pressure control tips, you can achieve professional-looking results. Now, let’s move on to preparing your painting area and surfaces, ensuring a clean and smooth canvas for your masterpiece.
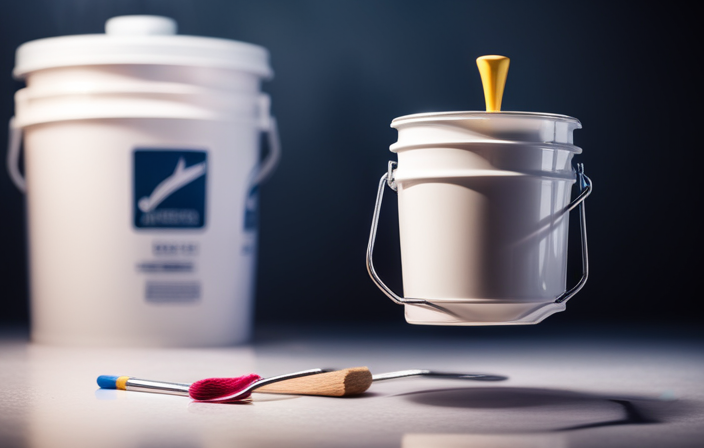
Prepare your painting area and surfaces
Now that we’ve adjusted the pressure settings on the sprayer, it’s time to move on to preparing our painting area and surfaces.
This step is crucial for achieving a professional-looking finish. Begin by clearing the area of any furniture or objects that could get in the way.
Next, make sure that the surfaces you’ll be painting are clean and free from dirt, dust, and grease. Use a mild detergent and warm water to wash them if necessary.
Additionally, inspect the surfaces for any imperfections, such as cracks or holes, and patch them up with a suitable filler.
When choosing the right paint, consider factors like the type of surface and the desired finish. Take into account the manufacturer’s recommendations for best results.
With the area and surfaces properly prepared, we can now move on to the next step: practicing proper spraying techniques for even coverage.
Practice proper spraying techniques for even coverage
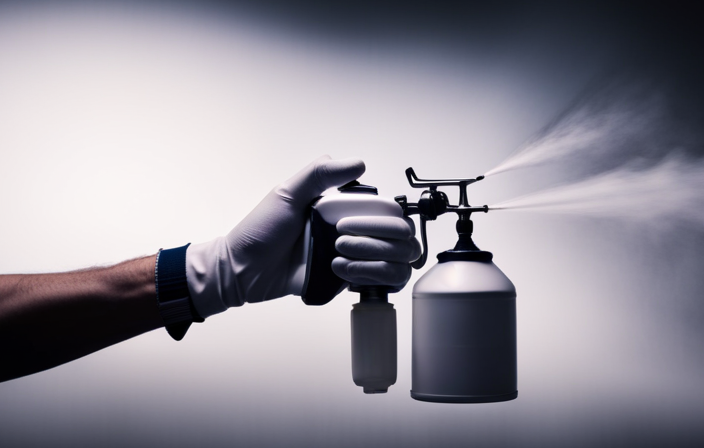
Get ready to perfect your painting skills by practicing the art of smooth and even coverage with your sprayer. Proper spraying techniques are essential for achieving a smooth finish on your surfaces.
First, make sure to hold the sprayer at a consistent distance from the surface, usually around 12 inches. Move your arm smoothly and steadily across the area you’re painting, overlapping each stroke slightly to ensure even coverage. It’s important to maintain a constant speed and avoid stopping or hesitating in one spot, as this can result in uneven application.
Additionally, adjust the spray pattern and pressure according to the type of surface you’re painting. By mastering these techniques, you’ll be able to achieve a flawless finish every time.
Now, let’s move on to how to clean and maintain your cart airless paint sprayer.
Clean and maintain your cart airless paint sprayer
To keep your cart airless paint sprayer running smoothly, you’ll want to make sure it’s as clean and well-maintained as a shiny sports car. Proper cleaning techniques are essential to remove any paint residue or debris that can clog the sprayer and affect its performance.
Start by disconnecting the sprayer from the power source and releasing any remaining pressure. Then, disassemble the sprayer and clean each component thoroughly using a mild detergent and water. Pay special attention to the nozzle and filters, as these are common areas where paint buildup occurs. After cleaning, ensure everything is dry before reassembling.
In addition to regular cleaning, troubleshooting tips can help you identify and resolve common issues with your cart airless paint sprayer. Some common problems include uneven spray patterns, clogged nozzles, or a loss of pressure. By following the manufacturer’s instructions and making necessary adjustments, you can troubleshoot these issues and ensure optimal performance.
With a clean and well-maintained sprayer, you’ll have the confidence to tackle any painting project.
Troubleshoot common issues and make adjustments
If you want your painting projects to go smoothly, don’t let common issues with your equipment hold you back – troubleshoot and make adjustments with confidence. Here are some tips to help you troubleshoot common issues and make necessary adjustments with your cart airless paint sprayer:
-
Check the nozzle: If you’re experiencing uneven spray patterns or clogs, inspect the nozzle for any blockages or wear. Clean or replace it if needed.
-
Adjust the pressure: If you’re getting too much overspray or a thin coat, adjust the pressure control knob to achieve the desired flow. Start with a lower pressure and gradually increase it until you find the sweet spot.
-
Maintain proper distance: Make sure you’re holding the sprayer at the recommended distance from the surface. Too close can cause drips, while too far can result in a thin coat.
-
Thin the paint if necessary: If the paint is not flowing smoothly or clogging the sprayer, consider thinning it according to the manufacturer’s instructions.
By troubleshooting common issues and making necessary adjustments, you can ensure the efficiency and convenience of your DIY cart airless paint sprayer!
Enjoy the convenience and efficiency of your DIY cart airless paint sprayer!
Experience the ultimate ease and speed of your very own DIY cart airless paint sprayer! With this innovative tool, you can enjoy the convenience and efficiency of professional painting right at your fingertips.
The benefits of airless sprayers are numerous. Firstly, they provide a smooth and even finish, eliminating the need for multiple coats. Additionally, airless sprayers can cover large areas in a fraction of the time it would take with traditional brushes or rollers. This not only saves you time but also reduces fatigue.
DIY painting tips come in handy when using your cart airless paint sprayer. Make sure to properly prepare the surface by cleaning and sanding it before applying the paint. Also, practice your spraying technique to ensure an even application.
With your DIY cart airless paint sprayer, you can achieve professional-quality results with ease and efficiency.
Frequently Asked Questions
What are the safety precautions that should be taken when using a cart airless paint sprayer?
To ensure safety when using a cart airless paint sprayer, it is important to follow proper technique. Wear protective gear such as goggles, gloves, and a respirator. Keep the work area well-ventilated and avoid spraying near open flames or heat sources.
Can any type of paint be used with a cart airless paint sprayer?
Yes, a cart airless paint sprayer can be used with a variety of paints. However, it is important to check the paint compatibility with the sprayer and consider alternative paint options if necessary.
How often should the hoses and fittings be checked for leaks or damage?
I recommend conducting regular hose and fittings inspections for leaks or damage. It’s crucial to check them frequently to ensure optimal performance and prevent any potential issues that could affect the functionality of the cart airless paint sprayer.
What is the recommended maintenance schedule for the cart airless paint sprayer?
The recommended maintenance schedule for a cart airless paint sprayer includes regular cleaning of the filters, checking for any clogs or blockages, and inspecting the hoses and fittings for leaks or damage. Troubleshooting tips are also provided for common issues.
Are there any specific tips for achieving a smooth and professional finish with a cart airless paint sprayer?
Achieving a smooth and professional finish with a cart airless paint sprayer requires finesse and precision. Like a sculptor molding clay, I’ll share my expert techniques to help you create a flawless masterpiece.
Conclusion
So there you have it, folks! Building your very own cart airless paint sprayer isn’t a small feat, but the results are simply mind-blowing.
The convenience and efficiency of this DIY masterpiece will have you feeling like a painting pro in no time. With its sturdy construction and precise spraying techniques, your cart airless paint sprayer will transform your painting projects into works of art.
Say goodbye to uneven coverage and hello to flawless finishes. Get ready to revolutionize your painting game with this amazing creation!