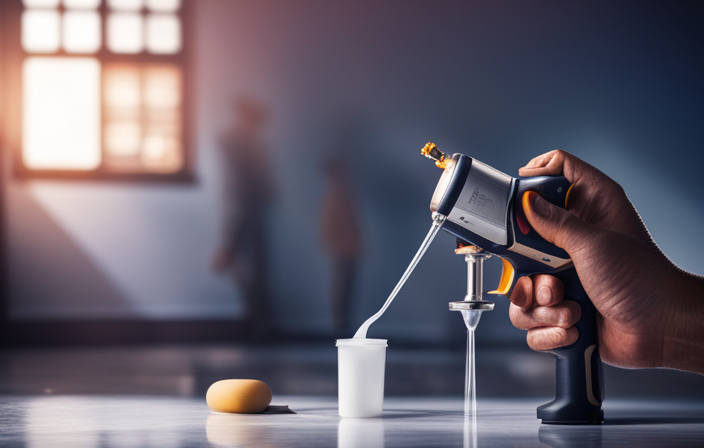
As a seasoned DIY enthusiast, I have always looked for tools and techniques that allow me to achieve professional-quality results independently. One tool that has revolutionized my painting projects is the airless paint sprayer. Gone are the days of tediously applying paint with a brush or roller – thanks to the airless sprayer, I can effortlessly cover large areas in no time.
However, achieving the perfect paint-to-solvent ratio is crucial for optimal results. That’s why I’m here to guide you through the process of calculating the airless paint sprayer ratio. In this article, we’ll explore the basics of airless sprayers, discuss the right paint selection, and walk you through the step-by-step process of determining the ideal ratio for your specific project.
So, let’s dive in and unlock the secrets to achieving flawless paint finishes with your airless sprayer.
Key Takeaways
- Determine the ideal ratio for your airless paint sprayer based on the thickness of the paint.
- Adjust the spray nozzle and solvent ratio to achieve the desired consistency.
- Measure the paint and solvent accurately using graduated containers.
- Mix the paint and solvent thoroughly using a clean mixing container.
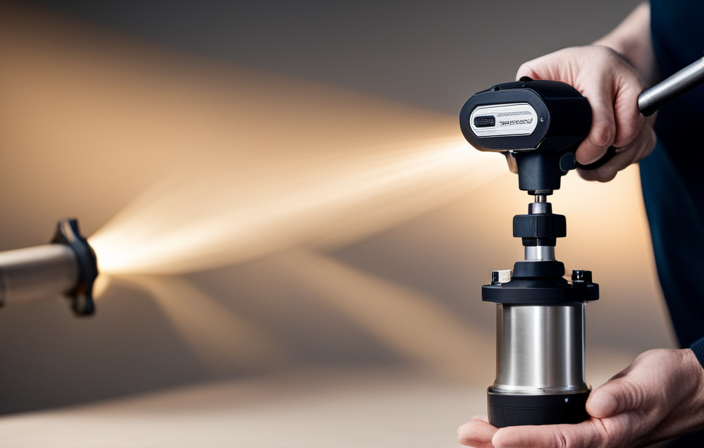
Understanding the Basics of Airless Paint Sprayers
So you’re ready to learn about the basics of airless paint sprayers, huh? Well, you’ve come to the right place!
Airless paint sprayers are powerful tools that can make your painting projects a breeze. But before you start spraying paint, it’s important to understand some key aspects.
One crucial factor is airless paint sprayer maintenance. Regular cleaning and proper storage will ensure that your sprayer stays in top shape and lasts for a long time. Additionally, troubleshooting common issues like clogged nozzles or inconsistent spray patterns is essential for achieving smooth and even finishes.
Now that you have a good grasp of airless paint sprayer maintenance and troubleshooting, let’s move on to the next section: selecting the right paint for your project.
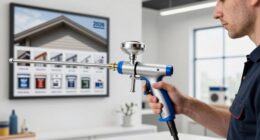
Selecting the Right Paint for Your Project
First, you’ll want to choose the perfect paint for your project, like a vibrant turquoise for transforming your outdated wooden furniture into a trendy statement piece. When selecting the right paint, there are a few factors to consider. Firstly, determine the surface you’ll be painting on. Different paints are designed for specific materials, such as wood, metal, or drywall. Next, consider the finish you desire, whether it’s matte, satin, or glossy. This will impact the overall look of your project. Additionally, take into account the durability and coverage of the paint. A high-quality paint will offer better coverage and last longer. Lastly, don’t forget to choose the right brush for your painting project. A brush with synthetic bristles is ideal for water-based paints, while natural bristles work well with oil-based paints. To achieve a smooth finish with your paint, follow these tips: avoid overloading the brush, apply thin coats, and sand between coats if necessary. Now, let’s move on to preparing your sprayer for use, ensuring optimal results.
Preparing Your Sprayer for Use
To achieve optimal results, it’s essential to properly prepare your sprayer before use. Here are some sprayer maintenance and troubleshooting tips to ensure a smooth and efficient painting process:
-
Clean the sprayer thoroughly: Start by disassembling the sprayer and removing any leftover paint or debris. Use a cleaning solution recommended by the manufacturer and scrub all parts, including the nozzle and filters, to prevent clogs and ensure proper paint flow.
-
Check for leaks: Inspect all connections and hoses for any signs of leakage. Tighten any loose fittings and replace any damaged parts to prevent paint wastage and maintain consistent pressure.
-
Lubricate moving parts: Apply lubricant to the piston, packings, and other moving parts to reduce friction and ensure smooth operation.
By following these maintenance steps, you can ensure that your sprayer is in perfect condition to move on to the next section – determining the ideal ratio for your sprayer.
Determining the Ideal Ratio for Your Sprayer
Once you’ve got your sprayer all cleaned up and ready to go, it’s time to figure out the perfect mix for optimal spraying.
To determine the ideal ratio for your airless paint sprayer, you need to consider the thickness of the paint you’ll be using. Thicker paints often require a higher ratio of solvent to ensure smooth spraying.
Start by adjusting the spray nozzle to a medium setting and test the consistency of the paint as it comes out. If it’s too thick and doesn’t spray evenly, gradually increase the solvent ratio until you achieve the desired consistency.
Remember to always follow the manufacturer’s instructions for the specific paint you’re using. Once you’ve determined the ideal ratio, you can move on to measuring the paint and solvent for your project.
Measuring the Paint and Solvent
In order to achieve the perfect mix, it’s essential to accurately measure both the paint and the solvent for your project. Measuring accuracy is crucial to ensure a consistent and reliable ratio.
When measuring the paint, use a graduated container specifically designed for liquids. Pour the paint slowly into the container, keeping an eye on the markings to ensure precision.
For the solvent, use a separate container and follow the same careful measuring process. Common mistakes include eyeballing the measurements or using improper measuring tools, which can lead to an imbalanced ratio and affect the quality of your paint job.
Once you have accurately measured both the paint and solvent, you can proceed to the next step of mixing them thoroughly.
Mixing the Paint and Solvent Thoroughly
After carefully measuring the paint and solvent, it’s crucial to thoroughly mix them together to achieve the desired consistency. This step is essential to ensure that the airless paint sprayer operates at its optimum level and produces a smooth and even finish.
To begin, I recommend using a clean mixing container specifically designed for paint mixing. Pour the measured paint into the container, followed by the precise amount of solvent. Use a stir stick or a mixing paddle to vigorously mix the paint and solvent together until they’re completely blended. Make sure to scrape the sides and bottom of the container to incorporate any unmixed paint.
This process may take a few minutes, but it’s crucial to achieve a uniform mixture. Once the paint and solvent are thoroughly mixed, we can move on to adjusting the spray pattern and pressure for optimal results.
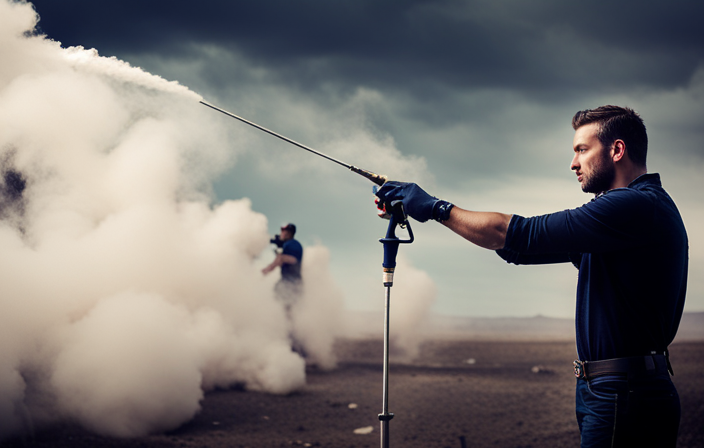
Adjusting the Spray Pattern and Pressure
Now let’s focus on how to fine-tune the spray pattern and pressure to achieve the flawless finish you’re aiming for.
To adjust the spray pattern, start by selecting the appropriate nozzle size for the type of project you’re working on. A smaller nozzle will create a narrower spray pattern, while a larger nozzle will produce a wider one. If you’re experiencing common spray pattern issues like uneven coverage or overspray, try troubleshooting by adjusting the nozzle size accordingly.
Next, it’s important to adjust the pressure of your airless paint sprayer. Too high of a pressure can lead to excessive overspray, while too low of a pressure can result in an uneven finish. Begin by setting the pressure to the manufacturer’s recommended level, and then make small adjustments as needed to achieve the desired outcome.
By carefully adjusting the spray pattern and pressure, you’ll be able to create a professional-looking finish that is free of imperfections.
Now, let’s move on to the next section and learn how to test the sprayer on a scrap surface.
Testing the Sprayer on a Scrap Surface
To achieve a flawless finish, you need to test the sprayer on a scrap surface – it’s the secret to ensuring your project turns out just right. Before starting any paint job, it’s essential to familiarize yourself with the sprayer’s settings and capabilities.
Begin by adjusting the spray pattern and pressure according to the manufacturer’s instructions. Once you’ve made the necessary adjustments, it’s time to test the sprayer on a scrap surface. This will allow you to assess the spray pattern and make any necessary tweaks before moving on to your actual project.
Keep an eye out for any inconsistencies or issues, such as uneven coverage or paint splattering. Testing techniques can include spraying in different directions, distances, and angles to ensure an even and smooth application. Troubleshooting tips may involve adjusting the pressure, cleaning the nozzle, or thinning the paint if needed.
By conducting this test, you’ll be able to fine-tune your spraying technique and achieve professional-looking results.
Now, let’s move on to applying the paint with proper technique.
Applying the Paint with Proper Technique
Get ready to show off your painting skills and achieve a flawless finish by using the proper technique for applying the paint with the sprayer. Here are four key steps to ensure proper paint application and achieve a smooth finish:
-
Begin with a clean surface: Before applying the paint, make sure the surface is free from dust, dirt, and debris. Use a clean cloth or brush to remove any loose particles.
-
Hold the sprayer at the correct distance: It’s important to hold the sprayer at a consistent distance from the surface. Typically, a distance of 12-18 inches is recommended for achieving an even coat.
-
Apply thin coats: Instead of trying to cover the entire surface with one heavy coat, it’s best to apply multiple thin coats. This allows for better control and ensures a smoother finish.
-
Overlap each pass: To avoid streaks or uneven coverage, overlap each pass by about 50%. This ensures that the paint is applied evenly across the entire surface.
By following these steps, you can achieve a professional-looking finish with your airless paint sprayer. Now, let’s transition into the next section about cleaning and maintaining your sprayer for longevity.
Cleaning and Maintaining Your Sprayer for Longevity
Make sure you take the time to properly clean and maintain your sprayer to ensure its longevity and keep it in top working condition. Cleaning techniques are essential for preventing clogs and maintaining optimal performance. Here are some key steps to follow:
-
Flush the sprayer with a cleaning solution: After each use, flush the sprayer with a cleaning solution recommended by the manufacturer. This will remove any paint residue and prevent clogs.
-
Clean the filters: Regularly clean and inspect the filters to ensure they are free from debris. Clogged filters can disrupt the paint flow and affect the spray pattern.
-
Check the spray tip: Remove the spray tip and clean it thoroughly with a brush or a cleaning needle. This will help prevent any buildup that could lead to clogging.
By following these cleaning techniques and preventive measures, you can maintain the longevity of your airless paint sprayer and ensure its reliable performance for years to come.
Frequently Asked Questions
What are the common mistakes to avoid when using an airless paint sprayer?
When using an airless paint sprayer, it’s important to be aware of common mistakes that can occur. To avoid these, follow these troubleshooting tips to ensure a smooth painting process without any hiccups.
Can I use different types of paint in an airless paint sprayer?
Yes, you can use different types of paint in an airless paint sprayer. However, it’s important to consider paint compatibility as using incompatible paints can result in uneven coverage, poor adhesion, and other negative effects.
How often should I clean my airless paint sprayer?
Cleaning your airless paint sprayer regularly is crucial for optimal performance. Did you know that neglecting cleaning can lead to clogs and uneven spray patterns? Follow these tips to clean your sprayer properly and maintain its efficiency.
Is it necessary to wear protective gear when using an airless paint sprayer?
When using an airless paint sprayer, it is essential to wear protective gear such as goggles, a respirator, and gloves to ensure safety. Proper ventilation is also crucial for a well-ventilated workspace.
What should I do if my paint sprayer is clogged?
If my paint sprayer is clogged, I’ll panic! But fear not, here are some unclogging tips to save the day. A troubleshooting guide will provide precise and detailed steps to get that sprayer back in action.
Conclusion
After following these steps, you’ll be able to confidently calculate the ratio for your airless paint sprayer and achieve professional-quality results.
Remember, the key is to understand the basics, select the right paint, prepare your sprayer, measure the paint and solvent accurately, and adjust the spray pattern and pressure accordingly.
By testing your sprayer on a scrap surface and applying the paint with proper technique, you’ll be well on your way to a flawless finish. Don’t forget to clean and maintain your sprayer for long-lasting performance.
Happy painting!