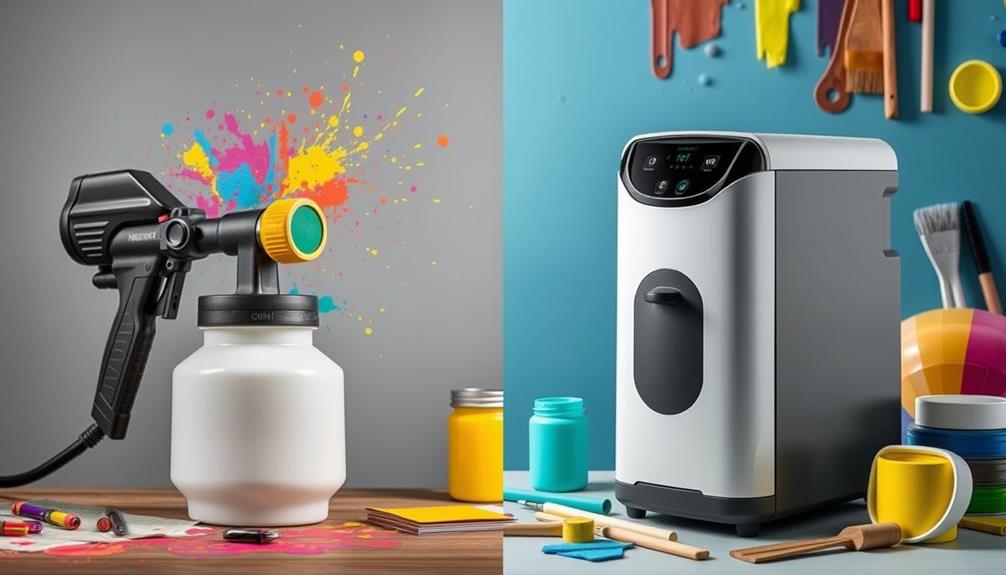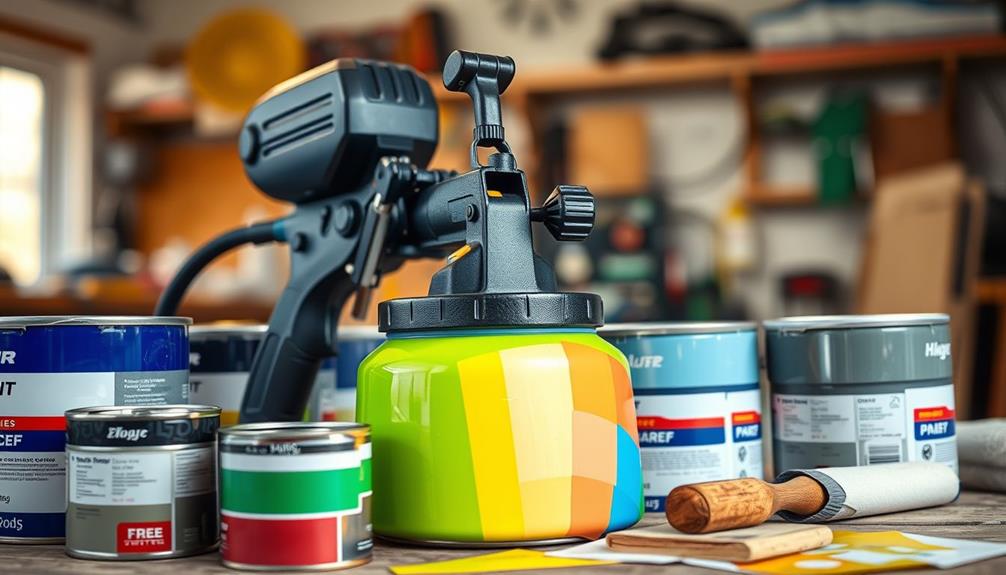

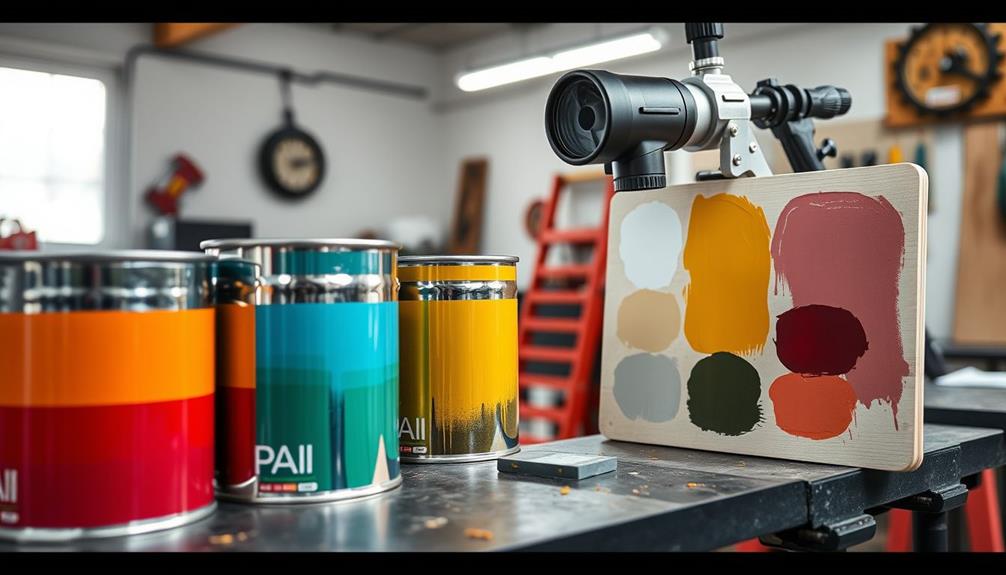
Choosing the right paint for your airless sprayer starts with understanding paint types. Opt for latex or acrylic, as both flow well. Make certain to evaluate the viscosity; you want it to be within the 20-30 seconds range using a viscosity cup. Match the paint to the sprayer by using the correct spray tips; larger tips work for thicker paints. Always strain your paint to prevent clogs, and consider your project's size to avoid waste. Take time to guarantee compatibility and maintenance for the best results. You'll discover even more tips to perfect your spraying technique next!
Key Takeaways
- Select water-based latex or acrylic paints for easy cleanup and compatibility with airless sprayers, as they provide smooth application.
- Test paint viscosity using a cup; aim for 20-30 seconds for optimal flow through the sprayer, thinning if necessary.
- Choose appropriate spray tips; larger tips (0.015 – 0.025) are best for thicker paints, while smaller tips suit lighter coatings.
- Always filter paint before use to prevent clogs and ensure a smooth application with your airless sprayer.
- Consider the project scope; airless sprayers are ideal for large areas but may waste paint on small touch-ups.

TICONN Anti-Fog Safety Glasses for Men and Women, ANSI Z87.1 Scratch Proof Eye Goggles with Adjustable Arms and UV Protection (Clear, 1PK)
- Durable Polycarbonate Construction: Impact-resistant and lightweight design
- Anti-Fog and UV Protection: Scratch-resistant, clear vision, blocks 99.9% UV
- Adjustable and Comfortable Fit: Rubber frame, nose pads, adjustable temples
As an affiliate, we earn on qualifying purchases.
Understanding Paint Types
When it comes to choosing the right paint for your airless sprayer, understanding the different types of paint is essential.
Latex paint is a popular choice due to its water-based formula, which dries quickly and cleans up easily. It's perfect for both interior and exterior applications, making it a versatile option for many projects.
On the other hand, acrylic paint offers versatility and strong adhesion, making it suitable for various surfaces like wood and metal when used in airless sprayers. For ideal use, it's important to take into account airless paint sprayer basics as they highlight the advantages of speedy application.
Oil-based paint, while providing a smooth finish and durability, requires more care. Its thicker consistency means you need to be cautious in airless sprayers, as it demands solvents for cleanup.
If you're working with heavy coatings like elastomeric paint, airless sprayers are highly effective, especially with larger nozzles (such as .021 – .025 orifice size) to handle the viscosity.
Lastly, don't overlook specialty sprays. These specific formulations, including primers and sealers, are designed for airless sprayers and can notably enhance the adhesion and longevity of your topcoat when applied correctly.
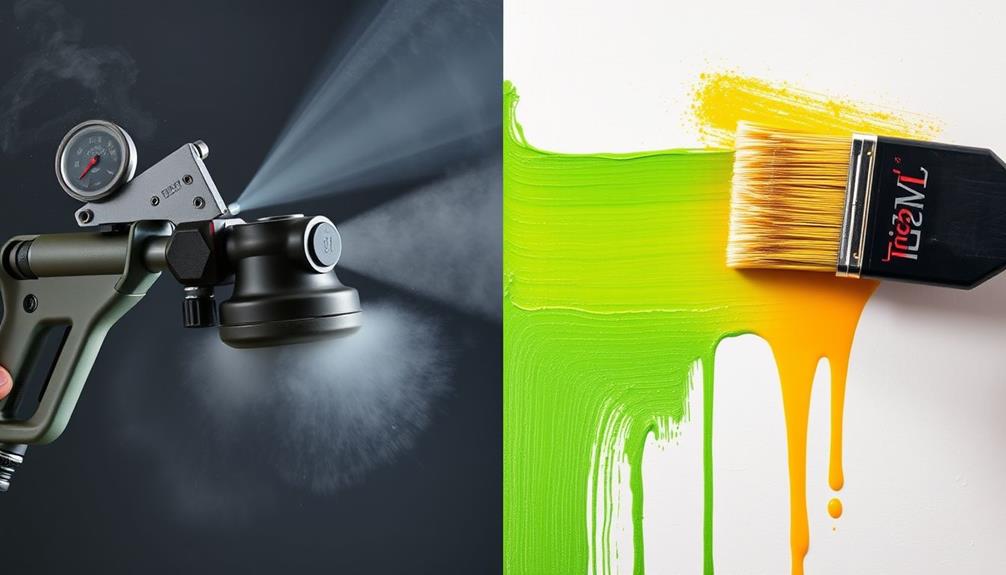
Evaluating Paint Viscosity
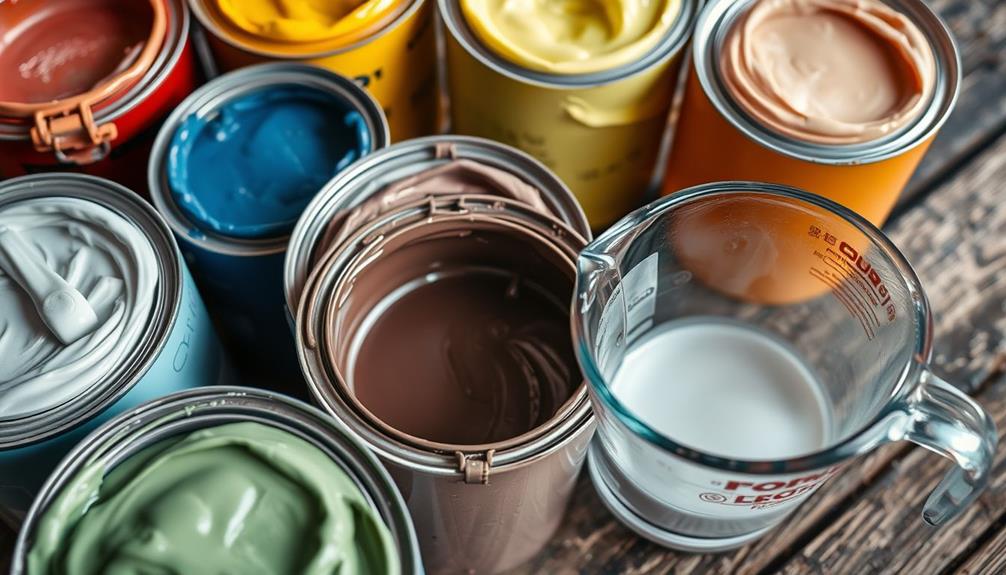
To achieve the best results with your airless sprayer, evaluating paint viscosity is vital. Viscosity directly affects how well the paint flows through the sprayer, and thicker paints often require thinning for ideal performance. Generally, you should aim for a viscosity of around 20-30 seconds when tested with a viscosity cup. If your paint exceeds this range, it's likely you'll need to thin it.
Using the right tip size can also enhance the application process, as it influences the flow rate and finish quality, ensuring a smoother spraying experience for intricate projects and detailed work, such as those achieved with Graco FFLP Fine Finish Low Pressure Reversible Tip.
To determine the viscosity, conduct a pour test. This involves timing how long it takes for paint to flow through a specific opening. A consistent and smooth flow indicates that the viscosity is appropriate for effective application. If the paint is too thick, refer to the paint manufacturers' guidelines for recommended thinning ratios, typically achieved by adding water or a specific thinner.
Improper viscosity can lead to serious issues like clogging in your sprayer, uneven application, and poor finish quality. As a result, testing and adjusting the viscosity before starting your project is vital.
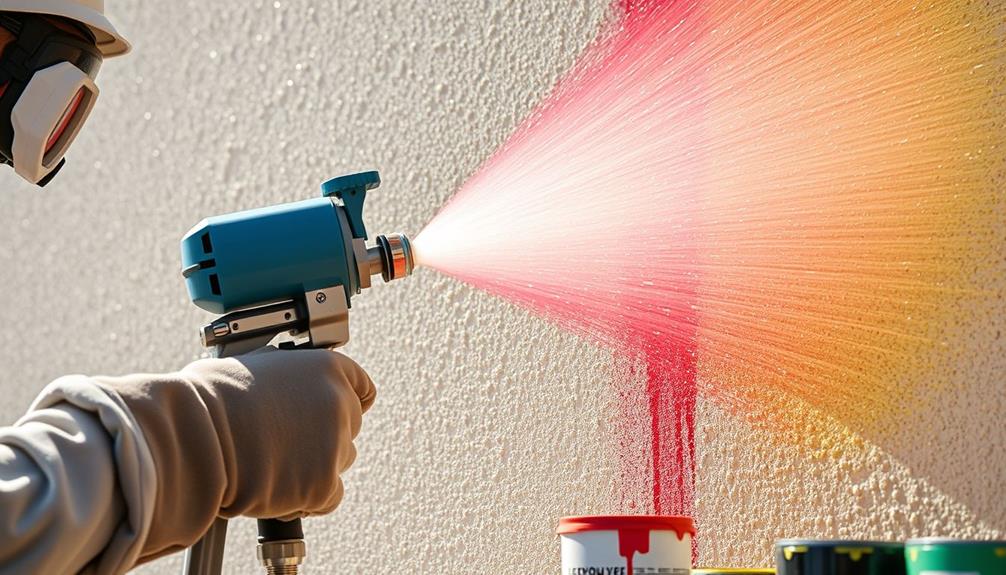
Selecting the Right Spray Tips

Choosing the right spray tip is vital for achieving a flawless finish with your airless sprayer. Spray tips are identified by a three-digit code; the first number, when multiplied by 2, indicates the fan width at 12 inches from the surface. The final two digits represent the orifice size in thousandths of an inch. For instance, a 515 tip has a 10-inch fan and a .015-inch orifice size.
When selecting spray tips, consider the environment you're working in, as certain island getaways may require specific coatings due to humidity and weather conditions.
Selecting the correct spray tip size is essential since it directly impacts fluid output and coating thickness. Recommended sizes range from .009 to .013 for light coatings and .025 to .035 for heavy coatings. Be mindful that worn spray tips can increase orifice size and decrease fan width, leading to overspray and potential costs of up to $300 daily if not replaced.
Consider advanced options like Reverse-A-Clean (RAC) tips, which allow for easy clog clearing, or RAC-X Fine Finish tips for low-pressure spraying and high-quality finishes.
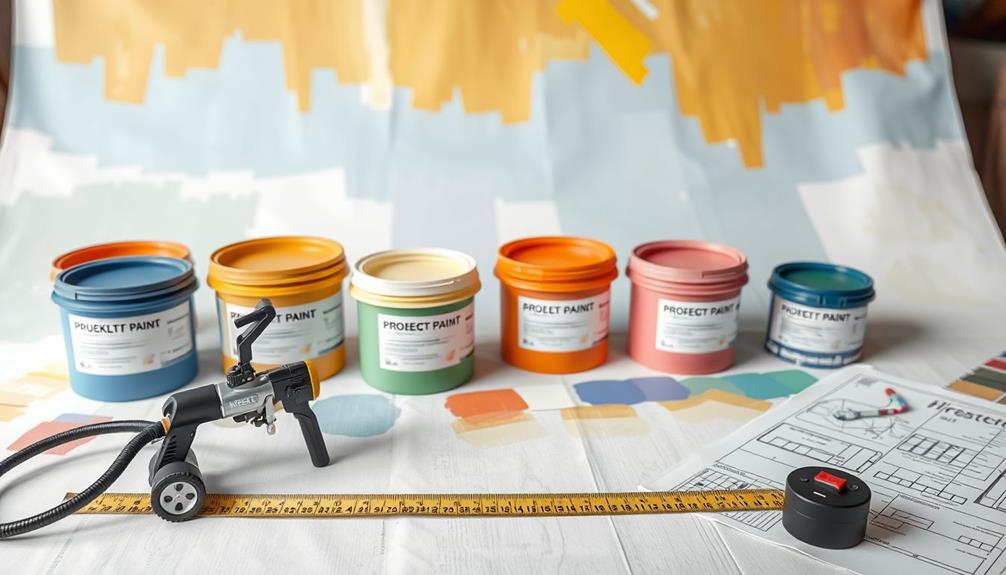
Matching Paint to Sprayer
Selecting the right spray tip sets the foundation for a successful painting project, but matching your paint to the sprayer is just as important. The viscosity of your paint directly impacts performance. Thicker paints, like heavier coatings, need larger spray tips (typically .015 to .025) for ideal application. Always check the manufacturer's recommendations for compatibility with your airless sprayer.
For latex paints, you might need to thin them to guarantee a smooth flow through the sprayer. When properly prepared, outdoor latex paints can deliver excellent results. Remember, smaller spray tips (e.g., .009 to .013) work best for lighter coatings, while larger tips are necessary for those thicker materials.
To keep your sprayer running smoothly, always filter your paint before use to prevent clogging. Here's a quick reference table to help you choose the right spray tip based on paint viscosity and type:
| Paint Type | Tip Size Range | Recommended Action |
|---|---|---|
| Light Coatings | .009 – .013 | Use smaller spray tips |
| Latex Paint | .015 – .025 | Thin if necessary |
| Heavier Coatings | .021 – .035 | Use larger spray tips |
| Oil-Based Paint | .015 – .025 | Check compatibility |
| Acrylic Paint | .015 – .025 | Filter before use |
Considering Project Scope
Before diving into your painting project, it's essential to assess its scope. If you're tackling large surfaces, airless paint sprayers are your best bet. They can efficiently handle 0.5 to 2 gallons per minute, making them ideal for extensive tasks like painting whole houses or commercial buildings.
Additionally, consider the efficiency of your tools; for instance, just as the Englander 10-Cpm generates high BTUs for heating large spaces, airless sprayers can provide powerful coverage for significant projects.
However, if your project is smaller, think twice about using an airless sprayer; they often consume more paint than traditional brushes or rollers, which could lead to waste during minor touch-ups.
Consider the type of paint you'll need. Airless sprayers excel with thicker paints, such as outdoor latex, which are common for large exterior surfaces.
If you plan on taking on multiple large jobs, investing in an airless sprayer could save you money in the long run compared to renting for each task.
Testing Paint Compatibility
Before you start spraying, it's essential to test the paint's viscosity and guarantee it meets the recommended thinning ratios.
This will help you achieve a smooth application without clogs, similar to how proper garage door opener installation enhances home security.
Also, don't forget to prepare your surfaces properly, as it can greatly impact the final result.
Viscosity and Thinning Requirements
When you're preparing to use an airless sprayer, understanding the viscosity of your paint is vital for achieving a smooth finish. Viscosity affects paint compatibility with airless sprayers; thicker paints often require thinning to guarantee proper atomization and flow through the sprayer's nozzle.
To test paint viscosity, try a pour test. Tip the container and watch how the paint flows—if it drips slowly or clogs, it likely needs thinning. Additionally, having a cleaning kit for ideal maintenance can help guarantee your equipment stays in top shape for your painting projects.
Manufacturer guidelines usually recommend specific thinning ratios, typically between 5-10%, depending on the paint type and desired spray performance. Airless sprayers can handle thicker outdoor latex paints effectively, but make sure to match the nozzle size to the paint's viscosity for ideal results.
Additionally, using filtered paint is essential to prevent clogging in airless sprayers. This guarantees smooth operation and avoids interruptions during your application process.
Surface Preparation Essentials
Successful painting hinges on thorough surface preparation, particularly when testing paint compatibility with your airless sprayer. Start by performing a viscosity test; pour the paint to guarantee it flows smoothly without being too thick. This step is essential for ideal spray performance, as it aligns with the importance of quality assurance in software development to maintain high standards.
Always check the manufacturer's guidelines specific to your airless sprayer to confirm paint compatibility and any thinning requirements necessary to achieve the right consistency.
Before pouring the paint into the sprayer, use a paint strainer or filter. This will help you remove any lumps or debris that could clog the nozzle during application, guaranteeing a seamless process.
It's also wise to test your chosen paint on a small, inconspicuous area of the surface. This will allow you to evaluate adhesion and finish quality before committing to the entire project.
Lastly, verify the paint is suitable for the surface material—be it wood, metal, or drywall—since different surfaces may require specialized formulations for the best results.
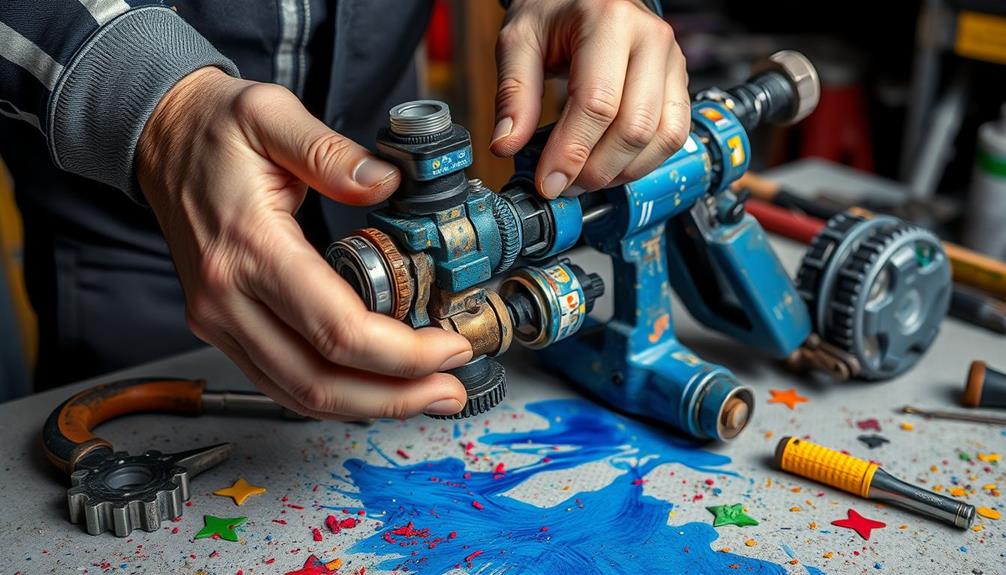
Maintenance and Cleanup Tips
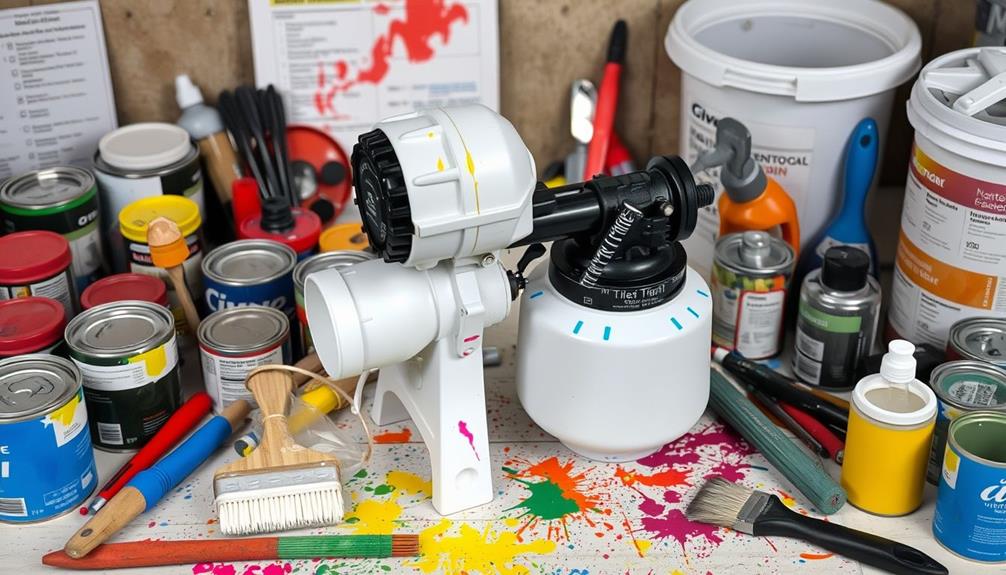
To keep your airless sprayer in top shape, you need a regular cleaning routine and safe storage practices.
Additionally, understanding the importance of HVAC maintenance can help you maintain a comfortable environment while using your sprayer.
Proper thinning techniques also play an essential role in ensuring smooth operation and preventing clogs.
Regular Cleaning Routine
Cleaning your airless sprayer right after use is vital for maintaining its performance and longevity. Start by disassembling the sprayer and rinsing the reservoir and hoses with the appropriate solvent—water for water-based paints or thinner for oil-based paints. This immediate cleaning prevents paint from hardening and clogging your sprayer.
Incorporating a budget-friendly vacuum cleaner into your cleaning routine can help manage any spills or debris that may occur during your painting project.
To further enhance maintenance, use a paint filter to strain paint before pouring it into the sprayer. This simple step helps prevent any debris from entering the system and causing issues later on.
After each use, make certain to clean the nozzle and filters thoroughly with a brush or cloth to remove dried paint and guarantee optimal spray performance.
Once you've completed the cleaning process, store the sprayer in a dry, safe location without paint in the system. This not only prevents damage but also prolongs the lifespan of your equipment.
Always follow the manufacturer's specific cleaning instructions and maintenance schedule. By doing so, you'll avoid costly repairs and keep your sprayer operating efficiently for your future painting projects.
Regular cleaning keeps your sprayer in top shape, so don't skip this vital step!
Proper Thinning Techniques
Achieving the right paint consistency is vital for ideal performance with your airless sprayer. Always refer to the manufacturer's guidelines for thinning recommendations, as different paint types require specific thinning ratios for maximum spray performance.
For latex paint, a common rule of thumb is to thin it with water, typically between 10% to 20%. For oil-based paints, use mineral spirits or paint thinner, adding up to 10% as needed. It's important to ascertain that the paint you use doesn't contain improper items that could clog your sprayer, similar to how flushing non-flushable items can lead to plumbing issues; clogging remedies should be taken seriously.
Before you start spraying, conduct a viscosity test by pouring the paint. It should flow smoothly without clumping, indicating it's adequately thinned. To verify the paint meets your sprayer's requirements, use a viscosity cup to measure its thickness. This guarantees effective atomization and maximum coverage.
Once you've completed your spraying, don't forget to clean the sprayer thoroughly, especially if you used thinning agents. Proper maintenance is vital to prevent clogs and maintain spray performance for your next project.
Safe Storage Practices
Once you've wrapped up your painting project and confirmed your airless sprayer is properly cleaned, it's time to think about how to store it safely.
Proper safe storage practices guarantee your sprayer maintains peak performance and longevity for future projects.
Here are four essential tips for safe storage:
- Choose a Dry Location: Store your airless sprayer in a dry, safe place to prevent rust and damage to internal components.
- Run Cleaning Solutions: Before storage, run a suitable cleaning solvent through the system to eliminate any lingering paint residue, guaranteeing all parts are clean and free from clogs.
- Inspect Components: Regularly inspect filters and seals for wear. This maintenance step is vital for avoiding costly repairs down the line.
- Cover Your Sprayer: Use a protective cover to shield your airless sprayer from dust and debris, further preserving its condition.
Frequently Asked Questions
How to Choose an Airless Paint Sprayer?
When choosing an airless paint sprayer, consider the project size, tip size for paint type, power source, and features like adjustable pressure. Also, think about weight for easy maneuverability during your painting job.
What Is the Difference Between 517 and 515 Spray Tip?
When it comes to spray tips, the 515's narrower fan width suits medium areas, while the 517's broader coverage speeds up larger projects. Choose based on your project's size for ideal efficiency and finish.
Do You Thin Paint for an Airless Sprayer?
Yes, you often need to thin paint for an airless sprayer. Check the manufacturer's guidelines, perform a viscosity test, and guarantee it flows smoothly. Remember, too much thinning can affect coverage and durability.
How Many Square Feet Does a Gallon of Paint Cover With an Airless Sprayer?
When you're painting, you want to maximize every drop. A gallon of paint typically covers between 250 to 400 square feet with an airless sprayer, depending on the paint type and surface condition.
Conclusion
In choosing the right paint for your airless sprayer, you're not just selecting a color; you're crafting a masterpiece. By understanding paint types, viscosity, and the right spray tips, you'll guarantee a smooth application and stunning results. Remember to take into account your project scope and always test for compatibility. With proper maintenance and cleanup, your sprayer will be ready for your next endeavor, keeping your creative journey flowing like a river of inspiration.