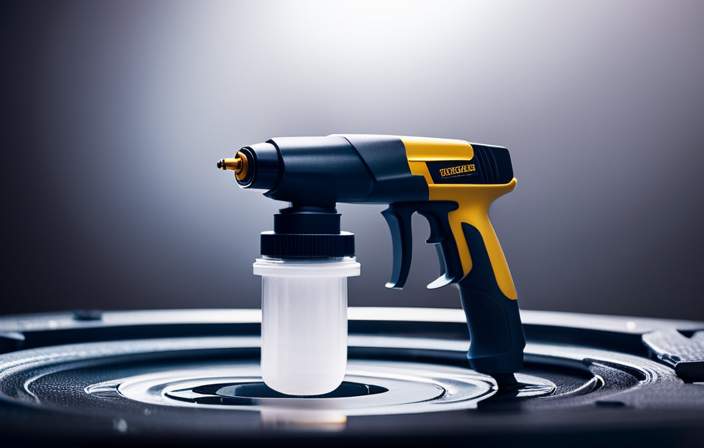
The task of cleaning an airless sprayer after using acrylic paint can appear daunting. Trust me, I’ve been there. But, there’s no need to worry! In this article, I will guide you through the correct steps to thoroughly clean your sprayer, readying it for the next painting task you have at hand.
First things first, gather your cleaning supplies. Disconnect the sprayer from the power source and empty any remaining paint.
Then, it’s time to flush the system with water. Take apart the spray gun, clean the filter and nozzle, and reassemble everything. Run water through the system once more to ensure all traces of paint are gone.
Finally, properly store your airless sprayer for future use.
By following these simple yet crucial steps, you’ll be able to maintain the longevity and performance of your airless sprayer, making it a reliable tool for your painting endeavors. So let’s dive in and get that sprayer squeaky clean!
Key Takeaways
- Clean the airless sprayer thoroughly after each use
- Properly store and maintain the sprayer to prevent damage and contamination
- Consider using sprayer storage fluid or pump armor to protect internal components and prevent clogs
- Ensure good ventilation to prevent clogs caused by dried acrylic paint residue
Gather Your Cleaning Supplies
Now that you’ve got your trusty airless sprayer covered in stubborn acrylic paint, it’s time to gather up all the cleaning supplies you’ll need to tackle this messy job.
Cleaning techniques for acrylic paint removal from an airless sprayer require specific equipment. First, grab a bucket filled with warm water and a mild detergent. You’ll also need a clean cloth or sponge, a stiff bristle brush, and a paint scraper. Additionally, have a pair of gloves and safety goggles on hand to protect yourself during the cleaning process.
Once you have all the necessary equipment, you can move on to disconnecting the sprayer from the power source to ensure safety while cleaning.
Disconnect the Sprayer from the Power Source
First, make sure you’ve unplugged the sprayer from the power source. Disconnecting the sprayer from the power source is an important safety precaution when cleaning acrylic paint from an airless sprayer. This ensures that there is no risk of accidental activation of the sprayer while cleaning. To emphasize the importance of this step, refer to the following table:
| Disconnecting Safety Precautions | Benefits |
|---|---|
| Unplugging the sprayer | Prevents accidental activation |
| Ensuring power source is off | Minimizes electrical hazards |
Once you have disconnected the sprayer from the power source, you can proceed to the next step of emptying any remaining paint. This ensures that the sprayer is completely cleaned and ready for future use.
Empty Any Remaining Paint
After disconnecting the power source, make sure to empty any remaining paint from the sprayer. This step is crucial to prevent the dried paint from clogging the system.
To remove dried paint, I recommend using cleaning solvents specifically designed for acrylic paints. These solvents effectively dissolve the dried paint, making it easier to clean. Carefully pour the solvent into the paint reservoir and let it sit for a few minutes to break down the paint. Then, gently shake the sprayer to dislodge any remaining paint.
Once the paint has loosened, empty the solvent and any paint residue. This prepares the sprayer for the next step, which is flushing the system with water to ensure a thorough cleaning.
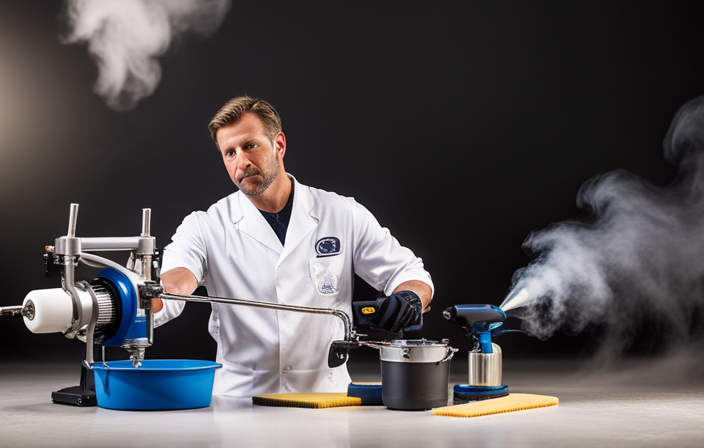
Flush the System with Water
To ensure a thorough cleaning, you’ll want to run water through the system, flushing out any remaining residue and ensuring a fresh start for your next painting project. Here are some cleaning techniques and maintenance tips to follow:
- Start by removing the paint container and emptying any remaining paint.
- Fill a bucket with water and attach it to the spray gun.
- Turn on the sprayer and spray the water into a separate container until the water runs clear.
Pay close attention to the nozzle and any other parts that come into contact with the paint.
Once the water runs clear, turn off the sprayer and detach the bucket.
By flushing the system with water, you can effectively clean any leftover paint and prevent it from clogging the spray gun.
Now, let’s move on to the next section about how to disassemble the spray gun.
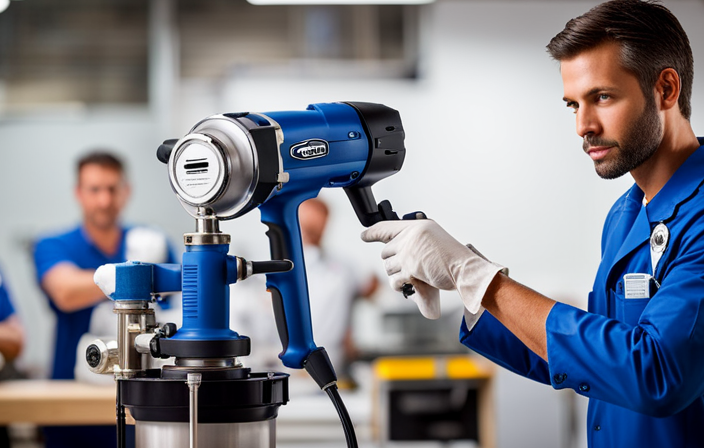
Disassemble the Spray Gun
Now, let’s dive into how you can take apart the spray gun to ensure a thorough cleaning and maintenance. Cleaning the spray gun components is an essential part of the cleaning process to maintain its optimal performance. To disassemble the spray gun, follow these steps:
-
Begin by removing the nozzle and needle assembly using a wrench or the appropriate tool. Be careful not to damage the delicate components.
-
Next, unscrew the air cap and carefully remove it from the gun body. Place it in a bowl of warm, soapy water to soak and loosen any dried paint.
-
Use a small brush or toothbrush to clean the gun body thoroughly, paying attention to all the crevices and grooves.
By disassembling the spray gun, you can access all the parts that need cleaning and maintenance. Once you have completed this step, you can proceed to clean the spray gun components.
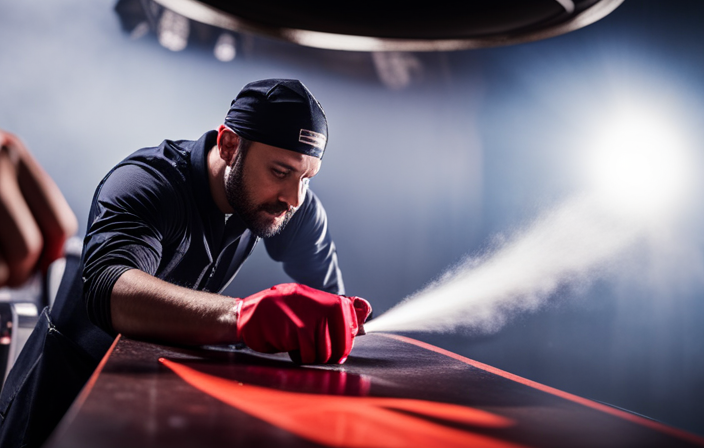
Clean the Spray Gun Components
Let’s get down to the nitty-gritty and give those spray gun components a good ol’ scrubbin’! When it comes to cleaning techniques for acrylic paint from an airless sprayer, there are a few maintenance tips to keep in mind.
First, dismantle the spray gun by removing the nozzle, tip guard, and any other removable parts. Rinse these components with warm water to remove any excess paint. Use a soft brush or toothbrush to gently scrub away any stubborn paint particles. Avoid using harsh chemicals or solvents that could damage the components.
Once the parts are clean, dry them thoroughly before reassembling the spray gun. This will ensure optimal performance and longevity of your equipment.
Now, let’s move on to the next step and clean the filter and nozzle.
Clean the Filter and Nozzle
To ensure optimal performance of your airless sprayer, it’s crucial to properly clean the spray gun components. Now that we’ve cleaned the main components, let’s move on to the next step: cleaning the filter and nozzle.
This step is essential in maintaining the longevity of your sprayer and preventing clogs that can hinder its effectiveness. Here’s how to do it:
-
Remove the filter and nozzle from the spray gun.
-
Rinse them thoroughly with warm water to remove any residual paint.
-
Use a small brush to gently scrub away any stubborn paint particles.
By regularly cleaning the filter and nozzle, you can prevent blockages that may occur during future painting projects.
Now that we’ve cleaned these components, let’s move on to reassembling the spray gun for its next use.
Reassemble the Spray Gun
Once you’ve finished cleaning the filter and nozzle, it’s time to put the spray gun back together. Reassembling the spray gun is a crucial step to ensure proper functioning and avoid any issues during the painting process. Here are some reassembling tips to keep in mind:
- Begin by carefully inserting the cleaned filter back into its designated place in the spray gun.
- Align the nozzle with the gun body and firmly screw it back into position, ensuring it is securely tightened.
- Make sure all the components are correctly aligned and fitted before proceeding.
By following these reassembling tips, you can prevent any potential leaks or clogs that may occur if the spray gun is not properly assembled. Once you have completed reassembling the spray gun, you can move on to the next step of running water through the system again to ensure it is clean and ready for use.
Run Water Through the System Again
After successfully reassembling the spray gun, it’s time to ensure that all traces of acrylic paint are completely removed from the airless sprayer. To do this, it’s necessary to run water through the system once again.
This step is crucial as it helps to flush out any remaining paint particles or residue that may have been missed during the initial cleaning process. Running water through the system will also help to clean the internal components of the sprayer, such as the pump and the filters.
If water alone doesn’t remove all the paint, alternative cleaning solutions specifically designed for acrylic paint can be used. These solutions are highly effective in dissolving and removing stubborn paint stains.
Once the cleaning process is complete, it’s important to properly store your airless sprayer to prevent any damage or contamination.
Properly Store Your Airless Sprayer
Make sure you store your airless sprayer properly to avoid any damage or contamination. Proper maintenance and storage of your airless sprayer is essential for its longevity and efficiency. One of the main concerns when it comes to storing your sprayer is preventing clogs caused by dried acrylic paint residue. To prevent clogs, it is crucial to clean your sprayer thoroughly after each use. After cleaning, make sure to store your sprayer in a clean, dry, and well-ventilated area. To further prevent clogs, consider using a sprayer storage fluid or pump armor. These products help protect the internal components of the sprayer and prevent any leftover paint from drying and causing clogs. By following these storage guidelines and practicing proper maintenance, you can ensure that your airless sprayer remains in optimal condition for future use.
| Proper Maintenance | Preventing Clogs |
|---|---|
| Clean after each use | Use sprayer storage fluid |
| Store in a clean, dry area | Use pump armor |
| Ensure good ventilation | Remove any leftover paint residue |
Frequently Asked Questions
Can I use any type of cleaning solution to clean the acrylic paint from the airless sprayer?
Yes, you can use specific cleaning solutions designed for removing acrylic paint from airless sprayers. These cleaning products are the best for effectively and efficiently cleaning the paint residue and ensuring the longevity of your equipment.
How often should I clean the filter and nozzle of my airless sprayer?
I clean the filter and nozzle of my airless sprayer every time I finish using it. This helps maintain optimal performance and prevents clogs. Some tips for maintaining its longevity include regular inspections and proper storage.
Is it necessary to disassemble the spray gun before cleaning it?
Yes, it is necessary to disassemble the spray gun before cleaning it. It allows for a thorough cleaning and ensures all parts are properly cleaned. Gloves should be worn for protection. Avoid using a pressure washer as it can damage the spray gun.
Can I store my airless sprayer with water inside the system?
Yes, you can store an airless sprayer with water inside the system. It helps prevent the paint from drying and clogging the nozzle. However, it is important to clean the airless sprayer thoroughly before storing it to avoid any potential issues.
Are there any specific safety precautions I should take while cleaning the spray gun components?
To ensure safety while cleaning spray gun components, it is important to wear protective goggles and gloves. Additionally, using a suitable cleaning solution alternative like vinegar or paint thinner can effectively remove paint residue without damaging the equipment.
Conclusion
So there you have it, folks. Cleaning an airless sprayer may seem like a daunting task, but with the right steps and a little bit of elbow grease, it can be done.
Just remember to gather your supplies, disconnect the sprayer, empty any remaining paint, flush the system, and clean the filter and nozzle.
Then, reassemble the spray gun, run water through the system again, and properly store your airless sprayer. It’s like giving your sprayer a refreshing shower, ensuring it’s ready for the next paint job.
Happy spraying!