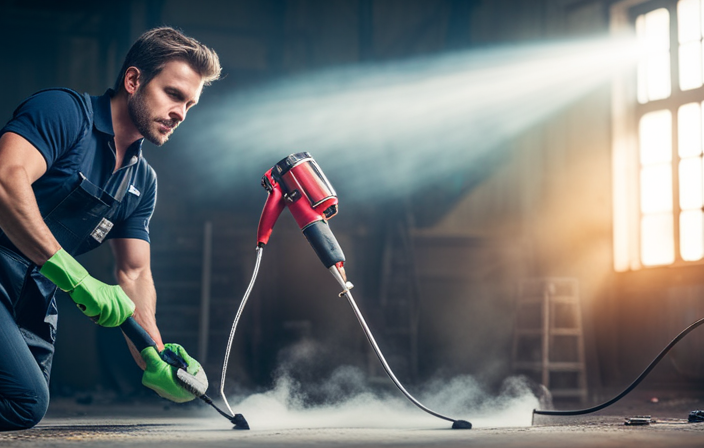

Regular maintenance and cleaning of your airless paint sprayer is crucial to ensure optimal performance. Neglecting proper upkeep can lead to clogs, uneven spray patterns, and a reduced lifespan. In this guide, I will provide step-by-step instructions on how to clean your airless paint sprayer, ultimately prolonging its durability and efficiency.
First, gather the necessary cleaning supplies. You will need a bucket of clean water, a cleaning solution specifically designed for airless paint sprayers, a cleaning brush, and safety goggles.
Start by relieving the pressure in the sprayer. Turn off the sprayer and trigger the gun to release any remaining pressure. Disconnect the sprayer from the power source.
Next, remove the spray tip and guard from the gun. Soak them in the bucket of water to loosen any dried paint. Use the cleaning brush to remove any remaining paint or debris.
Now, remove the suction tube and filter from the paint container. Rinse them thoroughly with clean water to remove any paint residue. Use the cleaning brush to scrub away any stubborn paint.
After cleaning the individual components, it’s time to flush the entire system. Fill the paint container with the cleaning solution and connect it to the sprayer. Turn on the sprayer and trigger the gun to circulate the cleaning solution through the system. Let the solution run through the sprayer until it comes out clean.
Once the cleaning solution has been flushed out, rinse the system with clean water. Fill the paint container with water and repeat the flushing process to remove any remaining cleaning solution.
After cleaning, dry all the components thoroughly with a clean cloth. Reassemble the sprayer, making sure all connections are secure.
Finally, store the sprayer properly. Empty any remaining paint from the container and clean it thoroughly. Store the sprayer in a dry and cool place, away from direct sunlight and extreme temperatures.
By following these steps, you can ensure that your airless paint sprayer remains in top shape for all your painting projects. Regular cleaning and maintenance will not only extend its lifespan but also guarantee optimal performance. So, make it a habit to clean your airless paint sprayer after each use and enjoy hassle-free painting every time.
Key Takeaways
- Proper lubrication is important for preventing leaks, reducing friction, wear, and corrosion in an airless paint sprayer.
- When reassembling the paint sprayer, it is crucial to replace worn-out or damaged gaskets, follow manufacturer’s instructions, and perform a test spray after reassembly.
- Performing a test spray with water allows for the identification of clogs and the inspection of the spray pattern for overspray or uneven coverage, which can be adjusted as needed.
- Properly storing the paint sprayer involves removing remaining paint, disconnecting from power source, storing in a clean and dry environment, and performing regular maintenance and inspections for wear or damage.

Spray Gun Cleaning Kit, Universal Paint Gun Cleaner Brushes Set, Paint Sprayer Cleaning Kit
- Universal Compatibility: Fits most spray guns and airbrushes
- Multi-Material Brushes: Nylon, stainless steel, brass brushes in various sizes
- Delicate to Heavy Duty: Soft, medium, stiff bristles for different cleaning needs
As an affiliate, we earn on qualifying purchases.
As an affiliate, we earn on qualifying purchases.
Gather the Necessary Cleaning Supplies
Before you can start cleaning your airless paint sprayer, you’ll need to gather all the necessary cleaning supplies. Cleaning techniques for an airless paint sprayer require specific tools and materials.
First, gather a bucket or container to hold the cleaning solution.
You’ll also need cleaning rags or lint-free cloths to wipe down the sprayer.
Safety precautions are important, so don’t forget to grab a pair of gloves and safety goggles to protect yourself.
Additionally, you’ll need a small brush or toothbrush to clean the nozzle and other small parts.
Finally, make sure you have a cleaning solution that is compatible with your paint sprayer.
Once you have all the supplies ready, you can proceed to the next step of disconnecting and emptying the paint sprayer.
Disconnect and Empty the Paint Sprayer
Once you’ve finished with the task at hand, it’s time to disconnect and empty the powerful machine. To ensure a thorough cleaning process and maintain safety precautions, follow these steps:
-
Turn off the power: Before proceeding, make sure to switch off the power supply to the airless paint sprayer. This will prevent any accidental spraying.
-
Release pressure: To avoid any mishaps, relieve the pressure in the sprayer by triggering the gun and allowing any remaining paint to be expelled. This step is crucial for safe disassembly.
-
Remove paint container: Disconnect the paint container from the sprayer by loosening the container’s fastening mechanism. Empty any leftover paint into a suitable container for disposal.
By properly disconnecting and emptying the paint sprayer, you ensure a safe and efficient cleaning process.
Now, let’s move on to the next section, where we will learn how to remove and clean the spray tip and guard.
Remove and Clean the Spray Tip and Guard
To make maintenance a breeze, it’s time to tackle removing and cleaning the spray tip and guard.
Cleaning the spray tip and guard is an essential part of keeping your airless paint sprayer in top condition. Start by turning off the sprayer and relieving any pressure in the system.
Next, unscrew the spray tip from the guard using a wrench. Inspect the tip and guard for any clogs or debris. If you notice any blockages, use a small brush or toothpick to carefully remove them.
For a thorough clean, soak the spray tip and guard in a cleaning solution or warm soapy water for a few minutes. Gently scrub them with a brush to remove any remaining paint or residue. Rinse them thoroughly with water and reattach them to the sprayer.
Now, it’s time to flush the paint sprayer with water or cleaning solution to ensure a clean and efficient system.
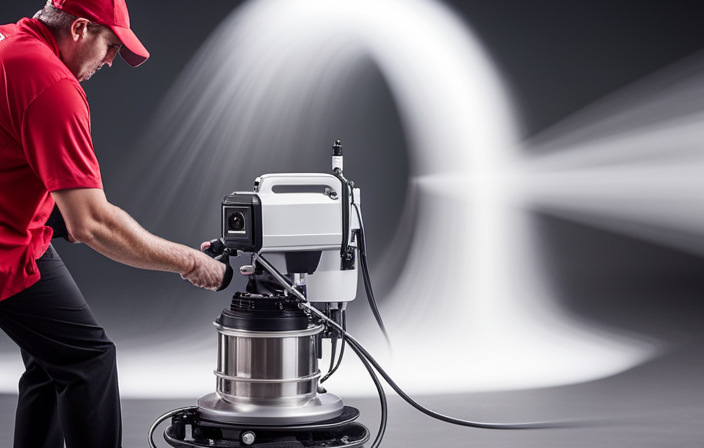
Flush the Paint Sprayer with Water or Cleaning Solution
Now, it’s time to give your paint sprayer a refreshing cleanse by flushing it with water or a cleaning solution. Proper cleaning technique is essential to maintain the optimal performance of your airless paint sprayer. Here’s how you can do it:
-
Choose between a cleaning solution or water for flushing based on the type of paint used. Water is suitable for water-based paints, while a cleaning solution is recommended for oil-based or solvent-based paints.
-
Fill the paint sprayer’s hopper with the chosen flushing agent.
-
Connect the sprayer to a water source or cleaning solution container.
-
Turn on the sprayer and activate the trigger to allow the flushing agent to flow through the system.
-
Continue flushing until the water or cleaning solution runs clear.
Now, let’s move on to the next section where we will learn how to clean the filters and strainers.
Clean the Filters and Strainers
To clean the filters and strainers of your airless paint sprayer, follow these steps:
- Remove the filters and strainers from the sprayer.
- Inspect them for any clogs or debris.
- Rinse them with clean water or a suitable cleaning solution to remove any paint residue.
- Use a soft brush to gently scrub the filters and strainers for stubborn stains.
- Ensure they are completely dry before reassembling them back into the sprayer.
Regularly inspect and clean these components to prevent clogs and maintain a consistent flow rate.
With the filters and strainers taken care of, it’s time to move on to the next step: wiping down the exterior of the paint sprayer.
Wipe Down the Exterior of the Paint Sprayer
Take a moment to give the outside of your paint sprayer a gentle wipe down, ensuring that it remains in top-notch condition for your next project. Cleaning the exterior of your airless paint sprayer is an important maintenance step that shouldn’t be overlooked.
To start, use a clean cloth or sponge dampened with warm soapy water to remove any dirt or debris. Pay close attention to the nooks and crannies, making sure to reach all the surfaces. Avoid using harsh chemicals or abrasive materials that could damage the paint sprayer’s exterior.
Once you’ve thoroughly wiped down the entire surface, dry it off with a clean towel. This will not only keep your sprayer looking clean and professional but also prevent any potential damage.
Now, let’s move on to lubricating the moving parts and o-rings in the next section.
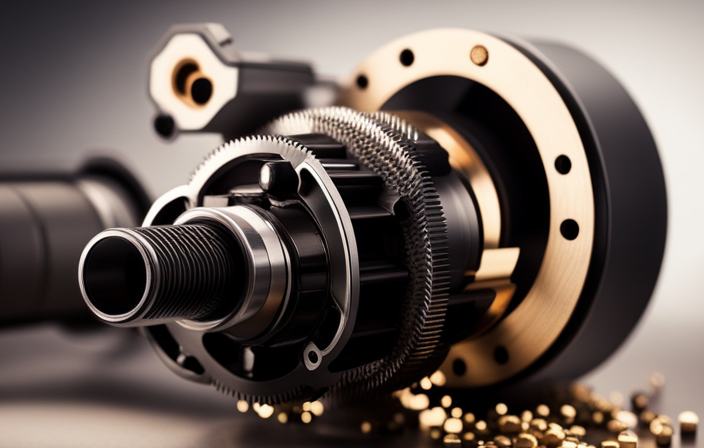
Lubricate Moving Parts and O-Rings
After wiping down the exterior of the paint sprayer, it’s important to move on to the next step: lubricating the moving parts and O-rings. This is a crucial maintenance task that ensures the smooth operation and longevity of your airless paint sprayer.
To properly lubricate the sprayer, follow these lubrication techniques:
- Begin by identifying the key moving parts, such as the piston rod, pump rod, and motor bearings.
- Apply a small amount of lubricating oil or grease to these parts using a brush or cloth.
- Pay close attention to the O-rings and seals, as they require proper lubrication to prevent leaks and maintain their elasticity.
Proper lubrication not only reduces friction and wear but also helps to prevent corrosion.
Once you have completed this step, you can proceed to the subsequent section on reassembling the paint sprayer, ensuring it is ready for your next project.
Reassemble the Paint Sprayer
Now that you’ve given your paint sprayer a little TLC, it’s time to put all the pieces back together and get it ready for your next masterpiece.
Start by replacing any worn-out or damaged gaskets. Make sure to use the correct size and type of gasket for each specific part. This will help prevent any leaks and ensure optimal performance.
Once the gaskets are in place, carefully reassemble all the components, following the manufacturer’s instructions. Pay close attention to the alignment and tightness of each part.
Troubleshooting common issues during the reassembly process may include checking for any loose or missing screws, verifying proper connections, and inspecting for any signs of wear or damage.
After reassembling, perform a test spray to ensure everything is working correctly and smoothly transition into the subsequent section about performing a test spray.
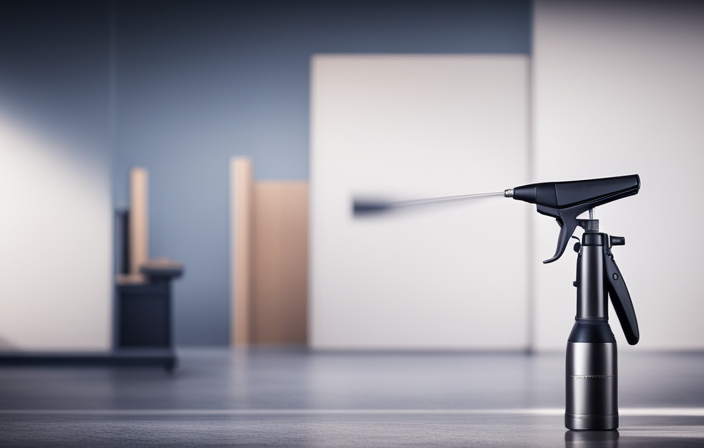
Perform a Test Spray
Let’s put your paint sprayer back together and give it a test spray to make sure it’s working perfectly for your next masterpiece. Here are three test spray techniques to help you evaluate its performance:
-
Adjust the pressure: Start by setting the operating pressure to 50% of the maximum recommended value, which in this case is 1500 psi. This will allow you to observe the spray pattern and ensure it is consistent and even.
-
Check for clogs: Perform the test spray with water to identify any potential clogs in the nozzle or hose. If you notice uneven spray or reduced flow, clean or replace the clogged parts accordingly.
-
Assess the atomization: Inspect the spray pattern for any signs of excessive overspray or uneven coverage. Adjust the fan width or pressure settings as needed to achieve the desired results.
Once you have completed the test spray, you can troubleshoot any issues or make adjustments based on the results obtained.
Now, let’s move on to the next section and learn how to store the cleaned paint sprayer properly.
Store the Cleaned Paint Sprayer Properly
To ensure your paint sprayer stays in optimal condition, it’s important to store it properly after each use. Proper storage is crucial for maintaining the performance and longevity of your airless paint sprayer.
After cleaning the sprayer, make sure to remove any remaining paint from the hose, gun, and tip. Then, disconnect the sprayer from the power source and relieve any built-up pressure.
Store the cleaned paint sprayer in a clean, dry, and temperature-controlled environment to prevent damage from moisture or extreme temperatures. It is recommended to keep it in its original case or a dedicated storage box to protect it from dust and potential impacts.
Additionally, periodically inspect the sprayer for any signs of wear or damage and perform regular maintenance such as lubricating the moving parts and checking for proper seals.
Following these proper storage and maintenance tips will help prolong the life of your airless paint sprayer.
Frequently Asked Questions
Can I use any cleaning solution to flush the paint sprayer, or are there specific recommendations?
To ensure the longevity of your airless paint sprayer, it is important to use the appropriate cleaning solution. Different types of cleaning solutions are available that effectively flush out the sprayer, removing any paint residue and preventing clogs.
How often should I clean the filters and strainers of the paint sprayer?
I should clean the filters and strainers of the paint sprayer regularly to maintain its performance. The recommended cleaning solution for flushing the paint sprayer is [specific recommendation].
Is it necessary to lubricate the moving parts and O-rings after every use?
It is necessary to lubricate the moving parts and o-rings after every use. A study found that regular lubrication can extend the lifespan of the sprayer by up to 20%. Use suitable cleaning solutions and follow the recommended lubrication frequency for optimal performance.
Are there any special precautions I should take when reassembling the paint sprayer?
When reassembling the paint sprayer, it is important to take certain precautions. Make sure all parts are clean and free of debris. Lubricate the moving parts and o-rings with a recommended lubricant. Use a cleaning solution recommended by the manufacturer.
How frequently should I perform a test spray to ensure the paint sprayer is working properly?
To ensure proper paint sprayer functioning, I recommend performing a test spray every time before using it. This test spray frequency allows me to check if the sprayer is working correctly and if any adjustments or maintenance are needed.
Conclusion
After following the steps outlined above, I successfully cleaned my airless paint sprayer. It has a 7/8 hp motor, a flow rate of 0.38 gpm, and operates at a pressure of 3000 psi.
It is crucial to maintain and clean your paint sprayer regularly to ensure optimal performance. Did you know that a clean airless paint sprayer can increase productivity by up to 50%? This statistic highlights the importance of proper maintenance and cleaning to achieve efficient and professional painting results.