Hello!
Have you ever found yourself struggling to clean your Graco airless paint sprayer after using it for oil-based stains? Trust me, I’ve been there too. But fret not, because I’ve got you covered with some expert tips on how to get your sprayer squeaky clean in no time.
In this article, I’ll guide you through a step-by-step process that will leave your sprayer looking brand new.
We’ll start by gathering all the necessary supplies and then proceed to flush the system with mineral spirits. After that, we’ll carefully disassemble and clean the spray gun, making sure to pay attention to the filters and tips.
Next, we’ll flush the system with clean water and run it through a few times to ensure all the residue is gone.
But it doesn’t end there! I’ll also provide you with some valuable insights on how to properly dry and store your sprayer, as well as responsible ways to dispose of waste materials.
So, grab your cleaning gear and let’s make your Graco airless paint sprayer shine like never before!
Key Takeaways
- Proper disposal of waste materials is crucial to prevent harm to the environment.
- Regular maintenance and cleaning of the sprayer are necessary for optimal performance.
- Following a recommended cleaning schedule helps maintain the sprayer’s condition.
- Checking for debris or residue before storage and storing the sprayer properly prolong its lifespan.
Gather the necessary supplies
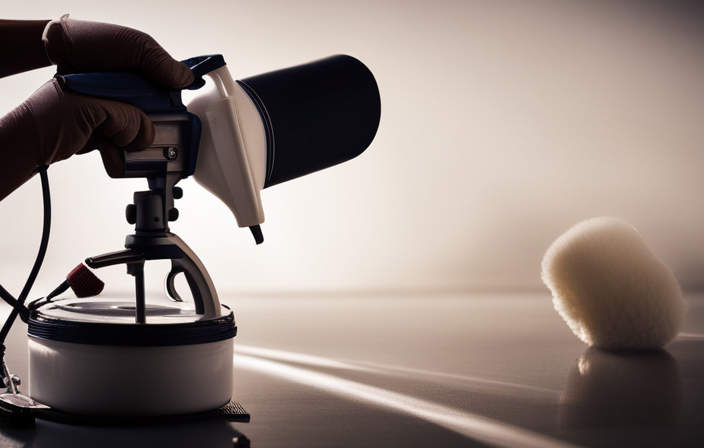
Now, let’s gather all the supplies you’ll need to clean your trusty Graco airless paint sprayer after using that oil-based stain.
First, you’ll need a bucket or container to hold the cleaning solution.
Next, grab some clean rags or paper towels to wipe down the sprayer.
You’ll also need a small brush or toothbrush to scrub any stubborn residue.
Don’t forget to have some disposable gloves on hand to protect your hands from the cleaning solution.
Additionally, you’ll need mineral spirits or a paint thinner specifically designed for oil-based stains.
Lastly, make sure you have a clean, well-ventilated area to work in.
Now that we have all the supplies gathered, let’s move on to the next step and flush the system with mineral spirits.
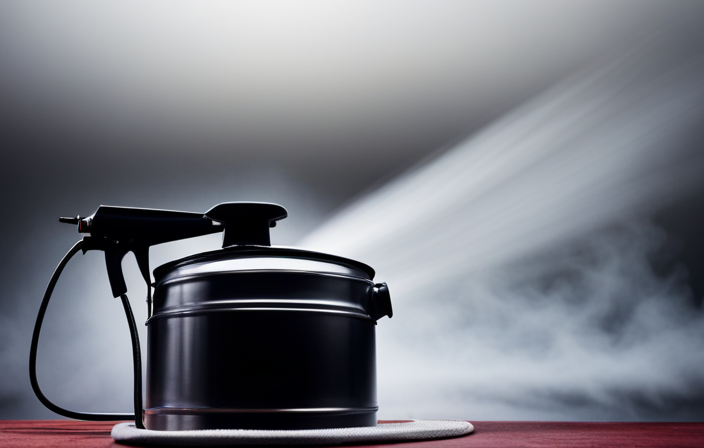
Flush the system with mineral spirits
One way to tackle the task at hand is by giving the system a good flush with mineral spirits. This step is crucial in cleaning a Graco airless paint sprayer that has been used for oil based stains. Mineral spirits are highly effective in breaking down the oil and ensuring that the sprayer is thoroughly cleaned.
If you don’t have mineral spirits on hand or prefer to clean the sprayer without them, there are alternative cleaning solutions you can use. One option is to use denatured alcohol, which can also dissolve oil based stains effectively. Another option is to use hot soapy water, although this may not be as effective as the other solutions.
After flushing the system with mineral spirits or your chosen alternative, it’s time to move on to the next step: disassembling and cleaning the spray gun.
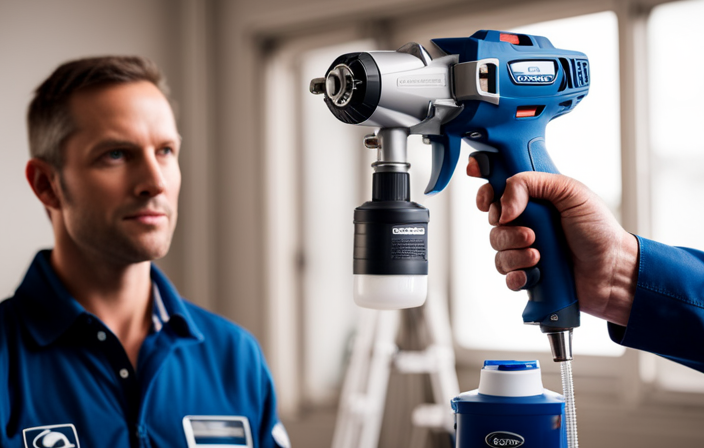
Disassemble and clean the spray gun
To effectively maintain and prolong the lifespan of your spray gun, it is essential for you to disassemble and thoroughly clean it. Here are some disassemble tips to ensure a proper cleaning:
- Start by removing the nozzle and needle, taking care not to damage them.
- Next, detach the spray hose from the gun and clean it separately.
- Finally, disassemble the gun body, including the trigger, handle, and other components, and clean each part thoroughly.
Cleaning the spray hose is an important step to prevent any residue or clogs that can affect the performance of your spray gun. By disassembling and cleaning each part individually, you can ensure a deep and thorough cleaning, extending the life of your tool.
Now, let’s move on to the next section where we will discuss how to clean the filters and tips of your Graco airless paint sprayer.
Clean the filters and tips
After disassembling and cleaning the spray gun, the next step is to tackle the crucial task of maintaining the filters and tips. This is important because it can greatly impact the performance and efficiency of your painting equipment.
Cleaning the filters and tips is essential to ensure that your Graco airless paint sprayer continues to work optimally and deliver high-quality results. To clean the filters, remove them from the sprayer and rinse them thoroughly with clean water. Use a soft brush to remove any stubborn debris.
For the tips, soak them in a cleaning solution specifically designed for oil-based stains. After soaking, use a small brush to remove any residue. It is important to be thorough when cleaning the filters and tips to avoid clogs and ensure smooth paint flow.
Transitioning into the subsequent section, flushing the system with clean water is the next step in maintaining your paint sprayer’s performance.
Flush the system with clean water
First, make sure you flush the system with clean water to maintain optimal performance of your equipment. Flushing the Graco airless paint sprayer after using oil-based stain is an essential step in the cleaning procedure. This process helps remove any remaining residue and prevents clogging in the system. Here is a helpful table to guide you through the flushing process:
| Step | Instructions |
|---|---|
| Step 1 | Disconnect the sprayer from the power source. |
| Step 2 | Remove the spray tip and filter from the gun. |
| Step 3 | Connect a clean water source to the sprayer’s inlet. |
| Step 4 | Turn on the sprayer and flush clean water through the system until it runs clear. |
After flushing the system, you can proceed to reassemble the spray gun. This ensures that your Graco airless paint sprayer is ready for future use with oil-based stains.
Reassemble the spray gun
After flushing the system with clean water, it’s time to reassemble the spray gun. This step is crucial to ensure the proper functioning of your Graco airless paint sprayer.
Begin by carefully attaching the gun filter and nozzle guard back onto the gun body. Secure them tightly to prevent any leakage.
Next, reattach the gun handle and trigger assembly, making sure all the components are aligned correctly. Tighten any screws or bolts that hold the gun together.
Finally, reattach the spray tip and tighten it securely.
To help you complete this step smoothly, here are a few tips:
- Take your time and double-check that all the parts are properly aligned.
- Refer to the instruction manual for any specific reassembly instructions.
- If you encounter any issues during reassembly, refer to the troubleshooting section of the manual or contact Graco customer support.
With the spray gun reassembled, we can now move on to the next step: running clean water through the system.
Run clean water through the system
Once you’ve successfully reassembled the spray gun, it’s time to unleash a powerful torrent of crystal-clear water through the system, ensuring a thorough cleansing that will leave your sprayer sparkling like a supernova. This step is crucial for proper disposal of any remaining oil-based stain and for equipment maintenance.
Connect the sprayer to a water source and turn it on. Start by running the clean water through the gun, holding the sprayer over a bucket to catch any residue. Gradually increase the water pressure to flush out any lingering stain particles. Continue until the water runs clear.
This process not only cleans the system but also helps prevent clogging and prolongs the life of your sprayer.
Now that your sprayer is clean, it’s time to move on to the next step of drying and storing it properly.
Dry and store the sprayer properly
To ensure proper maintenance and longevity of your sprayer, make sure to thoroughly dry and store it in a clean and dry environment. Proper storage techniques are essential to prevent clogs and buildup in your Graco airless paint sprayer used for oil-based stain. Here’s a table to help you understand the steps for drying and storing your sprayer:
| Step | Instructions |
|---|---|
| 1 | Clean the sprayer thoroughly using warm water and mild soap. |
| 2 | Remove any excess water from the sprayer by running it for a few seconds. |
| 3 | Disassemble the sprayer and allow all parts to air dry completely. |
By following these steps, you can ensure that your sprayer is ready for its next use and prevent any damage or issues caused by improper storage. Now, let’s move on to the next section about how to dispose of waste materials responsibly without harming the environment.
Dispose of waste materials responsibly
Make sure you responsibly dispose of any waste materials from your painting projects to minimize harm to the environment. Proper disposal of waste materials is essential to reduce the environmental impact of oil-based stains used in Graco airless paint sprayers. Here are some tips for disposing of waste materials:
- Empty any leftover stain into a designated container for hazardous waste disposal.
- Clean brushes, rollers, and other tools used with the stain with a solvent recommended for oil-based paints.
- Dispose of used solvent and cleaning materials in a sealed container according to your local regulations.
By following these proper disposal practices, you can prevent the harmful effects of oil-based stains on the environment.
Now, let’s move on to the next section about regular maintenance and cleaning tips for your Graco airless paint sprayer.
Regular maintenance and cleaning tips
Maintaining and keeping your Graco airless paint sprayer in top condition is essential for optimal performance. When it comes to cleaning techniques, it is important to follow a recommended cleaning schedule to ensure that your sprayer remains in excellent working order. Regular cleaning prevents buildup of oil-based stains and residue, which can affect the spray pattern and clog the nozzle. To clean your sprayer, start by flushing it with a cleaning solution specifically designed for oil-based stains. This will help remove any remaining stain residue from the system. Next, disassemble the sprayer and clean each individual part thoroughly, paying special attention to the nozzle and filters. Once cleaned, reassemble the sprayer and perform a test spray to ensure it is working properly. By following these cleaning techniques and recommended cleaning schedule, you can prolong the life of your Graco airless paint sprayer and maintain its optimal performance.
| Cleaning Tips | Cleaning Schedule | Troubleshooting Tips |
|---|---|---|
| Flush with cleaning solution | After each use | Clogged nozzle? Check for debris |
| Disassemble and clean parts | Weekly | Uneven spray pattern? Check nozzle |
| Test spray after cleaning | Monthly | Low pressure? Check filters |
| Check for debris or residue | Before storage | Leaking? Check seals and gaskets |
| Store in a clean and dry place |
Frequently Asked Questions
How long should I flush the system with mineral spirits when cleaning a Graco airless paint sprayer used for oil based stain?
When cleaning a Graco airless paint sprayer used for oil-based stain, I recommend flushing the system with mineral spirits for at least 10-15 minutes. There are alternative cleaning solutions available, but mineral spirits is the most effective for removing oil-based stains.
Can I use any type of cleaning solution other than mineral spirits to flush the system?
I recommend using mineral spirits as the best cleaning solution for flushing the system of a graco airless paint sprayer used with oil-based stains. It is the most effective and safest option for removing oil-based stains.
How often should I clean the filters and tips of my Graco airless paint sprayer?
I clean the filters and tips of my Graco airless paint sprayer regularly to ensure optimal performance. It is recommended to clean them after every use using proper cleaning techniques to prevent clogs and maintain spray quality.
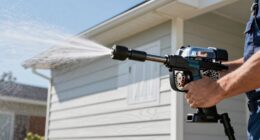
Can I use a pressure washer to clean the spray gun of the paint sprayer?
Using a pressure washer to clean the spray gun of a paint sprayer can be risky. Pressure washer safety is crucial, as it can damage the delicate parts. It’s best to consider alternative cleaning methods to ensure the longevity of your equipment.
Are there any specific safety precautions I should take when disposing of waste materials from the cleaning process?
When it comes to disposing of waste materials from the cleaning process, it is important to follow proper waste management and disposal regulations. This ensures that hazardous materials are handled safely and minimizes environmental impact.
Conclusion
In conclusion, by following these simple steps, you can keep your Graco airless paint sprayer spick and span.
-
Gather the necessary supplies and flush the system with mineral spirits to remove any oil-based stains.
-
Disassemble and clean the spray gun, as well as the filters and tips.
-
Flush the system with clean water and run it through to ensure all residue is gone.
-
Dry and store the sprayer properly, and dispose of waste materials responsibly.
Remember, regular maintenance is key to keeping your sprayer in top-notch condition. Happy cleaning!