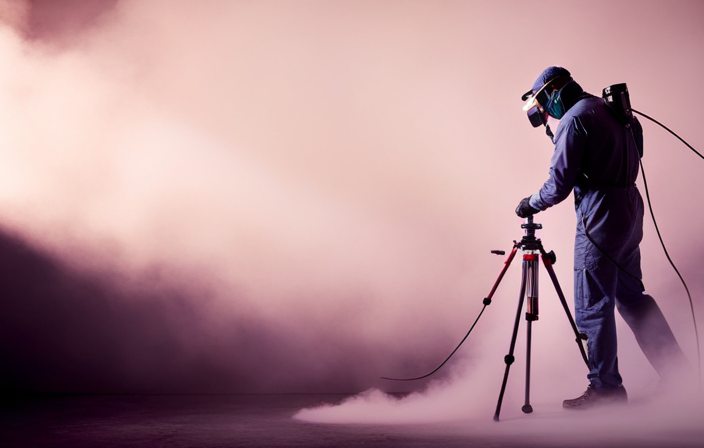
I have found that achieving the perfect air and pump pressure in an airless paint sprayer can be challenging. It can be frustrating when trying to get a smooth, even coat of paint, only to have the pressure be too high or too low. That’s why I have dedicated myself to mastering this skill, and I am excited to share what I have learned with you.
In this article, I’ll guide you through the process of finding the correct air and pump pressure for your airless paint sprayer. We’ll start by understanding the basics of these sprayers and gathering the necessary equipment. Then, I’ll walk you through the steps of starting with the manufacturer’s recommendations, conducting a test spray, and fine-tuning the pressure. I’ll also provide tips on practicing proper technique, checking and cleaning the equipment regularly, and seeking professional advice if needed.
So, let’s dive in and unlock the secrets to achieving flawless paint finishes with your airless paint sprayer.
Key Takeaways
- Factors such as paint type, viscosity, surface texture, and paint thickness should be considered when determining the correct air and pump pressure on an airless paint sprayer.
- Safety precautions, such as personal safety, understanding paint viscosity, and proper technique, should be followed when using an airless paint sprayer.
- Regular equipment check, cleaning, and maintenance, including filter inspection, pump inspection, and spray tip cleaning, are essential for optimal performance.
- Seeking professional advice, practicing and experimenting, and continuously striving for improvement are key to achieving professional-quality results with an airless paint sprayer.
Understanding the Basics of Airless Paint Sprayers
To understand the basics of airless paint sprayers, you’ve gotta know how they work and what makes them different from other types of paint sprayers.
Airless paint sprayers use a high-pressure pump to force paint through a small opening in the spray gun, creating a fine mist of paint particles. This method allows for a more even and consistent application of paint compared to other sprayers.
Understanding troubleshooting techniques is crucial when using an airless paint sprayer. Common mistakes to avoid include using the wrong paint viscosity, not cleaning the sprayer properly after use, and not maintaining the pump pressure within the recommended range. These mistakes can lead to clogs, uneven coverage, and poor paint adhesion.
Now that we understand the basics, let’s move on to gathering the necessary equipment.
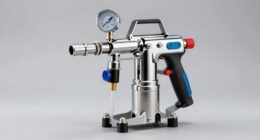
Gather the Necessary Equipment
When it comes to airless paint sprayers, choosing the right nozzle size is crucial for achieving the desired spray pattern and coverage. The nozzle size determines the flow rate and fan width of the paint spray, so selecting the correct size ensures optimal performance.
Additionally, using the correct hose length is important for maintaining proper pressure and minimizing pressure drop, which can affect the overall efficiency and effectiveness of the paint sprayer.
Choosing the Right Nozzle Size
Adjusting the nozzle size ensures that you achieve the most precise and efficient paint application. When it comes to nozzle selection, it’s important to consider the type of paint you’re using and the desired coverage. Here are five key factors to keep in mind:
-
Paint Viscosity: Different paints have varying thicknesses, so choose a nozzle size that can handle the viscosity of your paint.
-
Surface Type: The surface you’re painting on also influences the nozzle size. For rough surfaces, a larger nozzle may be needed to ensure adequate coverage.
-
Spray Pattern: Consider the spray pattern you want to achieve. A narrow spray pattern requires a smaller nozzle, while a wider pattern requires a larger one.
-
Flow Rate: The flow rate of your sprayer affects the coverage and speed of application. Adjust the nozzle size accordingly to achieve the desired flow rate.
-
Tip Wear: Over time, the nozzle tip may wear out. Check for any signs of wear and replace it if necessary to maintain optimal performance.
Choosing the right nozzle size and adjusting the pressure accordingly plays a crucial role in achieving a flawless paint job. Next, let’s explore the importance of using the correct hose length.
Using the Correct Hose Length
Using the right length of hose ensures smooth and effortless paint application, making your painting experience a breeze. When using an airless paint sprayer, it’s crucial to choose a hose length that suits your needs. A hose that’s too short can restrict your movement and make it difficult to reach all areas, while a hose that’s too long can cause pressure loss and affect paint flow.
To determine the appropriate hose length, consider the size of your painting project and the distance between your sprayer and the paint surface. It’s also important to choose an appropriate nozzle size to ensure the correct paint flow and pattern. Troubleshooting common issues, such as clogs or inconsistent spray, can often be resolved by adjusting the hose length and nozzle size.
To get started with your airless paint sprayer, refer to the manufacturer’s recommendations for the optimal hose length and nozzle size.
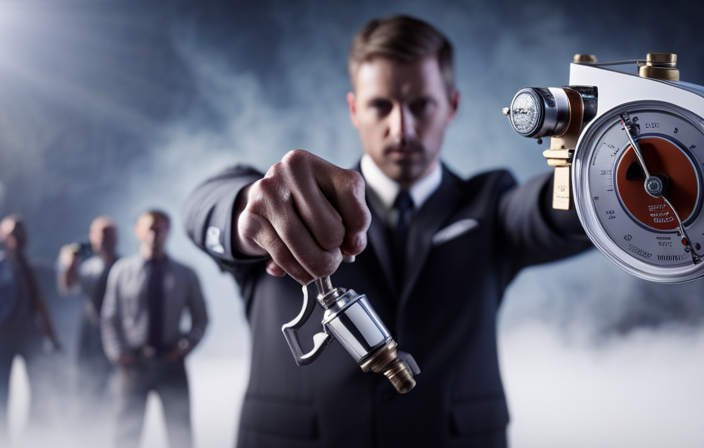
Start with Manufacturer Recommendations
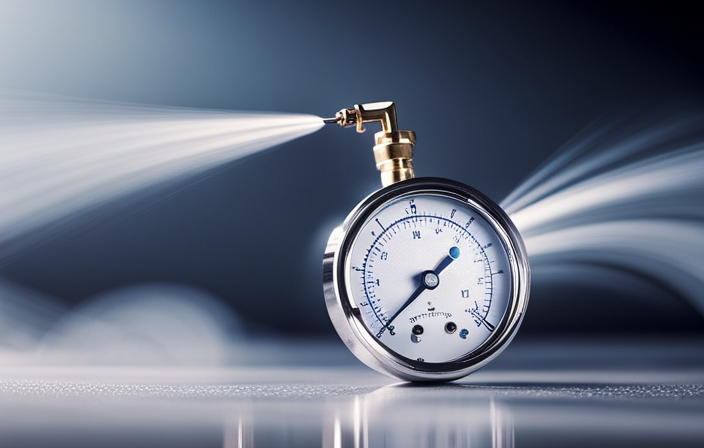
To determine the correct air and pump pressure on an airless paint sprayer, it is advisable to begin by consulting the manufacturer’s recommendations. These recommendations provide valuable information on the proper pressure adjustment for achieving optimal results. By following the guidelines set by the manufacturer, you can ensure that you are using the right air and pump pressure for your specific paint sprayer model. To make it easier to understand, let’s take a look at the following table:
| Sprayer Model | Air Pressure (psi) | Pump Pressure (psi) |
|---|---|---|
| Model A | 200-250 | 2500-3000 |
| Model B | 180-200 | 2000-2500 |
| Model C | 220-240 | 3000-3500 |
By referring to this table and finding your sprayer model, you can quickly determine the recommended air and pump pressure settings. Once you have adjusted the pressure accordingly, you can proceed to conduct a test spray to ensure that the paint is being applied evenly and smoothly.
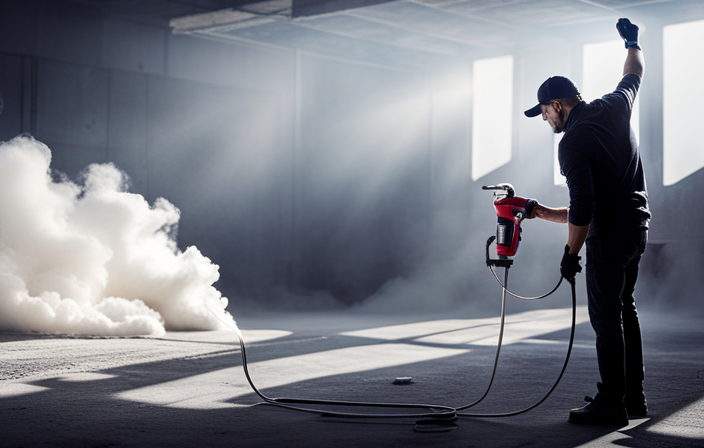
Conduct a Test Spray
When conducting a test spray on an airless paint sprayer, it’s important to adjust the pressure gradually to ensure optimal performance. Starting with a lower pressure and gradually increasing it allows for a more controlled and precise spray.
Additionally, evaluating the spray pattern is crucial to determine if any adjustments need to be made to the pressure or nozzle settings. By carefully observing the spray pattern, I can ensure that the paint is being applied evenly and uniformly, resulting in a professional finish.
Adjusting the Pressure Gradually
Gently increase the pressure on your airless paint sprayer, and you’ll feel more confident in achieving the perfect paint application. Gradual adjustments are crucial in finding the sweet spot for your desired spray pattern.
Start by increasing the pressure by small increments, allowing yourself to observe the changes in the spray pattern. Keep an eye on the fan width and the amount of overspray. If the pattern becomes too narrow or the overspray increases, you may need to decrease the pressure slightly. On the other hand, if the pattern is too wide or the coating appears thin, you can increase the pressure a bit more.
It’s important to make these adjustments slowly and methodically, as rushing through the process can lead to an uneven application. By evaluating the spray pattern in this way, you can ensure optimal results.
Evaluating the Spray Pattern
By observing the dance of paint as it gracefully glides from the sprayer, one can determine if the spray pattern is achieving the desired effect. Evaluating spray consistency is crucial in achieving a smooth and even finish.
If the spray pattern is uneven or inconsistent, it may indicate that the air and pump pressure needs adjustment. Troubleshooting the spray pattern involves checking for any blockages in the nozzle or hose, ensuring the paint is properly mixed, and adjusting the pressure accordingly.
A too high pressure can result in overspray and a rough texture, while a too low pressure can cause the paint to splatter and create an uneven coating. Once the spray pattern is evaluated and any issues are resolved, it is time to fine-tune the pressure for optimal results.
Fine-Tune the Pressure
To dial in the perfect air and pump pressure on an airless paint sprayer, it’s essential to finely adjust the settings. Proper pressure adjustment is crucial for achieving optimal results in your paint job. By fine-tuning the pressure, you can ensure an even and consistent spray pattern, preventing issues like overspray or uneven coverage.
To help you navigate the pressure adjustment process, consider the following table:
| Pressure Setting | Spray Pattern | Paint Coverage |
|---|---|---|
| Low | Narrow | Thin |
| Medium | Medium | Medium |
| High | Wide | Thick |
By referring to this table and experimenting with different pressure settings, you can find the sweet spot that works best for your specific project. Once you have fine-tuned the pressure, you can move on to considering the paint type and surface, which will be discussed in the next section.
Remember, finding the correct air and pump pressure is a crucial step in achieving professional-quality results with your airless paint sprayer.
Consider the Paint Type and Surface
Considering the type of paint and the surface is crucial for achieving a flawless finish with an airless paint sprayer. To ensure successful results, it’s important to consider safety precautions and understand the paint viscosity. Here are five key factors to keep in mind:
-
Paint type: Different types of paint, such as latex or oil-based, have varying viscosity levels and require different pressure settings.
-
Surface texture: Smooth surfaces may require lower pressure, while rough or textured surfaces may require higher pressure for proper coverage.
-
Paint thickness: Thicker paints will require higher pressure settings to achieve the desired spray pattern and coverage.
-
Ambient conditions: Factors like temperature and humidity can affect paint viscosity, so it’s important to adjust the pressure accordingly.
-
Safety precautions: Always wear appropriate protective gear and follow safety guidelines to avoid accidents and ensure personal safety.
By considering these factors and understanding the paint viscosity, you can optimize your airless paint sprayer settings for a professional finish.
Transitioning into the next section about ‘practice proper technique,’ it’s important to apply this knowledge alongside proper spraying techniques for optimal results.
Practice Proper Technique
Mastering the art of proper technique is essential for achieving professional results with an airless paint sprayer. To ensure optimal results, it is crucial to follow proper spraying techniques. Here are some key points to keep in mind:
-
Maintain a consistent distance: Hold the sprayer nozzle approximately 12 to 16 inches away from the surface to achieve an even coat of paint.
-
Use overlapping strokes: Start each stroke slightly before the previous one ends, overlapping them by about 50%. This technique helps to avoid streaks and ensures even coverage.
-
Move at a steady pace: Maintain a consistent speed while moving the sprayer back and forth. Avoid pausing or hesitating in one spot as it can result in uneven paint distribution.
-
Keep the sprayer level: Hold the sprayer parallel to the surface to prevent drips and runs.
-
Practice on a test surface: Before starting your project, practice your technique on a scrap piece of material to get a feel for the sprayer and achieve the desired results.
By mastering these proper techniques, you can achieve optimal results with your airless paint sprayer. To further enhance your performance, it is important to regularly check and clean the equipment.
Regularly Check and Clean the Equipment
Regularly maintaining and cleaning your equipment is like giving your airless paint sprayer a spa treatment, ensuring its longevity and optimal performance. To keep your equipment in top shape, it’s essential to follow a checklist and perform regular maintenance tasks.
Here are some troubleshooting techniques to help you keep your airless paint sprayer in excellent condition:
- Inspect the filters and clean or replace them if necessary.
- Check the pump for any signs of wear or damage and address them promptly.
- Clean the spray tip carefully to prevent clogging and ensure a smooth flow of paint.
- Regularly lubricate the moving parts to avoid friction and prolong their lifespan.
By regularly checking and cleaning your equipment, you can prevent issues and maintain the efficiency of your airless paint sprayer. However, if you encounter any problems that you’re unsure how to handle, it’s always wise to seek professional advice.
Transitioning into the next section, professional assistance can provide valuable insights and solutions for complex issues.
Seek Professional Advice if Needed
Before moving on to the next step, it’s important to emphasize the value of seeking professional advice if needed. While you may have a good understanding of your airless paint sprayer, there may be specific nuances or challenges that require expert guidance.
Seeking advice from professionals who are experienced with airless paint sprayers can save you time, money, and potential damage to your equipment. They can offer insights on finding the correct air and pump pressure for your specific project, as well as provide troubleshooting tips and recommendations for optimal performance.
Their expertise can help you avoid common pitfalls and ensure that you achieve the best results possible.
With this knowledge in mind, let’s now transition into the subsequent section about the importance of keep practicing and experimenting with your airless paint sprayer.
Keep Practicing and Experimenting
Practice makes perfect when it comes to using your airless paint sprayer, so don’t be afraid to get creative and try new techniques! As you continue to practice, you’ll gain a better understanding of how different factors can affect the spray pattern and finish of your paint job. Experimentation is key in finding the correct air and pump pressure for your specific project.
To help you troubleshoot common issues and refine your technique, here are some experimentation tips:
-
Start with a test panel: Before tackling a large project, spray a test panel to see how the paint flows and atomizes at different pressure settings.
-
Adjust the pressure incrementally: Make small adjustments to the air and pump pressure and observe the impact on the spray pattern. This will help you find the optimal settings for your desired finish.
-
Keep an eye on overspray: If you’re experiencing excessive overspray, try reducing the pressure slightly to achieve better control and minimize waste.
-
Check for clogs: If the spray pattern becomes inconsistent or starts to sputter, check for clogs in the gun, hose, or filters. Clear any obstructions to ensure a smooth flow of paint.
-
Clean and maintain your equipment: Regularly clean your airless paint sprayer to prevent build-up and ensure optimal performance. Refer to the manufacturer’s instructions for proper maintenance procedures.
Remember, practice and experimentation are essential in mastering your airless paint sprayer. With time, you’ll develop a keen eye for adjusting the air and pump pressure to achieve professional-quality results.
Frequently Asked Questions
What are the common mistakes beginners make when using an airless paint sprayer?
Common mistakes beginners make when using an airless paint sprayer include improper spray technique, using the wrong nozzle size, not properly preparing the surface, and not cleaning the sprayer thoroughly. Here are some troubleshooting tips to avoid these issues.
Can I use any type of paint with an airless paint sprayer?
Yes, you can use different types of paint with an airless paint sprayer. To achieve the best paint finish, it is important to choose a paint that is compatible with the sprayer and follow the manufacturer’s instructions for proper application.
How do I know if I am using too much pressure while spraying?
To adjust pressure while spraying, I monitor the spray pattern. If it’s uneven or drips, I increase the pressure. If the coating appears thin or doesn’t adhere well, I may be using too little pressure.
Are there any safety precautions I should take when using an airless paint sprayer?
When using an airless paint sprayer, it is crucial to take safety precautions. For example, wearing protective gear such as goggles and gloves can prevent injuries. Additionally, ensuring proper ventilation in the workspace is essential for safe operation.
Can I adjust the pressure while spraying or do I need to stop and make changes?
Yes, you can adjust the pressure while spraying with an airless paint sprayer. However, it is important to note that adjusting the pressure mid spray can have a significant impact on the final paint finish.
Conclusion
In conclusion, finding the correct air and pump pressure on an airless paint sprayer is crucial for achieving optimal results. By following the manufacturer’s recommendations and conducting a test spray, you can fine-tune the pressure to ensure a smooth and even application.
It’s important to practice proper technique, regularly check and clean the equipment, and seek professional advice if needed. Remember, Rome wasn’t built in a day, so keep practicing and experimenting to become a master of your craft.