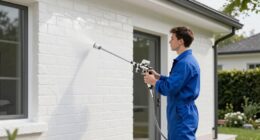
A malfunctioning paint sprayer can greatly impede your painting projects. As a DIY enthusiast and home improvement buff, I understand the frustration that comes with a faulty tool. That’s why I’m excited to share my knowledge on fixing a Magnum airless paint sprayer with you.
In this article, I will provide you with step-by-step instructions to identify and troubleshoot common issues that may arise with your sprayer. From cleaning and unclogging the spray tip to checking and replacing the filter, I will guide you through the process of getting your sprayer back in working order.
Additionally, I will provide tips on how to maintain and clean your sprayer regularly to ensure its longevity. So, let’s dive in and get your Magnum airless paint sprayer back to its prime performance!
Key Takeaways
- Regular lubrication of moving parts (piston rod, packings) is essential for optimal performance.
- Thoroughly clean and unclog the nozzle to ensure a consistent spray pattern.
- Troubleshoot motor failure to start by checking power source and connections, and inspecting/replacing the on/off switch if necessary.
- Adjust pressure settings to control overspray and minimize paint wastage.
Identify the Problem with Your Sprayer
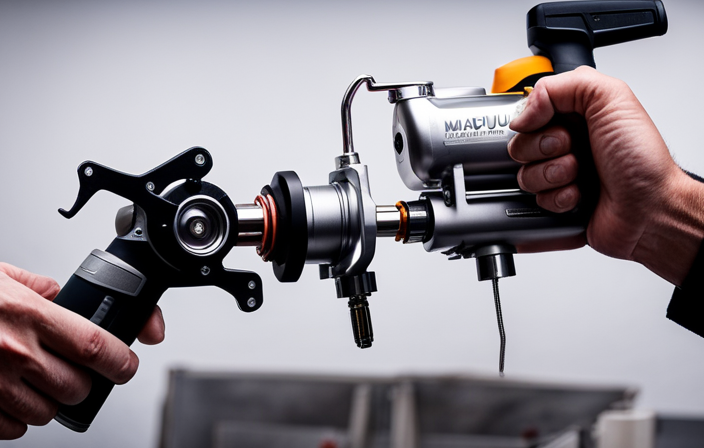
If you’re experiencing issues with your Magnum airless paint sprayer, the first step is to identify the problem. Common paint sprayer problems can include clogging, uneven spray pattern, or loss of pressure.
To troubleshoot these issues, start by checking the nozzle for any blockages or debris. Clean it thoroughly with a brush or a toothpick if necessary.
Next, inspect the spray tip and make sure it is properly aligned and not worn out. If the spray pattern is uneven, adjust the pressure settings and test it on a scrap surface.
Loss of pressure can be caused by a worn-out pump or a damaged hose, so inspect these components as well.
By following these troubleshooting tips for paint sprayers, you can quickly identify and fix the problem.
Now, let’s move on to gathering the necessary tools and supplies for the next step.
Gather the Necessary Tools and Supplies
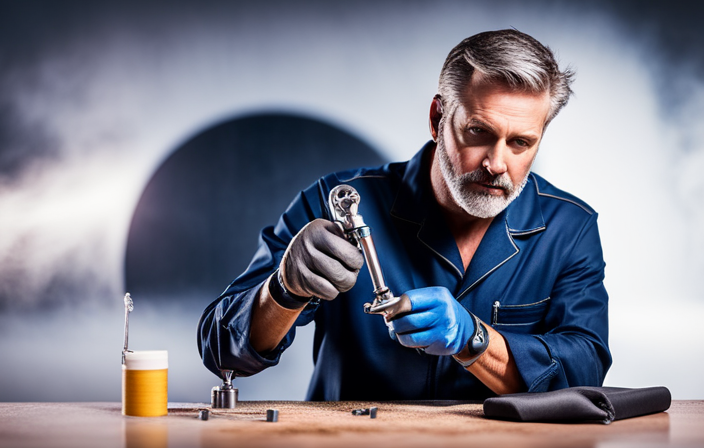
First, make sure you have all the tools and supplies needed to tackle the job of restoring your trusty paint spraying machine. To troubleshoot paint sprayer issues and ensure smooth operation, there are a few key items you’ll need. Refer to the table below for a comprehensive list:
| Tools | Supplies |
|---|---|
| Wrench | Cleaning solution |
| Screwdriver | Lubricating oil |
| Needle | Replacement filters |
| Wire brush | Spare spray tips |
Having these tools and supplies readily available will make the troubleshooting process easier and more efficient. Additionally, regular maintenance is crucial for prolonging the lifespan of your airless paint sprayer. Clean the sprayer after each use, lubricate moving parts, replace filters regularly, and inspect for any signs of wear or damage. By following these tips for maintaining an airless paint sprayer, you can ensure optimal performance and prevent future issues. Now, let’s move on to the next step: cleaning and unclogging the spray tip.
Clean and Unclog the Spray Tip
To ensure optimal performance, it’s essential to maintain the cleanliness and functionality of the spray tip by regularly cleaning and unclogging it. Spray tip maintenance is a crucial aspect of using a Magnum airless paint sprayer effectively. Here are some key steps to troubleshoot clogging issues:
- Start by removing the tip guard and then unscrew the spray tip from the gun.
- Use a small brush or toothpick to remove any dried paint or debris from the tip.
- Soak the spray tip in a cleaning solution for a few minutes and then rinse it thoroughly with water.
Regularly cleaning and unclogging the spray tip will prevent paint build-up and ensure a smooth and even spray pattern.
Once you have completed this step, it’s important to check and replace the filter to further maintain the performance of your Magnum airless paint sprayer.
Check and Replace the Filter
Once you’ve cleaned and unclogged the spray tip, it’s important to check and replace the filter, as a clogged filter can decrease paint flow by up to 50%. The filter is responsible for removing impurities from the paint, ensuring a smooth and even spray pattern. To replace the filter, follow these steps:
- Turn off the sprayer and detach the filter housing from the gun.
- Remove the old filter from the housing and discard it.
- Insert a new filter into the housing, making sure it fits securely.
- Reattach the housing to the gun and tighten it.
- Once the filter is replaced, test the sprayer to ensure proper paint flow.
By regularly replacing the filter, you can improve the efficiency and performance of your Magnum airless paint sprayer. Next, we will inspect and clean the pump to maintain its optimal functionality.
Inspect and Clean the Pump
After you have replaced the filter, it’s essential to carefully inspect and thoroughly clean the pump to ensure optimal functionality and prevent any potential issues. Here are four important steps to follow when inspecting and cleaning your Magnum airless paint sprayer pump:
-
Check the pump housing for any signs of damage or wear. Look for cracks, leaks, or loose fittings, as these can affect the performance of the pump.
-
Inspect the piston and cylinder for any signs of wear or damage. Make sure the piston moves smoothly and there are no visible scratches or dents on the cylinder.
-
Clean the pump thoroughly by removing any debris or paint residue that may have accumulated. Use a soft brush or cloth to gently scrub the surfaces and ensure all the parts are clean.
-
Lubricate the pump according to the manufacturer’s instructions. This will help prevent friction and ensure smooth operation.
Inspecting pump parts and troubleshooting common pump problems is crucial for maintaining the longevity and efficiency of your Magnum airless paint sprayer.
After cleaning the pump, it’s important to check and replace any damaged hoses or fittings to ensure a seamless painting experience.
Check and Replace any Damaged Hoses or Fittings
First, make sure you check and replace any damaged hoses or fittings on your equipment to ensure a seamless painting experience. Did you know that a single damaged hose can decrease paint flow by up to 50%? Inspecting fittings and repairing hoses is crucial for optimal performance of your Magnum airless paint sprayer. Here is a table to help you identify common hose and fitting issues:
| Issue | Symptoms | Solution |
|---|---|---|
| Leaking fittings | Paint dripping from connections | Tighten fittings or replace if necessary |
| Cracked hose | Paint spraying unevenly or not at all | Replace the damaged hose |
| Clogged fittings | Decreased paint flow or no paint coming out | Clean or replace fittings as needed |
By regularly inspecting and repairing hoses and fittings, you can ensure smooth paint flow and prevent any potential issues. Now, let’s move on to the next step and test the sprayer’s performance while adjusting the pressure.
Test the Sprayer and Adjust the Pressure
Now let’s see how this powerful tool performs and make sure the pressure is just right for a flawless painting experience. To test the sprayer and adjust the pressure, follow these steps:
-
First, fill the paint container with your desired paint. Ensure that the container is securely attached to the sprayer.
-
Adjust the pressure control knob on the sprayer to the lowest setting.
-
Hold the sprayer about 12 inches away from a test surface and squeeze the trigger to start spraying.
-
Gradually increase the pressure until you achieve the desired spray pattern. Adjust the pressure control knob accordingly.
-
If you encounter any issues with the spray pattern or paint flow, troubleshoot by checking for clogged nozzles, cleaning the filters, or ensuring that the paint viscosity is suitable for the sprayer.
Now that you have tested and adjusted the sprayer, it’s time to move on to the next step: lubricating moving parts and checking for leaks.
Lubricate Moving Parts and Check for Leaks
To ensure a smooth and flawless painting experience, it’s time to pamper your sprayer by giving its moving parts a luxurious lubrication treatment and checking for any sneaky leaks. Proper lubrication techniques are essential for maintaining the longevity of your magnum airless paint sprayer. Start by identifying the moving parts that require lubrication, such as the piston rod and the packings. Apply a small amount of lubricant to these parts using a clean cloth or brush. Additionally, inspect the sprayer for any signs of leaks, paying close attention to the connections and seals. Tighten any loose fittings and replace worn-out seals to prevent air leaks during operation. By regularly lubricating your sprayer’s moving parts and checking for leaks, you can ensure optimal performance and extend the lifespan of your equipment. Once these steps are completed, you can move on to troubleshooting any additional issues that may arise.
Troubleshoot Any Additional Issues
If you encounter any other issues, you can easily troubleshoot them and ensure a smooth painting experience for yourself. Here are some troubleshooting techniques to address common paint sprayer issues:
-
Clogged Nozzle: If your paint sprayer is not spraying evenly or at all, it might be due to a clogged nozzle. To fix this, remove the nozzle and clean it thoroughly with a small brush or a nozzle cleaning tool. Make sure to remove any dried paint or debris.
-
Inconsistent Spray Pattern: If you notice an uneven spray pattern, check the paint viscosity. Adjust the paint consistency by adding the appropriate thinner or water to achieve the desired texture.
-
Motor Not Starting: If your sprayer’s motor fails to start, check the power source and ensure it is properly connected. If the power source is fine, inspect the on/off switch and replace it if necessary.
-
Excessive Overspray: If your sprayer is producing excessive overspray, adjust the pressure settings accordingly. Lower the pressure for more control and reduce overspray.
To maintain and clean your sprayer regularly for longevity, follow these steps…
[Transition sentence into the next section…]Maintain and Clean Your Sprayer Regularly for Longevity
Regular maintenance and cleaning are essential for ensuring the longevity of your sprayer. This helps it to perform at its best and extends its lifespan by up to 50%.
To prevent common paint sprayer problems, it is crucial to perform preventive maintenance regularly. Start by thoroughly inspecting the sprayer for any signs of wear or damage. Check the filters and replace them if they are clogged or worn out.
Clean the spray gun and nozzle after each use to remove any paint residue that can clog the system. Additionally, flush the pump system with a cleaning solution to remove any built-up debris. Lubricate all moving parts to keep them functioning smoothly.
Regularly check and tighten all connections to ensure there are no leaks. By following these maintenance steps, you can keep your Magnum airless paint sprayer in optimal condition, avoiding costly repairs and maximizing its lifespan.
Frequently Asked Questions
How do I troubleshoot a sprayer that is spraying unevenly?
To troubleshoot a sprayer that is spraying unevenly, start by checking for clogged nozzles. Clean them thoroughly using a nozzle cleaning tool or a wire brush. If the issue persists, adjust the spray pattern by turning the spray tip or adjusting the pressure settings.
Can I use any type of paint with a magnum airless paint sprayer?
Yes, you can use various types of paint with a magnum airless paint sprayer. However, it’s important to ensure paint compatibility and consider alternative paint options to achieve optimal results.
What should I do if my sprayer is not turning on?
To troubleshoot a non-responsive Magnum airless paint sprayer, there can be several common causes and solutions. Check the power source, ensure the switch is on, inspect the power cord, and test the motor for any issues.
How often should I clean and maintain my magnum airless paint sprayer?
To prevent clogs in a Magnum airless paint sprayer, it is important to clean and maintain it regularly. Best practices include flushing the system with water after each use and using a filter to remove impurities. Additionally, store the sprayer in a clean and dry place.
What is the average lifespan of a magnum airless paint sprayer?
The average lifespan of a Magnum airless paint sprayer is around 5-7 years. However, it is important to note that common issues with these sprayers include clogging, leaking, and motor failure.
Conclusion
After following these steps and troubleshooting any additional issues, my Magnum airless paint sprayer is now working like a charm.
I’m relieved that I was able to fix the problem myself, thanks to the detailed instructions provided.
It’s important to remember to maintain and clean the sprayer regularly to ensure its longevity.
With a little bit of effort and some elbow grease, my sprayer is now ready to tackle any painting project that comes my way.
