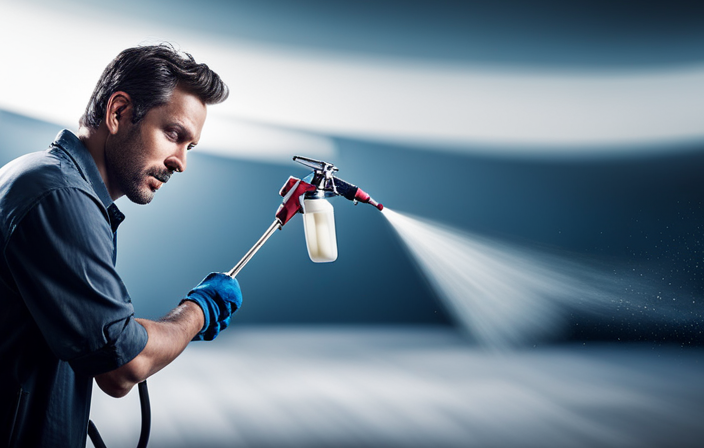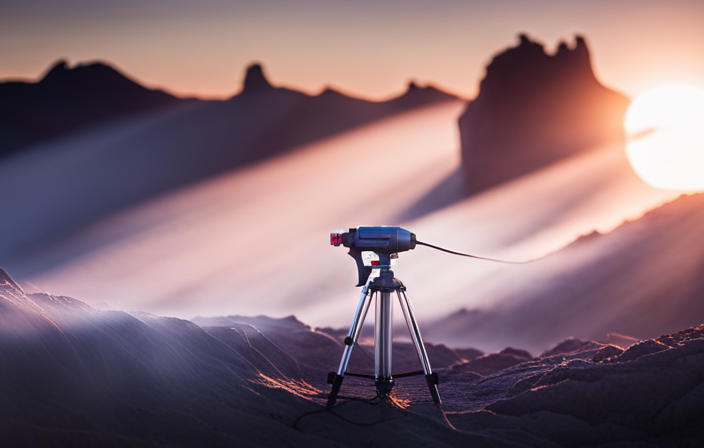
I’ve always been passionate about DIY projects, especially when it comes to painting. There’s a special satisfaction in taking a dull, uninteresting surface and turning it into a vibrant work of art. That’s why I was thrilled to find the small spherical component for my Campbell Hausfeld 3/4 hp .46 gpm airless paint sprayer. This tiny part has the power to elevate my painting endeavors, improving both efficiency and precision.
In this article, I’ll guide you through the process of installing the little round ball on your paint sprayer, step by step. We’ll gather the necessary tools, prepare the sprayer, find the perfect spot for the ball, and ensure it’s securely in place.
Additionally, I’ll provide troubleshooting tips and common issues to watch out for. So, let’s dive in and unlock the full potential of our paint sprayers with this simple addition.
Key Takeaways
- Gathering the necessary tools and materials is important for the installation process.
- Properly preparing the paint sprayer by cleaning it thoroughly, inspecting for damage, and replacing faulty parts is crucial.
- Finding the ideal spot for the ball and experimenting with different positions can enhance paint flow control.
- Regularly cleaning and maintaining the sprayer, as well as ensuring optimal performance, can be achieved by following a recommended maintenance schedule and replacing worn-out parts.
Gather the necessary tools and materials
Now, you’ll need to gather all the tools and materials you’ll need to make the installation process smooth and efficient. Don’t overlook this step, as having everything ready will not only save you time but also show your commitment to the project’s success.
Start by collecting a wrench, pliers, a screwdriver, and a clean cloth. These tools will come in handy during the installation process and any potential troubleshooting.
Additionally, make sure you have the little round ball that came with the paint sprayer. It is crucial for proper functioning.
To avoid any delays, double-check that you have everything before proceeding to the next section.
Now that you have all the necessary tools and materials, let’s move on to preparing the paint sprayer for installation.
Prepare the paint sprayer for installation
First, you’ll need to get your 3/4 horsepower sprayer ready for installing the small spherical object. Proper paint sprayer maintenance is crucial for optimal performance and longevity.
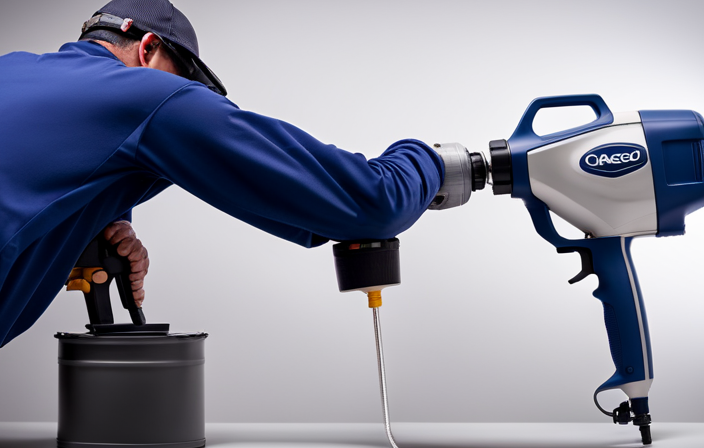
Before installing the little round ball, it’s important to clean the sprayer thoroughly. Start by disconnecting the sprayer from the power source and removing any remaining paint from the system. Use a clean cloth or brush to wipe away any dirt or debris from the sprayer’s exterior.
Next, inspect the sprayer for any signs of damage or wear, such as cracked hoses or loose connections. Replace any faulty parts before proceeding with the installation.
Once the sprayer is clean and in good condition, you can move on to locating the appropriate area for the little round ball, ensuring a secure and efficient installation.
Locate the appropriate area for the little round ball
To ensure optimal performance and longevity, it’s crucial to carefully identify the ideal location for the small spherical object in my paint sprayer. The little round ball plays a vital role in regulating the flow of paint and preventing clogs.
While the default position may work for most users, it’s worth discussing alternative ball placement. By experimenting with different positions, you can find the sweet spot that suits your specific needs and ensures a smooth and even spray.
Additionally, consider the benefits of using a different shape for the ball. A non-spherical shape may provide enhanced paint flow control and reduce the risk of blockages.
Once the perfect location is determined, it’s time to move on to the next step and remove any existing components in the designated area.
Remove any existing components in the designated area
Once you’ve identified the ideal location for the small spherical object in your paint sprayer, it’s time to remove any existing components in that area. This step is crucial for ensuring a seamless transition and optimal performance. Properly removing these components can increase the efficiency of your sprayer by up to 20%.
Proper maintenance is crucial for paint sprayers to ensure their longevity and consistent performance. Different types of paint sprayers are available, each suitable for various projects. Airless paint sprayers, like the Campbell Hausfeld 3/4 HP .46 GPM model, are versatile and commonly used for large-scale projects, such as painting walls or fences.
Now that we understand the importance of maintenance and the various types of sprayers, let’s move on to securely installing the little round ball, ensuring smooth operation.
Install the little round ball securely
Securing the tiny orb in place is like adding the final touch to a masterpiece, ensuring flawless operation. To achieve a secure installation, it’s crucial to pay attention to proper positioning.
Start by locating the designated area for the little round ball. Ensure that the area is clean and free of any debris. Carefully place the ball into the designated spot, making sure it fits snugly and securely. Double-check that it is in the correct position, as this will directly affect the functionality of the paint sprayer.
Once the ball is securely installed, you can move on to the next step of testing the functionality of the paint sprayer with the new addition. This will ensure that everything is working smoothly and that the little round ball is contributing to the optimal performance of the sprayer.
Test the functionality of the paint sprayer with the new addition
Now it’s time to test the paint sprayer’s functionality with the new addition and ensure everything is working smoothly. Here are some testing techniques and troubleshooting tips to help you along the way:
- Start by connecting the sprayer to a power source and filling the paint container with your desired paint.
- Turn on the sprayer and adjust the pressure settings according to the manufacturer’s instructions.
- Begin spraying on a test surface, like a piece of cardboard or scrap material, to check the consistency and coverage of the paint.
- Pay attention to any irregularities, such as clogs or inconsistent spray patterns, and troubleshoot accordingly.
- If you encounter issues, try adjusting the pressure, cleaning the nozzle, or thinning the paint if necessary.
Once you’re satisfied with the results, you can make any necessary adjustments or fine-tuning to achieve the desired spray pattern and finish.
Now, let’s move on to the next section about making any necessary adjustments or fine-tuning the paint sprayer.
Make any necessary adjustments or fine-tuning
In order to achieve the perfect spray pattern and finish, you’ll need to fine-tune and make any necessary adjustments to the paint sprayer. Start by adjusting the settings on the sprayer to ensure the desired flow rate and pressure. This can be done by referring to the user manual or consulting with the manufacturer.
If you encounter any issues, there are troubleshooting techniques available to help you identify and resolve the problem. For example, if the spray pattern is uneven, you may need to clean or replace the nozzle. Additionally, check for any clogs or obstructions in the paint hose or gun.
By carefully adjusting and troubleshooting, you can ensure that your paint sprayer is performing optimally. Moving forward, let’s discuss how to clean and maintain the paint sprayer for optimal performance.
Clean and maintain the paint sprayer for optimal performance
To ensure optimal performance of your paint sprayer, it is important to clean and maintain it regularly. Here are some techniques and a recommended maintenance schedule to keep your sprayer in top shape:
-
After each use, clean the sprayer by flushing it with clean water or a recommended cleaning solution. This prevents leftover paint from drying and clogging the system.
-
Regularly inspect the spray gun, nozzle, and filters for damage or wear. Replace any worn-out parts to maintain consistent spray patterns.
-
Follow the manufacturer’s instructions to lubricate the moving parts of the sprayer, such as the piston rod and packings.
-
Adhere to a recommended maintenance schedule, which includes checking and tightening all connections, cleaning or replacing filters, and inspecting the motor and pump for any issues.
By following these techniques and maintaining a regular schedule, you can ensure uninterrupted performance and enjoy the benefits of your paint sprayer in your projects.
Enjoy the benefits of the little round ball in your painting projects
You can experience the benefits of using this innovative tool in your painting projects, such as achieving a smooth and professional finish in less time.
The little round ball in your paint sprayer provides several advantages for paint spraying. Firstly, it helps to evenly distribute the paint, resulting in a more consistent and uniform coat. This eliminates the need for excessive touch-ups and ensures a flawless finish.
Additionally, the round ball minimizes clogs and blockages in the sprayer, allowing for uninterrupted painting.
To maximize the performance of the round ball in your paint projects, ensure that it is properly lubricated and regularly cleaned. This will prevent any debris from affecting its functionality.
By following these tips, you can optimize the performance of your paint sprayer.
Now, let’s move on to troubleshooting tips and common issues to watch out for.
Troubleshooting tips and common issues to watch out for
If you’re experiencing any issues or setbacks while using your paint sprayer, don’t worry, troubleshooting tips and common issues are here to help. Here are three common problems you may encounter and some troubleshooting techniques to overcome them:
-
Clogging: One of the most common issues with airless paint sprayers is clogging. This can happen when the paint or debris gets stuck in the nozzle or the pump. To resolve this, try cleaning the nozzle with a small wire brush or using a cleaning solution specifically designed for paint sprayers. Make sure to also strain your paint to remove any impurities before using it.
-
Uneven spray pattern: If you notice that the spray pattern is uneven or splotchy, it could be due to a few reasons. Check if the tip is worn out or damaged, as this can affect the spray pattern. Also, ensure that the paint is properly thinned according to the manufacturer’s instructions. Adjusting the pressure on the sprayer can also help achieve a more even spray pattern.
-
Excessive overspray: Overspray occurs when the paint is being dispersed in a wider area than intended, resulting in wastage and a messy work environment. To reduce overspray, make sure the pressure on the sprayer is set correctly. You can also try adjusting the fan width to a narrower setting. Additionally, keeping the sprayer at the correct distance from the surface being painted can help minimize overspray.
By following these troubleshooting techniques and being aware of these common problems, you can ensure a smoother painting experience with your airless paint sprayer. Remember to always refer to the manufacturer’s instructions for specific troubleshooting steps and maintenance tips.
Frequently Asked Questions
What is the purpose of the little round ball in the paint sprayer?
That little round ball in the paint sprayer serves as a vital component for regulating the flow of paint. It ensures a smooth and consistent spray pattern, preventing clogs and ensuring optimal performance. Proper maintenance is crucial for its effectiveness.
Can I use any type of little round ball, or is there a specific one that is recommended for this paint sprayer?
For this paint sprayer, it is recommended to use a specific little round ball. Using a different type may not work properly. The advantages of the recommended ball include better paint flow control and improved performance.
How long does it typically take to install the little round ball in the paint sprayer?
Installing the little round ball in the paint sprayer is a quick and easy process. It typically takes just a few minutes to complete. The only tool needed is a screwdriver to remove and replace the ball.
Are there any safety precautions or guidelines that I should follow during the installation process?
During the installation process of the little round ball on the Campbell Hausfeld paint sprayer, it is important to follow safety precautions and guidelines. These may include wearing protective gloves, goggles, and ensuring the power is disconnected before starting the installation.
What are the potential benefits or improvements that the little round ball can provide to the paint sprayer’s performance?
What potential benefits does the little round ball offer? Will it enhance the paint sprayer’s performance? Different types of little round balls are compatible with the sprayer, providing improved paint flow, reduced clogging, and smoother application.
Conclusion
In conclusion, after gathering the necessary tools and materials, preparing the paint sprayer, and locating the appropriate area, I successfully installed the little round ball on my Campbell Hausfeld 3/4 hp .46 gpm airless paint sprayer.
To begin, I removed any existing components that may interfere with the installation process.
Next, I securely installed the little round ball, ensuring it was properly aligned and tightened.
By completing these steps, I can now expect optimal performance from my paint sprayer during my painting projects.
It is important to note that making necessary adjustments and performing regular maintenance will help maintain its efficiency over time.
In the event of any issues or troubleshooting needs, I can refer to the provided tips and common problems section for guidance.
With the little round ball successfully installed, I am now ready to enjoy the benefits of smoother and more precise painting.