In the realm of painting, just using ‘a lick of paint’ is no longer enough. As someone who enjoys DIY projects, I’ve learned that achieving professional-looking results hinges on the tools you use. Trust me, incorporating an airless paint sprayer makes a huge difference.
This ingenious device takes the hassle out of painting, allowing you to effortlessly coat large surfaces with a smooth, even finish. In this article, I’ll be your guide on how to operate an airless paint sprayer like a pro. From choosing the right paint to troubleshooting common issues, I’ll share my knowledge and experience to ensure your painting projects are a breeze.
So sit back, relax, and get ready to discover the time and effort saved with this remarkable tool. Let’s dive in and master the art of operating an airless paint sprayer together.
Key Takeaways
- Proper cleaning of clogged nozzles using warm soapy water or a cleaning tool
- Checking for worn-out tips and adjusting paint viscosity to fix uneven spray patterns
- Adjusting pressure and changing tip size to improve spray patterns
- Properly mixing and straining paint to prevent paint splattering

14 Pieces Airless Paint Sprayer Tips Set, Anglecai 6 Reversible Spray Nozzles, 6 Airless Paint Spray Gun Filters, 2 Nozzle Tip Guards for Guns House Painting
- Compatible Nozzle Sizes: Six models with various diameters
- Durable Material: Made of sturdy plastic and metal
- Leak-Proof Design: Stable and wear-resistant construction
As an affiliate, we earn on qualifying purchases.
As an affiliate, we earn on qualifying purchases.
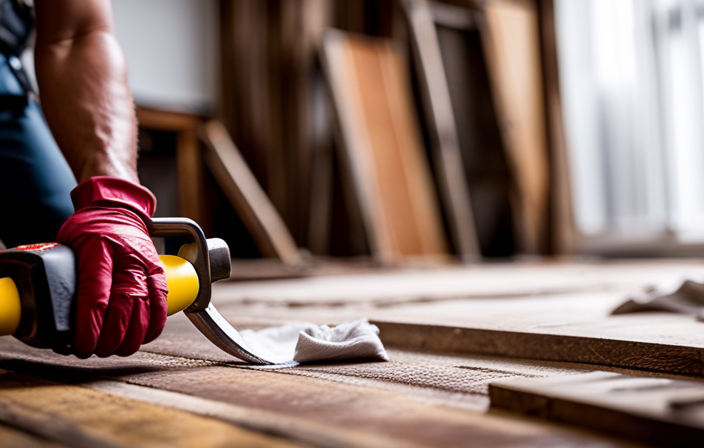
Understand the Basics of Airless Paint Sprayers
Now let’s dive into the nitty-gritty of how you can master the ins and outs of operating an airless paint sprayer. When it comes to airless paint sprayers, understanding the basics is crucial.
Proper sprayer maintenance is essential for optimal performance. Regularly clean the sprayer after each use and make sure to inspect and replace any worn-out parts. Troubleshooting tips can also come in handy, such as checking for clogs in the nozzle or adjusting the pressure settings. By familiarizing yourself with these maintenance and troubleshooting techniques, you’ll be able to keep your sprayer in top shape and avoid unnecessary downtime.
Moving on to the next section, let’s talk about how choosing the right paint and preparation can make a significant difference in your painting results.
Choose the Right Paint and Preparation
Before diving into the world of airless paint sprayers, it’s crucial to carefully select the perfect paint and prepare your project for a flawless finish.
When choosing paint colors, consider the type of surface you’ll be painting and the desired outcome. Whether you’re looking for a bold statement or a subtle touch, the right paint color can transform a space.
Once you’ve chosen your colors, it’s time to prepare the painting surface. This involves cleaning the area, removing any dirt or debris, and repairing any imperfections such as cracks or holes. Proper surface preparation is essential for a smooth and long-lasting finish.
With the right paint and a properly prepared surface, you’re ready to move on to setting up and adjusting the sprayer for optimal performance, ensuring a professional-looking result.
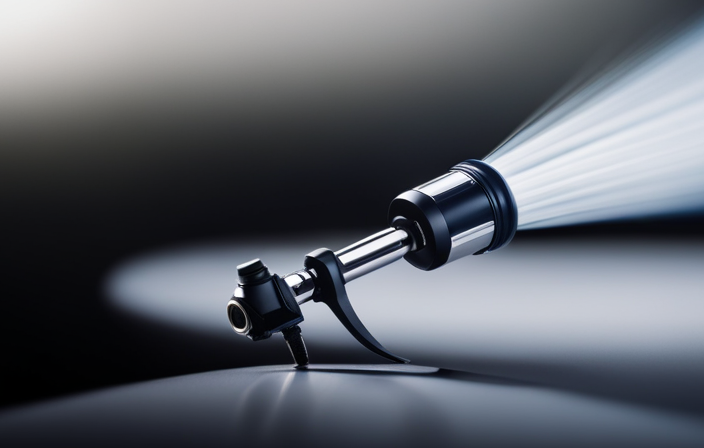
Set Up and Adjust the Sprayer for Optimal Performance
To achieve the best results, make sure to properly install and fine-tune the sprayer for maximum efficiency and flawless performance. Here are a few key steps to follow:
-
Adjusting Pressure: Begin by adjusting the pressure to the manufacturer’s recommended setting. This will ensure that the paint is atomized properly and provides an even coat on the surface.
-
Selecting Nozzle: Choose the appropriate nozzle size for your project. A smaller nozzle is ideal for detailed work, while a larger one is better for larger surfaces. This will help to achieve the desired coverage and finish.
-
Positioning the Gun: Hold the sprayer gun about 12 inches away from the surface to be painted. This distance allows for an even distribution of paint without overspray.
-
Test Spray: Before starting your project, perform a test spray on a scrap piece of material to ensure the sprayer is adjusted correctly and the paint flows smoothly.
With the sprayer properly set up and adjusted, you’re now ready to practice proper spraying techniques for a flawless finish.
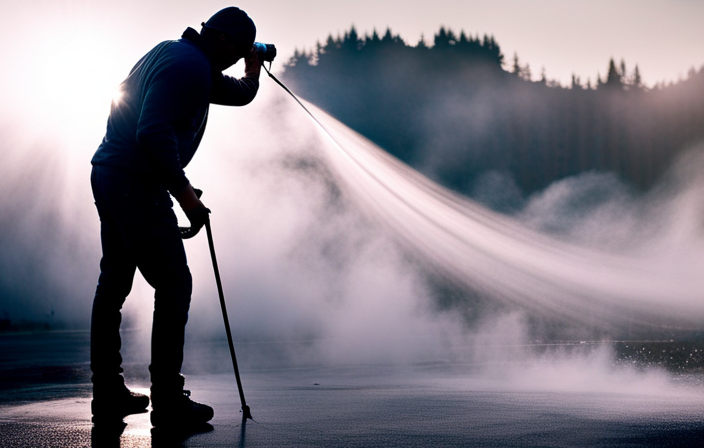
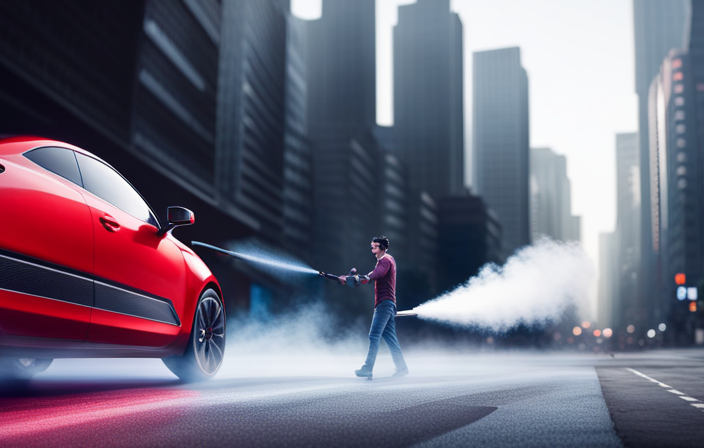
Practice Proper Spraying Techniques
Get in the groove of using the sprayer correctly by mastering the art of proper spraying techniques. To achieve a professional finish, it’s crucial to understand the proper spraying technique.
First and foremost, always maintain a consistent distance from the surface you’re painting. This distance is typically around 12 inches, but it may vary depending on the type of paint and desired coverage. Moving the sprayer too close can result in a thick and uneven application, while holding it too far will lead to insufficient coverage.
Additionally, maintain a steady and smooth motion while spraying, keeping the sprayer parallel to the surface. This helps to avoid streaks and lines in the paint.
By practicing these proper spraying techniques, you’ll be well on your way to achieving a flawless finish.
Transitioning to the next section, it’s equally important to maintain a consistent distance and speed to ensure optimal results.
Maintain a Consistent Distance and Speed
Keep your hand steady and your pace consistent as you glide effortlessly across the surface, maintaining a perfect balance between speed and distance for flawless results. To achieve this, here are some key tips to maintain a correct distance and control your speed:
-
Find the optimal distance: Start by holding the sprayer tip approximately 12-16 inches away from the surface. Adjust this distance as needed to ensure even coverage without overspray.
-
Control your speed: Move your arm steadily and smoothly, maintaining a consistent speed throughout the spraying process. Avoid rushing or slowing down, as it can result in uneven coatings.
-
Practice hand-eye coordination: Keep your focus on the surface ahead, aligning the sprayer with your target area. This’ll help you maintain a consistent distance and speed.
-
Use overlapping motions: As you transition into the next section about overlap strokes for a smooth and even finish, remember to blend each stroke with the previous one, creating a seamless application without visible lines.
Now let’s explore how to achieve a flawless finish with overlap strokes.
Overlap Strokes for a Smooth and Even Finish
Achieving a flawless finish is like creating a work of art on a canvas, using precise brushstrokes that seamlessly blend together. When using an airless paint sprayer, overlapping strokes is essential to achieve a smooth and even coverage. This technique ensures that no spots are missed, resulting in a professional-looking finish. To help you visualize the importance of overlapping strokes, consider the following table:
| Stroke 1 | Stroke 2 | Stroke 3 | Stroke 4 |
|---|---|---|---|
| X | X | ||
| X | X | ||
| X | X | ||
| X | X |
By overlapping each stroke, you create a consistent layer of paint that hides any imperfections and provides an even distribution. This technique ensures a smooth finish that will make your project look professional. Now, let’s move on to the next step and learn how to clean the sprayer thoroughly after use to maintain its longevity.
Clean the Sprayer Thoroughly After Use
Make sure to thoroughly clean the sprayer after each use to maintain its longevity and ensure optimal performance. Proper cleaning is essential for the airless paint sprayer to function effectively. Here are the steps to follow in the cleaning process:
-
Disassemble the sprayer: Start by removing the nozzle, tip guard, and any other removable parts. This allows for a more thorough cleaning.
-
Flush with water: Connect the sprayer to a water source and turn it on. Run water through the sprayer until it runs clear, removing any leftover paint or debris.
-
Clean with solvent: Use a suitable solvent recommended by the manufacturer to further clean the sprayer. This helps to remove any stubborn paint residues and keeps the internal components in good condition.
Properly cleaning the airless paint sprayer is crucial for its longevity and overall performance. Neglecting this step can lead to clogs, inconsistent spraying, and other issues.
In the next section, we’ll discuss how to troubleshoot common problems and find solutions.
Troubleshoot Common Issues and Solutions
To troubleshoot common issues and find solutions, start by identifying any potential problems that may arise while using the sprayer. Some common paint sprayer problems include clogged nozzles, uneven spray patterns, and paint splattering.
If you encounter a clogged nozzle, try cleaning it with warm soapy water or a nozzle cleaning tool. For uneven spray patterns, check if the tip is worn out or if the paint viscosity needs adjustment. Adjusting the pressure or using a different tip size can also help.
To avoid paint splattering, make sure the paint is properly mixed and strain it before filling the sprayer. Additionally, ensure that the sprayer is properly assembled and all connections are tight.
By following these troubleshooting tips, you can overcome common issues and achieve optimal performance with your airless paint sprayer.
Now, let’s move on to ensuring safety measures while operating the sprayer.
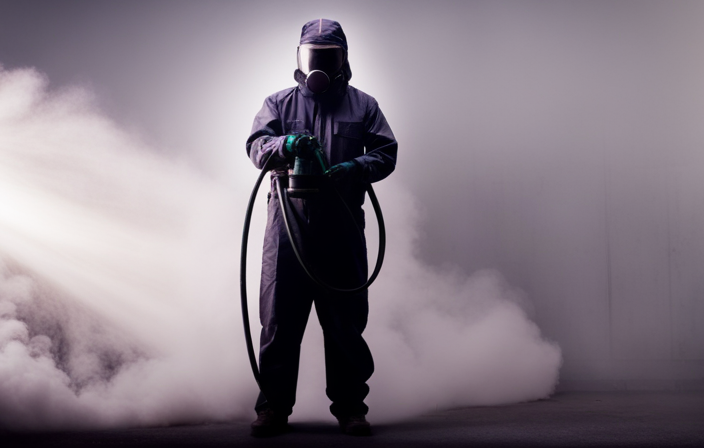
Ensure Safety Measures While Operating the Sprayer
Now that we have addressed common issues and their solutions, it is essential to emphasize the importance of safety measures while operating an airless paint sprayer. Safety precautions should never be overlooked, as they play a crucial role in ensuring a smooth and accident-free painting process. To protect yourself from potential hazards, it is imperative to wear proper protective gear, such as goggles, gloves, and a respirator mask, to shield yourself from paint particles and fumes. Additionally, make sure to work in a well-ventilated area and keep bystanders at a safe distance to avoid any accidents. By following these safety guidelines, you can confidently operate the airless paint sprayer and enjoy the time and effort saved with its efficient performance.
Enjoy the Time and Effort Saved with an Airless Paint Sprayer
By utilizing an airless paint sprayer, you can truly appreciate the convenience and efficiency it brings to your painting tasks, saving you valuable time and effort. Here are some tips for efficient spraying and the time-saving benefits of using an airless paint sprayer:
-
Faster application: With the high-pressure spray, you can cover large areas in a fraction of the time compared to traditional methods.
-
Consistent finish: The airless sprayer ensures an even and smooth coat of paint, eliminating streaks and brush marks.
-
Versatile application: You can use the sprayer for various surfaces, including walls, ceilings, fences, and furniture.
-
Reduced overspray: The airless system minimizes overspray, resulting in less wasted paint and a cleaner work environment.
-
Easy cleanup: Cleaning the sprayer is a breeze, saving you additional time and effort after the job’s done.
By following these tips and utilizing an airless paint sprayer, you can achieve professional-quality results efficiently, while enjoying the time and effort saved.
Frequently Asked Questions
Can I use an airless paint sprayer for any type of paint?
Can I use an airless paint sprayer for any type of paint? Yes, you can! Whether it’s textured paint or oil-based paint, an airless paint sprayer is versatile and can handle a wide range of paint types with ease.
How do I know if the paint is properly prepared for spraying?
To ensure the paint is properly prepared for spraying, it is crucial to focus on two key factors: paint preparation and achieving the ideal paint consistency. These steps will guarantee optimal results when using an airless paint sprayer.
What should I do if the sprayer is not providing an even finish?
If the sprayer is not providing an even finish, there are troubleshooting tips you can try. First, check the spray pattern and adjust it if necessary. Also, make sure the paint is properly mixed and the nozzle is clean.
How often should I clean the sprayer during a painting project?
To ensure optimal performance and prevent clogs, I recommend cleaning the sprayer every 4-6 hours of continuous use. Regular maintenance is key to achieving a flawless finish. Here are some helpful cleaning frequency and maintenance tips.
Are there any safety precautions I need to take when operating an airless paint sprayer?
When operating an airless paint sprayer, it’s important to follow safety precautions and ensure proper operation. This includes wearing protective gear, such as goggles and a respirator, and familiarizing yourself with the sprayer’s controls and maintenance procedures.
Conclusion
In conclusion, operating an airless paint sprayer can be a game-changer in terms of efficiency and effectiveness. By understanding the basics and choosing the right paint, you can achieve optimal performance. Properly setting up and adjusting the sprayer is also important. Practicing proper spraying techniques, maintaining consistency, and cleaning the sprayer thoroughly are key to achieving professional results.
Remember to troubleshoot any issues that may arise and prioritize safety at all times. With an airless paint sprayer, you can save time and effort while achieving a flawless finish. As the saying goes, "A good painter knows how to use their tools, and an airless paint sprayer is a true masterpiece in the hands of an experienced operator."