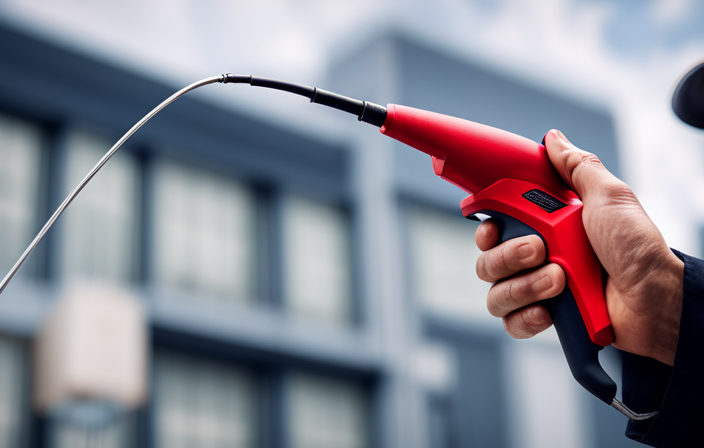
The idea of painting a house may feel daunting, yet with the right tools and techniques, it can become an enjoyable and fulfilling activity. Imagine transforming your dwelling into a masterpiece, where each stroke of paint breathes new life into its appearance. Achieving this exact result is possible by employing an airless sprayer.
In this article, I’ll guide you through the step-by-step process of painting your house using an airless sprayer, from surface preparation to final touches. I’ll share tips on choosing the right paint and equipment, practicing safety precautions, and mastering the proper technique for flawless results.
We’ll cover everything, from starting with a test area to paying attention to the smallest details. So, get ready to unleash your inner artist and learn how to paint your house with an airless sprayer. Let’s dive in and create a masterpiece together.
Key Takeaways
- Apply paint in long, smooth strokes using an airless sprayer
- Divide the project into manageable sections and paint one area at a time
- Pay attention to details and focus on trim, corners, and edges
- Allow sufficient drying time and consider weather conditions for optimal drying
Prepare the Surface for Painting
Now, let’s get down to business and prep that surface before we start unleashing the power of the airless sprayer!
Surface preparation is crucial for a successful paint job. Start by cleaning the surface thoroughly, removing any dust, dirt, or loose paint. Use a power washer or scrub with a mild detergent if necessary.
Next, inspect the surface for any cracks, holes, or imperfections. Fill them with a suitable filler and sand it smooth once dry.
After that, apply a coat of primer to ensure better adhesion and a longer-lasting finish. There are various priming techniques available, such as using a brush, roller, or spray gun. Choose the technique that best suits your needs.
Now that we’ve prepped the surface, let’s move on to choosing the right paint and equipment.
Choose the Right Paint and Equipment
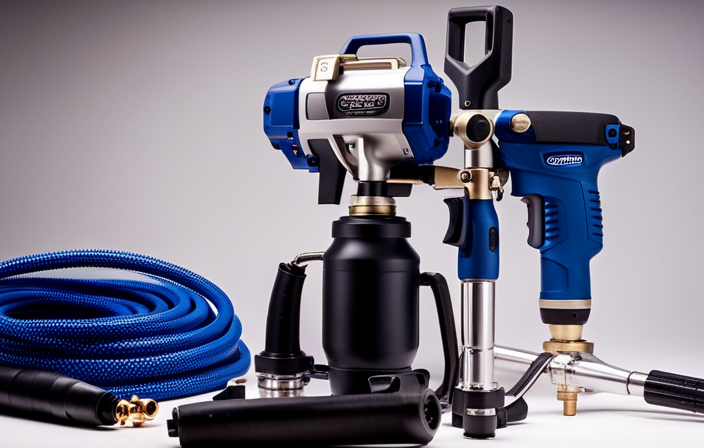
To achieve a flawless finish, it’s essential to select the appropriate paint and tools for your project. When choosing the right paint color, consider the style of your house and the surrounding environment. Opt for colors that complement the architectural features and blend well with the neighborhood. Additionally, selecting the appropriate nozzle size for your airless sprayer is crucial. A nozzle with a smaller orifice will create a finer spray pattern, ideal for intricate details and smooth surfaces. On the other hand, a larger nozzle size is better suited for rough surfaces and faster coverage. To ensure a successful paint job, refer to the table below for a quick guide on choosing the right paint color and nozzle size.
| Paint Color | Nozzle Size |
|---|---|
| Light | 0.015-0.017 |
| Medium | 0.017-0.019 |
| Dark | 0.019-0.021 |
Remember, selecting the right paint color and nozzle size will greatly impact the final result. Now, let’s discuss how to practice proper safety precautions when using an airless sprayer.
Practice Proper Safety Precautions
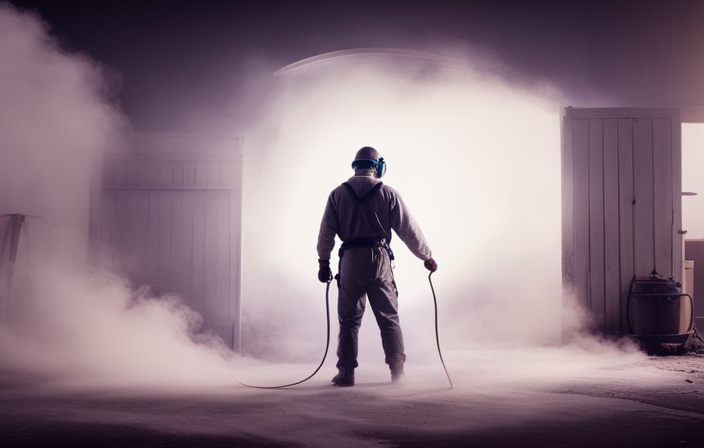
When practicing proper safety precautions while painting a house with an airless sprayer, it is important to wear the appropriate protective clothing and equipment. This includes wearing a respirator mask, safety goggles, gloves, and coveralls to protect yourself from the harmful fumes and paint particles.
Additionally, it is crucial to work in a well-ventilated area to ensure that the air is constantly circulating and reducing the risk of inhaling any toxic substances.
By following these safety measures, you can minimize the potential health hazards associated with painting and create a safer working environment.
Wear Protective Clothing and Equipment
When painting your house with an airless sprayer, it is essential to prioritize your safety. Don’t underestimate the importance of wearing protective clothing and equipment. By using the right gear and following proper safety measures, you can minimize the risk of accidents and protect yourself from potential harm.
Here are some key items to consider:
-
Eye Protection: Wear safety goggles or glasses to shield your eyes from paint particles and potential splatters.
-
Respiratory Protection: Use a mask or respirator to prevent inhalation of harmful fumes and paint mist.
-
Protective Clothing: Wear long-sleeved shirts, pants, and closed-toe shoes to shield your skin from paint spills and splatters.
Taking these precautions is crucial for your safety. Once you have your protective gear in place, it’s time to move on to the next step: working in a well-ventilated area. This ensures proper air circulation and helps to dissipate any potentially harmful paint fumes.
Work in a Well-Ventilated Area
Ensure your safety by working in a well-ventilated area. This will allow for proper air circulation and minimize the potential for harmful fumes. Ventilation is especially important when using an airless sprayer to paint a house. Without adequate ventilation, the accumulation of paint fumes can pose health risks such as dizziness, nausea, and respiratory problems.
By working in a well-ventilated area, you can ensure that these fumes are quickly dispersed, reducing the chances of inhaling them. To improve air circulation, it is recommended to open windows and doors to create a cross breeze or use fans. Wearing a respirator mask can provide an extra layer of protection.
Now that you understand the importance of ventilation, let’s move on to learning the proper technique for using an airless sprayer.
Learn the Proper Technique for Using an Airless Sprayer
To achieve a flawless finish, it’s important to master the proper technique when using an airless sprayer. Here are three key elements to keep in mind:
-
Maintain a consistent distance: Keep the sprayer about 12 inches away from the surface being painted. This ensures an even application and prevents excessive buildup or overspray.
-
Move at a steady pace: Use smooth, overlapping strokes to ensure uniform coverage. Avoid pausing or moving too quickly, as this can result in uneven paint distribution.
-
Watch for common issues: Keep an eye out for clogged nozzles, uneven spray patterns, or drips. If any issues arise, troubleshoot them promptly to maintain a professional finish.
By following these proper spraying techniques, you’ll be able to achieve a smooth and even coat of paint.
Now, let’s move on to the next step: starting with a test area.
Start with a Test Area
After learning the proper technique for using an airless sprayer, it’s time to put that knowledge into practice. Before diving into painting the entire exterior of your house, it’s essential to start with a test area.
This will allow you to ensure that the sprayer is set up correctly and that you are comfortable using it. Choose a test area size that is manageable but representative of the surface you will be painting. Ideally, this test area should be located in a less visible spot, such as the back or side of your house.
By starting with a test area, you can assess the spray pattern, adjust the pressure if needed, and get a feel for the sprayer’s performance. Once you are confident in your technique and satisfied with the results, you can confidently begin painting the exterior of your house, knowing that you have mastered the airless sprayer.
Begin Painting the Exterior of Your House
Now is the time to embark on the exciting journey of transforming the outward appearance of your home and unleashing your creativity onto its exterior canvas.
Before you begin painting the exterior of your house with an airless sprayer, it’s important to choose the right paint colors that will enhance the overall look and feel of your home. Take the time to research different color options and consider the style and architecture of your house.
If you’re unsure about choosing paint colors, you can always consult with professional painters who have expertise in this area. They can provide valuable advice and help you make the best decision.
Once you’ve selected your paint colors, you can move on to the walls and siding, creating a stunning transformation that will make your home stand out.
Move on to the Walls and Siding
When it comes to painting the walls and siding of your house, it’s important to follow a few key steps. First, apply the paint in long, smooth strokes to achieve a professional finish. This will help to evenly distribute the paint and create a smooth surface.
Next, it’s important to work in sections. By dividing the area you are painting into smaller sections, you can ensure that you cover all areas evenly and avoid missing spots. This will help to create a cohesive and uniform look.
Lastly, be mindful of overlap marks. To avoid these, it’s crucial to maintain a consistent stroke and keep a wet edge. This means that you should try to paint continuously, without stopping and starting, and always keep the brush or roller loaded with paint. This will help to blend the paint and prevent noticeable lines or marks.
By following these steps and taking your time, you can achieve a professional-looking paint job on your walls and siding.
Apply Paint in Long, Smooth Strokes
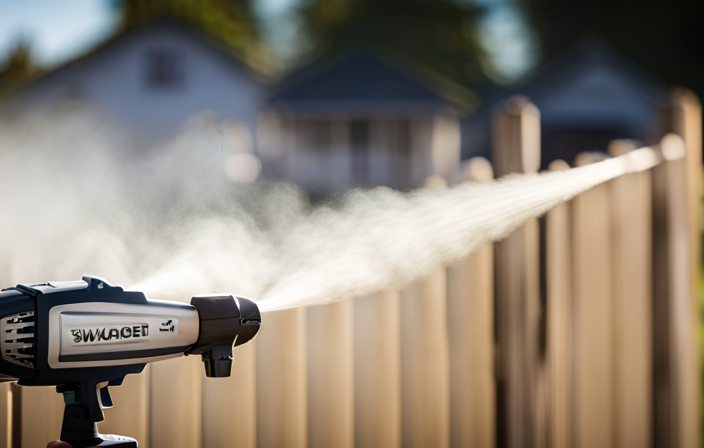
To achieve a flawless finish, apply paint with long, smooth strokes using an airless sprayer. Maintain a consistent pace while spraying to ensure even coverage. Start at one end of the wall or siding and move steadily from top to bottom or left to right. Avoid stopping or hesitating in the middle of a stroke, as this can result in uneven coverage. Keep the sprayer nozzle at a consistent distance from the surface, usually around 12-18 inches, for a smooth application. Using long, fluid strokes minimizes the appearance of brush or roller marks. Once you have mastered this technique, you can move on to the next step: working in sections to avoid overlap marks.
Work in Sections, Avoiding Overlap Marks
To ensure a seamless finish, it’s important to break down the project into manageable sections, carefully avoiding any overlap marks. One way to achieve this is by working in sections, painting one area at a time before moving on to the next. This helps to prevent streaks and ensures a professional finish.
To illustrate this approach, let’s imagine we are painting the exterior of a house. We can divide the house into four sections: front, back, left side, and right side. By focusing on one section at a time, we can give our full attention to each area, making sure to apply the paint evenly and smoothly, without any overlap marks.
Here’s a helpful table to visualize this process:
| Section | Steps |
|---|---|
| Front | Clean surface, apply primer |
| Back | Apply first coat of paint |
| Left side | Apply second coat of paint |
| Right side | Inspect and touch up |
By following this method, we can avoid streaks and achieve a professional finish. Now, let’s move on to the next section and pay attention to details when painting the trim and corners.
Pay Attention to Details
Make sure you don’t overlook the smallest details when painting your house with an airless sprayer. They can make a significant difference in the overall finish.
Proper lighting is essential to ensure you can see any imperfections or missed spots. Before starting, make sure the area is well-lit, either by natural sunlight or artificial lighting.
Additionally, pay attention to color selection. Choose the right color for each section of your house, taking into consideration factors such as the architectural style and the surrounding environment. A well-chosen color can enhance the overall aesthetics of your home.
As you paint, take your time and be meticulous. Pay close attention to corners, edges, and trim work. Ensure that every detail is covered seamlessly. By focusing on these details, you’ll achieve a professional-looking paint job.
Now, allow sufficient drying time for the paint to set before moving on to the next section.
Allow Sufficient Drying Time
Take your time and allow the paint to dry sufficiently before moving forward. This is an important step in the painting process that is often overlooked. By allowing sufficient drying time, you can ensure a smooth and flawless finish. Here are some drying time considerations to keep in mind:
-
Weather conditions: The drying time of paint can be affected by temperature and humidity. It’s best to paint on a dry day with moderate temperatures to ensure optimal drying.
-
Paint thickness: Thicker layers of paint will take longer to dry. Avoid applying too much paint at once to prevent paint drips and ensure quicker drying.
-
Ventilation: Proper ventilation is essential for the paint to dry effectively. Open windows and use fans to circulate air and speed up the drying process.
By taking these drying time considerations into account, you can prevent paint drips and achieve a professional-looking paint job.
Once the paint has dried, it’s important to clean and maintain your airless sprayer to keep it in good condition for future use.
Clean and Maintain Your Airless Sprayer
Maintaining your airless sprayer is crucial for achieving professional results and prolonging its lifespan. To ensure optimal performance, it is important to regularly clean and maintain your airless sprayer.
One common mistake is neglecting to clean the sprayer after each use. Failing to do so can result in clogged nozzles and inconsistent spray patterns.
Additionally, it is essential to inspect the hoses and fittings for any signs of wear or damage, as this can lead to leaks and reduced spray efficiency.
Proper storage is also key to preventing unnecessary damage. Always store your sprayer in a clean and dry environment, away from extreme temperatures.
By following these maintenance practices and avoiding common mistakes, you can keep your airless sprayer in excellent condition and ensure smooth and flawless paint application every time.
Frequently Asked Questions
Can I use an airless sprayer to paint the interior of my house?
Absolutely! Using an airless sprayer for interior painting has numerous benefits. It provides a smooth, even finish, saves time, and allows for better control. Plus, it’s perfect for large areas and hard-to-reach spots.
What type of paint is best suited for an airless sprayer?
The best paint brands for an airless sprayer are Sherwin-Williams, Behr, and Benjamin Moore. To achieve a smooth finish, make sure to clean and prepare the surface properly, use the correct nozzle size, and apply multiple thin coats.
How do I prevent overspray when using an airless sprayer?
To prevent overspray when using an airless sprayer, you can adjust the pressure and fan width settings on the sprayer. It’s also important to maintain a consistent distance from the surface and use masking tape to protect surrounding areas.
Can I use an airless sprayer to paint textured surfaces?
Using an airless sprayer on textured surfaces is like trying to dance on a bumpy road. Pros: faster and easier application. Cons: overspray and difficulty in getting into all the nooks and crannies.
How often should I clean the filters on my airless sprayer?
I should clean the filters on my airless sprayer regularly to ensure optimal performance. The benefits of using an airless sprayer for painting include faster application, smoother finish, and reduced overspray.
Conclusion
In conclusion, painting a house with an airless sprayer is a convenient and efficient way to achieve a professional finish. By properly preparing the surface, selecting the right paint and equipment, and practicing safety precautions, you can ensure a successful project.
Remember to start with a test area, pay attention to details, and allow sufficient drying time for a flawless result.
Clean and maintain your airless sprayer regularly to prolong its lifespan.
So, seize the spray and start transforming your home with this fantastic finishing technique!
