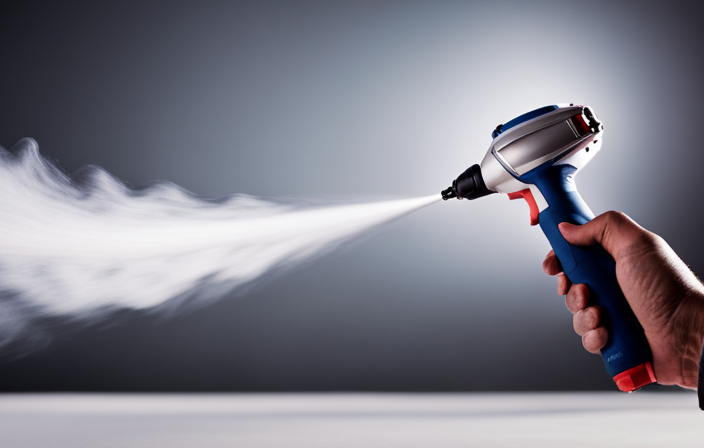
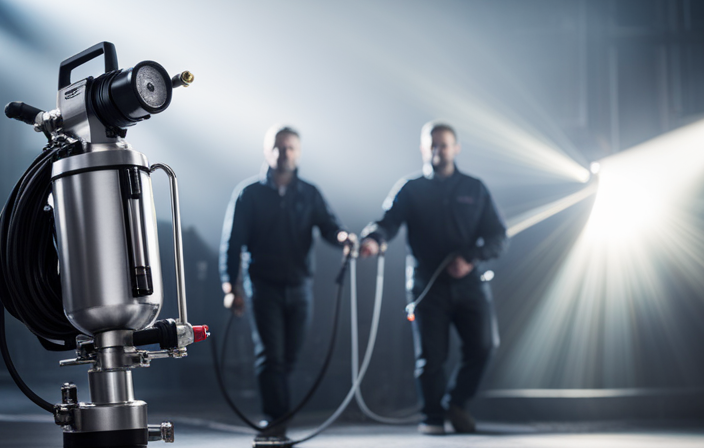
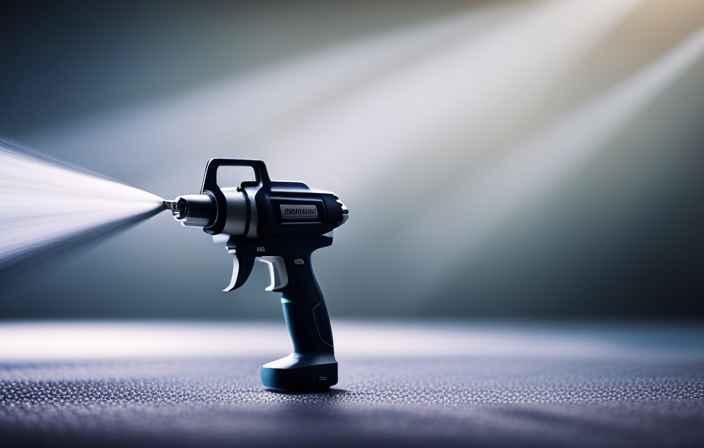
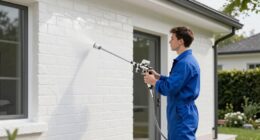
Adding a fresh coat of paint to your house is like giving it a breath of fresh air. This not only enhances its appearance but also protects it from weather elements. Furthermore, if you want a fast and efficient way to paint your home, choosing an airless sprayer is the way to go.
Hi, I’m here to guide you through the process of painting your house with an airless sprayer.
In this article, I’ll show you the step-by-step process of preparing the surface, choosing the right paint and equipment, setting up your airless sprayer, and practicing proper spraying technique.
We’ll also cover important tips on starting the painting process, cleaning and maintaining your sprayer, allowing sufficient drying time, and inspecting and touching up the final result.
By following these instructions, you’ll be able to enjoy your newly painted home in no time.
So, let’s get started and transform your house into a work of art!
Key Takeaways
- Using an airless sprayer can enhance the appearance of the house and protect it from the elements.
- Surface preparation is crucial and involves cleaning, removing loose paint, and sanding rough areas.
- Using a primer improves adhesion and durability of the paint.
- Safety precautions such as wearing protective gear and ensuring proper ventilation are important when using an airless sprayer.
Prepare the Surface for Painting
Before you start spraying, make sure to properly clean and sand the surface to ensure a smooth and even paint application. Surface preparation is crucial for a successful paint job with an airless sprayer.
Start by removing any loose paint or debris using a scraper or wire brush. Next, wash the surface with a mild detergent and water to remove dirt, grease, and grime. Allow the surface to dry completely before proceeding.
Once dry, sand any rough areas or imperfections using a medium-grit sandpaper. This will help create a smooth surface for the paint to adhere to. Additionally, consider using a primer before painting, especially if the surface is porous or has stains. Priming techniques will further enhance the paint’s adhesion and durability.
Now that the surface is properly prepared, let’s move on to choosing the right paint and equipment.
Choose the Right Paint and Equipment
To ensure a flawless finish, you’ll want to make sure you have all the necessary materials and tools for your painting project. Here are the three essential items you’ll need:
-
Paint color selection: Choose a paint color that suits your taste and complements the overall aesthetic of your house. Consider factors like lighting, architecture, and neighborhood regulations.
-
Safety precautions: It’s crucial to prioritize your safety while painting. Wear protective clothing, such as goggles, gloves, and a respirator mask, to shield yourself from paint fumes and potential accidents. Also, make sure the area is well-ventilated.
-
Equipment: Invest in a high-quality airless sprayer for efficient and even paint application. This tool eliminates the need for brushes or rollers and ensures a professional-looking result.
With the right paint color and equipment in hand, you’re ready to set up your airless sprayer and begin transforming your house with a fresh coat of paint.
Set up Your Airless Sprayer
Once you’ve gathered the necessary materials and chosen your paint color, it’s time to get your airless sprayer set up for the perfect application. For example, imagine you’re giving your old wooden fence a makeover – setting up your airless sprayer will ensure a smooth and efficient painting process.
To ensure airless sprayer safety, make sure to wear protective gear such as goggles, gloves, and a respirator. Before starting, inspect the sprayer for any damage or leaks. Next, assemble the spray gun, hose, and tip according to the manufacturer’s instructions. Fill the paint container with your chosen paint, making sure not to overfill it. Connect the hose to the sprayer and turn on the machine. Adjust the pressure settings and test the spray pattern on a piece of cardboard.
If you encounter any issues, such as clogs or uneven spray, consult the troubleshooting section of your sprayer’s manual. Once your airless sprayer is set up, you’re ready to practice proper spraying technique and achieve professional-looking results.
Practice Proper Spraying Technique
Now that you have everything set up, it’s time to get the perfect application by practicing proper spraying technique.
To improve efficiency and avoid overspray, there are a few key points to keep in mind. First, maintain a consistent distance from the surface you’re painting, usually around 12-18 inches. This will ensure an even coat and prevent drips.
Second, move the sprayer in a smooth, steady motion, overlapping each pass by about 50% to avoid streaks.
Third, adjust the spray pattern and pressure accordingly for different surfaces and areas.
Lastly, always start and stop spraying off the surface to avoid buildup. By following these techniques, you’ll achieve a professional-looking finish and minimize wasted paint.
Now, let’s move on to the next section and start painting.
Start Painting
Before diving into painting the entire house, it’s crucial to start with a test area to ensure that your spraying technique is on point. This will help you identify any issues and make necessary adjustments before moving forward.
Working in small sections is also important as it allows for better control and ensures an even application of paint.
Lastly, maintaining a consistent speed throughout the painting process will help achieve a smooth and professional finish.
Begin with a Test Area to Ensure Proper Technique
To ensure proper technique, start by choosing a small test area on the house to paint using an airless sprayer. This will allow you to practice and adjust the sprayer settings accordingly. Did you know that using an airless sprayer can save you up to 50% of your painting time compared to using traditional brushes or rollers?
Here are four reasons why practicing on a test area is crucial:
-
Proper spraying technique: Testing on a small area helps you master the right spraying distance, angle, and motion. This ensures even coverage and avoids drips or streaks.
-
Drying time: By testing, you can determine the ideal thickness of the paint and adjust the sprayer settings accordingly. This results in faster drying time.
-
Avoid mistakes: Practicing on a test area allows you to identify any potential issues before moving on to larger sections. This helps prevent costly mistakes.
-
Gain confidence: Successfully painting a small area boosts your confidence, making you more comfortable and efficient when working on the entire house.
Once you’re confident with your technique, it’s time to work in small sections and maintain a consistent speed for a professional finish.
Work in Small Sections and Maintain a Consistent Speed
Get ready to tackle your painting project by breaking it down into manageable sections and maintaining a steady pace throughout.
When using an airless sprayer, it’s important to work in small sections and maintain a consistent speed to achieve an even and professional-looking finish.
Start by dividing the area you’re painting into smaller sections, such as one wall or one side of a room. Begin spraying at one end of the section, moving the sprayer in a smooth, steady motion from side to side.
Keep your arm and wrist relaxed to avoid fatigue and ensure a consistent speed. By working in small sections and maintaining a consistent speed, you’ll achieve a more uniform coat of paint.
As you finish each section, pay attention to detail and make any necessary touch-ups before moving on to the next area.
Pay Attention to Detail
Make sure you’re paying close attention to every detail when painting your house with an airless sprayer. This is crucial in order to achieve a professional finish.
Here are four key points to keep in mind:
-
Masking and protection: Before you start painting, take the time to properly mask off areas that you don’t want to be painted. Cover furniture, windows, and any other surfaces that could be accidentally sprayed.
-
Overlapping strokes: To ensure an even coat, make sure each stroke overlaps the previous one by about 50%. This will prevent any streaks or uneven coverage.
-
Watch for drips and runs: As you spray, be vigilant for any drips or runs that may occur. Quickly address them by smoothing them out with a brush or roller.
-
Check for missed spots: After each section is painted, inspect it closely to ensure there are no missed spots or thin areas. Touch up any imperfections before moving on.
By paying close attention to these details, you’ll be able to achieve a professional finish. Now, let’s transition to the next section on how to clean and maintain your sprayer.
Clean and Maintain Your Sprayer
Keep your sprayer in top condition by regularly cleaning and maintaining it, ensuring that it performs at its best for your future painting projects.
Sprayer maintenance is crucial to prevent clogs and maintain optimal performance. After each use, thoroughly clean the sprayer by flushing it with water or an appropriate cleaning solution. Pay attention to any residue or paint buildup in the nozzle, hose, and filters, as these can affect the spray pattern and cause uneven application.
Additionally, regularly inspect the sprayer for any signs of wear or damage, such as worn seals or loose connections. Troubleshooting sprayer issues promptly can save you time and frustration. By properly caring for your sprayer, you can achieve professional-looking results.
Now, before moving on to the next section about allowing sufficient drying time, let’s dive into the importance of proper cleaning and maintenance.
Allow Sufficient Drying Time
It’s crucial to give your freshly painted surfaces enough time to dry properly for best results. Sufficient drying time is key to avoiding mistakes and achieving a flawless finish. Here are some important points to keep in mind:
-
Patience is key: Allow the paint to dry completely before moving on to the next step.
-
Follow the manufacturer’s instructions: Different paints require different drying times, so make sure to read the label.
-
Consider the weather: Humidity and temperature can affect drying time, so choose a day with optimal conditions.
-
Avoid touching or moving the painted surfaces: Even if the paint feels dry to the touch, it may still be vulnerable to damage.
By giving your paint ample time to dry, you’ll ensure a professional-looking result.
In the next section, we’ll discuss how to inspect and touch up any imperfections that may arise.
Inspect and Touch Up
After allowing sufficient drying time, it’s important to inspect the newly painted surfaces and touch up any areas that need it. This step is crucial to ensuring a professional-looking finish. When inspecting the painted surfaces, I use a systematic approach to identify any imperfections or areas that require touch up. To help with this process, I like to create a table where I list the specific areas that need attention and the corresponding touch up techniques I will use. This table allows me to stay organized and efficient while addressing any touch up needs. Common touch up mistakes include not blending the touch up paint properly or applying too much paint, resulting in a noticeable patch. By being meticulous and using the right touch up techniques, you can achieve a seamless finish. Now that the touch ups are complete, it’s time to step back and enjoy your newly painted home.
Enjoy Your Newly Painted Home
Now that the painting is done, it’s time to step back and admire all the hard work I’ve put into transforming my home. Seeing the fresh coat of paint on the walls and trim gives me a sense of accomplishment and satisfaction.
But the work doesn’t stop there – to ensure long-lasting results, I know I need to properly maintain my newly painted surfaces. This involves regularly cleaning and inspecting them for any signs of wear or damage.
Step back and Admire Your Hard Work
Stand back and take a moment to appreciate the fruits of your labor as you admire the stunning transformation of your house. The admiring process is truly a rewarding experience, especially when using an airless sprayer. Here are five reasons why this method brings exceptional benefits:
- Flawless Finish: The airless sprayer ensures a smooth and even coat, leaving no streaks or brush marks behind.
- Time Efficiency: With its high-pressure system, the sprayer covers large areas quickly, saving you valuable time.
- Cost Savings: Using an airless sprayer reduces paint wastage, resulting in lower material costs.
- Versatility: This tool can tackle various surfaces, from siding to fences, effortlessly.
- Professional Results: The airless sprayer provides a professional-quality finish, making your home look like it was painted by experts.
Now, let’s transition into the subsequent section about maintaining your painted surfaces for long-lasting results. By following a few simple steps, you can ensure the longevity of your paint job.
Maintain Your Painted Surfaces for Long-Lasting Results
To ensure your freshly painted surfaces maintain their beautiful results for years to come, it’s essential to follow a few simple maintenance steps.
The longevity of your paint depends on proper care and attention. Firstly, avoid any harsh cleaning agents or abrasive materials when cleaning your painted surfaces. Stick to mild soap and water solutions instead.
Additionally, regularly inspect your painted surfaces for any signs of peeling or cracking. If you notice any issues, address them promptly by touching up the affected areas with a fresh coat of paint.
Furthermore, make sure to keep moisture levels in check, as excessive moisture can lead to paint damage.
By taking these preventive measures, you can ensure that your paint job stays intact and looking its best for a long time.
Frequently Asked Questions
How do I choose the best airless sprayer for my house painting project?
When choosing the best airless sprayer for my house painting project, I consider the nozzle options to ensure even coverage. Proper maintenance, such as regular cleaning and lubrication, keeps the sprayer in optimal condition.
Can I use an airless sprayer to paint both the interior and exterior of my house?
Yes, you can use an airless sprayer to paint both the interior and exterior of your house. The pros are fast application and even coverage, but the cons include overspray and the need for proper ventilation.
What type of paint is best suited for an airless sprayer?
Choosing the right paint for an airless sprayer is crucial. Did you know that using the wrong paint can cause clogs and uneven coverage? To achieve a smooth finish, opt for high-quality latex paints specifically designed for airless sprayers.
How do I prevent overspray when using an airless sprayer?
To prevent overspray when using an airless sprayer, there are a few tips you can follow. First, adjust the spray pattern and pressure settings to ensure a controlled flow. Second, use masking tape and drop cloths to protect areas you don’t want paint on. Finally, maintain a consistent distance from the surface being painted to avoid excessive spray.
Are there any safety precautions I should take when using an airless sprayer?
When using an airless sprayer, it’s important to take safety measures to protect yourself and others. This includes wearing protective gear, ensuring proper ventilation, and maintaining the equipment regularly to prevent accidents and ensure optimal performance.
Conclusion
Well, there you have it! Painting your house with an airless sprayer may seem like a daunting task, but I hope this guide has made it a bit easier for you. By following the steps outlined, you can transform your home into a beautiful haven without breaking a sweat.
Remember, it’s not just about painting; it’s about creating a fresh new look that’ll make you feel proud and accomplished. So, go ahead and give it a try. Your home deserves it!

