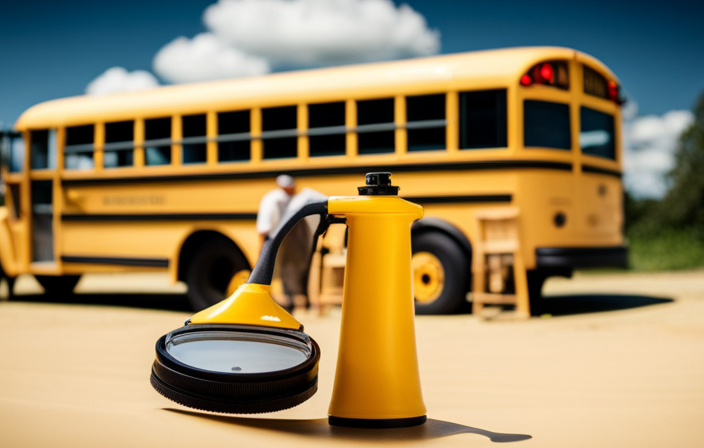
Applying Rustoleum paint with an airless sprayer for covering a school bus requires thorough planning and execution. Here’s an in-depth guide designed to help you achieve professional-grade results:
-
Surface Preparation:
- Start by thoroughly cleaning the bus to remove dirt, grime, and any loose paint.
- Use sandpaper or a wire brush to remove rust or corrosion from the surface.
- Fill any dents or imperfections with body filler and sand them smooth.
-
Masking and Protection:
- Cover windows, lights, and other areas you don’t want to paint with masking tape and plastic sheets.
- Protect the surrounding area with drop cloths or tarps to prevent overspray.
-
Primer Application:
- Apply a coat of Rustoleum primer specifically designed for metal surfaces.
- Use an airless sprayer to achieve an even and smooth application.
- Allow the primer to dry completely before moving on to the next step.
-
Paint Application:
- Stir the Rustoleum paint thoroughly to ensure consistent color and texture.
- Pour the paint into the airless sprayer and adjust the nozzle for the desired spray pattern.
- Start painting from the top of the bus and work your way down, using long, even strokes.
- Apply multiple thin coats rather than one thick coat for better adhesion and durability.
- Allow each coat to dry before applying the next one.
-
Finishing Touches:
- Once the final coat is dry, inspect the paint job for any imperfections or areas that need touch-ups.
- Use a fine-grit sandpaper to smooth out any rough spots or drips.
- Apply a clear coat of Rustoleum to protect the paint and give it a glossy finish.
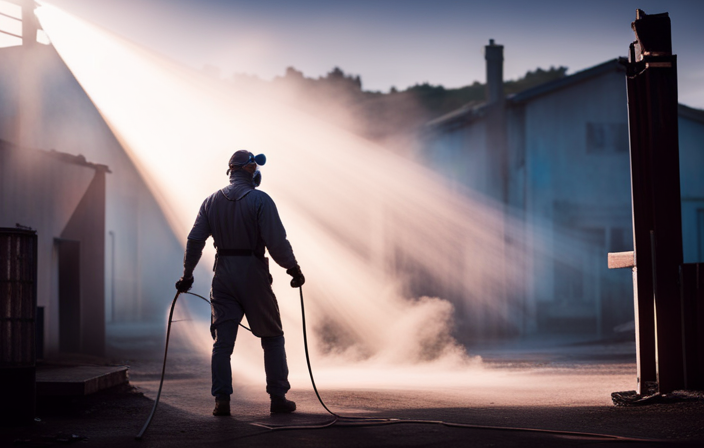
Remember to follow safety precautions when working with paint and sprayers. Wear protective clothing, gloves, and a respirator to minimize exposure to fumes and particles. Additionally, check local regulations and obtain any necessary permits for painting a school bus.
By following these steps and using Rustoleum paint and an airless sprayer, you can transform your school bus into a stunning masterpiece that will stand out on the road. So, get ready to unleash your creativity and give your bus a fresh new look!
Key Takeaways
- Thoroughly clean the bus and remove any dirt, grime, and loose paint before starting the painting process.
- Use masking tape and plastic sheets to cover windows, lights, and unwanted areas to protect them from overspray.
- Apply Rustoleum primer designed for metal surfaces using an airless sprayer for even application and allow it to dry completely.
- Apply multiple thin coats of Rustoleum paint using long, even strokes, allowing each coat to dry before applying the next for better adhesion and durability.
Preparing Your School Bus for Painting
Preparing your school bus for painting involves a few important steps. First, you need to thoroughly clean the bus to remove any dirt, grime, or grease. This is crucial for ensuring that the paint adheres properly. After cleaning, it’s time to remove any old paint that is chipping or peeling. A scraper or wire brush can be used to gently scrape away the loose paint. In some cases, a chemical paint stripper may be necessary for stubborn areas. Once the surface is clean and free of old paint, it’s time to choose the right Rustoleum paint for your project.
Choosing the Right Rustoleum Paint
When it comes to transforming your yellow chariot into a vibrant masterpiece, you’ll want to ensure you choose the right shade of liquid magic to bring your vision to life. Choosing the right paint color is crucial in achieving the desired look for your school bus.
Rustoleum offers a wide range of colors that can cater to your preferences. Whether you want a classic yellow or a bold, eye-catching hue, Rustoleum has got you covered.
To achieve a smooth finish, there are a few tips to keep in mind. First, make sure to clean and sand the surface of the bus before applying the paint. This will help the paint adhere better and prevent any imperfections. Additionally, using an airless sprayer can help you achieve a more even and professional-looking finish.
With the right paint color and proper techniques, you’ll be well on your way to transforming your school bus into a work of art.
Now, let’s move on to gathering the necessary supplies for the painting process.
Gathering the Necessary Supplies
Before embarking on your painting journey, it’s essential to gather all the required materials for the task at hand. To ensure a successful paint job, selecting the right paint color is crucial. Rustoleum offers a wide range of colors to choose from, allowing you to find the perfect shade for your school bus. When comparing Rustoleum to other brands, its durability, affordability, and ease of application make it a popular choice among DIY enthusiasts. Additionally, before beginning the painting process, it’s important to thoroughly clean the school bus to remove any dirt, grime, or grease. This can be done using a mild detergent and a scrub brush or pressure washer. By following these tips for choosing the right paint color and cleaning the bus, you’ll be well-prepared to transform your school bus into a stunning masterpiece. Now, let’s transition into setting up your work area.
Setting Up Your Work Area
To set up your work area for painting, follow these steps:
- Clear out a well-ventilated area, preferably outdoors, to avoid inhaling paint fumes.
- Choose a location with enough room to move around the bus comfortably and access all sides.
- Cover the ground with a tarp or drop cloth to protect it from paint splatters.
Organize your supplies in a systematic manner:
- Place the Rustoleum paint, airless sprayer, and other tools within easy reach.
- Ensure your work area is clean and clutter-free for smooth and efficient painting.
Once your workspace is set up, you can proceed to the next section about applying the Rustoleum paint, bringing your school bus transformation one step closer to completion.
Applying the Rustoleum Paint
When it comes to applying Rustoleum paint, there are three key points to keep in mind.
First, it is important to properly mix and dilute the paint according to the manufacturer’s instructions. This ensures the paint is the right consistency for spraying.
Second, using the airless sprayer properly is crucial for achieving a smooth and even finish. This includes adjusting the pressure and spray pattern to suit the surface being painted.
Lastly, applying thin and even coats is essential for a professional-looking result. This helps prevent drips, runs, and uneven coverage.
Mixing and Diluting the Paint
To achieve a flawless finish on your school bus, grab that airless sprayer and mix the Rustoleum paint with the perfect amount of dilution.
When it comes to mixing techniques, it’s important to follow the instructions provided by Rustoleum. Start by pouring the desired amount of paint into a clean container. Then, add the recommended amount of paint thinner or mineral spirits to achieve the desired consistency.
Mix the paint and thinner thoroughly using a stir stick or a paint mixer attachment on a drill. The final consistency should be smooth and easy to spray. Remember to strain the paint before pouring it into the sprayer to remove any debris or clumps.
Now that the paint is properly mixed and diluted, it’s time to move on to using the airless sprayer properly for a professional-looking finish.
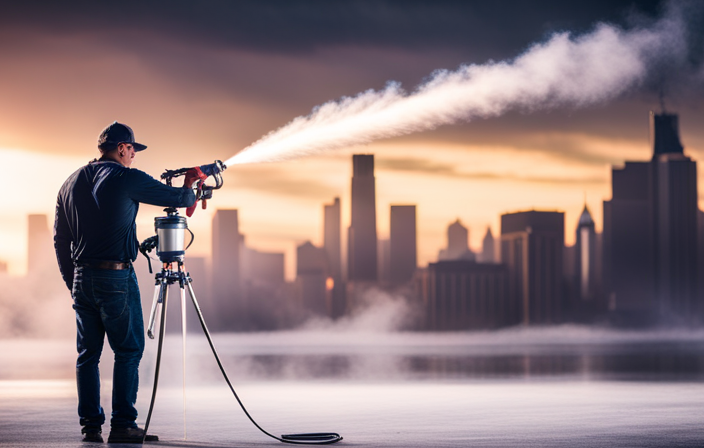
Using the Airless Sprayer Properly
Using an airless sprayer properly can result in a smooth and professional finish. Studies show that it can reduce painting time by up to 50%. To achieve the best results, it’s essential to master proper airless sprayer technique.
Firstly, ensure that the sprayer is set at the correct pressure to achieve an even spray pattern. Adjust the pressure according to the paint manufacturer’s recommendations.
Maintain a consistent distance between the sprayer and the surface being painted, typically around 12 inches. This will ensure an even application of paint.
Troubleshooting common airless sprayer issues is also important. Regularly check the sprayer for clogs or blockages and clean or replace any worn-out parts.
Now, moving on to the next section about applying thin and even coats, it is crucial to follow a systematic approach for the best results.
Applying Thin and Even Coats
For a flawless finish, make sure you apply thin and even coats as if you were gently stroking the surface with a feather. Achieving a smooth finish requires proper technique and attention to detail. To help you visualize this process, refer to the table below for a step-by-step guide on applying thin and even coats using an airless sprayer:
| Step | Action |
|---|---|
| 1 | Start from the top and work your way down |
| 2 | Hold the sprayer nozzle about 12 inches away from the surface |
| 3 | Move the sprayer in a smooth, back-and-forth motion |
| 4 | Overlap each pass by 50% to ensure even coverage |
| 5 | Maintain a consistent speed and pressure throughout |
By following these steps, you can avoid common painting issues such as drips, runs, or uneven coverage. Once you have applied the thin and even coats, allow the paint to dry and cure before proceeding to the next step.
Allowing the Paint to Dry and Cure
After applying the Rustoleum paint to the school bus, it is crucial to follow the recommended drying time. This allows the paint to properly set and adhere to the surface.
During the curing process, it is important to avoid any contact or damage to the freshly painted surface, as this can result in imperfections or blemishes in the final finish.
Following the Recommended Drying Time
Once the first coat of Rustoleum has been applied, you’ll want to give it ample time to dry, allowing the paint to cure and adhere properly to the surface of the school bus. Proper drying time management is crucial to achieving a smooth and durable finish.
The recommended drying time for Rustoleum is typically around 24 hours, but it can vary depending on factors such as temperature and humidity. It’s important to follow the instructions on the product label for specific drying times.
If you encounter any issues with drying, such as the paint taking longer than expected to dry or not drying evenly, troubleshooting tips can be found on the Rustoleum website or by contacting their customer support.
It’s essential to avoid contact or damage during the curing process in order to ensure a flawless final result.
Avoiding Contact or Damage During the Curing Process
During the curing process, it’s crucial to be cautious and avoid any contact or damage to ensure a flawless final result. To achieve this, there are a few important steps to follow:
-
Protecting surrounding areas:
-
Cover nearby objects with plastic sheets or drop cloths to prevent overspray or accidental paint splatters.
-
Use masking tape to secure the sheets in place and create a clean boundary between the bus and its surroundings.
-
Avoiding paint streaks:
-
Apply the Rustoleum paint evenly and smoothly using an airless sprayer, maintaining a consistent distance from the surface.
-
Avoid overlapping strokes or excessive spraying, as this can lead to unsightly streaks and uneven coverage.
By taking these precautions, you can ensure that the paint cures properly without any unwanted blemishes or damage.
Now, let’s move on to adding the finishing touches to complete the transformation of your school bus.
Adding Finishing Touches
To achieve a flawless finish on your school bus, apply a final coat of Rustoleum with an airless sprayer and add artistic accents.
Once the base coat has cured completely, it’s time to enhance the overall appearance of your painted school bus. Start by using various polishing techniques to smooth any imperfections and create a glossy shine. This can be done by gently rubbing the surface with a polishing compound and a soft cloth.
Additionally, consider applying weatherproofing methods, such as a clear coat or sealant, to protect the paint from fading or peeling due to exposure to the elements. These finishing touches will not only add a professional touch to your project but will also ensure the longevity of your paint job.
Transitioning into the next section about cleaning and maintaining your painted school bus, it’s important to establish a regular maintenance routine to preserve its beauty and protect the paint from damage.
Cleaning and Maintaining Your Painted School Bus
Now that you’ve put the finishing touches on your masterpiece, it’s time to learn how to keep your newly painted school bus looking fresh and vibrant.
Maintaining painted surfaces is crucial to ensure the longevity of your paint job. To prevent paint chipping, regularly clean your bus using a mild detergent and water solution. Avoid using abrasive cleaners or scrub brushes that can damage the paint.
Additionally, apply a layer of wax or sealant to protect the paint from UV rays and other environmental factors.
Inspect your bus regularly for any signs of damage or wear and promptly address any issues to prevent further deterioration.
By following these maintenance tips, you can preserve the beauty of your painted school bus for years to come.
In the next section, we will discuss how to showcase your newly painted school bus without missing a beat.
Showcasing Your Newly Painted School Bus
After putting the finishing touches on your masterpiece, it’s time to show off your newly painted school bus and let it steal the spotlight. Here are some tips for showcasing the painted school bus at a community event:
-
Choose the right location: Find a well-lit area with a clean background to ensure your bus stands out in photographs.
-
Capture different angles: Take pictures from the front, back, and sides to showcase the entire design of your painted school bus.
-
Highlight details: Zoom in on specific features or artwork that make your bus unique and eye-catching.
-
Share on social media: Create buzz by posting photos of your painted bus on platforms like Instagram or Facebook, using relevant hashtags to reach a wider audience.
Now that you know how to capture the perfect shots, it’s important to consider safety and legal considerations when displaying your painted school bus.
Safety and Legal Considerations
When showcasing your newly painted masterpiece, it’s important to keep in mind safety and legal considerations for your transformed school bus. Workplace safety should be a top priority to ensure the well-being of yourself and others. It is essential to wear appropriate protective gear such as goggles, gloves, and a mask when working with paint and chemical solvents. Additionally, proper ventilation is crucial to prevent the inhalation of harmful fumes. Alongside workplace safety, it is important to comply with legal regulations. Before painting your school bus, check with local authorities regarding any permits or restrictions that may apply. Some areas may have specific guidelines for vehicle modifications or paint colors. By adhering to safety protocols and legal regulations, you can enjoy the fruits of your labor while ensuring a safe and legal transformation of your school bus.
| Safety and Legal Considerations |
|---|
| 1. Wear appropriate protective gear |
| 2. Ensure proper ventilation |
| 3. Comply with local regulations |
Frequently Asked Questions
How long does the paint need to dry before it is safe to touch or handle?
The paint should fully cure within 7-10 days. To ensure proper drying, it is essential to prepare the surface before painting by cleaning, sanding, and priming it. This will promote adhesion and enhance the longevity of the paint job.
Can I paint over existing rust on the school bus?
Yes, it is possible to paint over existing rust on a school bus. However, it is important to follow best practices for painting rusty surfaces to ensure a durable and long-lasting finish.
Is it necessary to remove all the old paint before applying Rustoleum?
Removing all the old paint before applying Rustoleum is necessary to ensure proper adhesion and a smooth finish. However, if the existing paint is in good condition, you can lightly sand it and apply the Rustoleum directly.
Can I use a different type of paint sprayer instead of an airless sprayer?
Yes, you can use different types of paint sprayers instead of an airless sprayer. There are other options like HVLP and compressed air sprayers, each with their own pros and cons. Alternative painting methods include brush and roller application.
Are there any specific safety precautions I need to take when using an airless sprayer?
Better safe than sorry! When using an airless sprayer, always wear protective gear like goggles, gloves, and a respirator. Follow proper handling procedures, maintain a safe distance from the spray, and never point the sprayer at anyone.
Conclusion
In conclusion, painting a school bus with Rustoleum and an airless sprayer can be a cost-effective and efficient way to give your bus a fresh new look. By following the steps outlined in this article, you can achieve a professional-looking paint job that will withstand the test of time.
One interesting statistic to note is that using an airless sprayer can reduce paint waste by up to 50% compared to traditional brush or roller methods. So not only is this method effective, but it’s also environmentally friendly.
Happy painting!


