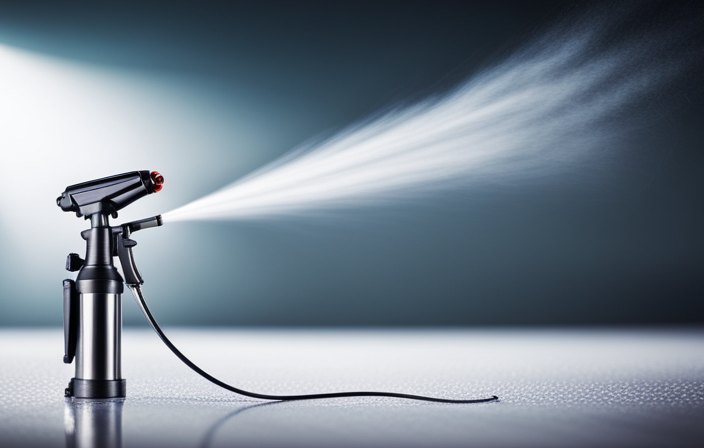
So, you have decided to revamp the exterior of your home with a fresh coat of paint. Trust me, as an experienced painter, using an airless sprayer is the most effective method. In my years of experience, this technique revolutionizes the entire painting process.
In this article, I’m going to walk you through the step-by-step process of painting your home’s exterior with an airless sprayer. From preparing the surface to choosing the right paint and equipment, I’ve got you covered.
We’ll also discuss how to clean and repair any damaged areas, protect surrounding surfaces and landscape, and practice proper spray technique.
But that’s not all. I’ll also share with you some expert tips on applying thin and even coats, allowing sufficient drying time, and inspecting and touching up as needed. And of course, I’ll show you how to clean and maintain your airless sprayer so it lasts for years to come.
So, grab your sprayer and let’s get started on transforming your home’s exterior!
Key Takeaways
- Prepare the surface by smoothing rough spots, cleaning thoroughly, and ensuring tools are in good condition.
- Choose the right paint and equipment that is exterior-specific, durable, and suitable for the house style and regulations.
- Clean and repair damaged areas, including filling holes and cracks, and sanding repaired areas for a smooth surface.
- Protect surrounding surfaces and landscape by removing obstacles, covering windows and outdoor furniture, trimming plants, and identifying fragile surfaces.
Prepare the Surface
Now it’s time for me to grab my sander and smooth out any rough spots on my home’s exterior, creating a pristine canvas for my airless sprayer to work its magic.
Preparing the tools is crucial for a successful paint job. I make sure my sander is in good working condition and have plenty of sandpaper on hand.
Next, I thoroughly clean the surface to remove any dirt, grime, or loose paint. A power washer is great for this task, but a scrub brush and hose can also do the job. I take my time to ensure that every inch of the surface is clean and ready for paint.
With the surface prepared, I can now move on to the next step of choosing the right paint and equipment, ensuring a flawless finish for my home’s exterior.
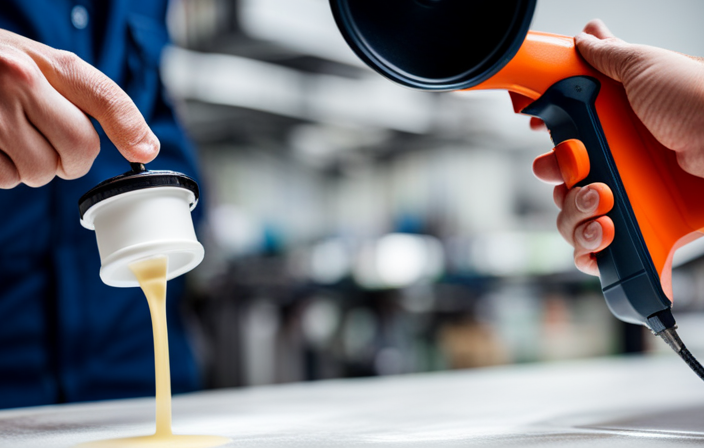
Choose the Right Paint and Equipment
First things first, make sure you’ve got the proper paint and gear for the job. When choosing paint color for your home exterior, consider the style of your house, the neighborhood, and any restrictions imposed by homeowners associations or local regulations.
It’s important to select a paint that is specifically formulated for exterior use and can withstand the elements. Look for a paint that offers good coverage and durability.
Additionally, investing in recommended safety equipment is crucial to protect yourself during the painting process. This includes safety goggles, a respirator mask, and protective clothing.
Being equipped with the right paint color and safety gear will ensure a successful and safe painting experience.
Now, let’s move on to the next step and clean and repair any damaged areas.
Clean and Repair any Damaged Areas
To ensure a flawless finish, start by thoroughly inspecting your house’s exterior for any signs of damage or wear. Repair techniques for damaged areas include patching holes, filling cracks, and replacing rotted wood. Exterior cleaning is essential to remove dirt, grime, and mildew that can affect paint adhesion.
Here are some key steps to clean and repair your home’s exterior:
- Use a pressure washer to remove dirt and loose paint.
- Scrub the surface with a solution of water and mild detergent to remove stubborn stains.
- Repair any damaged areas using appropriate fillers or sealants.
- Sand the repaired areas to create a smooth surface for painting.
- Clean the surface again to remove any dust or debris.
By following these repair techniques and thoroughly cleaning the exterior, you will ensure a smooth and durable paint application.
In the next section, we will discuss how to protect surrounding surfaces and landscape during the painting process.
Protect Surrounding Surfaces and Landscape
To protect surrounding surfaces and landscape, I always take extensive measures. First, I remove any potential obstacles that could be damaged. This includes covering windows, doors, and outdoor furniture with protective plastic sheeting or tarps. I also trim back plants and trees near the walls to prevent accidental spraying. Additionally, I inspect the area for fragile surfaces that need extra protection, such as delicate trim or landscaping features. By taking these precautions, I ensure that everything remains unharmed during painting. Now, let’s move on to discussing proper spray technique for flawless results.
Practice Proper Spray Technique
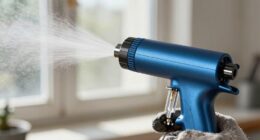
Mastering the art of flawless results requires honing my spray technique to perfection. When it comes to painting the home exterior with an airless sprayer, proper spraying technique is crucial in achieving a smooth finish.
To begin, I ensure that I hold the sprayer at the correct distance from the surface, usually around 12 inches. This allows for an even application without overspray or missed spots.
I also make sure to move the sprayer in a steady, controlled motion, overlapping each pass slightly to avoid streaks or lines.
Additionally, I adjust the nozzle to the appropriate spray pattern for the area being painted, whether it’s a narrow fan or wide spray.
By practicing these techniques, I can achieve a professional-looking, smooth finish on the home exterior. As I move on to the next step, which involves starting with the hard-to-reach areas, I continue to apply these skills to ensure consistent results.
Start with the Hard-to-Reach Areas
Starting with the tricky spots can be a real challenge when tackling a painting project. Safety precautions should always be a top priority, especially when reaching high areas.
Before starting, make sure to wear appropriate safety gear such as goggles, gloves, and a sturdy ladder. It’s important to have a stable footing and a secure ladder to prevent accidents.
When painting hard-to-reach areas, an airless sprayer can be a great tool to ensure even coverage and a professional finish. Begin by spraying these areas first, such as the eaves, corners, and edges. This allows you to focus on the more difficult areas while you have more energy and patience.
Once these spots are done, you can move on to the rest of the exterior, applying thin and even coats for a flawless result.
Apply Thin and Even Coats
To achieve a professional finish, it is crucial to ensure that thin and even coats are applied during the painting process. Using an airless sprayer makes this task easier, but it also requires precision and proper technique.
Start by adjusting the sprayer to a low pressure setting to avoid overspray and achieve better control. Begin spraying in a smooth and consistent motion, overlapping each pass slightly to ensure even coverage.
It is important to use proper safety precautions, such as wearing protective goggles and a respirator, as well as covering nearby surfaces to prevent any accidental paint splatters.
By applying thin and even coats, you will not only achieve a smoother finish, but also allow sufficient drying time for each layer. This will result in a more durable and long-lasting paint job.
Allow Sufficient Drying Time
To achieve a flawless finish, it is crucial to allow sufficient drying time. Managing drying time effectively when using an airless sprayer to paint the exterior of your home is essential. Consider the impact of weather conditions on the drying process. Here are some tips to help you manage drying time effectively:
- Check the manufacturer’s recommendations for drying time.
- Avoid painting during high humidity or extremely hot weather.
- Choose a day with mild temperatures and low humidity for optimal drying.
- Allow each coat to dry completely before applying the next one.
- Consider using a fan or dehumidifier to speed up the drying process.
By allowing sufficient drying time, you ensure that the paint adheres properly and achieves a smooth, professional-looking finish.
Once the paint is completely dry, you can move on to inspecting and touching up as needed.
Inspect and Touch Up as Needed
Take a close look at your freshly painted masterpiece and give it a thorough inspection, searching for any imperfections that may need a gentle touch-up. This is an essential step in achieving a flawless finish.
When inspecting your exterior paint job, pay attention to areas that may have been missed or where the paint may have dripped or pooled. Look for any uneven color or texture, as well as any areas where the paint may have chipped or peeled.
To address these issues, you can use touch-up techniques such as carefully applying additional paint or using a small brush to blend in the surrounding area. Common inspection issues include brush marks, streaks, or areas with insufficient coverage.
By addressing these issues promptly, you can ensure a professional-looking paint job.
Now, let’s move on to the next section about how to clean and maintain your airless sprayer.
Clean and Maintain Your Airless Sprayer
Once you’ve finished inspecting your masterpiece, it’s time to ensure the longevity and performance of your sprayer with proper cleaning and maintenance. Here are some maintenance tips and troubleshooting techniques to keep your airless sprayer in top shape:
-
Regularly clean your sprayer after each use. This includes flushing out any remaining paint and debris from the system.
-
Inspect and replace worn or damaged parts, such as filters, tips, and hoses, to prevent any potential issues during your next painting project.
-
Lubricate the moving parts of the sprayer to keep them operating smoothly. This will help prevent any unnecessary wear and tear.
-
Perform regular checks on the pressure settings and spray pattern to ensure optimal performance. Adjust as needed for different surfaces and paint types.
By following these maintenance tips and troubleshooting techniques, you can ensure that your airless sprayer continues to deliver professional results for years to come.
Frequently Asked Questions
What are some common mistakes to avoid when using an airless sprayer to paint the home exterior?
When using an airless sprayer to paint the home exterior, it’s crucial to avoid common mistakes. Here are some tips and tricks I’ve learned: don’t overspray like a fire hose, maintain a consistent distance, and use proper masking techniques.
Can I use an airless sprayer to paint over existing textured surfaces on the home exterior?
Yes, an airless sprayer can be used to paint over existing textured surfaces on the home exterior. It offers the benefits of easy and efficient application, ensuring an even coat and minimizing the risk of drips or brush marks.
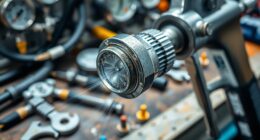
How do I determine the ideal nozzle size for my airless sprayer when painting the home exterior?
To determine the ideal nozzle size for your airless sprayer when painting the home exterior, consider the spray pattern control you desire. Just like choosing a paintbrush, selecting the right nozzle size is crucial for achieving a smooth and even finish.
Are there any safety precautions I should take while using an airless sprayer to paint the home exterior?
When using an airless sprayer to paint the home exterior, it is important to take safety precautions. I always wear proper safety gear, such as goggles, a respirator, and protective clothing, to protect myself from paint fumes and potential overspray.
Can I use an airless sprayer to paint the trim and other intricate details of the home exterior, or is it better to use a brush for those areas?
For intricate details like trim, it’s best to use a brush rather than an airless sprayer. This ensures better control and precision. However, for larger areas like interior walls, an airless sprayer is efficient. Remember to clean the sprayer properly after each use.
Conclusion
In conclusion, painting the exterior of your home with an airless sprayer can be a transformative experience.
From preparing the surface to applying thin and even coats, the process requires attention to detail and a steady hand.
By choosing the right paint and equipment, protecting surrounding surfaces, and practicing proper spray technique, you can achieve a stunning finish that will leave your home looking brand new.
So why not embark on this exciting journey and give your home the makeover it deserves?