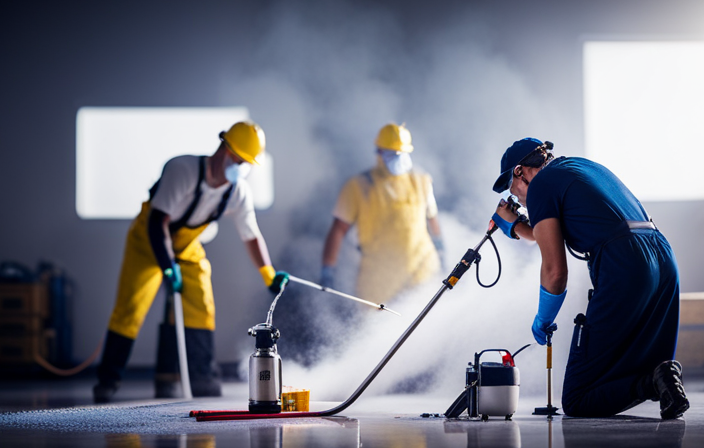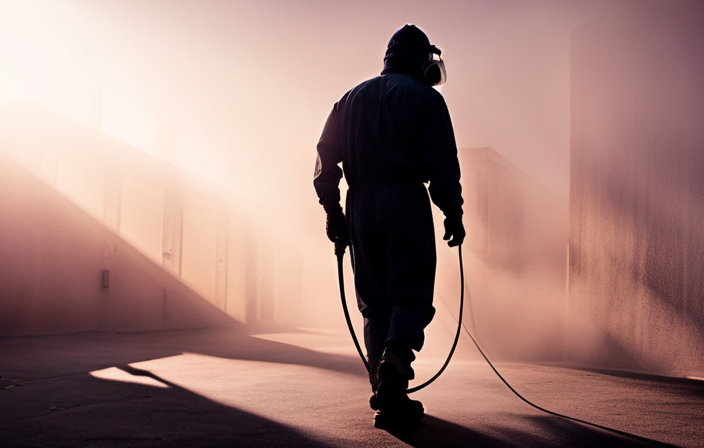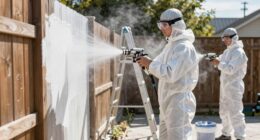
Dealing with the task of painting tight spaces can feel daunting, but with the right tools and techniques, it can be easily handled. As a painting professional, I understand the importance of achieving a flawless finish, particularly in harder to reach areas. That’s why I’m excited to share my expertise on using an airless sprayer for painting narrow spaces.
The airless sprayer is a game-changer when it comes to painting, providing a smooth and even coat without the hassle of brushes or rollers. In this article, I will guide you through the step-by-step process of selecting the right sprayer, preparing the surface, and adjusting the settings for those tight spaces.
I’ll also share some insider tips on proper spray technique and maintenance to ensure a professional-looking finish every time. So, let’s dive in and discover the secrets to mastering the art of painting narrow parts with an airless sprayer.
Key Takeaways
- Proper surface preparation is essential for achieving a professional finish on narrow parts with an airless sprayer.
- Using high-quality paint designed for airless spraying will ensure proper coverage and durability on narrow parts.
- Mastering spraying technique, including adjusting pressure and speed, maintaining a consistent distance from the surface, and controlling the sprayer nozzle angle, is crucial for achieving a smooth and even application on narrow parts.
- Regularly cleaning and maintaining the sprayer, including flushing it out with water or cleaning solution, cleaning filters and nozzles, and lubricating moving parts, will prevent clogs, ensure an even spray pattern, and extend the lifespan of the sprayer.
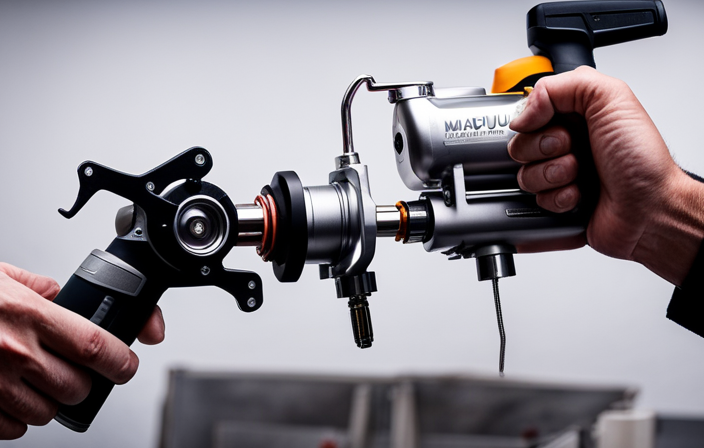
Select the Right Airless Sprayer for the Job
To effectively paint those narrow parts, it is important to choose the right airless sprayer for the job. When selecting an airless sprayer, consider the spray patterns it offers. Opt for a sprayer that provides a narrow spray pattern, as this will allow you to paint with precision in tight spaces.
Additionally, nozzle size plays a crucial role. Smaller nozzle sizes are ideal for narrow parts, as they produce a finer spray that can reach into crevices and corners. By selecting an airless sprayer with the appropriate spray patterns and nozzle size, you can ensure that your paint application is accurate and even in those hard-to-reach areas.
Now, let’s move on to preparing the surface for painting.
Prepare the Surface for Painting
To effectively paint small areas, it’s important to properly prepare the surface beforehand. Surface preparation is crucial to ensure a smooth and long-lasting finish.
Start by cleaning the surface thoroughly, removing any dirt, grease, or loose paint.
Next, examine the surface for any imperfections such as cracks or holes and repair them using an appropriate filler.
Once the repairs are done, sand the surface using the right technique. For narrow parts, use a fine-grit sandpaper and sand in a circular motion to ensure an even surface. Pay close attention to corners and edges, as they can be tricky to sand properly.
Smooth out any rough spots and wipe away any dust before proceeding to the next step. This will provide a clean and well-prepared surface for painting.
Now, let’s move on to the next section and learn how to use masking tape to protect the surrounding areas.
Use Masking Tape to Protect Surrounding Areas
Before you begin your masterpiece, wrap the delicate areas like a gift with the comforting embrace of masking tape. This essential step ensures that the surrounding surfaces remain untouched by the vigorous strokes of your airless sprayer. While traditional masking tape is commonly used, there are alternative masking materials available, such as painter’s tape or delicate surface tape, which provide even greater protection.
To achieve clean lines and avoid any paint seepage, follow these tips for removing masking tape cleanly:
- Remove the tape at a 45-degree angle to prevent tearing or pulling on the painted surface.
- Peel the tape slowly and evenly, maintaining a steady hand to avoid any sudden jerks.
- Use a utility knife to score along the edge of the tape before peeling it off, ensuring a precise line.
- For stubborn residue, apply heat from a hairdryer to soften the adhesive before gently removing it.
- Perform a final inspection to ensure a seamless finish before proceeding to adjust the sprayer settings for narrow parts.
Transitioning into the next section, we will now explore how to adjust the sprayer settings to effectively tackle those tight corners and narrow areas.
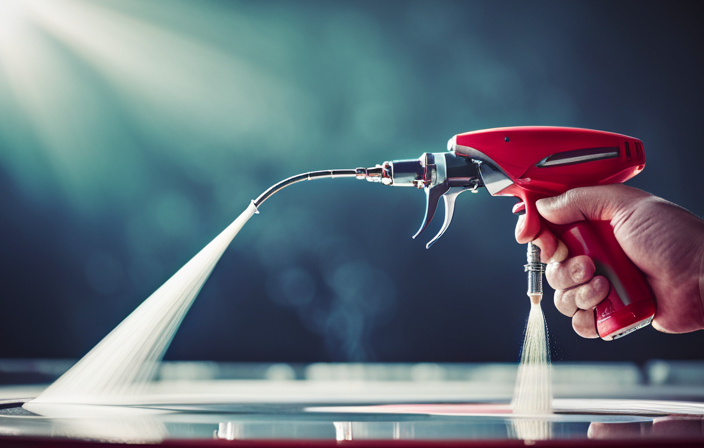
Adjust the Sprayer Settings for Narrow Parts
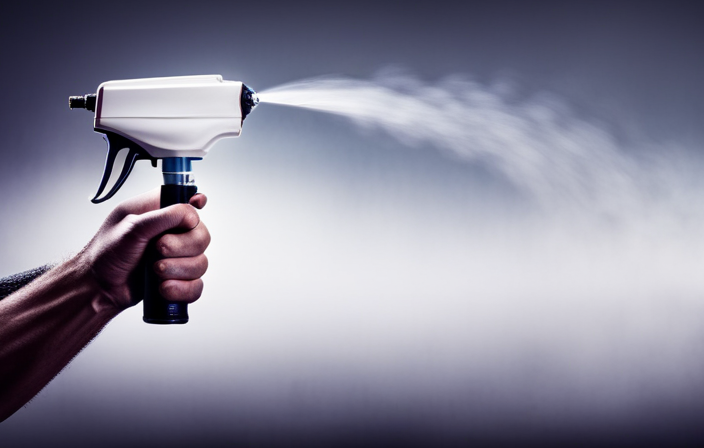
Now let’s dive into how you can fine-tune the settings on your sprayer to easily tackle those tricky tight corners and narrow areas. When painting narrow parts with an airless sprayer, it’s important to adjust the pressure and use a smaller nozzle size to ensure precise and even coverage. By decreasing the pressure on the sprayer, you can have better control over the paint flow and reduce the risk of overspray. Additionally, using a smaller nozzle allows for more accurate application in those narrow spaces.
To help you visualize the impact of these adjustments, here’s a table showcasing the recommended settings for painting narrow parts:
| Pressure Setting | Nozzle Size |
|---|---|
| Low | Small |
| Medium | Medium |
| High | Large |
By adjusting the pressure and using a smaller nozzle, you’ll be able to paint narrow parts with ease and precision. Now, let’s move on to the next section and learn about how to practice proper spray technique.
Practice Proper Spray Technique
Mastering the art of spraying starts with perfecting your spray technique. To effectively paint narrow parts with an airless sprayer, it is crucial to practice proper spray technique.
First, maintain the proper spray distance from the surface you are painting. This distance is typically around 12 inches, but it may vary depending on the specific sprayer and paint being used. By keeping the optimal distance, you ensure a smooth and even coat of paint without any drips or unevenness.
Additionally, controlling overspray is essential when working on narrow parts. To minimize overspray, you can use masking tape or plastic sheets to protect surrounding areas. This will help you achieve precise and clean results.
With proper spray technique, you can confidently move on to the next step of starting with light coats of paint.
Start with Light Coats of Paint
To achieve optimal results, it’s advisable to begin with gentle and thin layers of paint. Applying thin layers ensures that the paint adheres evenly to the narrow parts and reduces the risk of drips. By starting with light coats, you have better control over the application and can easily correct any mistakes.
To apply thin layers effectively, follow these steps:
- Hold the airless sprayer nozzle about 12 inches away from the surface.
- Move the sprayer in a steady back-and-forth motion, overlapping each pass slightly.
- Keep the sprayer moving at a consistent speed to avoid pooling or uneven coverage.
By following these techniques, you can achieve a smooth and professional finish without any drips or runs.
This sets a solid foundation for the next step, which involves using a back-and-forth motion for even coverage.
Use a Back-and-Forth Motion for Even Coverage
Start by smoothly gliding the nozzle of your sprayer about 12 inches away from the surface, moving it back and forth in a steady motion for flawless and even coverage.
This back-and-forth technique is crucial to avoid drips and runs, ensuring a professional finish. By maintaining a consistent distance and speed, you can evenly distribute the paint, preventing any pooling or streaking.
As you move the sprayer across the narrow parts, make sure to overlap each pass slightly to guarantee complete coverage. This technique allows the paint to adhere evenly and smoothly.
However, it’s important to take breaks to avoid over-saturation. This will give the paint time to dry and prevent any excess buildup.
Take Breaks to Avoid Over-Saturation
Don’t forget to give yourself a breather every now and then to prevent your masterpiece from turning into a soggy mess! When using an airless sprayer to paint narrow parts, it’s important to take breaks to avoid over-saturation.
This will help you avoid paint drips and ensure an even coat of paint. Over-saturating the surface can lead to drips and runs, ruining the finish of your project. To prevent this, take short breaks every few minutes to allow the paint to dry slightly before applying another coat.
Additionally, using a smaller spray tip can also help prevent over-saturation and ensure better control over the paint flow. By following these tips, you can achieve a professional-looking finish on narrow parts without any unwanted drips or mess.
Now, let’s move on to the next section on how to clean and maintain your airless sprayer.
Clean and Maintain Your Airless Sprayer
To keep your airless sprayer clean and well-maintained, follow these essential techniques and troubleshooting tips:
- Regularly flush out the sprayer with water or a cleaning solution to remove any leftover paint or debris.
- Clean the filters and nozzles regularly to prevent clogs and ensure an even spray pattern.
- Lubricate the moving parts, such as the pump and piston, to reduce friction and maintain proper operation.
By following these techniques and troubleshooting common issues, you can prevent costly repairs and downtime. With a well-maintained airless sprayer, you can now move on to the next section and enjoy a professional-looking finish.
Enjoy Your Professional-Looking Finish
To fully appreciate the polished outcome, relish in the refined elegance of your impeccably executed project.
Achieving a smooth finish on narrow parts with an airless sprayer requires some professional painting tips. First, ensure that you have properly prepared the surface by cleaning and sanding it if necessary.
Next, use a high-quality paint that is specifically designed for airless spraying. Before starting, practice your spraying technique on a test surface to get a feel for the sprayer’s pressure and speed.
When spraying the narrow parts, hold the sprayer nozzle at a slight angle and maintain a consistent distance from the surface. Apply the paint in thin, even coats, overlapping each pass slightly for complete coverage.
Take your time and be patient, allowing each coat to dry before applying the next. With these techniques, you can achieve a flawless, professional-looking finish on even the narrowest parts of your project.
Frequently Asked Questions
What are the common mistakes to avoid when using an airless sprayer for narrow parts?
When using an airless sprayer for narrow parts, common mistakes can ruin your project. Follow these tips and tricks to avoid disaster: don’t underestimate the power of overspray, never rush the job, and always use masking tape for clean lines.
How do I prevent overspray when painting narrow areas with an airless sprayer?
To prevent overspray and achieve a smooth finish when using an airless sprayer on narrow areas, I recommend using a smaller spray tip size, adjusting the pressure, and maintaining a consistent distance from the surface.
Can I use an airless sprayer for painting intricate or detailed designs on narrow surfaces?
Using an airless sprayer for intricate designs on narrow surfaces requires achieving precision. To do this, I recommend using masking tape to define the areas you want to paint, ensuring clean lines and accurate results.
Are there any safety precautions I should take when using an airless sprayer on narrow parts?
When using an airless sprayer on narrow parts, it is important to take safety considerations into account. Proper technique is crucial to prevent accidents or injuries. Follow these guidelines for a safe and successful painting experience.
Can I thin the paint to achieve better results when using an airless sprayer on narrow areas?
Yes, thinning the paint can indeed help achieve a smoother finish when using an airless sprayer on narrow areas. By reducing the paint’s viscosity, it allows for better atomization and coverage, resulting in a more even and professional-looking paint job.
Conclusion
After following these steps and mastering the art of airless spraying, you’ll be able to paint narrow parts with ease and achieve a professional-looking finish.
Remember, selecting the right sprayer, prepping the surface, and using masking tape are crucial for success.
Adjusting the sprayer settings and practicing proper technique will ensure even coverage.
Take breaks to avoid over-saturation and don’t forget to clean and maintain your sprayer for future use.
With these tips, you’ll be able to transform any narrow space into a work of art!