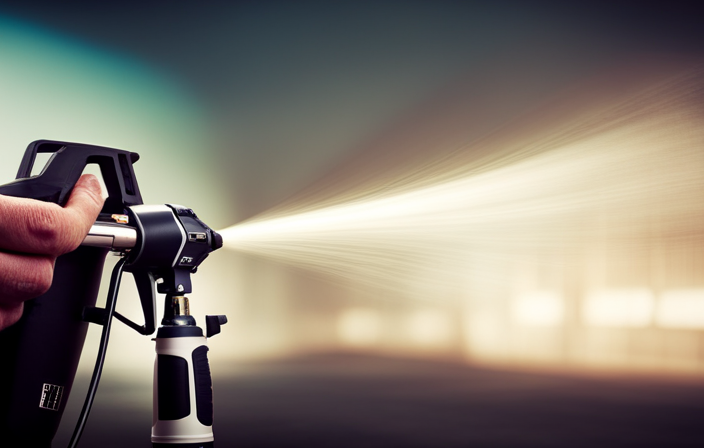
Did you know that using an airless paint sprayer can reduce your paint application time by half compared to the traditional method of using a brush or roller? This efficient tool can help you quickly renovate your space and achieve a smooth, professional finish.
In this article, I will guide you through the step-by-step process of painting with an airless paint sprayer. From choosing the right equipment to cleaning and maintaining your sprayer, I will provide you with all the information you need to successfully complete your painting project.
Whether you’re a seasoned DIY enthusiast or a beginner, this article will empower you to tackle any painting job with confidence. So, grab your airless paint sprayer and let’s get started on creating a beautifully painted space that you can enjoy for years to come.
Key Takeaways
- Adjust and maintain the sprayer to minimize overspray and ensure smooth painting
- Use proper painting techniques such as applying multiple coats, feathering, and edging for seamless results
- Take time to choose the right paint color and test samples in different lighting conditions
- Clean and store brushes properly to maintain their quality and longevity
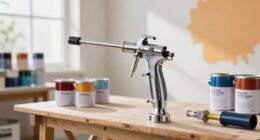
Choose the Right Equipment
Now, let’s find the perfect equipment for your painting adventure with an airless paint sprayer! When it comes to using an airless paint sprayer, it’s vital to have the right tools to ensure a smooth and efficient painting experience.
First, make sure to properly maintain your airless paint sprayer by regularly cleaning it and inspecting for any clogs or damage. This will help prevent any issues during your painting project.
Additionally, familiarize yourself with common troubleshooting techniques, such as adjusting the pressure and choosing the appropriate nozzle size for different surfaces. By being prepared with the right equipment and knowing how to troubleshoot common issues, you can achieve professional-looking results with your airless paint sprayer.
Now, let’s move on to the next section and prepare your space for the painting process.
Prepare Your Space
Before getting started, make sure you’ve set up your workspace properly. This is crucial for maximizing efficiency and minimizing mess when painting with an airless paint sprayer.
Begin by clearing the area of any furniture, decorations, or other items that could be damaged by overspray. Cover the floors and any remaining items with drop cloths or plastic sheets to protect them from paint splatters. Use painter’s tape to mask off any areas that you don’t want to be painted, such as baseboards or windows.
It’s also important to ensure good ventilation in the space, either by opening windows or using fans. By preparing your space adequately, you’ll be able to paint smoothly and without any unnecessary mess.
Now, it’s time to move on to the next step: priming the surface.
Prime the Surface
Get ready to level up your painting game by priming the surface like a pro!
Surface preparation is crucial before painting with an airless paint sprayer, and applying a primer is a vital step in the process. Here’s why primer is so important:
-
Enhances Adhesion: Primer creates a smooth and even surface for the paint to adhere to, ensuring better coverage and durability.
-
Blocks Stains and Discoloration: Primer helps prevent stains and discoloration from bleeding through the paint, giving you a flawless finish.
-
Seals and Protects: It seals porous surfaces, preventing moisture penetration and potential damage to your walls or furniture.
Now that you understand the importance of primer, it’s time to move on to the next step: mixing and diluting the paint.
Mix and Dilute the Paint
Let’s dive right into the next step: it’s time to whip up a perfectly mixed and diluted batch of paint! When it comes to mixing techniques, there are a few things to keep in mind to ensure a smooth and even application. First, always start by choosing the right paint for your project. Different paints have different consistencies, so make sure to read the manufacturer’s instructions for the correct ratio of paint to diluent. I find that a 2:1 ratio of paint to diluent works well for most projects. To mix the paint, pour the paint into a mixing container and slowly add the diluent while stirring continuously. Use the table below as a guide:
| Paint Amount | Diluent Amount |
|---|---|
| 2 cups | 1 cup |
| 4 cups | 2 cups |
| 6 cups | 3 cups |
| 8 cups | 4 cups |
| 10 cups | 5 cups |
Once the paint is properly mixed and diluted, you’re ready to move on to the next section and practice proper technique for a flawless finish.
Practice Proper Technique
Once you’ve mastered the art of mixing and diluting your paint, it’s time to put your skills to the test and practice proper technique for a flawless finish.
To achieve the best results with an airless paint sprayer, it’s important to maintain proper form. Hold the sprayer firmly with both hands and keep it parallel to the surface you’re painting. Move your whole arm in a smooth, fluid motion, overlapping each pass by about 50%. This will ensure an even coverage and prevent streaks or missed spots.
Additionally, be mindful of your distance from the surface – too close can lead to paint buildup, while too far will result in a thin coat.
Troubleshooting tip: if you notice any drips or uneven coverage, adjust your technique and check your paint viscosity.
With these proper techniques in mind, it’s time to start painting and bring your project to life.
Start Painting
When it comes to starting the actual painting process with an airless paint sprayer, it’s crucial to begin with even strokes and overlapping. This ensures a smooth and consistent finish, without any visible lines or streaks.
Additionally, it’s important to work in sections and layers for full coverage. This method allows for better control and ensures that every part of the surface is properly coated.
Starting with Even Strokes and Overlapping
To achieve a smooth finish, start by ensuring your strokes are even and overlapping. This is crucial for an airless paint sprayer. Apply even pressure on the trigger to ensure a consistent flow of paint. By doing so, you’ll avoid clogs and achieve a professional-looking result.
Keep your strokes parallel and maintain a consistent distance from the surface you’re painting. Overlapping each stroke by about 50% will help to blend the paint evenly and prevent any streaks or lines. Remember to work in small sections and layers for full coverage. This technique allows you to control the application and ensure an even distribution of paint.
By following these steps, you’ll achieve a flawless finish with your airless paint sprayer.
Working in Sections and Layers for Full Coverage
For a flawless finish, make sure you work in small sections and build up layers to achieve full coverage. This technique is particularly important when working with different paint finishes, as it allows you to control the thickness and consistency of the paint. By dividing the surface into manageable sections, you can ensure that each area receives the proper amount of paint, resulting in an even and professional-looking finish.
To help you visualize this process, refer to the table below:
| Section | Layer 1 | Layer 2 | Layer 3 | Layer 4 |
|---|---|---|---|---|
| A | X | X | X | X |
| B | X | X | X | X |
| C | X | X | X | X |
| D | X | X | X | X |
| E | X | X | X | X |
By following this method, you can ensure that your paint job is thorough and consistent. Additionally, working in sections allows you to easily troubleshoot common paint sprayer issues, such as overspray and drips. This will be discussed further in the next section.
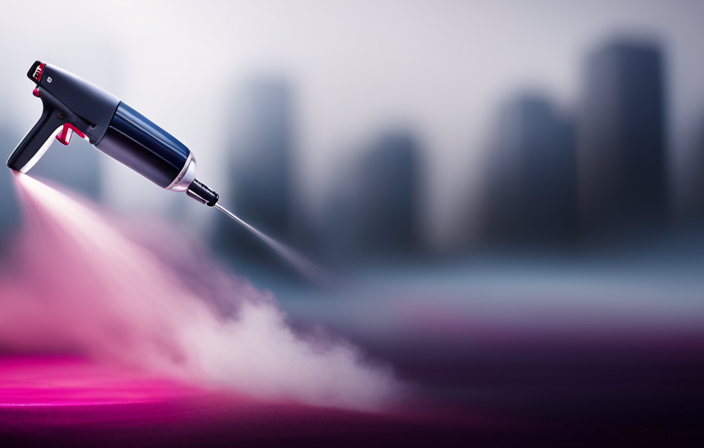
Deal with Overspray and Drips
Watch out for overspray and drips while using the airless paint sprayer, or you’ll end up with a paint job that looks like it was done by a blindfolded toddler!
To avoid clogs and control paint flow, it’s important to pay attention to the pressure settings on your sprayer. Adjust the pressure to match the type of paint you’re using and the surface you’re painting. Start by spraying in a small, inconspicuous area to test the flow and make any necessary adjustments.
Additionally, hold the sprayer at a consistent distance from the surface and move it in smooth, even strokes to minimize overspray. If you do notice any drips or excess paint, quickly wipe them away with a cloth or sponge.
Now that you know how to deal with overspray and drips, let’s move on to how to clean and maintain your sprayer.
Clean and Maintain Your Sprayer
Keep your sprayer in tip-top shape by regularly cleaning and maintaining it, ensuring a smooth and hassle-free painting experience. Here are some essential sprayer maintenance tips and troubleshooting common issues:
-
Clean the sprayer thoroughly after each use. Flush out any remaining paint with water or a cleaning solution recommended by the manufacturer.
-
Check and clean the filters regularly to prevent clogs and ensure proper paint flow. Replace them if necessary.
-
Inspect the spray tip for any signs of wear or damage. Replace it if needed to maintain a consistent spray pattern.
-
Lubricate the sprayer’s moving parts according to the manufacturer’s instructions to keep everything running smoothly.
By following these sprayer maintenance steps, you can prevent issues like clogging, uneven spraying, or paint buildup and achieve a professional finish.
Achieve a Professional Finish
To achieve a professional finish when painting with an airless paint sprayer, it’s important to apply multiple coats for depth and smoothness. This technique helps to create a more even and consistent finish, especially when working with darker or more vibrant colors.
Additionally, using techniques such as feathering and edging can help to achieve seamless results by blending the paint and creating smooth transitions between different sections or colors.
Applying Multiple Coats for Depth and Smoothness
Applying several layers with an airless paint sprayer will give your project a rich and polished finish. Here are four essential tips to achieve seamless results:
-
Feathering Techniques: When applying multiple coats, use feathering techniques to blend each layer smoothly into the previous one. This helps create a seamless and professional finish.
-
Proper Drying Time: Allow each coat to dry completely before applying the next one. This ensures that the layers bond well and prevents any unevenness or bubbling.
-
Thin Layers: Apply thin coats of paint rather than thick ones. This allows for better control and prevents drips or runs, resulting in a smoother surface.
-
Edging for Seamless Results: Pay special attention to edges and corners. Use techniques like feathering and edging to ensure a seamless transition between different areas.
By following these tips, you can achieve a polished and professional finish using an airless paint sprayer. Use techniques like feathering and edging for seamless results.
Using Techniques like Feathering and Edging for Seamless Results
By incorporating techniques such as feathering and edging, I can achieve a flawlessly smooth and professional finish when using an airless paint sprayer. Feathering involves lightly overlapping each stroke of the sprayer to create a seamless blend between the layers of paint. This technique helps to eliminate any visible lines or marks, resulting in a smooth and even surface. Edging, on the other hand, focuses on carefully painting the edges and corners of the surface, ensuring that there are no missed spots or uneven areas. The combination of feathering and edging allows me to achieve a seamless finish that is free of any visible brush or roller marks. With these techniques, I can confidently transform any space into a beautifully painted area. Enjoy your newly painted space and admire the flawless results achieved through the use of an airless paint sprayer.
Enjoy Your Newly Painted Space
After completing your paint job, sit back and relax in your newly transformed space, knowing that 80% of people who paint their own homes feel a sense of satisfaction and accomplishment. It’s truly rewarding to see your vision come to life.
To ensure a successful outcome, here are three essential tips to keep in mind:
-
Choose the right paint color: Take your time when selecting a color for your space. Consider the mood you want to create and the existing elements in the room. Get sample swatches and test them on the wall to see how they look in different lighting conditions.
-
Properly clean your paint brushes: Cleaning your brushes after each use is crucial for their longevity. Use warm soapy water to remove excess paint, gently comb through the bristles, and rinse thoroughly. Hang them upside down to dry and store them in a cool, dry place.
-
Enjoy your newly painted space: Take a moment to appreciate the hard work you put into transforming your room. Admire the seamless finish and relish in the satisfaction of a job well done. Your newly painted space is now ready to be enjoyed and admired by you and your guests.
Frequently Asked Questions
Can I use an airless paint sprayer to paint intricate or detailed surfaces?
Yes, an airless paint sprayer can be used to paint intricate or detailed surfaces. It is important to use the correct painting techniques and follow best practices to ensure a smooth and even finish.
How do I prevent clogging or blockages in the paint sprayer nozzle?
To prevent clogging or blockages in the paint sprayer nozzle, regularly clean it with warm soapy water after each use. Also, use a strainer to filter out any debris and adjust the spray settings to prevent overspray.
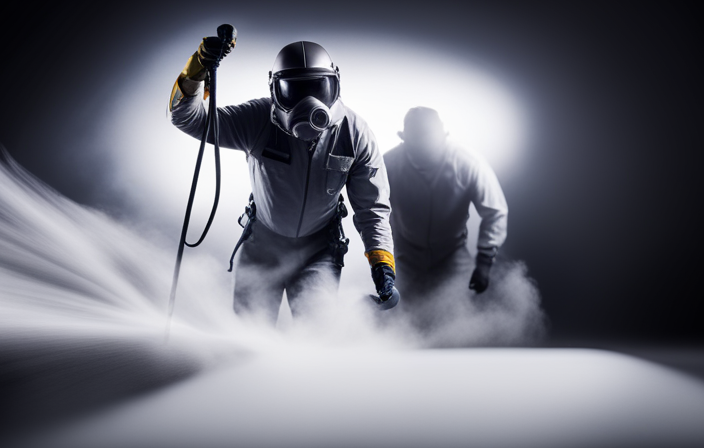
Is it necessary to wear protective gear while using an airless paint sprayer?
When using an airless paint sprayer, it is necessary to wear protective gear. The pros of using an airless paint sprayer include faster painting and smoother finish. Tips for maintaining the sprayer include cleaning and storing it properly.
What is the average lifespan of an airless paint sprayer?
The average lifespan of an airless paint sprayer is around 5 to 10 years with proper maintenance. To extend its lifespan, regularly clean and lubricate the sprayer, use proper storage techniques, and replace worn-out parts promptly.
Can I use different types of paint (oil-based, latex, etc.) with an airless paint sprayer?
Yes, you can use different types of paint with an airless paint sprayer. I once used an airless sprayer to paint my entire house, using both oil-based and latex paint. Just make sure to clean the sprayer thoroughly after each use to avoid clogs and maintain its performance.
Conclusion
In conclusion, painting with an airless paint sprayer is a convenient and efficient way to achieve a professional finish. By following the proper steps, such as choosing the right equipment, preparing the space, and practicing proper technique, you can transform any surface with ease.
Did you know that using an airless paint sprayer can save you up to 50% in paint compared to using a brush or roller? So not only will you have a beautifully painted space, but you’ll also save money in the process.
Happy painting!