As a DIY enthusiast, I feel like using an airless sprayer is like wielding a magical wand that effortlessly transforms a room. I have been amazed by the exceptional efficiency and flawless results that an airless sprayer provides.
In this article, I will guide you through the step-by-step process of using an airless sprayer to achieve flawless results. From gathering the necessary materials and preparing the surface to practicing proper technique and cleaning up afterwards, I will share all the tips and tricks I have learned along the way.
Whether you are a seasoned painter or a beginner, this article will equip you with the knowledge and confidence to tackle any painting project with ease. So, let’s dive in and unleash the power of the airless sprayer to create a beautifully painted space that will leave you feeling proud and accomplished.
Key Takeaways
- Airless sprayers provide a smooth and even finish without brush marks or roller streaks.
- Using an airless sprayer saves time and effort, as it covers large areas quickly.
- Airless sprayers work on walls, ceilings, and furniture, making them versatile for various projects.
- Airless sprayers minimize overspray and reduce the need for masking, resulting in a professional-looking outcome.

VONFORN Paint Sprayer, HVLP Spray Gun with Cleaning & Blowing Joints, 4 Nozzles and 3 Patterns, Easy to Clean, for Furniture, Cabinets, Fence, Walls, Door, Garden Chairs etc. VF803 VF803 Dark Green
- Nozzles and Spray Patterns: 4 nozzles, 3 spray patterns for versatility
- Dust Blowing & Cleaning: Dust removal and quick cleaning features
- User-Friendly Design: Tool-free assembly and included cleaning tools
As an affiliate, we earn on qualifying purchases.
As an affiliate, we earn on qualifying purchases.
Gather the Necessary Materials and Equipment
Now that you’ve got all your gear ready, it’s time to gather the necessary materials and equipment for your airless sprayer painting project.
The first step is choosing the right type of paint for the job. Consider factors such as the surface you’ll be painting on, the desired finish, and any specific requirements for the project. It’s important to select a paint that’s compatible with your airless sprayer and will provide the desired results.
Additionally, it’s crucial to take safety precautions when using an airless sprayer. Make sure to wear protective clothing, including gloves, goggles, and a mask, to prevent any paint particles from coming into contact with your skin or eyes. Ensure proper ventilation in the area where you’ll be working to minimize exposure to fumes.
With the necessary materials and safety measures in place, you’re ready to move on to the next step: preparing the surface for painting.
Prepare the Surface for Painting
First, make sure the surface is ready by giving it a thorough cleaning and ensuring it is free from any dirt or debris. Surface preparation is crucial for a successful paint job. To help you understand the importance of this step, take a look at the table below:
| Surface Preparation | Benefits |
|---|---|
| Proper cleaning | Ensures better adhesion of paint |
| Removing dirt | Prevents paint defects and uneven finish |
| Smoothing surfaces | Provides a smooth and professional look |
Once the surface is clean, it’s important to select the right primer based on the type of surface you’re painting. The right primer helps the paint adhere better and ensures a long-lasting finish. After preparing the surface and selecting the right primer, you can move on to the next step of diluting the paint (if necessary). This will help achieve the desired consistency and coverage.
Dilute the Paint (if necessary)
To achieve the perfect paint consistency and coverage, you’ll need to dilute the paint if it’s too thick or viscous. There are various dilution techniques you can use to ensure the paint flows smoothly through the airless sprayer.
First, check the manufacturer’s instructions for the recommended dilution ratios. These guidelines will help you determine the right amount of water or other diluent to add.
Second, start by pouring a small amount of paint into a mixing container. Gradually add the diluent while stirring continuously. It’s important to add the diluent slowly and in small increments, as it’s easier to thin the paint further if needed, rather than trying to thicken it again.
Once the paint reaches the desired consistency, it’s ready to be loaded into the airless sprayer for application. With the paint properly diluted, you can now move on to the next step of setting up the airless sprayer.
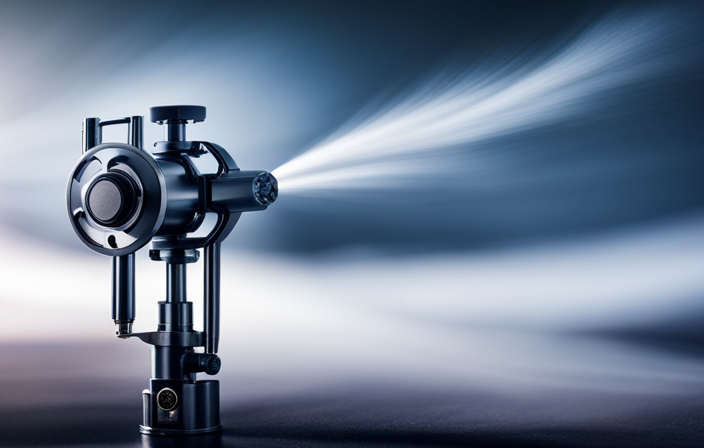
Set Up the Airless Sprayer
Once you’ve completed preparing the paint, it’s time to get the airless sprayer set up for your painting project. Proper maintenance of the airless sprayer is crucial to ensure smooth operation and prevent any issues during the painting process. Here is a step-by-step guide to setting up the airless sprayer:
| Step | Instructions |
|---|---|
| 1 | Check that all the components of the sprayer are clean and free from any clogs or debris. |
| 2 | Connect the sprayer to a power source and ensure it is functioning properly. |
| 3 | Adjust the pressure settings according to the type of paint and surface you will be working on. |
| 4 | Test the sprayer on a scrap surface to ensure it is spraying evenly and without any issues. |
By properly setting up your airless sprayer, you will be ready to tackle your painting project with confidence. Now, let’s move on to practicing proper technique for achieving professional-looking results.
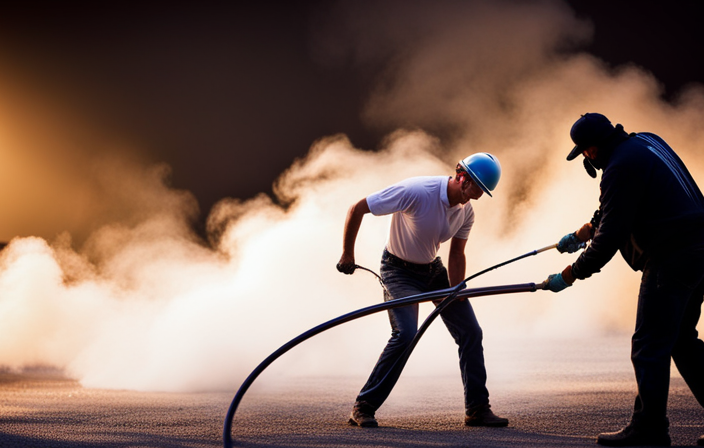
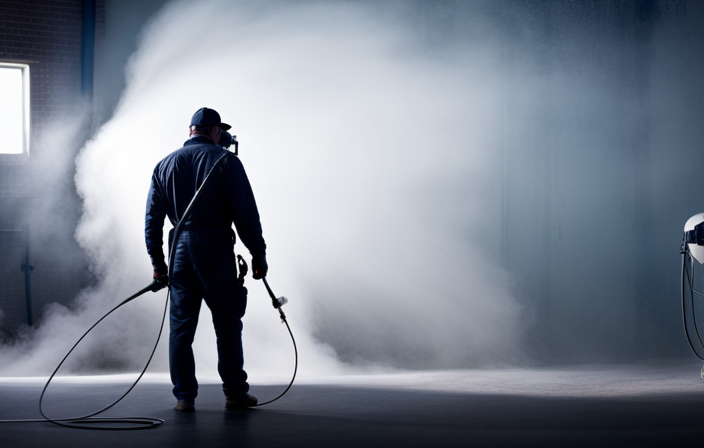
Practice Proper Technique
Mastering the art of painting requires honing your technique and perfecting your skills so that your results are impeccable. When it comes to using an airless sprayer, practicing proper technique is key to achieving professional-looking results.
One of the most common mistakes is holding the sprayer too close to the surface, which can result in uneven coverage and drips. To avoid this, maintain a distance of around 12 inches from the surface and move the sprayer in a smooth, sweeping motion.
Another important technique is to overlap each pass by about 50% to ensure even coverage. Lastly, always start painting from the top down to prevent any paint drips from ruining your work.
This seamless transition from technique to the next step will ensure a flawless finish.
Start Painting from the Top Down
Begin your painting journey by starting from the top down, allowing your creativity to flow freely and your brush to dance across the canvas like a symphony of colors. To ensure smooth and professional results, it’s important to master the right painting techniques and avoid drips.
Here are some tips to help you achieve a flawless finish:
- Begin by painting the ceiling and upper walls before moving on to the lower areas.
- Use long, even strokes to prevent uneven paint distribution.
- Maintain a consistent distance between the sprayer and the surface to avoid overspray.
- Keep the sprayer moving at a steady pace to prevent drips from forming.
- Work in small sections, overlapping each stroke slightly for seamless blending.
By starting from the top down, you can avoid unnecessary drips and achieve a polished look.
Now, let’s move on to the next step and learn how to apply multiple coats (if needed).
Apply Multiple Coats (if needed)
Now that we’ve started painting from the top down, it’s important to apply multiple coats if needed. This ensures a smooth and even finish. When using an airless sprayer, it’s best to apply thin coats rather than one thick coat. This allows for better control and minimizes the risk of drips or runs. Additionally, thin coats dry faster, which means you can estimate the drying time more accurately. Keep in mind that the drying time may vary depending on factors such as temperature and humidity.
Once you’ve finished applying multiple coats and the paint is dry, it’s time to clean the airless sprayer after use.
Clean the Airless Sprayer After Use
To ensure your equipment stays in top shape, don’t forget to give the sprayer a thorough cleaning once you’re done. Cleaning the airless sprayer is an essential part of the maintenance process.
Here are some tips to make the cleaning process easier and more efficient:
- Start by removing any remaining paint from the sprayer, using a brush or scraper.
- Next, disassemble the sprayer and soak the parts in warm soapy water to remove any paint residue.
- Use a small brush or toothbrush to clean hard-to-reach areas and remove any clogs.
- Rinse all the parts thoroughly with clean water and allow them to dry completely before reassembling.
By following these maintenance tips and cleaning the sprayer after each use, you can prolong its life and ensure optimal performance.
Once you have finished cleaning, you can move on to the next step of properly storing the sprayer.
Properly Store the Sprayer
After ensuring your equipment is clean and ready for future use, it’s important to store the sprayer in a dry, secure location to protect it from any potential damage. Proper storage tips are crucial to prevent clogs in the sprayer.
First, make sure to release any remaining pressure by triggering the gun into a waste container. Then, remove the intake tube and filter and clean them thoroughly to prevent any dried paint from causing blockages.
Next, store the sprayer in a cool, dry place away from extreme temperatures and direct sunlight. It’s also a good idea to cover it with a cloth or plastic bag to keep dust and debris away.
By following these proper storage tips, you can ensure your sprayer is in excellent condition for your next painting project. Now, you can enjoy your newly painted space without any worries.
Enjoy Your Newly Painted Space
Once you step back and admire your freshly painted space, you’ll be amazed at how a simple change of color can completely transform a room. Studies have shown that a new paint job can increase a home’s value by up to 2%!
Using an airless sprayer for painting has made the process enjoyable and efficient. The benefits of airless sprayers are numerous. Firstly, they provide a smooth and even finish, eliminating brush marks and roller streaks. Secondly, they save time and effort as they can cover large areas quickly.
Additionally, airless sprayers allow for easy application on various surfaces such as walls, ceilings, and furniture. They also minimize overspray, reducing the need for extensive masking. Overall, using an airless sprayer ensures a professional-looking outcome and makes the painting process a breeze.
Frequently Asked Questions
What types of surfaces can be painted using an airless sprayer?
You can paint a variety of surfaces with an airless sprayer. Whether it’s walls, ceilings, fences, or furniture, the different paint finishes can be easily achieved. The benefits of using an airless sprayer include faster application and a smoother, more even coat.
How do I choose the right paint for my project?
When choosing paint for your project, consider factors like the surface type, desired finish, and durability. Do you want a bold color or a neutral tone? Take your time to explore options and find the perfect paint color for your project.
Can I use an airless sprayer indoors?
Yes, you can use an airless sprayer indoors. It’s great for painting exterior walls and has several advantages for indoor painting. It provides a smooth finish, saves time, and reduces overspray compared to traditional methods.
How do I prevent overspray when using an airless sprayer?
To prevent overspray when using an airless sprayer, I adjust the spray pattern by using the nozzle tip and pressure settings. This helps me control the amount and direction of paint being sprayed, resulting in more precise and efficient painting.
Are there any safety precautions I should take when using an airless sprayer?
When using an airless sprayer, it’s important to take safety measures and ensure proper equipment usage. This includes wearing protective gear, such as goggles and a respirator, and following all instructions and guidelines provided by the manufacturer.
Conclusion
Well, that’s it! Painting with an airless sprayer can be a game changer when it comes to efficiency and achieving a professional finish. Plus, did you know that airless sprayers can save you up to 40% on paint compared to using a traditional brush or roller? So not only will you be able to paint faster, but you’ll also be saving money in the process.
Now go ahead and enjoy your newly painted space, knowing that you’ve mastered the art of using an airless sprayer.