
Ready to give your car a fresh new look with a shiny new paint job? Well, you’re in for a treat because I’m about to show you how it’s done using the powerful Greco airless sprayer. This incredible tool will make the whole painting process a breeze, trust me. So, get ready to transform your vehicle into a work of art with just a few simple steps. Get ready to be amazed at the results!
In this article, I’ll share my expertise as an automotive painter with you. We’ll dive into the nitty-gritty details, discussing the materials, techniques, and steps required to achieve a professional finish. From preparing the surface to applying the base coat, we’ll cover it all.
Attention to detail is key when it comes to automotive painting, and I’ll make sure you’re equipped with the knowledge to achieve flawless results. I’ll break down the complex processes into clear and concise instructions, ensuring you can easily follow along.
So, grab your Greco airless sprayer and let’s get started on transforming your car into a work of art!
Key Takeaways
- Maintaining consistent distance between sprayer and car’s surface
- Troubleshooting common painting issues using a 2 column, 4 row table
- Following manufacturer’s instructions for drying and curing time
- Ensuring proper ventilation and using a fan or heat gun on low setting to speed up the drying process
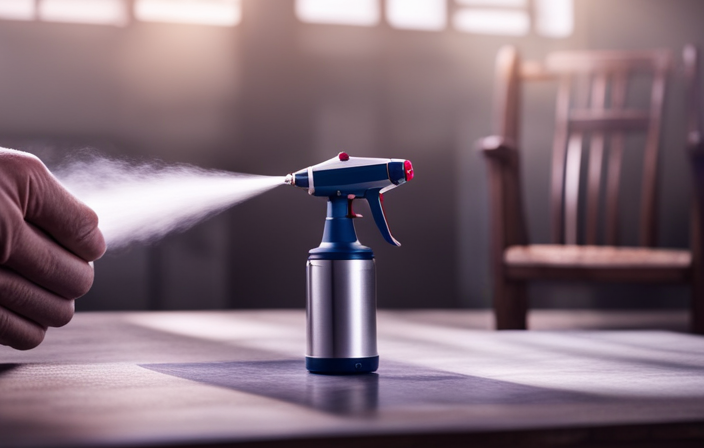
Gather the Necessary Materials and Equipment
Get ready to transform your car into a stunning work of art by gathering all the must-have materials and equipment for the job with Greco airless sprayer!
Choosing the right paint color is crucial to achieving the desired look for your car. Consider factors such as personal preference, the car’s style, and current trends.
Once you have the perfect color in mind, it’s time to focus on safety precautions. Wear protective clothing, including goggles, gloves, and a mask, to shield yourself from harmful fumes and chemicals. Additionally, ensure proper ventilation in the painting area to prevent any respiratory issues. By taking these safety measures, you can enjoy the painting process without compromising your well-being.
Now that you have your materials and safety gear in place, it’s time to prepare the surface of your car for the painting process.
Prepare the Surface of Your Car
Before diving into the transformation process, make sure your car’s surface is as smooth as a baby’s bottom. Achieving a flawless paint job starts with proper surface preparation.
Begin by thoroughly cleaning the car’s exterior, removing any dirt, wax, or grease.
Next, assess the condition of the existing paintwork. If there are any imperfections, such as scratches or chips, carefully sand them down using the appropriate sanding techniques. This step ensures a smooth surface for the new paint to adhere to.
Once the surface is smooth, it’s crucial to apply a layer of primer. Primer acts as a foundation, promoting better paint adhesion and enhancing the overall durability of the finish. Choose a high-quality automotive primer and apply it evenly using an airless sprayer for optimal results.
With the surface prepared and primed, you’re now ready to move on to the next step: mixing and diluting the paint.
Mix and Dilute the Paint
Now it’s time to blend and thin out the paint for optimal application and a professional finish. Achieving the right paint consistency is crucial for a flawless result. To do this, you need to mix the paint properly. Start by pouring the desired amount of paint into a clean container. Then, refer to the manufacturer’s instructions to determine the correct ratio of paint to thinner. Use a mixing stick to blend the paint and thinner together thoroughly. The consistency should be similar to that of milk. To ensure accuracy, you can use a viscosity cup to measure the paint’s thickness. If it’s too thick, add more thinner; if it’s too thin, add more paint. Remember, the right paint consistency is key for an even application. Once the paint is properly mixed and diluted, you are ready to move on to the next step of practicing using the Greco airless sprayer.
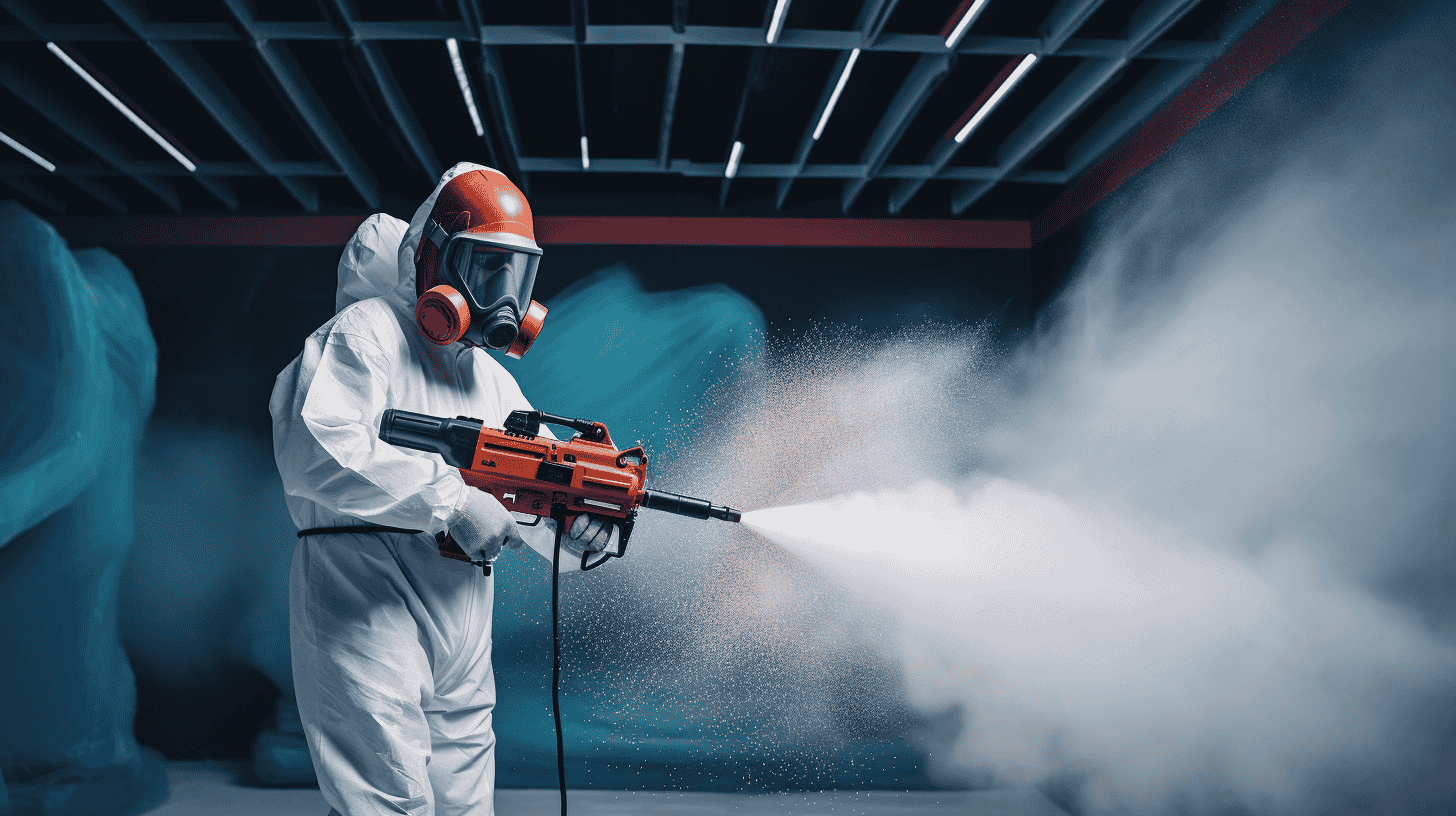
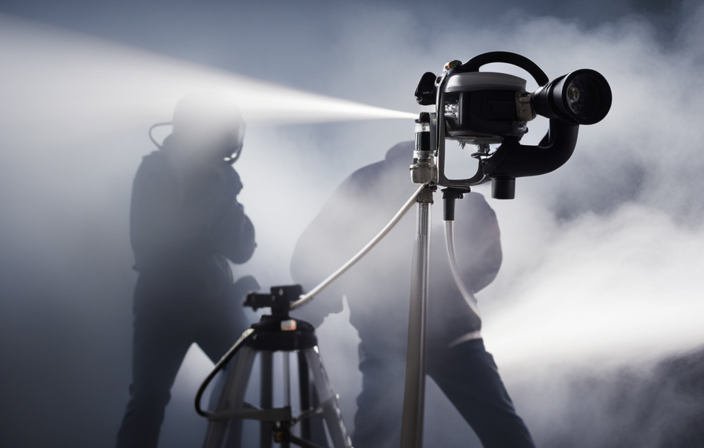
Practice Using the Greco Airless Sprayer
Once you’ve mastered the art of paint mixing, it’s time to put your skills to the test and get hands-on experience with the powerful Greco Airless Sprayer. This versatile tool is essential for achieving a professional finish on your car.
When using the Greco Airless Sprayer, it’s important to familiarize yourself with the proper techniques to avoid common mistakes. One of the key techniques is maintaining a consistent distance from the surface being painted, typically around 6 to 12 inches. This ensures an even application and prevents overspray.
Another important technique is using overlapping strokes to ensure full coverage. It’s also crucial to adjust the spray pattern and pressure settings to achieve the desired result.
By practicing these Greco Airless Sprayer techniques, you’ll be well-prepared to apply the base coat and take your car painting skills to the next level.
Apply the Base Coat
To achieve a flawless finish, it’s time to apply the first layer of color onto the surface. Before starting, it is crucial to prepare the car surface properly. Begin by thoroughly cleaning the vehicle to remove any dirt, grease, or wax. Next, sand the surface using fine-grit sandpaper to create a smooth and even texture for the paint to adhere to. After sanding, wipe the surface clean with a tack cloth to remove any dust particles.
Now, it’s time to mask off any areas that should not be painted, such as windows, trim, and emblems. Use high-quality automotive masking tape and plastic sheeting to protect these areas from overspray.
When applying the base coat, hold the Greco Airless Sprayer approximately 8-12 inches away from the surface. Begin with light, even strokes, overlapping each pass slightly for complete coverage. Avoid spraying too heavily in one area to prevent runs or drips. Allow the base coat to dry completely before moving on to the next step.
To achieve a professional finish, it is essential to follow these tips: maintain a consistent speed and distance while spraying, use multiple thin coats rather than one heavy coat, and always check for any imperfections or unevenness before proceeding.
In the next section, we will discuss how to apply the clear coat, which will provide a protective and glossy finish to your car’s paint job.
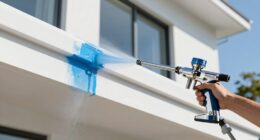
Apply the Clear Coat
When applying the clear coat, it’s crucial to use light, even strokes for a professional finish. This technique ensures that the clear coat is evenly distributed and provides a smooth surface.
Additionally, it’s recommended to apply multiple coats of clear coat to achieve a flawless result. This not only enhances the appearance of the paint job but also adds an extra layer of protection to the vehicle’s finish.
Use Light, Even Strokes
Gently glide the Greco airless sprayer across the surface of your car, allowing the smooth, even strokes to bring your car’s paint job to life.
-
Practice techniques: Before starting, it’s important to practice your spraying technique on a test panel to ensure you have a steady hand and can maintain an even spray pattern. This will help you achieve a professional finish.
-
Proper spraying technique: Hold the sprayer about 6-8 inches away from the car’s surface and move in a steady, back-and-forth motion. Avoid overlapping strokes and keep the sprayer parallel to the surface for an even coat.
-
Maintain consistent speed: Keep a consistent speed while spraying to ensure a uniform coverage. Moving too quickly or too slowly can result in an uneven finish.
-
Watch for runs and sags: Be vigilant and watch for any runs or sags in the paint. If you spot any, stop immediately and correct the issue before continuing.
Transition: Now that you have mastered the art of using light, even strokes, it’s time to move on to the next step: applying multiple coats for a smooth finish.
Apply Multiple Coats for a Smooth Finish
For a flawless final result, you’ll want to apply multiple coats using the Greco airless sprayer, ensuring a smooth finish that will impress. Did you know that adding just one extra coat of paint can increase the durability of your car’s finish by up to 50%? To achieve a professional smooth finish, it is important to follow specific techniques and troubleshooting common painting issues.
One technique to achieve a smooth finish is to apply the paint in light, even strokes, overlapping each stroke slightly to ensure even coverage. Additionally, it is crucial to maintain a consistent distance between the sprayer and the car’s surface to avoid uneven application.
Incorporating a 2 column and 4 row table can provide further guidance on troubleshooting common painting issues. This table can cover issues such as orange peel texture, paint runs, and uneven color distribution, along with the corresponding solutions.
To successfully transition to the next section about allowing the paint to dry and cure, it is essential to ensure that each coat of paint is dry to the touch before applying the next one. This will help prevent any smudging or damage to the previous layers.
Allow the Paint to Dry and Cure
When allowing the paint to dry and cure, it is crucial to follow the manufacturer’s instructions for drying time. This ensures that the paint properly adheres to the surface and reaches its maximum durability.
During the curing process, it is important to avoid touching or disturbing the paint as it can result in imperfections or damage to the finish.
By following these guidelines, you can achieve a professional and flawless paint job on your car.
Follow the Manufacturer’s Instructions for Drying Time
To achieve optimal results, it’s crucial to adhere to the manufacturer’s instructions for drying time when using the Greco airless sprayer to paint your car. Drying time is of utmost importance as it directly affects the final finish and durability of the paint job. Following the recommended drying time ensures that the paint fully cures and hardens, preventing premature damage or defects.
However, if you’re looking to speed up the drying process, there are a few tips to keep in mind. Firstly, ensure proper ventilation in the painting area to facilitate faster evaporation. Additionally, using a fan or heat gun on a low setting can help accelerate drying. It’s essential to be cautious and avoid touching or disturbing the paint during the curing process, as this can result in imperfections.
Avoid Touching or Disturbing the Paint During the Curing Process
During the curing process, it’s crucial to resist the temptation to touch or disturb the freshly painted surface, ensuring a flawless finish. Touching the paint before it’s fully cured can result in smudges, fingerprints, or even damage to the paint job.
To avoid any mishaps, it’s important to exercise patience and allow the paint to cure completely. This typically takes around 24 to 48 hours, depending on the type of paint used and the environmental conditions.
Throughout this time, proper ventilation is essential to facilitate the curing process and prevent any potential issues with the paint’s appearance or durability. By providing adequate airflow, you can help the paint dry evenly and minimize the risk of imperfections.
Once the paint has fully cured, it’s time to remove any masking tape and clean up, ensuring a professional-looking result.
Remove any Masking Tape and Clean Up
After you’ve finished spraying the final coat of paint on your car, it’s time to carefully peel off the masking tape, revealing the crisp, clean edges of your newly painted masterpiece. Here are the steps to remove any masking tape and clean up:
- Start by using a sharp utility knife or razor blade to carefully lift the edge of the tape.
- Slowly and gently pull the tape back at a 45-degree angle, ensuring that it doesn’t touch the painted surface.
If there is any residue left behind, use a clean microfiber cloth and a mild automotive solvent to gently wipe it away.
Once all the tape and residue are removed, inspect the painted surface for any imperfections or areas that need touch-ups.
Now that your car is free of masking tape and clean, it’s time to move on to the next step: polishing and buffing the painted surface.
Polish and Buff the Painted Surface
Once the masking tape is removed and the surface is clean, it’s time for me to bring out the shine by polishing and buffing.
Achieving a flawless finish requires the use of proper buffing techniques and choosing the right polish. First, I inspect the painted surface for any imperfections or dull spots.
Using a dual-action polisher, I apply a small amount of polish onto a foam pad. Working in small sections, I move the polisher in circular motions, applying even pressure. This helps to remove any fine scratches and swirl marks, while also enhancing the gloss of the paint.
After polishing, I switch to a clean foam pad and use a finishing polish to further refine the surface. Finally, I wipe away any residue with a microfiber cloth.
With the paint now polished and buffed to perfection, it’s time to move on to the next step and admire your newly painted car!
Admire Your Newly Painted Car!
Take a moment to revel in the beauty of your freshly painted ride and bask in the glory of a job well done!
Now that your car is looking brand new with its flawless paint job, it’s important to focus on car paint maintenance to ensure its longevity.
One crucial aspect is choosing the right paint color that suits your style and preferences. Consider factors such as the car’s design, your personality, and the overall aesthetic you want to achieve.
Additionally, regular maintenance is essential to keep the paint looking vibrant and protect it from harsh elements. This includes washing and waxing the car regularly, avoiding abrasive cleaners, and protecting the paint with a clear coat.
By following these steps, you can maintain the beauty of your newly painted car for years to come.
Frequently Asked Questions
Can I use any type of paint with the Greco Airless Sprayer?
Yes, you can use a variety of paint types with the Greco airless sprayer. However, to achieve a smooth finish, it is recommended to use automotive-grade paints specifically designed for spray applications.
How long does it typically take for the paint to dry and cure?
The paint drying time and curing process are crucial to achieving a professional finish. It typically takes around 24-48 hours for the paint to dry, depending on factors such as temperature and humidity. After drying, the paint will begin the curing process, which can take up to 30 days to fully harden and provide optimal durability.
Is it necessary to wear protective gear while using the Greco Airless Sprayer?
It is absolutely necessary to wear protective gear while using the Greco airless sprayer. Proper ventilation is crucial to prevent inhaling toxic fumes, and not wearing protective gear can lead to serious health risks.
Can I paint my car in a closed garage or do I need to work outside?
To achieve the best results when painting your car, it is recommended to work outside or in a well-ventilated area. This ensures proper air circulation and minimizes the risk of harmful fumes. Additionally, using the best paint for cars will enhance the overall finish.
What is the recommended distance between the sprayer and the car’s surface for optimal results?
To achieve optimal results when using a Greco airless sprayer, it is recommended to maintain a recommended distance between the sprayer and the car’s surface. This ensures a professional finish and a flawless paint job.
Conclusion
Now that you’ve learned the step-by-step process of painting your car with a Greco Airless Sprayer, you’re ready to transform your vehicle into a work of art.
Using an airless sprayer can save you up to 50% of the time compared to traditional painting methods. This interesting statistic will keep you engaged throughout the process.
With its precise application and quick drying time, the Greco Airless Sprayer allows you to achieve a professional and flawless finish in no time.
So, gather your materials, follow the instructions carefully, and get ready to admire your newly painted car!