Success is often attributed to proper preparation, a principle that holds true when working with an airless paint sprayer.
Hi there, I’m here to guide you through the process of preparing paint for an airless sprayer, step by step. With the right tools and materials in hand, we’ll ensure that your paint goes on smoothly, evenly, and with professional results.
From choosing the right type of paint to priming the sprayer and adjusting the settings, we’ll cover it all.
I’ll share my knowledge and expertise to help you become a paint preparation pro. So, let’s get started and learn how to:
- Mix the paint
- Strain the paint
- Test the paint
Before loading it into the airless sprayer and getting that perfect finish you’ve been dreaming of.
Key Takeaways
- Adjust paint consistency by adding water or thinner and stirring thoroughly.
- Test the paint on a small area to ensure smooth flow and evaluate coverage.
- Load the paint into the sprayer after satisfactory test results.
- Prime the sprayer and adjust spray settings for desired coverage and finish.

InoKraft MaXpray M1 Airless Paint Sprayer, 3000 PSI 550W Corded Electric, Thinning-Free for Latex & Stain, DIY Home Interior Exterior Walls Fences Decks, Includes Spray Gun Kit & 12" Tip Extension
- Fast Painting Speed: 5X faster than rolling, 12X faster than brushing
- High-Pressure Performance: 3000 PSI, 0.29 GPM for even coverage
- Direct from Bucket: Draw paint from 5-gallon bucket for large projects
As an affiliate, we earn on qualifying purchases.
Choose the Right Type of Paint
Now that you’ve got your airless sprayer ready to go, let’s talk about picking the perfect paint for your project.
When it comes to choosing paint colors, it’s important to consider the overall aesthetic you want to achieve. Whether you’re going for a bold and vibrant look or a more subtle and soothing vibe, the right paint color can make all the difference.
Additionally, you’ll want to think about the different types of paint finishes available. A glossy finish can add a touch of elegance and is easy to clean, while a matte finish hides imperfections and gives a more relaxed feel.
Once you’ve decided on the perfect paint color and finish, it’s time to gather the necessary tools and materials to get started on your project.
Gather the Necessary Tools and Materials
When preparing to use an airless sprayer, there are a few key tools and materials that I always make sure to gather.
First, I always use a paint strainer or filter to remove any impurities or debris from the paint, ensuring a smooth and even application.
Next, a paint mixer or stirrer is essential for thoroughly blending the paint and achieving a consistent color and texture.
Lastly, depending on the specific project and paint type, I may need to use a paint thinner or additives to adjust the viscosity or improve the flow of the paint.
These tools and materials are crucial for achieving professional-quality results with an airless sprayer.
Paint Strainer or Filter
To get your paint ready for an airless sprayer, grab a trusty paint strainer or filter to ensure a smooth and flawless finish. Using a paint strainer or filter offers several benefits. Firstly, it removes any impurities or debris that may be present in the paint, preventing clogs and blockages in your sprayer. Secondly, it helps to ensure an even and consistent application of paint, minimizing the risk of streaks or uneven coverage. When choosing a paint strainer, consider the mesh size. A finer mesh will catch smaller particles, resulting in a cleaner paint finish. Additionally, opt for a strainer made of a durable material that can withstand the pressure of the paint being strained. Now that your paint has been filtered, it’s time to move on to the next step – using a paint mixer or stirrer to thoroughly mix the paint before spraying.
Paint Mixer or Stirrer
Using a paint mixer or stirrer is essential for achieving a perfectly blended and smooth paint consistency. When it comes to paint mixing techniques, using a paint mixer ensures that all the pigments and binders are thoroughly combined, resulting in a uniform color and texture.
The importance of using a paint mixer cannot be overstated, as it eliminates any lumps or clumps that may be present in the paint. Additionally, it helps to incorporate any additives or thinners evenly throughout the paint, ensuring proper viscosity and adhesion.
By using a paint mixer, you can be confident that your paint will be ready for application without any issues.
Moving on to the next step, let’s discuss the use of paint thinner or additives to further enhance the paint’s performance.
Paint Thinner or Additives
Paint additives are substances that can be mixed into your paint to achieve specific effects. They can improve flow, leveling, or drying time, as well as enhance durability and adhesion. Adding paint additives can make a significant difference in the performance of your paint.
If you’re looking for an alternative thinner, there are options available besides traditional paint thinners. Mineral spirits or acetone can be used to dilute the paint and improve its sprayability. These alternative thinners can be a good option for those who prefer not to use traditional paint thinners.
When using additives or alternative thinners, it’s important to follow the manufacturer’s recommendations and test them on a small area before applying to the entire surface. This will help ensure that you achieve the desired results without any unwanted effects.
Now that you know how paint thinner or additives can enhance the performance of your paint, let’s move on to preparing the surface for a flawless finish.
Prepare the Surface
Before you start applying the paint with the airless sprayer, it is important to properly clean and sand the surface. Surface preparation is crucial for achieving a smooth and long-lasting finish. To prepare the surface, follow these sanding techniques:
- Begin by inspecting the surface for any imperfections or rough spots.
- Use sandpaper with the appropriate grit size for your specific project. Coarse grit sandpaper (80-100) is ideal for removing old paint or rough surfaces, while finer grit sandpaper (120-150) is suitable for smoothing the surface.
- Sand in a circular motion, applying even pressure. Make sure to remove any dust or debris after sanding.
By properly preparing the surface, you ensure that the paint adheres well and provides a professional result.
Once the surface is ready, it’s time to mix the paint thoroughly.
Mix the Paint Thoroughly
When it comes to mixing paint for an airless sprayer, it’s crucial to follow the manufacturer’s instructions. These instructions will provide specific guidance on the mixing process, including the correct ratios and any additional additives that may be required.
To ensure thorough mixing, it’s recommended to use a paint mixer or stirrer. This will help to evenly distribute any pigments or solids within the paint and prevent clogging or uneven application.
Follow the Manufacturer’s Instructions
To properly prepare paint for your airless sprayer, it is crucial to follow the manufacturer’s instructions. This step ensures that you are using the sprayer correctly and safely. It provides information on operating the sprayer, adjusting the pressure, and cleaning the equipment. By following these instructions, you can prevent accidents and achieve smooth and even paint application. Safety precautions include wearing protective gear, maintaining a safe distance from the spray nozzle, and proper ventilation. Following these instructions will help you achieve the best results with your airless sprayer.
Now, let’s move on to the next section about using a paint mixer or stirrer.
Use a Paint Mixer or Stirrer
After carefully following the manufacturer’s instructions, it’s time to move on to the next crucial step: using a paint mixer or stirrer.
This step is essential for achieving a smooth and consistent paint mixture, ensuring optimal performance when using an airless sprayer.
Paint mixing techniques vary, but using a paint stirrer is a tried and true method. By attaching the stirrer to a power drill, you can effortlessly mix the paint, eliminating any lumps or clumps.
The benefits of using a paint stirrer are twofold. Firstly, it saves time and effort compared to manual stirring. Secondly, it ensures a thorough and even dispersion of pigments, resulting in a more consistent color and finish.
Now that the paint is properly mixed, it’s time to move on to the next step: straining the paint to remove any impurities.
Strain the Paint
Before you begin using the airless sprayer, it’s crucial to strain the paint to ensure a smooth and flawless finish. Straining techniques are essential because they help remove any impurities or lumps that may be present in the paint.
This process not only improves the overall quality of the paint but also prevents clogging of the sprayer nozzle. By straining the paint, you can achieve a more consistent and even application, resulting in a professional-looking finish.
The benefits of straining paint are numerous, including improved adhesion, reduced streaks or lines, and enhanced color consistency. Once the paint has been strained, you can move on to adjusting the paint consistency to achieve the desired spray pattern and coverage.
Adjust the Paint Consistency
Now that you’ve strained the paint, how can you make sure the consistency is just right for achieving your desired spray pattern and coverage? Adjusting the paint thickness is crucial to ensure optimal performance from your airless sprayer. Here are some steps to troubleshoot paint consistency:
- Add small amounts of water or thinner to thin out the paint if it is too thick.
- Stir the paint thoroughly after each addition to ensure proper mixing.
- Use a viscosity cup to measure the consistency of the paint. If it doesn’t flow smoothly through the cup, add more water or thinner gradually until it reaches the desired level.
By carefully adjusting the paint thickness, you can avoid clogging the sprayer and achieve a smooth, even finish.
Once you have achieved the perfect consistency, it’s time to test the paint and make any necessary final adjustments.
Test the Paint
To ensure optimal results, it is important to meticulously evaluate the paint by conducting a thorough test. Testing techniques are crucial in determining paint compatibility and ensuring a smooth application.
Start by checking the paint’s consistency and viscosity. Make sure it flows smoothly through the sprayer without clogging or splattering. Adjustments may be necessary to achieve the desired results, such as adding a small amount of water or paint thinner to thin the mixture.
Additionally, it is important to test the paint on a small, inconspicuous area. This will ensure that it adheres properly and dries evenly. Pay close attention to the paint’s coverage and finish, looking for any streaks, lumps, or inconsistencies.
Once you are satisfied with the test results, you can confidently proceed to load the paint into the airless sprayer. This will ensure a flawless application.
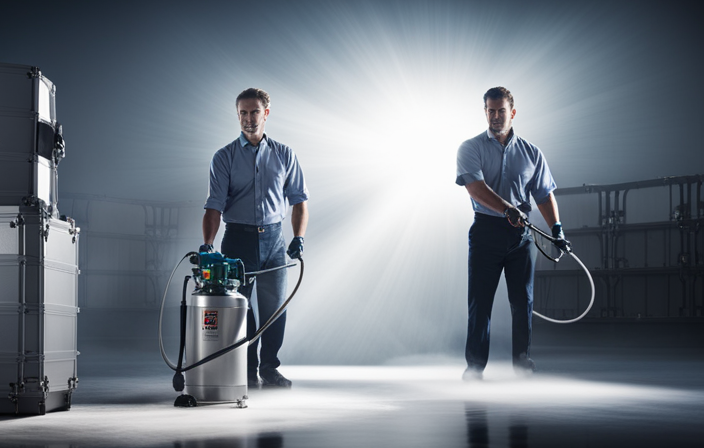
Load the Paint into the Airless Sprayer
To ensure a flawless application, seamlessly load the paint into the airless sprayer by following these tips:
-
Start by preparing the paint according to the manufacturer’s instructions, ensuring the right consistency for spraying.
-
Use a paint strainer to remove any impurities or debris that could clog the sprayer nozzle.
-
Attach the paint container securely to the sprayer, making sure it is stable and won’t tip over during use.
-
Prime the sprayer by turning on the machine and letting the paint flow through the system until it comes out smoothly.
-
Adjust the spray settings, such as pressure and nozzle size, to achieve the desired coverage and finish.
By following these steps, you can load the paint properly and maximize the efficiency of your airless sprayer.
Once the paint is loaded, it’s time to prime the sprayer and adjust the settings for optimal performance.
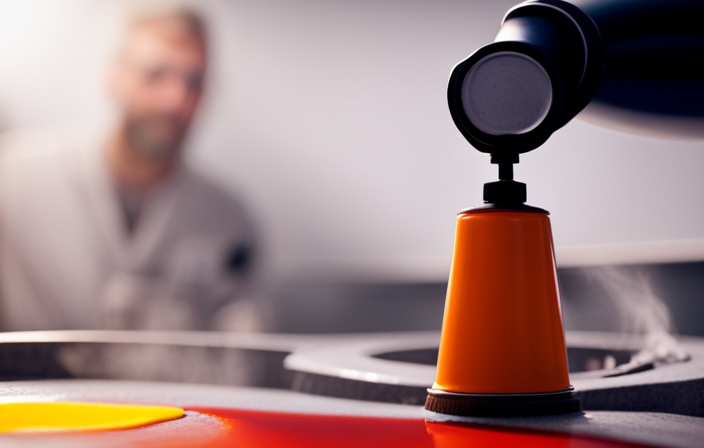
Prime the Sprayer and Adjust Settings
Make sure you’re ready to unleash the full potential of your project by priming the sprayer and fine-tuning the settings for a flawless application. To prime the sprayer, follow the manufacturer’s instructions, as the process may vary depending on the model. Once primed, it’s time to adjust the settings to achieve the desired spray pattern and pressure. Start by adjusting the pressure control knob to the recommended setting for your paint and project. This will ensure optimal atomization and coverage. Next, adjust the spray tip to achieve the desired pattern width. Refer to the manufacturer’s guide for the correct tip size for your paint viscosity and project requirements. Finally, check the gun filter to ensure it’s clean and properly installed. Now that the sprayer is primed and the settings are adjusted, you’re ready to start spraying and bring your project to life.
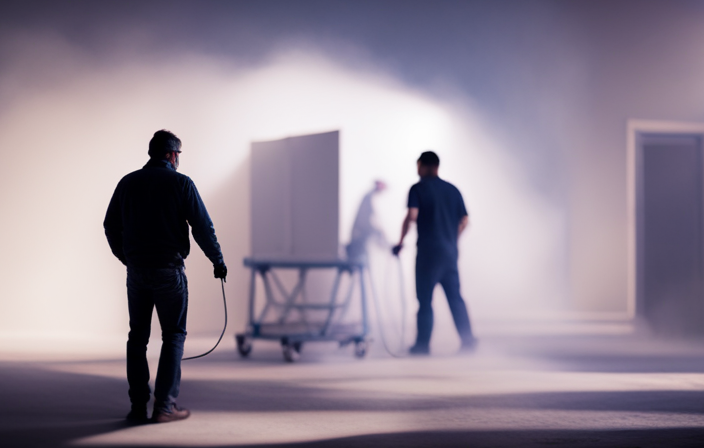
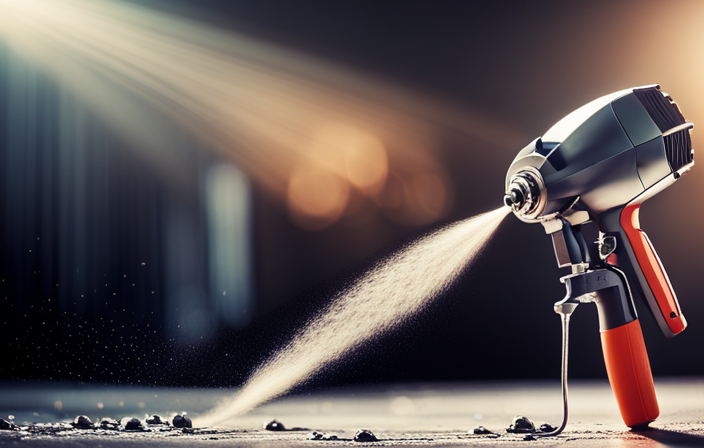
Start Spraying
Now it’s time to unleash the power of the sprayer and watch as your project comes to life with a flawless spray application. To ensure a professional finish, follow these spray technique tips:
-
Hold the sprayer nozzle approximately 12 inches away from the surface you are painting. This distance allows for an even application without overspray.
-
Keep the sprayer moving in a constant, fluid motion. Avoid stopping or hesitating in one area, as this can result in uneven coverage.
-
Overlap each pass by about 50% to ensure complete coverage. This technique prevents streaks and ensures a consistent finish.
-
After each use, thoroughly clean the sprayer according to the manufacturer’s instructions. Proper cleaning prolongs the life of the sprayer and prevents clogs.
By following these spray technique tips and maintaining a regular cleaning process, you can achieve professional-looking results with your airless sprayer.
Frequently Asked Questions
Can I use any type of paint with an airless sprayer?
Yes, you can use various types of paint with an airless sprayer. However, it’s important to choose the right paint for your project. Follow these tips to achieve a smooth finish: use a high-quality paint, thin it if necessary, and adjust the sprayer settings accordingly.
Do I need to wear any protective gear while using an airless sprayer?
When using an airless sprayer, it is essential to prioritize safety precautions. Protective gear such as goggles, gloves, and a respirator should be worn to protect against potential hazards from paint overspray and fumes.
How long should I let the paint dry before applying a second coat?
Waiting for the paint to dry before applying a second coat is like watching a flower bloom – patience is key. To achieve a smooth finish, wait until the paint is completely dry, usually around 2-4 hours, before proceeding.
Can I use an airless sprayer to paint textured surfaces?
Yes, an airless sprayer can be used to paint textured surfaces. When painting textured surfaces, it is important to use a paint that is specifically designed for this purpose. These paints have a thicker consistency and are able to adhere to the uneven surface more effectively.
How do I clean the airless sprayer after using it?
To properly store an airless sprayer, it’s crucial to clean it thoroughly after each use. Neglecting this can lead to common issues like clogged nozzles and reduced performance. By following the manufacturer’s instructions, you can ensure your sprayer remains in top condition.
Conclusion
In conclusion, preparing paint for an airless sprayer requires careful attention to detail and the right tools. By choosing the right type of paint and gathering the necessary materials, you can ensure a smooth application.
It is important to prepare the surface properly and mix the paint thoroughly to achieve the desired results. Straining the paint and testing it beforehand will help avoid any clogs or issues.
Loading the paint into the sprayer and adjusting the settings, while priming it, will ensure optimal performance. So, get ready to unleash your inner Picasso and let the paint fly!