Tired of dealing with the inconvenience of trying to prime your airless paint sprayer with an empty hose? Don’t worry anymore! I have the ideal solution for you. In this article, I will provide a comprehensive walkthrough on how to easily prime your airless paint sprayer, even without paint in the hose.
First, we’ll check the hose for any obstructions that might be blocking the flow of paint.
Then, we’ll remove the spray tip and guard to ensure a smooth priming process.
Next, we’ll connect the sprayer to a water source and flush it out to clear any residue.
Once that’s done, we’ll disconnect the water source and attach the paint container.
But that’s not all! We’ll engage the trigger to start priming the sprayer and monitor the flow of paint in the hose.
And to make sure everything is working perfectly, we’ll reattach the spray tip and guard.
Finally, we’ll test the sprayer on a scrap surface before starting our actual painting project.
So, let’s dive right in and master the art of priming an airless paint sprayer with no paint in the hose!
Key Takeaways
- Disconnect the hose from the sprayer and inspect it for any obstructions or debris.
- Remove any obstructions using a clean cloth or brush and reattach the hose securely to the sprayer.
- Unscrew the spray tip and guard from the spray gun and clean them thoroughly.
- Test the sprayer on a scrap surface before starting the project to ensure desired results are achieved.
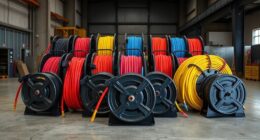
Check the Hose for Obstructions
To ensure proper paint flow, it’s important to check the hose for any obstructions. This is a common troubleshooting step when using an airless paint sprayer. Here’s what you need to do:
- Disconnect the hose from the sprayer.
- Inspect both ends of the hose for any debris or clogs.
- If you notice any obstructions, use a clean cloth or small brush to remove them.
- Take your time and thoroughly check the hose, as even a small blockage can affect the paint flow.
Once you have cleared any obstructions, securely reattach the hose to the sprayer. Now, we can move on to the next step, which involves removing the spray tip and guard.
Remove the Spray Tip and Guard
To remove the spray tip and guard, start by unscrewing them from the spray gun. This step is crucial as it gives you access to the inner components. Once removed, inspect the tip and guard for clogs or debris that may affect the paint flow. Cleaning techniques for airless paint sprayer nozzles are important for a smooth application. Use a brush or cleaning solution to remove any dried paint or residue. Troubleshooting common priming issues, like air leaks or a faulty pump, can also be done at this stage. With the tip and guard removed, you can now connect the sprayer to a water source for a thorough cleaning and priming process.
Connect the Sprayer to a Water Source
To ensure a thorough and effective cleaning process, it is essential to connect the sprayer to a water source. This will allow for easy removal of any remaining debris or residue. Here are some key benefits of using an airless paint sprayer for large projects:
- Time-saving: Airless sprayers can cover large areas quickly, reducing painting time significantly.
- Uniform coverage: The high-pressure system ensures an even and smooth application of paint, resulting in a professional finish.
- Versatility: Airless sprayers can handle a wide range of coatings, including latex, stains, and enamels, making them suitable for various projects.
- Reduced overspray: Unlike traditional paint sprayers, airless sprayers produce minimal overspray, reducing wastage and cleanup time.
When connecting the sprayer to a water source, it’s important to avoid some common mistakes. Ensure that the water pressure is within the recommended range and use a clean water source to prevent clogs. Once connected, turn on the sprayer and flush with water, effectively preparing it for the next step.
Turn on the Sprayer and Flush with Water
Get ready for a powerful and efficient cleaning process by flipping the switch and flushing water through the sprayer. Here’s a step-by-step guide to help you with the flushing process:
| Step | Actions |
|---|---|
| 1 | Connect the sprayer to a water source using a garden hose. |
| 2 | Turn on the sprayer and adjust the pressure to a low setting. |
| 3 | Hold the sprayer over a bucket or a suitable container. |
| 4 | Squeeze the trigger to start the flushing process. |
| 5 | Allow water to flow through the sprayer until it runs clear. |
| 6 | If the water flow is weak or uneven, check for clogs or blockages and clean them as needed. |
| 7 | Once the water runs clear, you have successfully flushed the sprayer. |
Now, it’s time to disconnect the water source and attach the paint container for the next step.
Disconnect the Water Source and Attach the Paint Container
Now, you’re ready to detach the water source and securely attach the paint container, making you feel excited to see your project come to life with vibrant colors.
To attach the paint container, follow these steps:
- Turn off the airless paint sprayer and unplug it from the power source.
- Locate the hose connection on the sprayer and twist it counterclockwise to disconnect it from the water source.
- Take the paint container and remove the cap or lid.
- Position the container under the sprayer’s paint intake tube.
- Attach the container by twisting it clockwise onto the sprayer until it is securely in place.
With the paint container attached and the water source disconnected, you’re now ready to move on to the next step: turning on the sprayer and adjusting the pressure.
Turn on the Sprayer and Adjust the Pressure
To continue with the process of priming an airless paint sprayer with no paint in the hose, the next step is to turn on the sprayer and adjust the pressure. This is a crucial step to ensure proper functioning of the sprayer and achieve desired results.
To adjust the pressure, refer to the manufacturer’s instructions as different models may have different methods. Typically, there will be a pressure control knob or dial that allows you to increase or decrease the pressure. Start with a lower pressure setting and gradually increase it until you reach the desired level.
If you encounter any pressure issues during this step, such as inconsistent spray pattern or excessive overspray, refer to the troubleshooting section in the user manual or contact the manufacturer for assistance.
Once you have adjusted the pressure, you are ready to engage the trigger and start priming the sprayer. This will be discussed in the subsequent section.
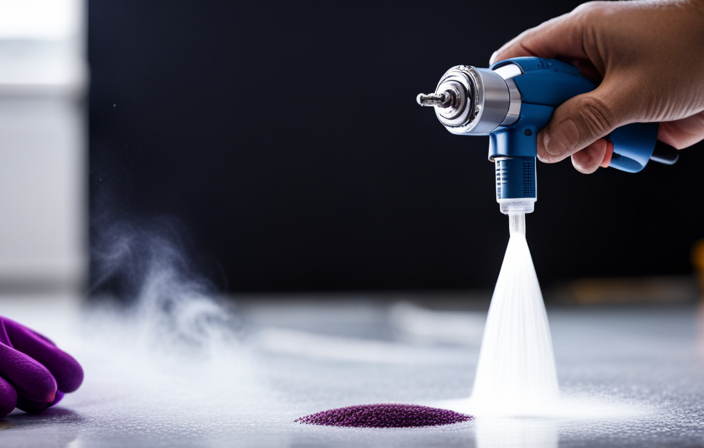
Engage the Trigger to Start Priming the Sprayer
To start priming the sprayer, engage the trigger gradually and smoothly. Sudden or jerky movements can cause splattering or uneven paint distribution, so it’s important to maintain a steady and consistent pressure on the trigger.
Troubleshooting tips for priming an airless paint sprayer include checking for clogs or blockages in the sprayer nozzle or hose. If any issues arise, try cleaning the nozzle or removing debris from the hose. Additionally, ensure that the sprayer is properly connected to the paint container and that the paint is properly mixed.
Once the trigger is engaged, monitor the flow of paint in the hose to ensure it is consistent and uninterrupted.
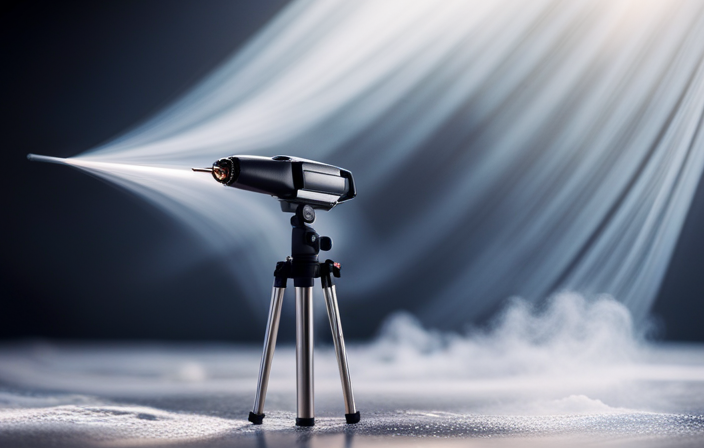
Monitor the Flow of Paint in the Hose
As you engage the trigger and begin priming, you’ll want to keep a close eye on the paint flow in the hose to ensure a smooth and consistent application. Troubleshooting common issues in airless paint sprayers is crucial during this process.
If you notice that the paint flow is uneven or stops completely, there may be a clog in the hose or a problem with the sprayer’s filter. In such cases, you can try cleaning the filter or removing the clog using a small brush or toothpick.
Additionally, it’s important to maintain the optimal flow rate in an airless paint sprayer for efficient and effective painting. To achieve this, make sure the paint viscosity matches the sprayer’s recommendations and adjust the pressure accordingly.
By monitoring the paint flow in the hose and troubleshooting any issues that arise, you’ll be able to achieve a flawless paint job.
Now, let’s move on to reattaching the spray tip and guard.
Reattach the Spray Tip and Guard
Now that we have monitored the flow of paint in the hose, it’s time to reattach the spray tip and guard to our airless paint sprayer. This step is crucial in ensuring that the paint sprayer functions properly and produces the desired results.
To reattach the spray tip and guard, follow these simple steps:
- Align the spray tip with the guard and insert it into the tip holder.
- Twist the spray tip clockwise until it is securely attached.
- Make sure the guard is properly aligned and push it up until it clicks into place.
By properly reattaching the spray tip and guard, you can avoid any potential troubleshooting issues and ensure that your paint sprayer operates smoothly. Additionally, it is important to practice proper spray tip maintenance to prolong the lifespan of your equipment. Clean the tip regularly and replace it if it becomes worn or damaged.
Now that the spray tip and guard are securely in place, we can move on to the next step and test the sprayer on a scrap surface before starting your project.
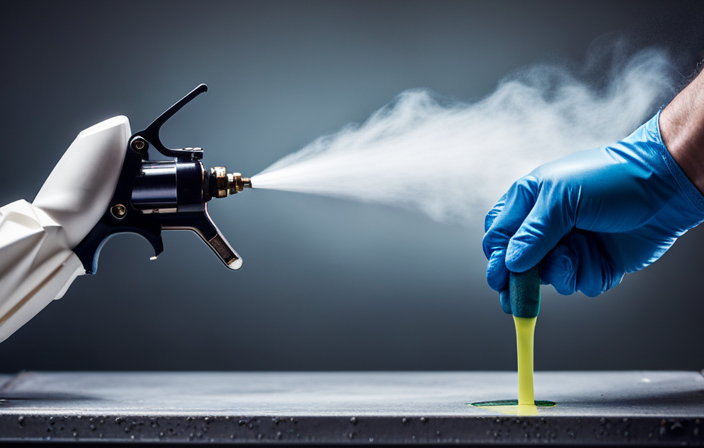
Test the Sprayer on a Scrap Surface Before Starting Your Project
Before you begin your project, it’s essential to test the sprayer on a scrap surface to ensure optimal results and avoid any potential issues. This step will help you identify any problems with the sprayer and make necessary adjustments before applying paint to your desired surface.
To test the sprayer, follow these steps:
- Select a piece of scrap material similar to what you will be painting.
- Connect the sprayer to the airless paint hose, ensuring it is securely attached.
- Adjust the spray settings according to your project’s requirements.
- Hold the sprayer approximately 12 inches away from the testing surface.
- Pull the trigger to apply a test spray.
- Observe the spray pattern and make any necessary adjustments to the pressure or nozzle settings.
By testing the sprayer on a scrap surface, you can troubleshoot any issues and ensure a successful painting project.
Frequently Asked Questions
Can I use any type of paint with an airless paint sprayer?
Yes, you can use any type of paint with an airless paint sprayer. When choosing the right paint, consider factors such as viscosity, compatibility, and the surface you’re painting. Always follow the manufacturer’s recommendations for optimal performance.
How often should I clean the spray tip and guard?
I clean the spray tip and guard regularly to ensure proper functioning and prevent clogs. By following the proper cleaning procedures, I can maintain the spray tip’s performance and prolong its lifespan. Regular maintenance is essential for optimal results.
Can I use the sprayer without attaching it to a water source first?
Sure, you can use the sprayer without attaching it to a water source first. Instead, you can use a compressor to clear the air in the hose, ensuring smooth and efficient operation.
What should I do if there is no flow of paint in the hose after priming?
If there is no flow of paint in the hose after priming, there are a few troubleshooting tips you can try. Common causes of paint flow problems in airless paint sprayers include clogged filters, worn or damaged seals, and insufficient pressure.
Can I adjust the pressure while spraying?
Yes, I can adjust the pressure while spraying. By using the pressure control knob on the airless paint sprayer, I can increase or decrease the pressure to achieve the desired spray pattern and coverage. Proper spraying techniques are also essential for a successful paint job.
Conclusion
As I followed the steps to prime the airless paint sprayer, I couldn’t help but feel a sense of anticipation. The process was straightforward, and with each action, I grew more excited to see the paint flowing through the hose.
It was a moment of contrast, from the initial obstacle of no paint in the hose to the satisfaction of witnessing the sprayer in action.
With my knowledge now, I’m ready to tackle any paint project with confidence and precision.