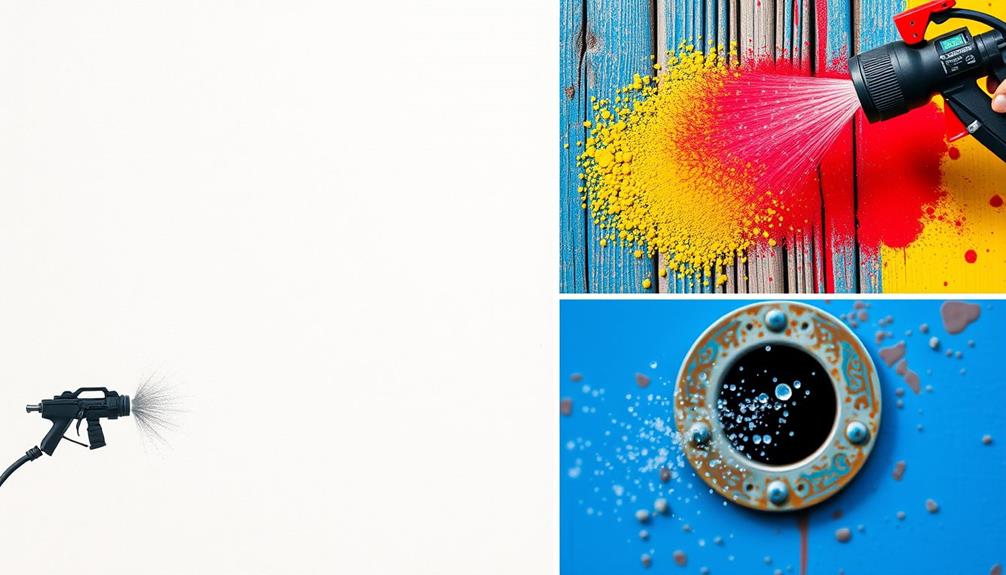
To properly clean and store your airless paint sprayer, start by expelling any remaining paint until it shows a milky consistency. Wipe down the exterior, then remove the spray tip for thorough cleaning. Rinse the hose and gun with water, ensuring no moisture is left to prevent rust. Introduce a storage fluid to protect internal components. Before storing, clean and dry the sprayer completely and keep it in a heated area to avoid freezing. Regular maintenance checks will enhance performance and longevity. Discover more tips for prolonging your sprayer's life and ensuring ideal operation.
Key Takeaways
- Regularly clean the sprayer post-use to prevent paint residue buildup and clogs, ensuring optimal performance.
- Expel remaining paint, adjusting pressure to full, and check for a milky consistency to indicate effective cleaning.
- Remove the spray tip and rinse the gun thoroughly, avoiding water retention to prevent rust and freezing issues.
- Introduce storage fluid into the system and verify its circulation to protect internal components during storage.
- Store the sprayer in a heated, dry environment, keeping it upright and covered to prevent moisture and dust accumulation.

Spray Gun Cleaning Kit, Universal Paint Gun Cleaner Brushes Set, Paint Sprayer Cleaning Kit
- Universal Compatibility: Fits most spray guns and airbrushes
- Multi-Material Brushes: Nylon, stainless steel, brass brushes in various sizes
- Delicate to Heavy Duty: Soft, medium, stiff bristles for different cleaning needs
As an affiliate, we earn on qualifying purchases.
As an affiliate, we earn on qualifying purchases.
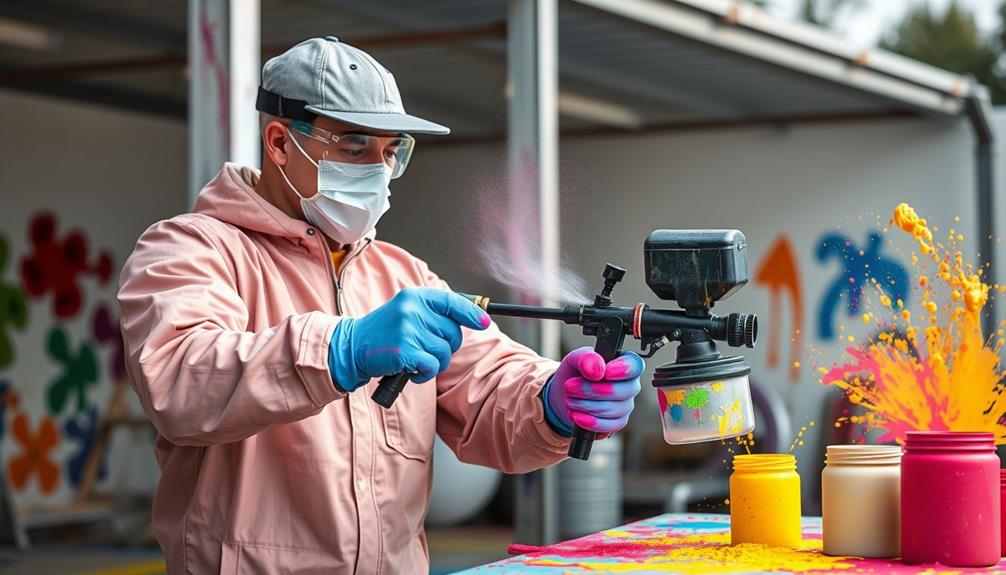
Importance of Cleaning and Maintenance
Cleaning and maintaining your airless paint sprayer is vital for guaranteeing it performs at its best. Regular cleaning prevents paint residue buildup, which can damage important components and lead to costly repairs. By prioritizing maintenance, you not only extend your sprayer's lifespan but also keep it functioning efficiently. Understanding airless paint sprayer basics can help you make informed decisions about your equipment care.
Consistent cleaning helps maintain a uniform spray pattern and guarantees high application quality. This directly impacts the overall results of your painting projects. When you develop a routine for post-use cleaning, you manage your equipment effectively and reduce the risk of issues like freezing in colder environments.
Don't forget to regularly check and clean all sprayer components, including filters and spray tips. This practice is essential for maintaining your sprayer's functionality and efficiency.
By investing time in proper cleaning and maintenance, you're safeguarding your equipment and enhancing your painting experience. So, make it a habit to clean your airless paint sprayer after each use; you'll appreciate the difference it makes in performance and reliability.
Taking these steps now will save you time, money, and hassle in the long run, guaranteeing your sprayer is always ready for your next project.
Initial Cleanup Steps
To kick off your cleanup, start by pushing all the remaining paint out of the sprayer to reduce mess and waste.
This initial step is essential for maintaining the performance of your sprayer and ensuring longevity, much like how a modern farmhouse bedroom emphasizes comfort and functionality.
Adjust the pressure to full and open the trigger until the expelled paint shows a milky consistency, indicating minimal residue left.
Don't forget to wipe down the exterior surfaces to keep everything tidy and prevent any paint from drying on the sprayer.
Expelling Remaining Paint
Before diving into the cleanup process, it's vital to expel any remaining paint from your airless paint sprayer. Start by adjusting the machine to low pressure to prevent splattering.
Then, set the sprayer to full pressure and open the trigger. Spray until all the paint is expelled, making sure the remaining paint has a milky consistency. This step minimizes mess and guarantees you have a clean start for the cleaning process. Proper dilution of your paint can also enhance sprayability and make this process smoother, allowing for more effective cleaning after use optimal results.
Next, return any unused paint back into its container to avoid waste and guarantee efficient use of materials. It's important to handle this carefully to prevent spills.
Once you've expelled the paint, take a moment to wipe down the exterior of the sprayer. This helps prevent paint from drying on the surfaces, making the overall cleanup process easier.
Exterior Wipe Down
One essential step in maintaining your airless paint sprayer is the exterior wipe down, which should be done right after you've expelled all remaining paint.
Start by grabbing a damp cloth to remove any paint splatters that may have landed on the sprayer's surfaces during use. This prevents the paint from drying and potentially causing damage. Regular maintenance, akin to essential items for a home cleaning kit, can help guarantee that your equipment remains in peak condition.
Before you begin, make certain all paint has been expelled from the sprayer to minimize any mess and keep the exterior clean. Choose a cleaning solution that's compatible with the paint type you used; for latex paints, water works best, while mineral spirits are ideal for oil-based paints.
Pay special attention to areas where paint may accumulate, like the trigger, handle, and connections. These spots are critical for maintaining peak performance and preventing clogs.
Pressure Adjustment Tips
How can you guarantee a smooth initial cleanup process for your airless paint sprayer? Start by setting the sprayer to full pressure. This allows you to effectively push the paint out before diving into the cleanup.
Once you've expelled as much paint as possible, lower the pressure to avoid any unwanted splattering during the initial steps. It's also a good idea to protect your workspace by covering surfaces that may be splattered with paint, similar to how proper safety features are essential for using tools safely.
While the sprayer is still under pressure, wipe down its exterior. This quick action prevents any paint from drying on the surfaces, making the final cleanup easier. As you clean, keep an eye on the remaining paint; it should reach a milky consistency, signaling it's ready for the next phase of rinsing with water.
Next, remove the spray tip, which is an important last step. Engage the machine at low pressure and open the trigger to expel any remaining paint more efficiently.
This technique guarantees you've cleared out the system, leaving your sprayer clean and ready to go for your next project. Following these pressure adjustment tips will make your cleanup process swift and effective.
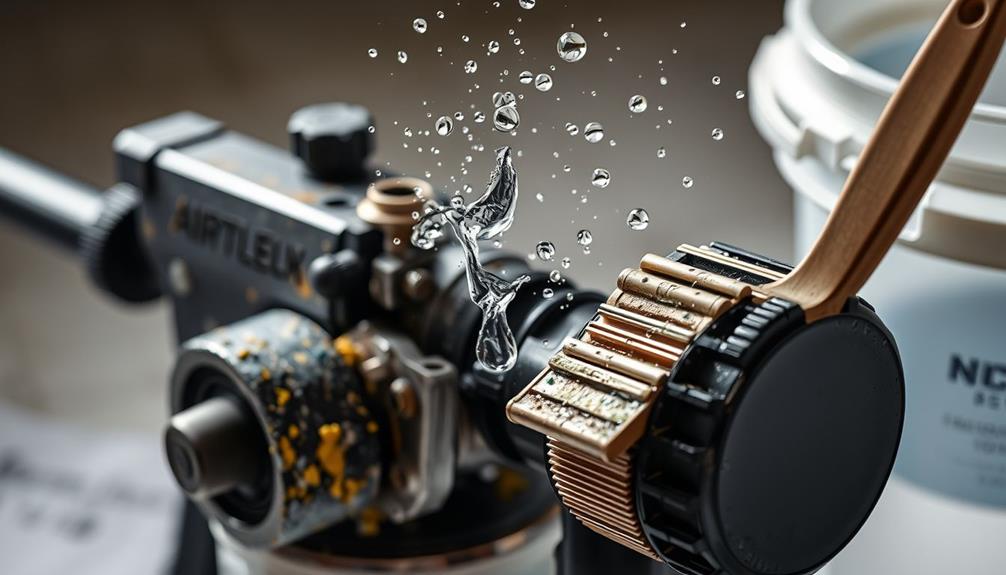
Cleaning the Hose and Gun
Cleaning the hose and gun of your airless paint sprayer is vital for maintaining its performance and longevity. Start by removing the spray tip from the gun. This step helps facilitate a more efficient cleaning process and prevents clogging.
Air purifiers, for instance, can also help maintain a clean environment by reducing allergens and dust in the air, which is especially important when working with paints and solvents improve indoor air quality.
Next, engage the sprayer at low pressure while opening the trigger to expel any remaining paint from the hose and gun. Once you've cleared the excess paint, switch to full pressure and run the machine for 20-30 seconds. This helps to effectively clear any debris lodged within the pump walls and hoses.
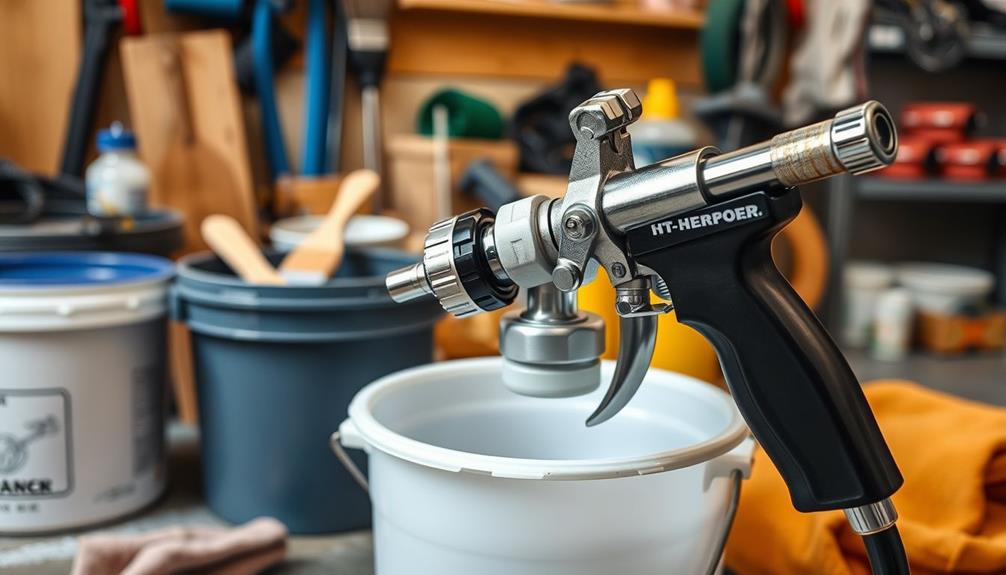
Now, submerge the gun's intake into a bucket of water. Activate the trigger to rinse thoroughly, making sure all paint is expelled. This step is vital to prevent future clogs and maintain the functionality of your paint sprayer.
After rinsing, be sure to avoid leaving any water in the system. Doing so can lead to rust buildup and potential freezing issues, which can damage components.
Finalizing the Cleanup
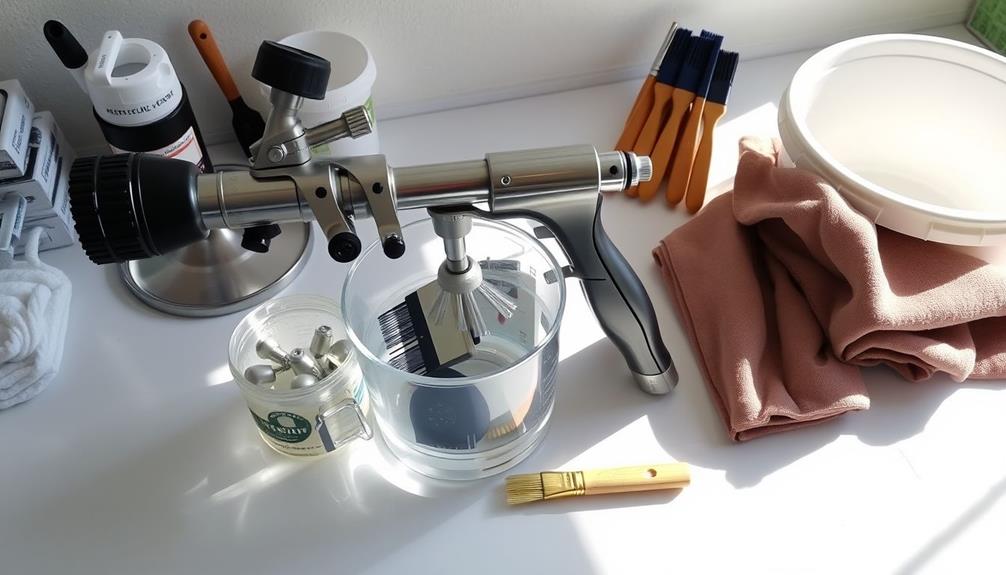
After thoroughly rinsing the gun and hose, it's time to finalize the cleanup to guarantee your airless paint sprayer is ready for storage.
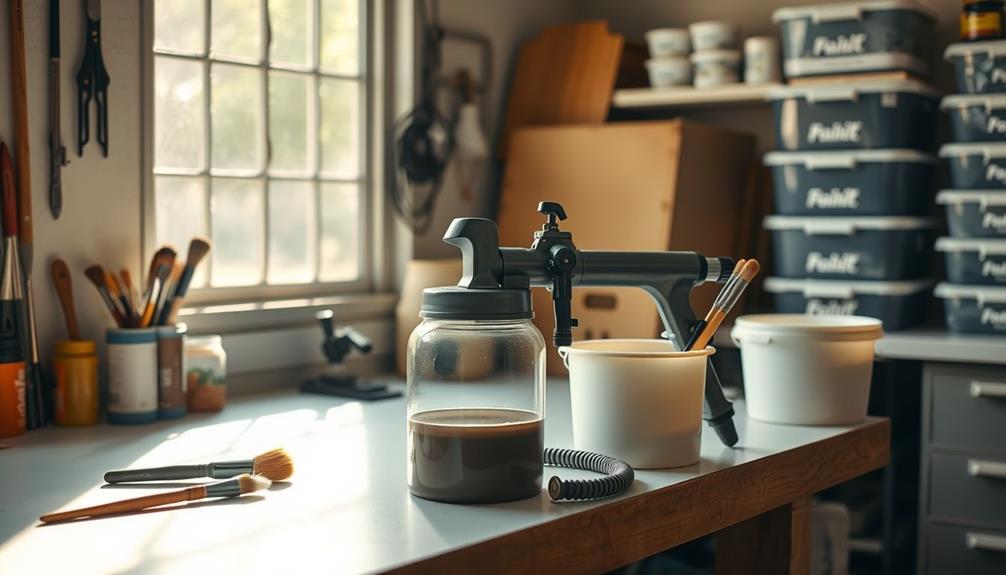
First, you'll want to protect the internal components by introducing a storage fluid, like pump armor or mineral spirits, into the system. This step is essential to prevent any damage during storage, similar to how hair treatments for damage can restore and protect your hair.
Next, verify that the storage fluid circulates completely through the system. You can check this by looking for a distinct color, such as blue, at the output. This indicates that the fluid has covered all necessary parts.
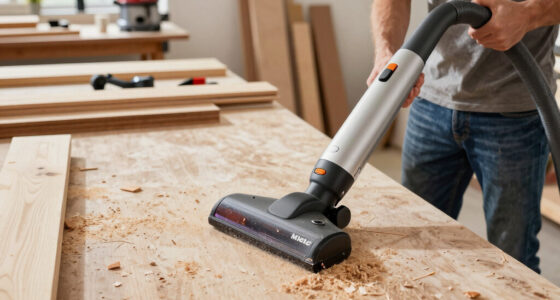
Finally, remember to clean all filters because they can impact your sprayer's performance.
Here's a quick checklist to help you finalize the cleanup:
- Introduce storage fluid: Use pump armor or mineral spirits.
- Check fluid circulation: Look for distinct color at the output.
- Clean filters daily: Guarantee peak performance and check for wear.
Storage Tips

To guarantee your airless paint sprayer remains in top condition, store it in a heated environment, especially during colder months. This prevents freezing damage that can lead to costly repairs. Before you tuck your sprayer away, verify it's completely cleaned and dried to avoid paint residue buildup and potential clogs.
Using a protective cover or bag is vital when storing the sprayer. This shields it from dust, debris, and moisture that could cause corrosion. Always keep the sprayer in an upright position during storage to prevent any oil or fluid leaks that could damage the equipment.
Lastly, schedule routine maintenance checks while your sprayer is in storage. This verifies all components are functioning correctly and ready for use when you need them.
| Storage Tip | Importance | Action Required |
|---|---|---|
| Heated Environment | Prevents freezing damage | Store indoors or heated area |
| Clean and Dry | Avoids clogs and paint buildup | Clean thoroughly before storage |
| Protective Cover | Shields from dust and moisture | Use a cover or bag |
| Upright Position | Prevents leaks | Store upright |
Long-term Maintenance Practices
To keep your airless paint sprayer in top shape, you need to set up a routine maintenance schedule and pay attention to its storage environment.
Regular maintenance not only enhances performance but can also be compared to the importance of home security systems in protecting your investments.
Make sure to store it in a heated area to avoid freezing damage, and check its components every few months for wear and tear.
This proactive approach will help extend your sprayer's lifespan and improve its performance.
Routine Maintenance Schedule
Establishing a routine maintenance schedule is crucial for keeping your airless paint sprayer in prime condition and extending its lifespan. By following these simple steps, you'll guarantee peak performance and avoid costly repairs.
Additionally, just as diversifying your retirement portfolio helps mitigate risk, maintaining your sprayer can prevent unexpected breakdowns and costly repairs associated with proper upkeep.
- Daily Checks: After each use, inspect the filters and components. This quick check helps you catch any issues early, assuring your sprayer runs smoothly.
- In-Depth Cleaning: Schedule a thorough cleaning after every use. Focus on the spray gun, hose, and pump to eliminate paint residue and prevent clogs that can damage your sprayer.
- Seasonal Maintenance: Plan for maintenance before and after winter. Expel all water to prevent freezing damage and use appropriate storage fluid for protection.
Additionally, conduct a monthly inspection to look for signs of wear, especially on seals, hoses, and the spray tip. This helps maintain consistent spray patterns.
Storage Environment Considerations
After maintaining your airless paint sprayer with a solid routine, the next step is ensuring it's stored properly for long-term use. To prolong its life and performance, consider the following storage environment factors:
| Storage Consideration | Details |
|---|---|
| Temperature | Store in a heated area; avoid freezing (below 32°F). |
| Humidity | Keep the area dry and well-ventilated to prevent moisture buildup. |
| Elevation | Place the sprayer elevated off the ground to prevent water damage. |
| Regular Inspections | Periodically check for wear, damage, or leaks during storage. |
| Protection | Use a cover or bag to shield from dust and debris. |
Frequently Asked Questions
How Do You Store an Airless Spray Gun?
To store your airless spray gun, clean it thoroughly, add storage fluid, and keep it in a heated, protective case. Regularly check for wear or damage to guarantee it's ready for your next project.
How to Keep an Airless Sprayer Clean?
To keep your airless sprayer clean, always expel remaining paint, rinse thoroughly with water, and clear the hose. Regularly check filters and maintain the system to guarantee peak performance and prevent paint residue buildup.
Can I Leave Water in My Airless Sprayer?
Leaving water in your airless sprayer is like inviting rust to a party. You can't risk clogs or damage. Always expel all water and consider storage fluids to keep your sprayer in top shape.
How Do You Store Graco Paint Sprayer Between Coats?
To store your Graco paint sprayer between coats, clear all paint, set it to low pressure, rinse with water, add storage fluid, and keep it in a heated space to prevent freezing damage.
Conclusion
So, you've finally cleaned that airless paint sprayer, huh? Bravo! You didn't just avoid a paint catastrophe; you're practically an artist now. Just remember, a sprayer left dirty is like a painter without a brush—utterly useless. Storing it properly is key, unless you enjoy the surprise of clogged nozzles and dried paint. Who wouldn't want that thrill? Keep it clean, stash it right, and let your next masterpiece flow without a hitch!