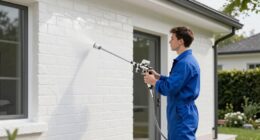
To properly clean your airless paint sprayer, start by removing excess paint. Then, use three buckets of clean water to flush the system thoroughly. Detach the spray gun tip and inspect all parts for clogs or corrosion. Keep flushing until clear water comes out of the spray tip. Don't forget to apply pump armor to protect the pump if storing the sprayer long-term. Always wear protective gear and guarantee your workspace is well-ventilated. Regular cleanings not only enhance performance but can prevent costly repairs. Stick around to discover more tips on maintaining your equipment!
Key Takeaways
- Remove excess paint and flush the system with clean water until it runs clear from the spray tip.
- Detach the spray gun tip and inspect all components for clogs or corrosion.
- Apply pump armor or antifreeze post-cleaning to protect the pump during storage.
- Wear protective gear and ensure a well-ventilated workspace while cleaning.
- Regularly wipe down the sprayer's exterior to maintain performance and prevent residue buildup.
Importance of Cleaning
Cleaning your airless paint sprayer is vital for maintaining its performance and efficiency. When you take the time for proper care, you guarantee peak paint delivery, which leads to a more professional finish with fewer touch-ups.
Regular cleaning prevents clogs and malfunctions that can greatly shorten the lifespan of your equipment. By cleaning the sprayer after each use, you minimize the risk of paint residue hardening, which can result in costly repairs and replacements down the line.
Additionally, understanding maintenance and cleaning tips can further enhance your sprayer's longevity and effectiveness.
A well-maintained sprayer not only enhances the quality of your paint application but also prepares it for future projects. When you clean it thoroughly, you can easily switch between different paint types without worrying about contamination affecting the results.
This ability to shift smoothly is essential for maintaining the integrity of your work and meeting project deadlines.
Ultimately, consistent cleaning is a small investment of time that pays off in the long run. By prioritizing the care of your airless paint sprayer, you can enjoy reliable performance and achieve stunning finishes for all your painting endeavors.
Step-by-Step Cleaning Procedure
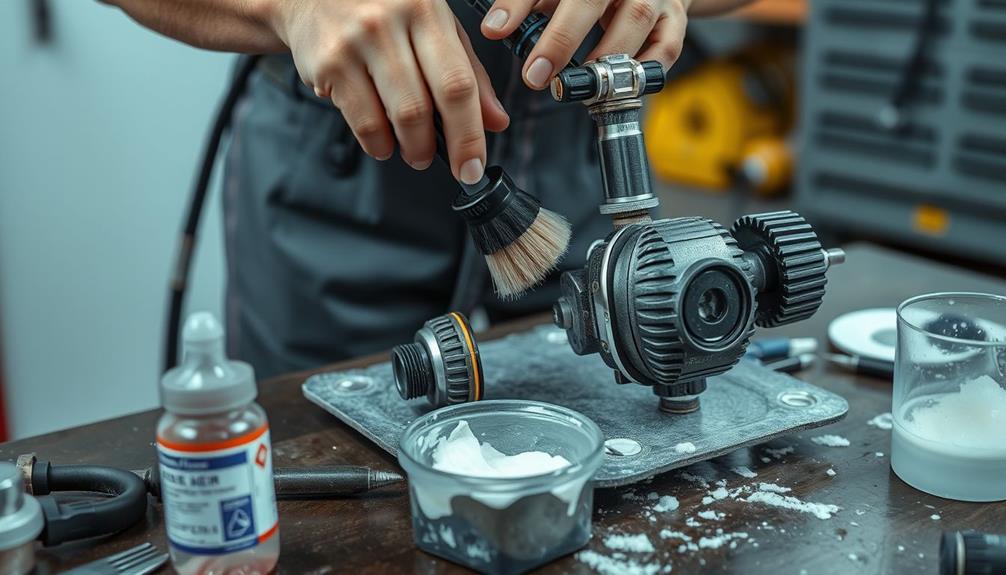
Regular maintenance sets the stage for an effective cleaning procedure, guaranteeing your airless paint sprayer performs at its best. Start by removing excess paint from the system. Use three buckets of clean water to thoroughly rinse the sprayer, making certain to flush out any leftover paint. Detach the spray gun tip; this allows for a more detailed cleaning and prevents clogs in the nozzle.
For ideal results, consider implementing a routine similar to what professional home cleaning services use for maintenance.
Next, take a close look at all components for any blockages or signs of corrosion. This step is essential for maintaining peak performance in the future. After rinsing, apply pump armor to protect the pump's condition during storage. This will help prevent damage and guarantee your sprayer is ready for the next job.
It's important to follow these established cleaning steps consistently across different airless sprayer models. This routine not only prolongs the life of your equipment but also enhances its efficiency.
Safety Practices
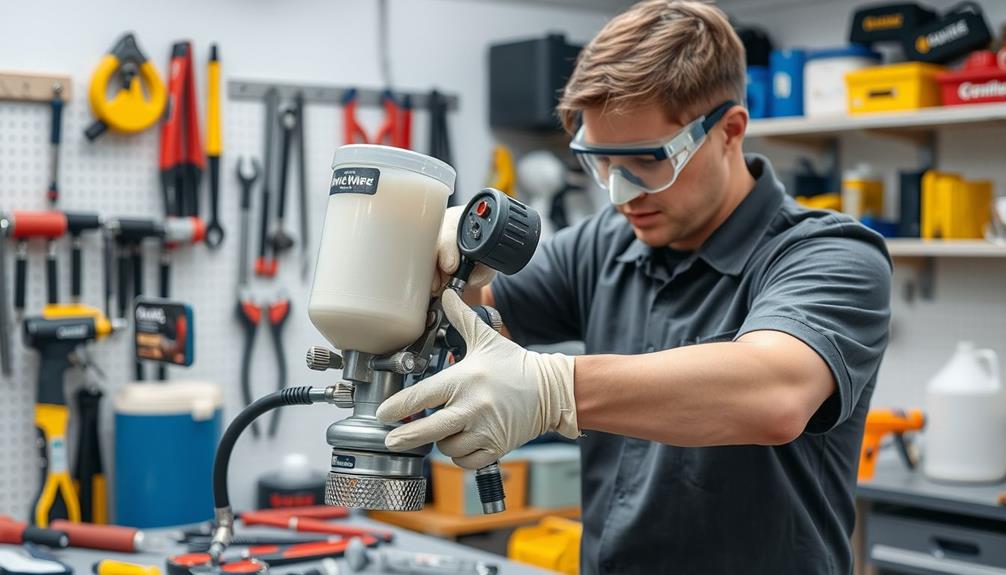
When tackling the cleaning of your airless paint sprayer, prioritizing safety is essential. Always wear protective gear, including safety goggles and gloves, to prevent skin contact and eye exposure to paint and chemicals. This is vital, as even minor spills can lead to irritation or injury.
Additionally, consider using an ozone air purifier in your workspace to help eliminate harmful fumes and improve air quality during the cleaning process.
Ensure your workspace is well-ventilated. Open windows or use fans to minimize inhalation of fumes from cleaning solvents and residual paint. Fumes can be harmful, so don't skip this step.
Keep all cleaning equipment and chemicals out of reach of children and pets. Accidental exposure or ingestion can lead to serious health risks, so store these items safely.
Follow the manufacturer's guidelines for safe operation and cleaning. These instructions are designed to reduce the risk of injury or equipment damage, so take them seriously.
Maintaining Water Quality
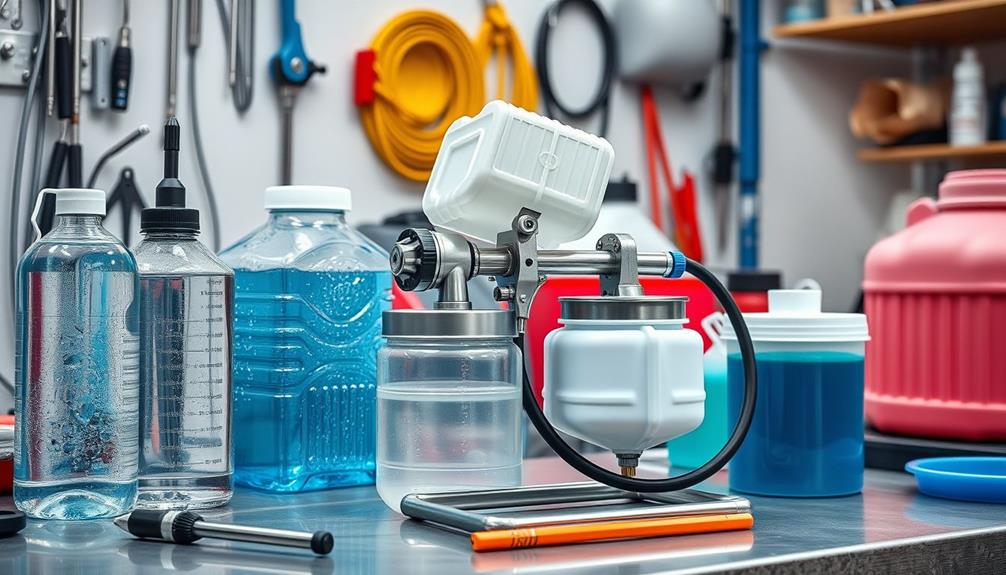
Maintaining water quality is essential for effective cleaning of your airless paint sprayer. To guarantee that your sprayer operates at its best, follow these tips for managing water during the cleaning process:
- Allow water to sit in the pump for several minutes to soften any residual paint, as improper cleaning can lead to clogs similar to how clogging remedies address toilet issues.
- Lower the pressure before switching modes to prevent sudden pressure issues.
- Continuously flush the system until clear water comes from the spray tip.
- Regularly change the water in your buckets to maintain a clean flushing environment.
Long-Term Storage Tips

For long-term storage of your airless paint sprayer, using pump armor or antifreeze is vital to prevent freezing and internal damage. Make certain to follow the manufacturer's dilution instructions for effective use.
If you have pets, avoid using antifreeze, as it can be harmful; instead, opt for safe alternatives that won't pose a risk to their health. Additionally, making certain that your storage area has proper ventilation is important, similar to the safety precautions necessary for gas appliances during use.
Before you store your sprayer, double-check that it's in the off position and all pressure is released. This step helps prevent any accidental discharge that could lead to injury or damage.
For overnight storage, simply running clean water through the system is sufficient to keep the pump and lines in good condition.
Additionally, find a dry, clean place for storage. Properly storing your equipment not only helps prolong its lifespan but also maintains peak functionality for the long run.
Final Steps and Maintenance

Once you've flushed the system with clean water, run the sprayer until the water runs clear to eliminate any paint residue.
For best results, consider using a vacuum cleaner with advanced filtration systems to maintain a clean workspace, making it easier to manage overspray and debris budget-friendly vacuum cleaners.
Next, wipe down the exterior with a damp cloth to keep it free from overspray and contaminants.
System Water Clearance
To guarantee your airless paint sprayer operates efficiently, it's important to perform a thorough system water clearance after each use. This step guarantees that all paint residues are flushed out, prolonging the lifespan of your equipment.
Regular maintenance, similar to what's required for garage door openers, can help you avoid costly repairs. Here's how to do it effectively:
- Set your sprayer to prime mode: Before you start, make sure it's ready for the system water clearance.
- Run the sprayer: Activate the sprayer and allow it to operate until clear water emerges from the spray tip. This indicates that all paint has been cleared.
- Inspect the prime hose: After flushing, check the prime hose and connections for any signs of wear or clogs; regular maintenance can prevent future issues.
- Clean the exterior: Wipe down the sprayer with a damp cloth to remove any overspray or paint splatters that could affect performance.
Exterior Equipment Cleaning
Regularly cleaning the exterior of your airless paint sprayer is essential for maintaining its performance and longevity. After you've flushed the system and clear water emerges, grab a damp cloth to wipe down the sprayer. This step removes any paint residue and dust, guaranteeing your equipment stays in top shape.
For a thorough clean, consider using DIY kitchen wall decor ideas to enhance your workspace while cleaning. Be sure to check the spray gun tip, hose, and pump for any signs of wear or damage while you clean. Catching these issues early can save you from costly repairs later.
Once you've cleaned the exterior, set the sprayer to prime mode with no pressure retained before storing it. This helps prevent damage and maintains safety.
Keeping the exterior free from excess paint and overspray not only enhances the sprayer's longevity but also guarantees peak performance for your next project.
Proper Storage Practices
Proper storage practices for your airless paint sprayer are essential for maintaining its functionality and extending its lifespan.
After cleaning, make certain the sprayer is set to prime mode and has no residual pressure. This prevents damage and guarantees safety during storage.
Here are some key practices to follow:
- Store the sprayer in a cool, dry place to avoid moisture buildup.
- For long-term storage, apply pump armor or antifreeze as directed to protect internal parts.
- Regularly inspect and clean the exterior to remove paint residue.
- Keep all components, including hoses and spray tips, organized and properly stored.
Frequently Asked Questions
Can You Clean an Airless Sprayer With Water?
Yes, you can clean an airless sprayer with water, especially after using water-based paints. Just make sure to use clean water, change it frequently, and remember to protect the pump for long-term storage.
Can You Run Water Through a Paint Sprayer?
You can absolutely run water through a paint sprayer! Just like washing away the dust after a storm, it clears residual paint, ensuring everything's in tip-top shape for your next project. Keep the water clean, too!
How to Clean a Graco Paint Sprayer With Dried Paint?
To clean your Graco paint sprayer with dried paint, remove the spray tip and soak it. Flush the system thoroughly with water, using a compatible solvent for stubborn paint, then protect it with pump armor before storing.
How to Clean a Spray Gun Properly?
When cleaning a spray gun properly, you'll want to detach components, flush with solvent, and scrub any buildup. This guarantees smooth operation and prevents future clogs, allowing your creativity to flow effortlessly during your next project.
Conclusion
Cleaning your airless paint sprayer is like tending a garden; with care and attention, it thrives and produces vibrant results. By following the steps outlined, you guarantee your sprayer remains in peak condition, ready to transform your projects with ease. Just as a gardener nurtures their plants, you must maintain your sprayer, cultivating its longevity and performance. Embrace these practices, and watch your creativity bloom, knowing you've equipped yourself for every colorful endeavor ahead.