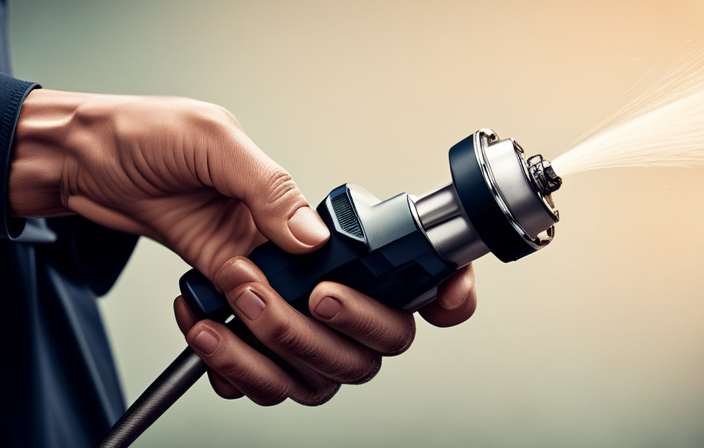
Have you ever been in the middle of a painting project and realized you need to remove the tip of your airless paint sprayer? It can be a frustrating and time-consuming task, but fear not! I’m here to guide you through each step of the process in detail.
By following these simple instructions, you’ll be able to remove the tip quickly and get back to your project in no time.
First, gather all the necessary tools and materials.
Then, turn off and unplug the airless paint sprayer to ensure your safety.
Next, release the pressure from the sprayer and remove the spray gun from the hose.
Once that’s done, locate the tip guard and remove it carefully.
If the tip is dirty or damaged, clean or replace it accordingly.
Finally, reassemble the spray gun and tip guard, and test the sprayer to ensure everything is functioning properly.
Remember to dispose of any used materials and clean up your work area.
Let’s get started!
Key Takeaways
- Gather necessary tools and materials
- Turn off and unplug the sprayer for safety
- Release pressure from the sprayer
- Remove the spray gun from the hose
Gather the necessary tools and materials
Before you can begin removing the airless paint sprayer tip, make sure you’ve gathered all the tools and materials you’ll need. Choosing the right tip size is crucial for achieving the desired paint finish. The tip size determines the spray pattern and flow rate, so it’s important to select one that suits your specific painting project.
Additionally, proper maintenance of the airless paint sprayer is essential for its longevity and performance. Ensure that you have a wrench or pliers to loosen the tip, a towel or rag to protect your hands, and a clean, well-lit workspace.
Once you have gathered everything, you can proceed to turn off and unplug the airless paint sprayer, preparing for the next step of removing the tip.
Turn off and unplug the airless paint sprayer
First, make sure you switch off and disconnect the power supply to the airless paint sprayer, allowing it to rest peacefully as you prepare to part ways with its nozzle. Safety is paramount when handling an airless paint sprayer, so it is important to take proper precautions. To ensure a smooth and hassle-free removal of the tip, follow these guidelines.
| Common Issues | Troubleshooting Tips |
|---|---|
| Clogging | Clean the tip thoroughly |
| Uneven spraying | Check for worn or damaged parts |
| Leaking | Tighten all connections |
| No spray | Check for proper paint flow |
By familiarizing yourself with these troubleshooting techniques, you can safely handle an airless paint sprayer and address common issues that may arise. Now, let’s move on to the next step and release the pressure from the sprayer.
Release pressure from the sprayer
To ensure a safe and smooth transition, it’s time to let the pressure out of your trusty paint sprayer. Releasing the pressure is an essential step when troubleshooting airless paint sprayer issues and avoiding common mistakes.
Start by turning off the sprayer and unplugging it from the power source. Then, locate the pressure relief valve, usually located near the hose connection. Using a small wrench or a flathead screwdriver, slowly turn the valve counterclockwise to release the pressure. You may hear a hissing sound as the pressure escapes.
Once the pressure is fully released, you can move on to the next step of removing the spray gun from the hose. This ensures a safe and efficient process without any unexpected pressure build-up.
Remove the spray gun from the hose
Once you’ve let the pressure out of your trusty paint sprayer, you can easily detach the spray gun from the hose, allowing for a smooth and hassle-free transition. To remove the spray gun, follow these simple steps:
| Step | Description |
|---|---|
| Step 1 | Locate the locking mechanism on the spray gun. It is typically a small lever or button. |
| Step 2 | Press or slide the locking mechanism to release the spray gun from the hose. |
| Step 3 | Once released, gently pull the spray gun away from the hose. Be careful not to force it or damage the connectors. |
| Step 4 | Inspect the connectors on both the spray gun and the hose for any dirt or debris. Clean if necessary. |
| Step 5 | Store the spray gun in a safe place or attach a new tip for your next painting project. |
With the spray gun detached from the hose, the next step is to locate the tip guard and remove it, ensuring easy access to the paint sprayer’s tip for cleaning or replacement.
Locate the tip guard and remove it
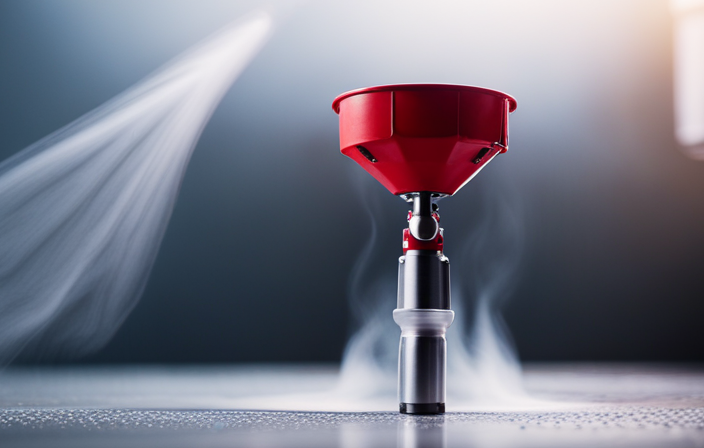
After detaching the spray gun from the hose, it’s time to find and remove the tip guard. The tip guard is usually located at the front of the spray gun and is designed to protect the tip from damage. To remove it, simply twist it counterclockwise until it comes off. If it’s stuck or difficult to remove, you can try using pliers or a wrench for added leverage. Be careful not to apply too much force as it may damage the tip or the spray gun.
Once the tip guard is removed, you can proceed to the next step. Use a wrench or pliers to unscrew the tip from the spray gun, allowing for further maintenance or replacement.
Use a wrench or pliers to unscrew the tip from the spray gun
Now, it’s time to grab a wrench or a pair of pliers and give that stubborn tip a twist to free it from the spray gun. Using alternative methods to remove the airless paint sprayer tip can be helpful if the tip is stuck or difficult to unscrew. To assist you further, I have included a table below that highlights troubleshooting common issues with airless paint sprayer tips. This will grab your attention and provide valuable information on how to tackle any problems you may encounter. Once you have successfully removed the tip, you can proceed to the next section to clean or replace it as needed. It’s important to take care of your equipment to ensure optimal performance.
| Issue | Solution |
|---|---|
| Tip is stuck | Apply penetrating oil to the threads and let it sit for a few minutes, then try unscrewing again |
| Tip is difficult to unscrew | Use a wrench or pliers to provide extra leverage and grip |
| Tip is stripped or damaged | Replace the tip with a new one for best results |
Now, let’s move on to the next step: cleaning or replacing the tip as needed.
Clean or replace the tip as needed
After successfully unscrewing the tip from the spray gun using a wrench or pliers, the next step in removing an airless paint sprayer tip is to clean or replace it as needed.
Cleaning the tip is crucial for maintaining optimal performance and preventing clogs. There are several cleaning methods you can use, depending on the type of paint you were using. For water-based paints, rinsing the tip with water is usually sufficient. However, for oil-based paints, you may need to use a solvent like mineral spirits.
It’s also important to inspect the tip for any signs of wear or damage. If the tip is worn or damaged, it’s recommended to replace it with a new one to ensure a smooth and even spray pattern.
Remember, regular cleaning and maintenance will extend the lifespan of your airless paint sprayer.
Now, let’s move on to the next step and reassemble the spray gun and tip guard.
Reassemble the spray gun and tip guard
To ensure a flawless finish, it’s time to put everything back together and secure the spray gun and tip guard in place. Here are some tips for reassembling the spray gun and tip guard:
-
Start by aligning the spray gun handle with the slot on the main body and slide it in until it clicks into place.
-
Next, attach the tip guard by lining up the screw holes and securing it with the provided screws.
-
Make sure the tip guard is tightened securely to prevent any leaks or accidents during operation.
-
Once the spray gun and tip guard are properly reassembled, double-check that all the connections are tight and secure.
Now that the spray gun and tip guard are back in place, it’s time to test the sprayer to ensure it’s functioning properly.
Test the sprayer to ensure it is functioning properly
Now that I’ve reassembled the spray gun and tip guard, it’s time to test the sprayer and make sure it’s functioning properly. This step is crucial to ensure there are no issues with the airless paint sprayer before moving on.
To test the sprayer’s functionality, I’ll connect it to a power source and fill the paint reservoir with a small amount of water. Then, I’ll turn on the sprayer and observe if the paint is being sprayed evenly and smoothly. If there are any issues, such as uneven spray patterns or clogging, I’ll troubleshoot the airless paint sprayer accordingly.
Once I’m satisfied with the sprayer’s performance, I can proceed to the subsequent section about properly disposing of any used materials and cleaning up the work area.
Properly dispose of any used materials and clean up the work area
As we wrap up the project, it’s important to responsibly dispose of any leftover materials and tidy up the work area. When it comes to paint waste, it’s crucial to handle it safely and in an environmentally friendly manner.
Start by checking with your local waste management facility to determine the proper way to dispose of paint cans, brushes, and any other unused paint. They may have specific guidelines or recycling programs in place. Always follow their instructions to ensure the paint waste is disposed of properly.
Additionally, take this opportunity to organize your painting supplies for future use. Clean and store your brushes, rollers, and other tools in a designated area to keep them in good condition and easily accessible for your next project.
By following these tips for organizing your painting supplies and safely disposing of paint waste, you’ll leave your work area clean and ready for the next project.
Frequently Asked Questions
Can I remove the airless paint sprayer tip without gathering any tools or materials?
Yes, there are alternative methods to remove the airless paint sprayer tip without gathering any tools or materials. However, it is important to note that these methods may pose potential risks and may not be as effective.
What should I do if I can’t locate the tip guard on my airless paint sprayer?
If the tip guard is missing on your airless paint sprayer, there are alternative methods to protect the tip. One troubleshooting tip is to wrap the tip with masking tape or use a tip guard from a similar model.
Can I clean the tip instead of replacing it?
Yes, you can clean the tip instead of replacing it. To maintain your paint sprayer, regularly clean the tip using a cleaning solution and a brush. This helps remove any clogs and ensures optimal performance.
How can I test the sprayer to ensure it is functioning properly after reassembling?
To test the sprayer after reassembling, turn it on and check for any leaks or irregularities in the spray pattern. Ensure the pressure is consistent and adjust as needed. Clean the sprayer thoroughly and follow proper sprayer maintenance and troubleshooting tips.
What is the proper way to dispose of any used materials and clean up the work area?
To properly dispose of used materials and clean up the work area, it is important to follow proper disposal methods for hazardous waste and use appropriate cleaning techniques that ensure a safe and clean environment.
Conclusion
As I put the finishing touches on my airless paint sprayer, I couldn’t help but feel a sense of accomplishment. It was like taming a wild beast, turning it into a powerful tool that could transform any surface with a smooth and even coat of paint.
Removing the tip was just one small part of the process, but it was a crucial step in ensuring the sprayer’s continued performance. With the right tools and a little know-how, I was able to conquer this task and conquer any painting project that came my way.
So, fellow DIYers, fear not the airless paint sprayer tip removal. Embrace it, master it, and let your creativity flow.
