Imagine a stubborn stain on your beloved white t-shirt – that’s dried paint on your tile floor, just as frustrating and unsightly. But fret not! I have the ideal strategy to deal with that persistent paint and restore your floor’s gleam. Stay tuned to discover how to bid farewell to those paint stains and revive your floor’s luster.
In this article, I will walk you through the necessary supplies, preparation, and techniques needed to tackle this task head-on. From softening the paint to carefully scraping it off, I’ll provide you with detailed instructions to ensure a successful paint removal process.
Additionally, I’ll show you how to use a stain remover, rinse and dry the floor, and even polish the tile for that extra shine. By following these tips, you’ll not only be able to remove dried airless sprayer paint from your tile floor, but also prevent future paint mishaps.
So let’s get started and say goodbye to that unsightly paint stain once and for all!
Key Takeaways
- Clear the area of furniture and obstacles before starting the paint removal process
- Soften the dried paint using a commercial paint remover or a heat gun/hairdryer
- Scrape off the softened paint using a plastic scraper, chemical paint stripper, or sanding
- Use a stain remover to eliminate any remaining traces of paint, then clean the floor with warm soapy water and a scrub brush

VEVOR 750W Stand Airless Paint Sprayer, 3000PSI High Efficiency Electric Airless Sprayer, Fine and Even Painting Effect, Handheld Paint Sprayers for Home Interior and Exterior Furniture and Fences
Efficient Painting: Our stand airless paint sprayer is equipped with a powerful 750W motor, capable of delivering up...
As an affiliate, we earn on qualifying purchases.
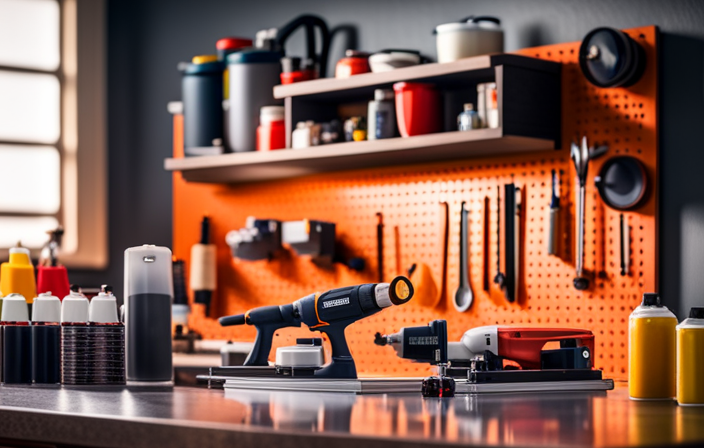
Gather Your Supplies
Now that you’re ready to revamp your floor, it’s time to gather all the supplies you’ll need to tackle that dried airless sprayer paint.
To effectively remove the paint, you’ll need a few cleaning techniques and paint removal methods. Start by assembling a sturdy plastic scraper or putty knife, which will help you scrape off the dried paint without damaging the floor surface. Additionally, grab a bucket, warm soapy water, and a scrub brush to clean up any residue left behind. Don’t forget to get some old rags or towels to absorb excess water during the process.
Once you have all your supplies in place, you can move on to preparing the area for paint removal by clearing away any furniture or obstacles.

InoKraft NEO Airless Paint Sprayer Kit for House Painting, DIY Beginners' Choice with Accessories Storage Space, Lightweight Design, Quick Clean for Home Interior and Exterior Furniture and Fences
【Your DIY Partner】Upgrade your DIY projects with the NEO airless paint sprayer-significantly faster than handheld electric HVLP paint...
As an affiliate, we earn on qualifying purchases.
Prepare the Area
First, you’ll want to make sure the surrounding space is prepped and ready for the battle against the stubborn, clingy remnants of color that have taken residence on your once pristine floor. To effectively remove dried airless sprayer paint, you’ll need the following items:
-
Cleaning solutions: Choose a cleaning solution that’s specifically designed to remove paint, such as a paint stripper or a solvent-based cleaner. Make sure to read the instructions and follow them carefully.
-
Protective gear: Before you begin the paint removal process, it’s important to protect yourself. Wear gloves, goggles, and a mask to prevent any potential harm from the cleaning solutions or paint particles.
Now that you have your supplies ready and your protective gear on, it’s time to soften the paint and make it easier to remove.

Graco Airless Paint Sprayer | DIY Designed for Interior or Exterior Projects | TrueCoat One TrueAirless Electric Sprayer 26DTC1
ALWAYS-ON DESIGN – Continuous operation keeps the sprayer primed and ready to spray at all times, so you...
As an affiliate, we earn on qualifying purchases.
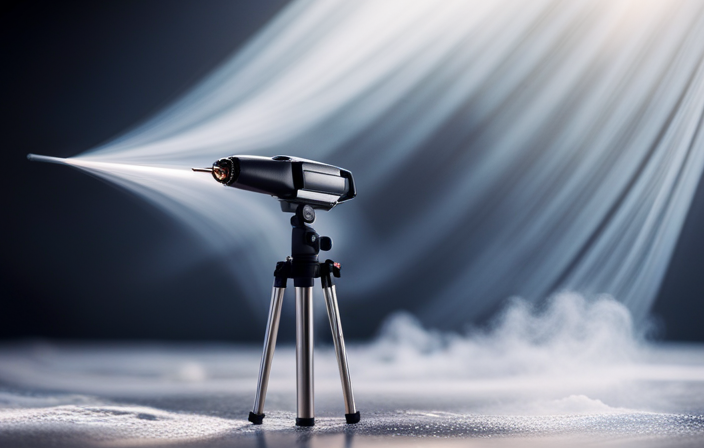
Soften the Paint
To effectively tackle the tenacious remnants of color on your pristine surface, begin by preparing the area and ensuring you’ve got the necessary cleaning solutions and protective gear. Removing dried paint requires a few paint removal techniques to soften the hardened layers.
One effective method is to use a commercial paint remover specifically designed for dried paint. Apply the remover generously to the affected area and let it sit for the recommended amount of time, usually around 15-30 minutes. This’ll help to soften the paint, making it easier to remove.
Additionally, you can try using a heat gun or a hairdryer on a high setting to heat the dried paint, which’ll also aid in softening it. Once the paint has been sufficiently softened, you can proceed to the next step of scraping off the paint.

WORKPRO 700W Airless Paint Sprayer, 2900PSI High Efficiency Thinning-Free Electric Paint Sprayer with Extension Rod, Paint Sprayer for Home Interior, Exterior, Furniture, Fence & Ceilings
EFFICIENT SPRAY, LESS WORK: Powered by a 700W motor, this airless paint sprayer delivers up to 2900 PSI...
As an affiliate, we earn on qualifying purchases.
Scrape Off the Paint
Once you’ve softened the stubborn paint, it’s time to get down and dirty with your trusty scraper, attacking those clingy layers with the determination of a bulldozer. To effectively remove paint from the floor, consider using alternative methods alongside scraping. Here are three options to try:
| Method | Description |
|---|---|
| Heat gun | Apply heat using a heat gun to soften the paint, making it easier to scrape off. Be cautious not to overheat the surface to avoid damaging it. |
| Chemical paint stripper | Use a chemical paint stripper according to the manufacturer’s instructions. Apply it to the dried paint, let it sit for the recommended time, and then scrape off the softened paint. Wear protective gloves and work in a well-ventilated area. |
| Sanding | Sand the dried paint using sandpaper or a sanding machine. Start with a coarse grit and gradually move to a finer grit to achieve a smooth surface. Wear a mask to protect yourself from dust. |
Once you’ve successfully scraped off the paint, it’s time to move on to the next step: using a stain remover to eliminate any remaining traces.
Use a Stain Remover
Now it’s time to get those pesky stains out with a trusty stain remover. When it’s time to remove dried airless sprayer paint from a tile floor, there are several stain remover alternatives you can try.
One option is to use a store-bought stain remover specifically designed for paint removal. These products usually contain solvents that can dissolve the paint and make it easier to remove. If you prefer a more natural approach, you can also make your own DIY stain remover using everyday household ingredients such as vinegar, baking soda, or hydrogen peroxide. These ingredients have stain-fighting properties and can be effective in breaking down the dried paint.
Once you have chosen your stain remover, you can move on to the next step of scrubbing the floor to completely remove the paint.
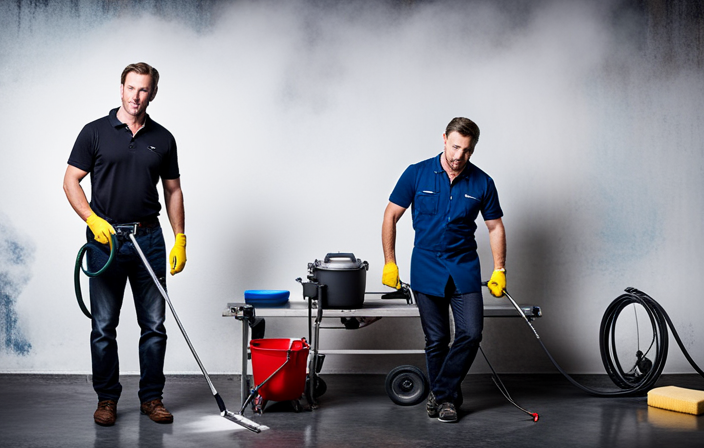
Scrub the Floor
Take your scrub brush and vigorously work on the surface, erasing any remnants of the pesky paint stains. To effectively remove dried airless sprayer paint from a tile floor, it’s important to employ proper cleaning techniques and effective scrubbing methods.
Start by wetting the floor with warm water to loosen the dried paint. Then, dip the scrub brush into a mixture of mild detergent and water, and scrub the affected areas in a circular motion. Apply firm pressure to break up the paint and lift it from the tile surface.
Continue scrubbing until the paint is completely removed. Once you’re finished, rinse the floor with clean water and dry thoroughly to prevent any water spots or residue. This will prepare the floor for the next step of the cleaning process: rinsing and drying.
Rinse and Dry
After thoroughly scrubbing the floor, it’s essential to rinse and dry it to achieve a spotless and gleaming surface. Here are some rinse techniques and drying methods that will help you achieve the best results:
-
Use a clean mop and bucket filled with warm water to rinse the floor. Avoid using excessive water to prevent seepage into the grout lines.
-
Change the rinse water frequently to ensure that you’re not spreading dirt or residue around.
-
For stubborn paint stains, you can add a mild detergent or vinegar to the rinse water for extra cleaning power.
-
After rinsing, use a clean, dry towel or a mop to thoroughly dry the floor and remove any remaining moisture.
Once the floor is rinsed and dry, it’s time to move on to the next step of the process: polishing the tile.
Polish the Tile
Once the floor has been thoroughly rinsed and dried, it’s time to give the tile a polished finish, which can increase its durability by up to 20%. To maintain the shine, it is important to choose the right polish for your specific type of tile. Here is a helpful guide to assist you in selecting the appropriate polish:
| Tile Type | Recommended Polish |
|---|---|
| Ceramic | Water-based |
| Porcelain | Solvent-based |
| Natural Stone | pH-neutral |
| Vinyl | Acrylic-based |
By using the appropriate polish, you can enhance the shine and protect the tile from future damage. After selecting the polish, apply it to the tile surface using a clean, lint-free cloth. Make sure to follow the manufacturer’s instructions for application and drying time. Once the polish has dried, you can buff the tile with a soft cloth to achieve a glossy finish. Now that the tile is polished, let’s move on to the next section about preventing future paint mishaps.
Prevent Future Paint Mishaps
To avoid any future paint mishaps, make sure to properly prepare the surface before applying any new paint. This includes cleaning the floor thoroughly and removing any debris or dust.
Additionally, take precautions to avoid paint spills by using drop cloths or plastic sheets to protect surrounding areas.
When it comes to cleaning paint brushes effectively, make sure to remove as much paint as possible before washing them with warm soapy water. Use a brush comb or your fingers to remove any excess paint from the bristles. Rinse the brushes thoroughly and allow them to air dry before storing them.
By following these steps, you can prevent future paint mishaps and ensure a smooth and successful painting process. Now, let’s move on to the final touches and maintenance of your newly painted floor.
Final Touches and Maintenance
With just a few simple steps, you’ll transform your newly painted floor into a stunning masterpiece that’ll leave your guests in awe. To ensure the longevity of your freshly painted floor, it’s essential to take proper care and follow a maintenance routine.
Here are three key points to consider:
-
Use floor protection: Place rugs or mats in high-traffic areas to prevent scratches and wear on the paint. You can also use felt pads under furniture legs to avoid any damage.
-
Choose the right cleaning products: Avoid harsh chemicals or abrasive cleaners that can strip away the paint. Instead, opt for mild soaps or pH-neutral cleaners specifically designed for painted surfaces.
-
Regular maintenance: Sweep or vacuum the floor regularly to remove any dirt or debris. Additionally, mop the floor using a damp, not wet, cloth to keep it clean and maintain its luster.
By following these simple steps, you can keep your newly painted floor looking beautiful for years to come.
Frequently Asked Questions
Can I use any type of stain remover for removing dried airless sprayer paint from tile floor?
Yes, there are various stain remover alternatives that can effectively remove dried airless sprayer paint from a tile floor. The best cleaning method would be to use a stain remover specifically designed for removing paint stains.
How long does it usually take for the paint to soften after applying a paint softener?
On average, it takes about 4-6 hours for paint to soften after applying a paint softener. There are various methods to remove dried airless sprayer paint from a tile floor, such as scraping and using solvents.
Can I use a regular household cleaner for scrubbing the floor after removing the paint?
I recommend using a household cleaner alternative for scrubbing the floor after removing the paint. Some effective options include vinegar, dish soap, or a mixture of baking soda and water. Use a scrub brush or sponge to scrub in circular motions for best results.
Is it necessary to polish the tile floor after removing the paint?
It’s not necessary to polish the tile floor after removing the paint. However, it’s crucial to use protective gloves while removing paint from the floor. Using a paint scraper offers the benefit of effectively removing dried airless sprayer paint from the tile floor.
What are some preventive measures I can take to avoid future paint mishaps on my tile floor?
To prevent future paint mishaps on my tile floor, I make sure to cover the floor with drop cloths or plastic sheets before painting. I also use painter’s tape to protect the edges. Regularly cleaning with the best cleaning products for tile floors helps maintain their appearance.
Conclusion
Well, that’s a wrap, folks! Removing dried paint from your tile floor is no easy task, but with the right supplies and a little elbow grease, you can get the job done.
Remember to gather your supplies, prepare the area, soften the paint, scrape it off, use a stain remover, rinse and dry, and finally, polish the tile.
Don’t forget to take preventive measures to avoid future paint mishaps. And voila! Your floor will be looking as good as new in no time.
Now, go put your feet up and enjoy your freshly cleaned floor!