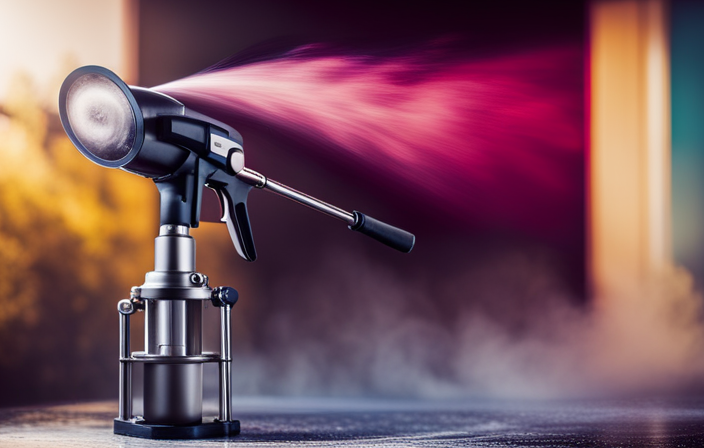
If you have ever had to clean exterior paint from an airless paint sprayer, you know how time-consuming and labor-intensive it can be. Trust me, I have been there.
But fear not, my fellow DIY enthusiasts, because I’m here to share with you my tried-and-true method for getting that stubborn paint off your sprayer and back to its pristine state.
In this article, I will guide you through each step of the process, from gathering the necessary materials to properly storing the sprayer for future use.
With my knowledgeable, precise, and detailed instructions, you’ll be able to tackle this daunting task with confidence and efficiency.
So, let’s dive in and say goodbye to that pesky exterior paint once and for all!
Key Takeaways
- Choose suitable cleaning solutions for the type of paint being used
- Disconnect and prepare the sprayer for paint removal by removing the nozzle and spray tip
- Use brushes or toothpicks to remove dried paint from the sprayer
- Flush the sprayer with water to remove excess paint and clean the components thoroughly
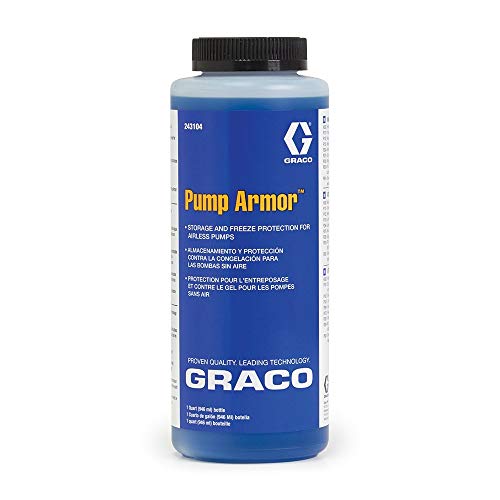
Graco 243104 Pump Armor, 1-Quart
- Pump protection for storage: Prevents freezing down to -30°F
- Easy pump preservation: Fill pump with Armor fluid after cleaning
- Ensures easy startup: Prepares sprayer for next use
As an affiliate, we earn on qualifying purchases.
As an affiliate, we earn on qualifying purchases.
Gather the necessary materials
To effectively remove exterior paint from an airless paint sprayer, it is imperative to gather all the necessary materials.
First, you will need cleaning solution alternatives that are suitable for the type of paint you are removing. It is important to choose the right cleaning solution to ensure the paint is effectively stripped off the sprayer.
Additionally, you should gather the best practices for spray gun maintenance. This includes having a brush or a toothpick to remove any dried paint from the nozzle or the tip of the gun. It is also helpful to have a clean cloth or paper towels to wipe down the exterior of the sprayer.
Once you have all the materials ready, you can proceed to disconnect and prepare the sprayer for paint removal.
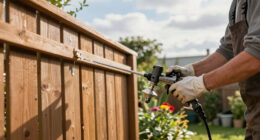
Disconnect and prepare the sprayer
To prepare the sprayer for use, start by disconnecting it. This is crucial for safety reasons and to prevent accidents. Make sure the sprayer is turned off and unplugged from the power source.
Next, remove the nozzle and spray tip from the sprayer and clean them thoroughly. This step is important to avoid any clogs or blockages during the paint removal process.
In addition, check the hose for any leaks or damages. It’s always a good idea to ensure that the equipment is in proper working condition before using it.
To protect yourself from potential paint splatters, it’s recommended to wear protective gloves and goggles. Safety should always be a priority when working with any type of equipment.
Once the sprayer is disconnected and prepared, you can proceed to the next step of removing excess paint from the sprayer.
Remove excess paint from the sprayer
Now, let’s tackle any leftover paint that may be lingering in your trusty sprayer.
To remove excess paint from the sprayer, there are a few cleaning techniques and maintenance tips you can follow.
First, ensure that the sprayer is disconnected from the power source and any paint supply.
Then, remove the spray tip and guard, as well as any filters or screens.
Use a clean cloth or rag to wipe away any paint residue on the exterior of the sprayer.
For stubborn paint, you can use a brush or toothbrush to scrub it away. Remember to be gentle to avoid damaging the sprayer.
Once you have removed all excess paint, you can proceed to the next step of flushing the sprayer with water.
Flush the sprayer with water
After disconnecting the sprayer from the power source and any paint supply, it’s time to give it a good flush with water. Flushing is an essential step in removing excess paint and preventing clogs. To effectively flush the sprayer, follow these steps:
- Fill a bucket with clean water.
- Attach the sprayer’s hose to the bucket, ensuring a secure connection.
- Turn on the sprayer and spray the water into a waste container until it runs clear.
- Release the trigger and turn off the sprayer.
- Disconnect the hose from the bucket and empty any remaining water.
Common mistakes to avoid while flushing an airless paint sprayer include not using enough water and not thoroughly cleaning the sprayer’s components. By properly flushing the sprayer, you can maintain its longevity and prevent paint buildup. In the next section, we will discuss how to disassemble and clean the spray gun, ensuring its optimal performance.
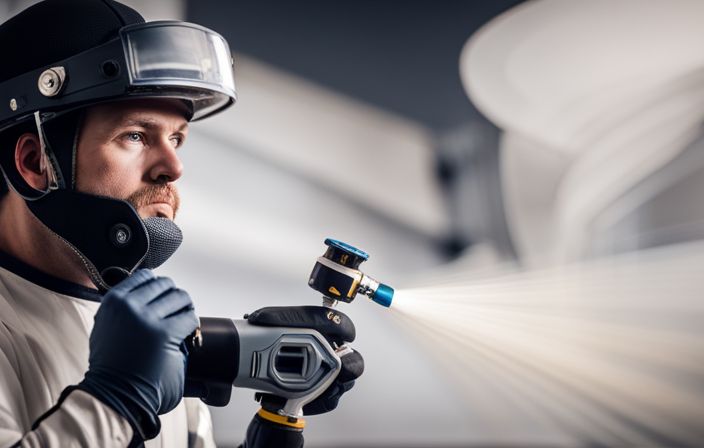
Disassemble and clean the spray gun
To properly maintain your spray gun, you’ll need to disassemble and clean it thoroughly. Here are some cleaning techniques and maintenance tips to help you with this task:
-
Start by removing the nozzle and the tip guard from the spray gun. This will allow you to access all the internal components that need to be cleaned.
-
Use a cleaning brush or a toothbrush to scrub off any paint residue from the spray gun body. Pay close attention to the areas around the trigger and the air inlet.
-
Soak the disassembled parts in a bucket of warm soapy water for about 15 minutes. This will help to loosen any stubborn paint particles.
-
Rinse all the parts thoroughly with clean water to remove any soap residue. Make sure to inspect each component for any signs of damage or wear.
Now that the spray gun is clean, let’s move on to the next step of the process: cleaning the filters and nozzles.
Clean the filters and nozzles
After disassembling and cleaning the spray gun, it’s important to clean the filters and nozzles of your airless paint sprayer. These components play a crucial role in ensuring a smooth and consistent paint flow.
To clean the filters, remove them from the sprayer and rinse them thoroughly with water. Use a soft brush to gently scrub away any paint residue or debris.
For the nozzles, soak them in a bucket filled with warm soapy water for about 15 minutes. Then, use a small brush to remove any remaining paint or clogs. Rinse the nozzles with clean water and ensure they are completely dry before reassembling the sprayer.
These cleaning techniques and maintenance tips will help maintain the performance and longevity of your airless paint sprayer.
Moving on to the next section, let’s discuss how to use a cleaning solution for stubborn paint.
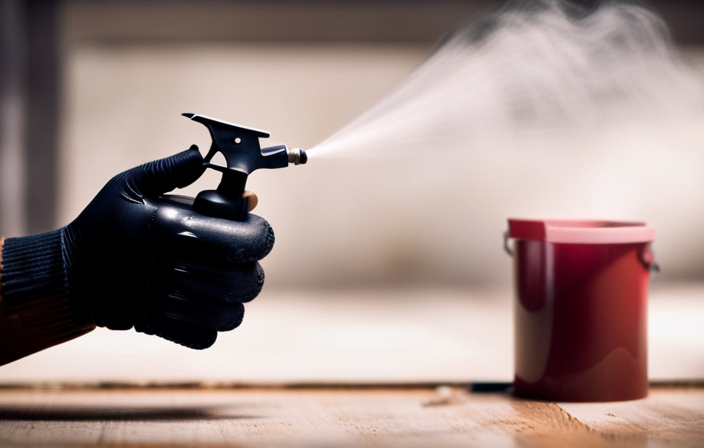
Use a cleaning solution for stubborn paint
If stubborn paint is giving you trouble, try using a cleaning solution to easily tackle the problem. Cleaning solutions are a great alternative to remove exterior paint from airless paint sprayers. They are specially formulated to break down and dissolve paint, making it easier to remove.
Here are three cleaning solution alternatives that can help you get the job done effectively and efficiently:
- Acetone: This powerful solvent can quickly dissolve paint buildup and leave your sprayer clean and ready for use.
- Vinegar: A natural and cost-effective option, vinegar can help prevent paint buildup and keep your sprayer in good condition.
- Paint thinner: This versatile solution can effectively remove stubborn paint and restore your sprayer to its optimal performance.
By regularly using these cleaning solutions, you can prevent paint buildup and ensure the longevity of your airless paint sprayer. Once you have successfully cleaned the filters and nozzles, it’s time to move on to the next step: rinse and dry the sprayer components.
Rinse and dry the sprayer components
To ensure optimal performance and prevent potential damage, it is important to thoroughly rinse and dry all the components of your sprayer. Properly cleaning and maintaining your sprayer can increase its lifespan by up to 50%. Rinsing and drying the components is a crucial step in airless paint sprayer maintenance. After using a cleaning solution to remove stubborn paint, it is important to rinse off any residue to prevent clogs in the sprayer. Thoroughly rinse all the parts, including the spray gun, hose, and filters, using clean water. Once rinsed, make sure to dry each component thoroughly before reassembling the sprayer. This will help prevent any moisture-related issues and ensure that your sprayer functions at its best. Now, let’s move on to how to reassemble the sprayer and get it ready for your next painting project.
Reassemble the sprayer
To reassemble the sprayer, carefully fit the cleaned and dried components together like puzzle pieces, ensuring a snug and secure fit. Here are some important steps to follow in the reassembly process:
- Start by reattaching the spray gun to the hose, making sure the connection is tight.
- Next, insert the suction tube into the paint container, ensuring it is securely in place.
- Attach the pump housing to the sprayer body, aligning the tabs and locking it into position.
- Once the pump housing is secured, reattach the power cord to the sprayer.
- Finally, double-check all connections to ensure they are tight and secure before testing the sprayer.
If you encounter any issues during the reassembly process, refer to the troubleshooting tips provided in the sprayer’s instruction manual.
Now that the sprayer is reassembled, let’s move on to how to properly store it for future use.
Properly store the sprayer for future use
After reassembling the sprayer, it’s time to store it properly for future use.
Properly cleaning the sprayer after each use is crucial to ensure its longevity and effectiveness.
First, I recommend flushing the sprayer with water or a cleaning solution to remove any leftover paint residue. This will prevent clogging and maintain the sprayer’s performance.
Next, disassemble the nozzle and clean it thoroughly, removing any dried paint or debris.
It’s also important to lubricate the sprayer’s moving parts to prevent rust and keep them in good working condition.
Regular maintenance is key to prolonging the life of your airless paint sprayer.
By following these steps and storing the sprayer in a clean, dry place, you’ll be ready for your next painting project with a sprayer that’s in top-notch shape.
Frequently Asked Questions
Can I use any type of cleaning solution to remove stubborn paint from the sprayer?
Sure, you can use a variety of cleaning solutions to tackle stubborn paint on your sprayer. Options like vinegar, rubbing alcohol, or paint thinner can be effective alternatives. Just be sure to follow safety precautions and test a small area first.
How often should I clean the filters and nozzles of the airless paint sprayer?
To keep your airless paint sprayer in optimal condition, it is important to clean the filters and nozzles regularly. This helps prevent clogs and ensures a smooth painting process. Troubleshoot common issues by checking for debris or worn-out parts.
Is it necessary to disassemble the spray gun in order to clean it properly?
To properly clean the spray gun, it is necessary to disassemble it. This allows for a thorough cleaning of all the components. There are also alternative cleaning solutions available that can help remove paint effectively.
Can I use a pressure washer to flush the sprayer with water?
I wouldn’t recommend using a pressure washer to flush an airless paint sprayer with water. It could damage the delicate parts. Instead, use a garden hose or consider alternative methods like using paint thinner or specialized cleaning solutions.
What is the best way to store the airless paint sprayer for future use?
Storing an airless paint sprayer properly is crucial for its future use. To ensure the best paint sprayer maintenance, clean the sprayer thoroughly, lubricate the parts, and store it in a dry, temperature-controlled environment. Preventing clogs in the airless paint sprayer is essential and can be achieved by using the right filters, strainers, and properly thinning the paint.
Conclusion
In conclusion, removing exterior paint from an airless paint sprayer requires careful preparation and thorough cleaning. By following the steps outlined in this article, you can ensure the longevity and efficiency of your sprayer.
Remember the old saying, ‘A clean tool is a happy tool.’ So, take the time to disassemble, clean, and reassemble your sprayer properly.
With regular maintenance and proper storage, your sprayer will be ready for future painting projects. Happy painting!