As a knowledgeable individual in DIY projects, I have discovered that spray painting can be a rewarding and successful endeavor. Turning a boring surface into a lively work of art can provide a great sense of accomplishment. If you want to achieve a professional-looking finish, opting for an airless sprayer is the best approach.
In this article, I’ll guide you through the step-by-step process of how to spray paint with an airless sprayer, ensuring that you achieve a flawless finish every time.
From gathering the necessary materials to properly diluting the paint, I’ll cover all the essential aspects to help you get started.
Additionally, I’ll share tips on adjusting the pressure, maintaining a consistent distance, and overlapping each pass for a seamless final product.
Along the way, I’ll address common issues and provide troubleshooting tips to ensure your success.
So, grab your airless sprayer and let’s dive into the world of spray painting!
Key Takeaways
- Proper sprayer maintenance is essential for optimal performance and longevity.
- Practice and experimentation are necessary to master technique and achieve professional finishes.
- Common issues with airless sprayers include clogging, overspray, uneven coverage, and drips/runs.
- Solutions for these issues include thinning paint, adjusting pressure, maintaining recommended distance, and reducing flow rate or overlapping strokes.

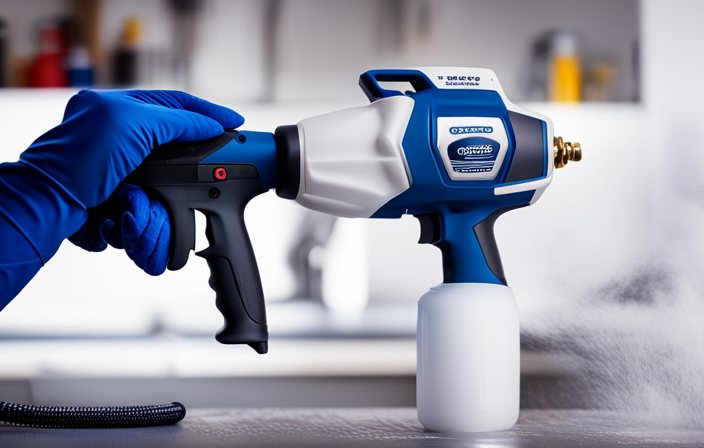
Graco Magnum X7 Cart Airless Paint Sprayer, Interior & Exterior
- Adjustable Pressure Control: Fully adjustable pressure for precise control
- Reversible SwitchTip: Reverses tip to clear clogs easily
- Spray Unthinned Paint: High-pressure spray with stainless steel piston pump
As an affiliate, we earn on qualifying purchases.
As an affiliate, we earn on qualifying purchases.
Gather Your Materials and Prepare Your Workspace
Before you begin, make sure you’ve got all your materials ready and your workspace set up, so you can dive into the world of spray painting with your airless sprayer.
The materials required for spray painting with an airless sprayer include the sprayer itself, paint, paint thinner if necessary, a paint strainer, a paint sprayer tip, and safety equipment such as goggles and a respirator.
Setting up your workspace involves clearing the area of any obstacles, covering nearby objects that you don’t want to get paint on, and ensuring proper ventilation. It’s important to have a clean and well-lit space to work in, as this will make the painting process easier and more efficient.
Now that you’ve gathered your materials and prepared your workspace, let’s move on to choosing the right paint and diluting if necessary.
Choose the Right Paint and Dilute if Necessary
To ensure optimal results, it’s important to select the appropriate type of paint and, if needed, dilute it accordingly.
Choosing the right paint, preparing the workspace, and diluting if necessary can greatly affect the outcome of your spray painting project.
In order to ensure a smooth and professional finish, it is important to select the appropriate type of paint for your project and, if needed, thin it to the correct consistency. This will depend on the surface you are painting and the desired finish.
Acrylic and latex paints are commonly used for indoor projects, while oil-based paints are more suitable for outdoor applications. Remember to read the paint manufacturer’s recommendations for dilution ratios, as adding too much or too little solvent can negatively impact the paint’s performance.
Gathering all the necessary materials and properly setting up your workspace will help you work efficiently and avoid any potential mishaps. Once you have chosen the right paint and prepared your workspace, it’s time to test the spray pattern and adjust the pressure.
Test the Spray Pattern and Adjust the Pressure
Now that you’ve got everything set up, it’s time to give that new sprayer a test run and see how the spray pattern looks! Adjusting pressure is crucial to achieving the desired spray pattern.
Start by setting the pressure to the manufacturer’s recommended level. Then, spray a test pattern on a scrap piece of material or a cardboard box. Observe the spray pattern closely.
If it’s too narrow or uneven, you’ll need to increase the pressure slightly. On the other hand, if the pattern is too wide or drips are forming, you should decrease the pressure. Keep adjusting and testing until you achieve a consistent and even spray pattern.
Once you’re satisfied with the results, you can move on to the next step of starting with a smooth and clean surface.
Start with a Smooth and Clean Surface
First things first, it’s crucial to start with a smooth and clean surface for a flawless finish. Begin by cleaning the surface thoroughly, removing any dirt, dust, or debris. You can use a mild detergent and water or a specialized cleaner depending on the material you’re working with.
Once the surface is clean, sand it to remove any imperfections or rough patches. This will help the paint adhere better and result in a more even and professional-looking finish. Remember to also prepare a clean workspace, free from any potential contaminants that could ruin your paint job.
Now that we have a smooth surface and clean workspace, let’s move on to the next step and discuss how to use proper technique and maintain a consistent distance.
Use Proper Technique and Maintain a Consistent Distance
Achieving a flawless finish requires mastering proper technique and consistently maintaining the ideal distance. To ensure an even application and avoid drips or uneven coverage, here are three key tips to keep in mind:
-
Maintain the spray distance: It is crucial to maintain a consistent distance between the sprayer and the surface being painted. This distance is typically around 12 inches, but always refer to the manufacturer’s guidelines for your specific sprayer. By keeping the right distance, you can achieve a smooth and consistent coat without overspraying or leaving gaps.
-
Move in a steady motion: When spraying, use smooth and controlled strokes, moving the sprayer from side to side or up and down. Avoid pausing or hesitating in one spot, as this can result in uneven application and visible lines. Consistency in motion will help maintain an even layer of paint.
-
Overlap each pass: To ensure complete coverage, overlap each spray pass by about 50%. This technique prevents missed spots and guarantees an even distribution of paint.
By maintaining spray distance and following proper technique, you can achieve an even application. To ensure thorough coverage, it is important to apply multiple thin coats, which will be discussed in the next section.
Apply Multiple Thin Coats for Even Coverage
To ensure a flawless finish, it’s important to go the extra mile and apply multiple thin coats of paint, turning your project into a work of art. This technique allows for better coverage and a more even application of the paint. By applying thinner coats, you minimize the risk of drips, runs, or uneven textures.
Here is a table highlighting the benefits of applying multiple thin coats:
| Benefits of Applying Multiple Thin Coats |
|---|
| 1. Prevents drips and runs |
| 2. Ensures even coverage |
| 3. Minimizes the risk of uneven textures |
| 4. Allows for better control |
While it may be tempting to apply thicker coats for quicker results, this can lead to various issues. Thicker coats are more prone to drips and runs, and they can also result in an uneven finish. Additionally, applying alternative spraying techniques, such as cross-hatching or feathering, can help achieve an even coat. Remember, the goal is to achieve a seamless finish, which we will discuss further in the subsequent section about overlapping each pass.
Overlap Each Pass for a Seamless Finish
To achieve a flawless and professional-looking paint job, it’s crucial to overlap each pass when using an airless sprayer. This technique ensures a seamless finish by blending the paint layers together and eliminating any visible lines or unevenness.
By overlapping each pass, you create a consistent and uniform coverage, resulting in a smooth and polished surface.
However, it’s essential to be mindful of overspray when overlapping. Overspray occurs when the paint mist extends beyond the target surface, leading to wastage and potential damage to surrounding areas.
To avoid this, maintain a steady and controlled hand movement, ensuring that each pass overlaps the previous one by about 50%. This way, you achieve the desired evenness without excessive overspray.
Now, let’s move on to the next section, where we’ll discuss how to clean and maintain your sprayer for longevity.
Clean and Maintain Your Sprayer for Longevity
Now, let’s dive into how you can keep your sprayer in tip-top shape to ensure it lasts for years to come. Sprayer maintenance is crucial for the longevity of your equipment.
After each use, make sure to clean your sprayer thoroughly. Start by removing any remaining paint from the system and then flush it with water or a cleaning solution recommended by the manufacturer. Pay extra attention to the nozzle, filters, and hoses, as they can easily get clogged with dried paint.
Regularly inspect and replace any worn or damaged parts to prevent leaks and ensure consistent performance. Additionally, lubricate the moving parts and store your sprayer in a clean and dry environment.
By maintaining your sprayer properly, you’ll be able to avoid costly repairs and keep your equipment in excellent condition.
Moving on to the next section about practicing and experimenting to perfect your technique…
Practice and Experiment to Perfect Your Technique
Mastering the art of using your sprayer is all about practice and experimentation. So, how can you unleash your creativity and achieve flawless results? Perfecting your technique is key.
Start by practicing on scrap materials to get a feel for the sprayer’s pressure and coverage. Experiment with different nozzle sizes and spray patterns to find what works best for your project. Remember to maintain a consistent distance and speed while spraying to achieve even coverage.
Additionally, adjust the sprayer’s pressure to control the flow of paint. By perfecting your technique, you can achieve the desired results and create professional-looking finishes.
Transitioning into troubleshooting common issues and tips for success, it’s important to address potential challenges that may arise during the painting process.
Troubleshoot Common Issues and Tips for Success
After practicing and experimenting with your airless sprayer, it’s time to troubleshoot common issues and learn some tips for success. As a professional painter, I have encountered various problems while using an airless sprayer, but with the right techniques, these issues can be easily resolved. To help you overcome any challenges, I have compiled a table below with some common problems, their possible causes, and the corresponding solutions. This table will serve as a comprehensive guide to keep your spray painting process smooth and efficient. Additionally, I will share some valuable tips that I have learned through my experience to ensure your success with airless spraying. By addressing these common issues and implementing these tips, you will achieve professional-level results with your airless sprayer.
| Problem | Possible Cause | Solution |
|---|---|---|
| Clogging | Paint viscosity too high | Thin the paint or use a larger tip size |
| Overspray | Incorrect pressure setting | Adjust the pressure accordingly |
| Uneven coverage | Sprayer too far from the surface | Maintain the recommended distance |
| Drips and runs | Excessive paint flow | Reduce the flow rate or overlap strokes |
Mastering the troubleshooting techniques and following these tips will greatly improve your spray painting skills and make your projects more efficient.
Frequently Asked Questions
Can I use any type of paint with an airless sprayer?
I can use various types of paint with an airless sprayer, depending on the compatibility. It’s important to consider the paint’s viscosity, solvents, and drying time. Alternative paint options include latex, oil-based, acrylic, and enamel paints.
How often should I clean the nozzle of the sprayer?
I clean the nozzle of my sprayer regularly to keep it in top shape. Just like a well-tuned instrument, a clean nozzle ensures smooth, precise spraying. I recommend cleaning it after every use to prevent clogs and maintain optimal performance.
What should I do if the paint is not coming out evenly?
If the paint is not coming out evenly, there are a few troubleshooting tips you can try. First, check if the spray settings need adjusting. You may need to increase or decrease the pressure or adjust the fan pattern.
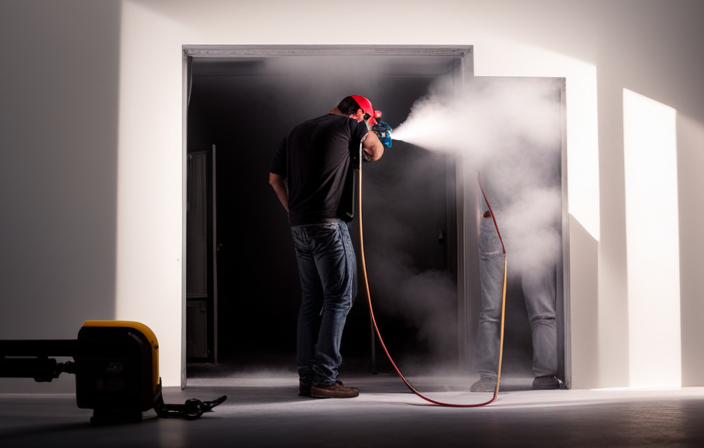
Can I use an airless sprayer indoors?
Yes, you can use an airless sprayer indoors. However, it is important to follow proper spraying techniques and safety precautions. Make sure to cover surrounding areas, wear protective gear, ventilate the space, and use a low-pressure setting to minimize overspray.
How do I prevent clogging in the sprayer?
To prevent clogging in the sprayer and troubleshoot uneven spray, it’s important to properly clean and maintain the equipment. This includes regularly inspecting and cleaning the spray tip, using the correct paint viscosity, and ensuring proper filtration and straining of paint.
Conclusion
In conclusion, spraying paint with an airless sprayer is efficient and provides a seamless finish. By following these steps, you can achieve professional-looking results:
- Gather your materials
- Choose the right paint
- Test the spray pattern and pressure
Maintaining a smooth and clean surface, using proper technique, and overlapping each pass will ensure a flawless outcome. Don’t forget to clean and maintain your sprayer for longevity.
With practice and experimentation, you’ll master this technique and troubleshoot any common issues that may arise.
Happy painting!