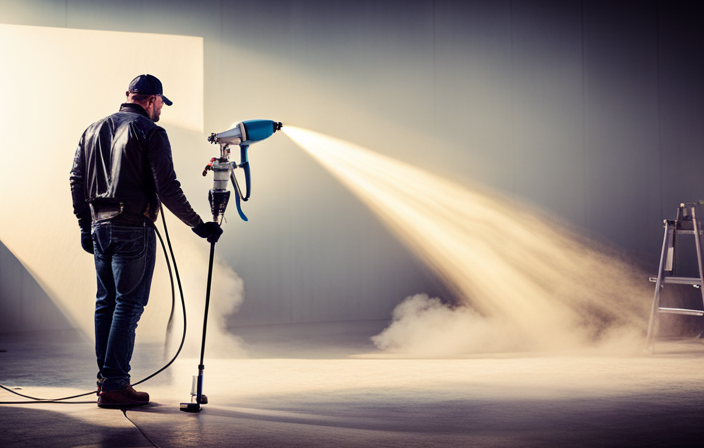
To thin out latex paint for use in an airless sprayer, simply follow these easy steps. Here is the procedure:
-
Gather your supplies: Before you begin, make sure you have all the necessary supplies. You will need latex paint, water, a measuring cup, a stirring stick, and a paint strainer.
-
Check the manufacturer’s recommendations: Start by checking the manufacturer’s instructions on the paint can. Some paints may have specific guidelines for thinning, so it’s important to follow them to achieve the best results.
-
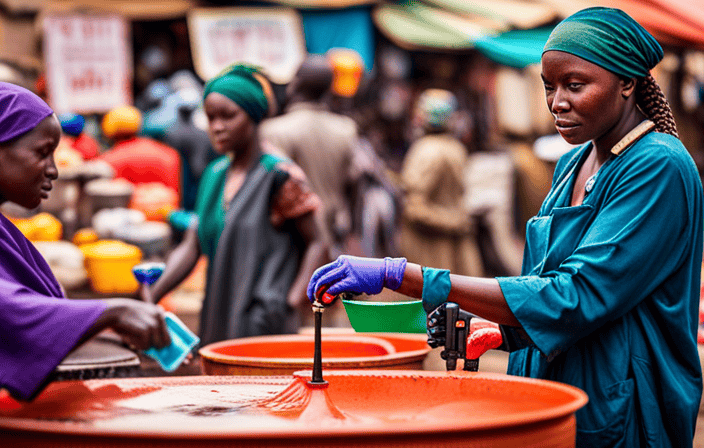
Measure the paint: Using a measuring cup, pour the desired amount of latex paint into a paint bucket or container. It’s essential to measure the paint accurately to ensure the right ratio of paint to water.
-
Add water gradually: Start by adding a small amount of water to the paint. It’s best to add water in increments to avoid over-thinning the paint. A general rule of thumb is to add no more than 10% water to the paint. However, this may vary depending on the specific paint and sprayer you are using.
-
Stir thoroughly: After adding water, use a stirring stick to mix the paint and water thoroughly. Make sure the paint and water are well incorporated to achieve a consistent consistency.
-
Strain the paint: To ensure a smooth and even spray, strain the thinned paint using a paint strainer. This will help remove any lumps or impurities that may clog the sprayer.
-
Test the consistency: Before you start spraying, it’s crucial to test the consistency of the thinned paint. Dip the tip of the sprayer into the paint and spray a small amount onto a test surface. The paint should flow smoothly and evenly without any clogging or splattering. If the paint is too thick, add a little more water and mix again.
-
Adjust as needed: If the paint is still too thick or too thin, continue adding water or paint in small increments until you achieve the desired consistency. Remember to stir thoroughly after each adjustment.
-
Start spraying: Once you are satisfied with the consistency of the thinned paint, you are ready to start spraying. Follow the manufacturer’s instructions for operating the airless sprayer and enjoy the smooth and efficient painting experience.
By following these steps, you can effectively thin out latex paint for your airless sprayer and achieve professional-looking results. Just remember to take your time, measure accurately, and test the consistency before starting your painting project. Happy painting!
Key Takeaways
- Thin paint in small batches to maintain control over consistency.
- Measure the required amount of paint for the project and pour it into a separate container before thinning.
- Clean the airless sprayer thoroughly after each use to prevent clogs and ensure efficient painting.
- Choose the right nozzle size for better atomization and even coverage when spraying thinned latex paint.

TICONN Anti-Fog Safety Glasses for Men and Women, ANSI Z87.1 Scratch Proof Eye Goggles with Adjustable Arms and UV Protection (Clear, 1PK)
- Durable Polycarbonate Construction: Impact-resistant and lightweight design
- Anti-Fog and UV Protection: Scratch-resistant, clear vision, blocks 99.9% UV
- Adjustable and Comfortable Fit: Rubber frame, nose pads, adjustable temples
As an affiliate, we earn on qualifying purchases.
Gather the Necessary Supplies
To gather the necessary supplies for thinning out your latex paint for an airless sprayer, you will need:
- A measuring cup or scale to accurately measure the paint and water ratio.
- A clean container or bucket to mix the paint and water together.
- A stirring stick or paint mixer attachment for a power drill to achieve a uniform mixture.
- A strainer or filter to remove any impurities from the paint.
Troubleshooting common issues with thinning latex paint is important. Remember to add water gradually to avoid over-thinning.
Now, let’s move on to determining the desired consistency for your paint application.
Determine the Desired Consistency
First, assess the ideal texture you’re aiming for. Envision the smooth application of your paint and the satisfaction it will bring. Consider factors such as the type of paint, surface being painted, and desired finish to determine the appropriate viscosity.
Here are five key points to keep in mind when determining the consistency:
- Start with the manufacturer’s recommendations for thinning ratios.
- Gradually add small amounts of water or latex paint thinner to the paint while stirring continuously.
- Use a viscosity cup to measure the thickness of the paint. Aim for a flow rate that allows the paint to pass through the cup in a specific time frame.
- Test the thinned paint on a scrap surface or cardboard to ensure it sprays evenly and covers well.
- Troubleshoot common issues like clogging or splattering by adjusting the viscosity or cleaning the sprayer components.
Once you have determined the desired consistency, you can move on to the next section and measure and pour the paint.
Measure and Pour the Paint
To get started, you’ll need to grab your measuring cup and carefully pour the paint into it, making sure not to spill a drop. When measuring the paint, it’s crucial to use accurate measuring techniques to ensure the desired consistency. This will help you achieve the best results when using an airless sprayer.
Additionally, if you’re looking for alternative thinning agents, keep in mind that some manufacturers offer specific products designed for latex paint thinning. These agents can provide consistent results and may be a suitable option for your project.
Once you have measured the paint, you can then proceed to the next step of gradually adding water to achieve the desired thinness.
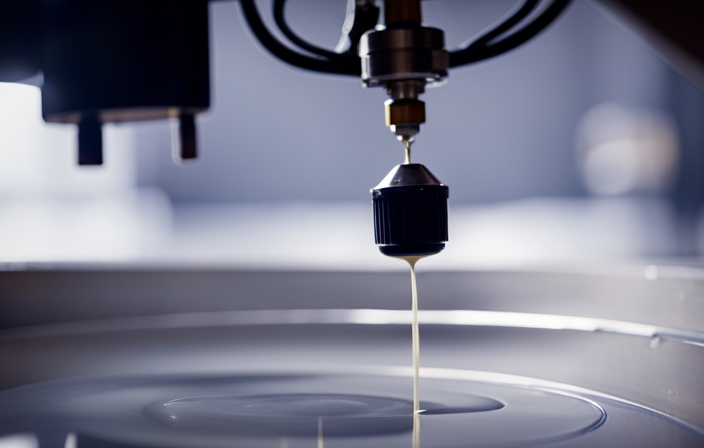
Gradually Add Water
As you pour water into the paint, watch as it dances and melds together, creating a fluid masterpiece that will glide effortlessly onto your canvas. To ensure proper thinning for your airless sprayer technique, it is important to add water gradually. This allows you to control the consistency and prevent the paint from becoming too thin. As a general rule, start by adding 10% water to the paint and mix thoroughly. Use the following table as a guide for thinning ratios:
| Paint Type | Thinners | Water (in ounces) |
|---|---|---|
| Latex | Water | 1 |
| 2 | ||
| 3 | ||
| 4 | ||
| 5 |
Remember, water is not the only option for thinning latex paint. You can also consider alternative thinning agents such as commercial latex paint thinners or Floetrol. These products are specifically designed to maintain the quality of the paint while achieving the desired consistency. Once you have added the water or thinning agent, mix thoroughly to ensure a uniform texture. This will prepare the paint for the next step of the process, which is to mix thoroughly with a stirring stick.
Mix Thoroughly
To thoroughly mix your paint, follow these steps:
- Scrape the bottom and sides of the paint can to incorporate any settled solids.
- Use a stirring stick or a drill with a paint mixing attachment.
- Slowly move the stick or drill up and down, ensuring to reach all areas of the paint.
- Continue mixing until you achieve a consistent, uniform texture.
Mixing is essential to ensure that the paint is properly thinned and will flow smoothly through the sprayer without clogging or spitting. If you encounter any thinning issues, mixing tips can help troubleshoot the problem.
With the paint thoroughly mixed, you can now proceed to test the thinned paint and ensure its suitability for your airless sprayer.
Test the Thinned Paint
Once you’ve thoroughly mixed your paint, it’s time to put it to the test and see how well it performs when thinned for optimal application. Here are some test results and troubleshooting tips to consider:
-
Smooth Coverage: Thinned paint should provide a smooth and even finish on the surface. If you notice streaks or unevenness, adjust the thinning ratio accordingly.
-
Drying Time: Thinned paint should dry within a reasonable timeframe. If it takes too long to dry, consider reducing the amount of thinner used.
-
Adhesion: The thinned paint should adhere well to the surface without peeling or flaking. If you experience poor adhesion, try adding a bonding agent to improve the paint’s grip.
-
Overspray: Check for excessive overspray, which can result in wasted paint and uneven application. Adjusting the spray pattern and pressure can help minimize this issue.
-
Clogging: Thinning paint too much can lead to clogging in the sprayer nozzle. If this occurs, clean the nozzle thoroughly and adjust the thinning ratio.
Once you’ve tested the thinned paint and made necessary adjustments, it’s time to move on to thinning in small batches to ensure consistent results.
Thin in Small Batches
When thinning latex paint for use with an airless sprayer, it’s important to thin only the amount of paint needed for the job at hand. This ensures that the paint remains at the desired consistency and does not become too thin or runny.
Additionally, it’s best to avoid thinning the entire paint can at once. Thinning the paint in small batches helps prevent wasted paint and makes it easier to achieve the desired finish.
Thin only the amount of paint needed for the job
To avoid any unnecessary waste, you gotta be a savvy painter and thin out just the right amount of latex paint for your airless sprayer, making sure not to go overboard with the dilution. When it comes to thinning techniques, there are some best practices to keep in mind. Firstly, always thin the paint in small batches to maintain control over the consistency. This way, you can adjust the thickness as needed without wasting excess paint. Additionally, thin only the amount of paint needed for the job at hand. This ensures that you don’t end up with leftover thinned paint that can’t be used and will eventually go to waste. Remember, being precise in your thinning process is key. So, avoid thinning the entire paint can at once, as it may lead to unnecessary waste. In the next section, we will discuss why it’s important to avoid thinning the entire paint can at once.
Avoid thinning the entire paint can at once
To avoid thinning the entire paint can at once, it is best to thin only the amount of paint needed for the job. This will prevent unnecessary waste and maintain the consistency of the paint. Here are the steps to follow:
- Measure the amount of paint required for the project.
- Pour the measured amount into a separate container.
- Gradually add the appropriate thinning agent, following the manufacturer’s instructions.
- Stir the mixture thoroughly to ensure uniform consistency.
By thinning only the necessary amount of paint, you can avoid wasting excess paint and maintain the desired consistency. Once the paint is thinned to the desired level, it is time to move on to the next step of cleaning the sprayer.
Clean the Sprayer
First, make sure you gather all the necessary materials to clean your sprayer. Proper sprayer maintenance is essential for optimal performance and longevity. Cleaning techniques will vary depending on the type of sprayer you have, so refer to the manufacturer’s instructions for specific guidance.
Start by disconnecting the sprayer from the power source and removing any remaining paint from the container. Then, disassemble the sprayer components, such as the nozzle, tip, and filter. Thoroughly clean each part using a suitable solvent or cleaning solution, ensuring all paint residue is removed. Pay close attention to any clogs or build-up and use a brush or toothpick to gently remove them.
Once all parts are clean and dry, reassemble the sprayer and practice proper safety precautions when handling and operating the equipment.
Transitioning to the next section, remember to always prioritize safety to ensure a successful paint job.
Practice Proper Safety Precautions
Ensure your safety by following proper precautions while using the sprayer.
Before starting, make sure you have the proper safety gear, including goggles, gloves, and a respirator mask. Latex paint can release harmful fumes, so it’s essential to protect your eyes, skin, and lungs.
Additionally, ensure that you are working in a well-ventilated area. Proper ventilation is crucial for removing any airborne particles or fumes, reducing the risk of inhalation and potential health hazards. Open windows and doors, or use fans to circulate fresh air throughout the workspace.
By practicing proper safety precautions and using the correct safety gear, you can minimize the risks associated with spraying latex paint.
Now, let’s move on to the next section and enjoy a smooth and efficient painting experience.
Enjoy a Smooth and Efficient Painting Experience
To enjoy a smooth and efficient painting experience, it is crucial to have the right nozzle size for your project. Using the correct size can help you achieve a higher coverage rate and save time. The nozzle size determines the amount of paint that is released and the pattern it creates.
A smaller nozzle size is ideal for thinning out latex paint for an airless sprayer. This allows for better atomization and a more even coverage. To avoid clogs, it is important to properly thin the paint and use a filter to catch any debris that may be present.
Regularly cleaning the nozzle and ensuring it is free from any obstructions will further enhance the efficiency of your painting experience.
Frequently Asked Questions
Can I use any type of latex paint with an airless sprayer?
Yes, not all types of latex paint are suitable for an airless sprayer. It’s important to choose a paint specifically formulated for airless sprayers to achieve a smooth and even finish.
How much water should I add to thin out the latex paint?
To properly clean an airless sprayer, follow these tips for maintaining it. Regularly clean the filters, flush the pump, and lubricate moving parts. This will ensure optimal performance and longevity of the sprayer.
Can I use other thinners instead of water?
Yes, alternative thinners can be used instead of water to thin out latex paint. However, it is important to consider the pros and cons of different thinners, such as mineral spirits or paint thinners, as they may affect the paint’s performance and drying time.
Will thinning out the latex paint affect its durability or coverage?
Thinning out latex paint may affect its durability and coverage. However, using thinned paint can provide benefits such as better flow and easier application. It is important to find the right balance to achieve desired results.
How long can I store thinned latex paint before it becomes unusable?
I can determine the shelf life of thinned latex paint by considering factors such as temperature, humidity, and the type of storage container. Properly stored, it can be usable for up to a year.
Conclusion
In conclusion, thinning out latex paint for an airless sprayer is an absolute game-changer! By following the steps outlined in this article, you’ll experience a painting experience like no other.
The smoothness and efficiency achieved with a properly thinned paint will leave you in awe. Get ready to create flawless finishes with ease, all thanks to the power of thinning your paint.
So, go ahead and grab your supplies, mix thoroughly, and enjoy a painting experience that will blow your mind!